1. Introduktion
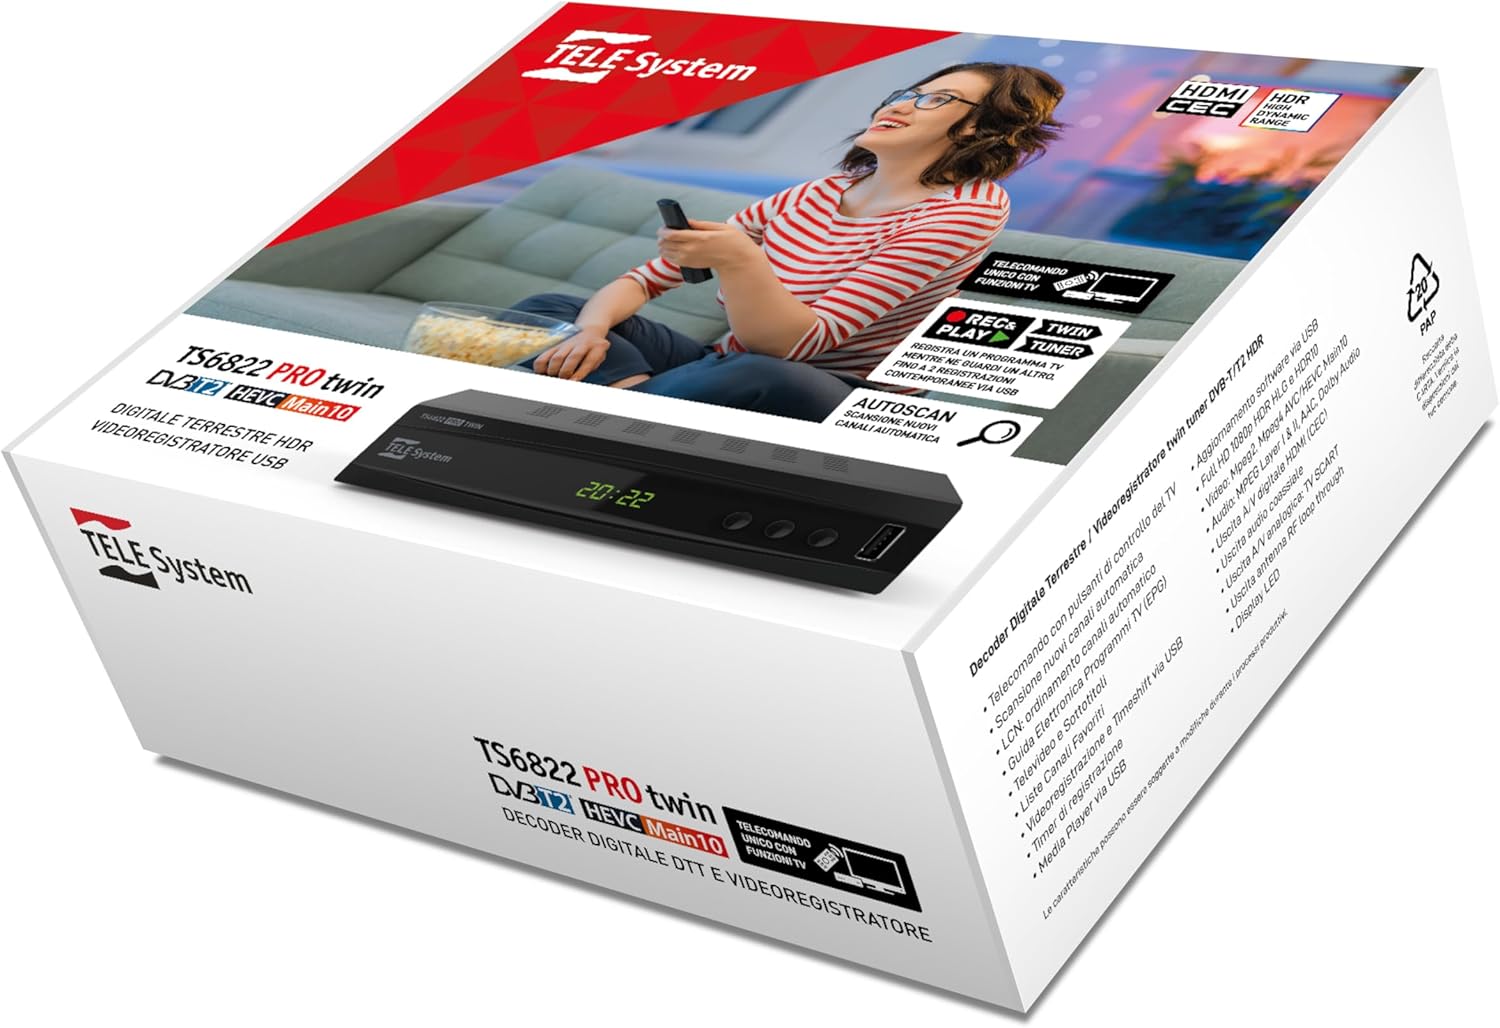
This manual provides detailed instructions for the installation, operation, and maintenance of your TELE System TS6822 PRO DVB-T2 HEVC Digital Terrestrial Decoder. This device is designed to enhance your television viewing experience with advanced features such as twin tuner recording and media playback.
Nøglefunktioner omfatter:
- Digital terrestrial twin tuner HD decoder and video recorder.
- 10-bit DVB-T2 HEVC Dual Terrestrial tuner for recording one program in High Definition while watching another.
- PAUSE TV function (Time-shift) for pausing live broadcasts (requires USB storage).
- 2-in-1 remote control for operating both the decoder and your TV.
- Media Player function via USB.

2. Opsætning
2.1 Udpakning af æsken
Fjern forsigtigt alle komponenter fra emballagen. Sørg for, at følgende dele er til stede:
- TELE System TS6822 PRO Decoder
- Fjernbetjening
- Ekstern strømforsyning
- Lynstartguide (se denne manual for yderligere oplysninger)
2.2 Tilslutning af dekoderen
Follow these steps to connect your decoder to your television and antenna:
- Tilslut antennen: Connect your terrestrial antenna cable to the "RF IN" port on the back of the decoder.
- Tilslutning til TV (HDMI): Use an HDMI cable to connect the "HDMI" port on the decoder to an available HDMI input on your television. Note the HDMI input number on your TV for later selection.
- Connect to TV (SCART - Optional): If your TV does not have HDMI, use a SCART cable to connect the "SCART" port on the decoder to the SCART input on your television.
- Tilslut strøm: Connect the external power supply to the "POWER INPUT DC 12V=1A" port on the decoder, then plug the power adapter into a wall outlet.
- Lydudgang (valgfrit): For external audio systems, you can use the "COAXIAL" digital audio output.

2.3 Indledende opsætning og kanalscanning
After connecting the decoder, power on your television and select the correct HDMI or SCART input. The decoder should power on automatically. Follow the on-screen instructions for the initial setup, which typically includes:
- Valg af sprog.
- Landevalg.
- Automatic channel scan (Autoscan). Allow this process to complete to find all available digital terrestrial channels.
3. Betjeningsvejledning
3.1 Fjernbetjeningsfunktioner
The included 2-in-1 remote control allows you to operate both the decoder and basic functions of your television. Refer to the remote control diagram for button layout.
- TV kontrolknapper: Use the dedicated buttons (e.g., Power, AV/TV, Vol+/Vol-) to control your television. Programming may be required for some TV models.
- Decoder Control Buttons: All other buttons control the decoder, including channel navigation, menu access, recording, and media playback.
3.2 Recording and Time-shift (PVR Function)
The TS6822 PRO features a PVR (Personal Video Recorder) function, allowing you to record programs and use Time-shift. A USB storage device (not included) is required for these functions.
- Tilslut USB-enhed: Insert a compatible USB flash drive or external hard drive into the USB port on the front of the decoder.
- Øjeblikkelig optagelse: Mens du ser et program, skal du trykke på REC button on the remote control to start recording. Press STOP for at afslutte optagelsen.
- Planlagt optagelse (timer): Access the EPG (Electronic Program Guide) or Timer menu to schedule recordings. Ensure the recording mode is set to "Record" and deactivate the automatic shutdown function (after 3 hours) from the decoder menu if the recording duration exceeds 3 hours.
- Time-shift (PAUSE TV): Tryk på PAUSE button during live TV to pause the broadcast. Press SPIL to resume from where you left off.

Note: Recorded programs can be accessed via the PVR menu, not the Multimedia menu. The default instant recording duration is two hours; this can be manually adjusted by pressing REC and then modifying the duration.
3.3 Medieafspillerens funktion
The decoder supports media playback from a USB storage device. Insert your USB device and navigate to the "Multimedia" menu to browse and play compatible audio, video, and image files.
4. Vedligeholdelse
- Rensning: Use a soft, dry cloth to clean the exterior of the decoder. Do not use liquid cleaners or abrasive materials.
- Ventilation: Ensure the decoder has adequate ventilation. Do not block the ventilation openings.
- Firmwareopdateringer: Periodically check the TELE System website for firmware updates. Updates can improve performance and add new features. Firmware updates are typically performed via USB.
5. Fejlfinding
| Problem | Mulig årsag | Løsning |
|---|---|---|
| Intet billede/lyd | Incorrect TV input selected, loose cables, decoder not powered on. | Check TV input, ensure all cables (HDMI/SCART, antenna, power) are securely connected. Power cycle the decoder. |
| Kan ikke finde kanaler | Antenna not connected, poor signal, channel scan not performed. | Ensure antenna is connected and properly aligned. Perform a new channel scan. Check antenna signal strength in settings. |
| Problemer med optagelse | No USB device, incompatible USB device, insufficient storage, automatic shutdown enabled. | Connect a compatible USB device with sufficient free space. Ensure automatic shutdown is disabled for long recordings. Check PVR menu for recordings. |
| Fjernbetjening virker ikke | Dead batteries, obstructed sensor, remote not programmed for TV. | Replace batteries. Ensure no obstructions between remote and decoder/TV. Program TV control buttons if necessary. |
6. Specifikationer
| Feature | Detalje |
|---|---|
| Mærke | TELE system |
| Modelnummer | EU-8051511392735 |
| Tuner type | DVB-T2 HEVC (10-bit) Twin Terrestrial Tuner |
| Videokodning | HEVC |
| Særlige funktioner | HDR High Dynamic Range, PVR (Recording), Time-shift, Media Player |
| Kompatible enheder | Television |
| Forbindelse | HDMI, USB, SCART, Coaxial Audio Output |
| Lydudgangstilstand | Stereoanlæg |
| Surround Sound konfiguration | 2.0, 5.1 eller 7.1 |
| Inkluderede komponenter | External power supply, remote control, Quick Start Guide |
| Strømindgang | DC 12V=1A |
| Strømforbrug | Min < 1W, Max < 12W |
| Dimensioner (pakke) | 19.5 x 16 x 7.1 cm |
| Vægt (pakke) | 450 g |
| Oprindelsesland | Italien |
7. Garanti og support
For warranty information, please refer to the documentation included with your product or visit the official TELE System website. For technical support or further assistance, please contact TELE System customer service.
You can find additional information and FAQs on the TELE System Brand Store.
Ofte stillede spørgsmål (ofte stillede spørgsmål)
- Timeshift-funktion: To use the PVR and Timeshift functions, an external USB device must be connected to the USB port.
- Finding Recordings: Optagelser kan være viewed via the PVR menu, not the Multimedia menu.
- Timeroptagelse: Yes, timer recording is possible. When setting a timer, ensure to select "Record" mode instead of "Channel" and deactivate the automatic shutdown function (after 3 hours) from the decoder menu if the recording duration exceeds 3 hours. Instant recordings (pressing REC) are set to two hours by default; this can be increased manually after starting the recording.
8. Relaterede produktvideoer
The following videos provide additional information about related products. Please note these videos may not directly feature the TELE System TS6822 PRO model but offer insights into typical digital receiver functionalities.
Edision PICCOLLO S2+T2/C Combo Receiver Overview
Denne video giver en overview of the Edision PICCOLLO S2+T2/C Combo Receiver, showcasing its design and various ports. While not the exact model, it demonstrates typical features and connectivity of a digital receiver.
Humax HD Nano Digital Satellite Receiver Overview
This video presents the Humax HD Nano digital HD satellite receiver, highlighting its compact size and connectivity options. It offers a visual reference for the form factor and basic interface of a digital receiver.