
1. Introduktion
Tak for købetasing the GAGGIA Besana Automatic Espresso Machine HD8651. This compact, Italian-designed machine offers simple operation for authentic espresso and coffee beverages. This manual provides essential information for safe and efficient use, including setup, operation, maintenance, and troubleshooting.
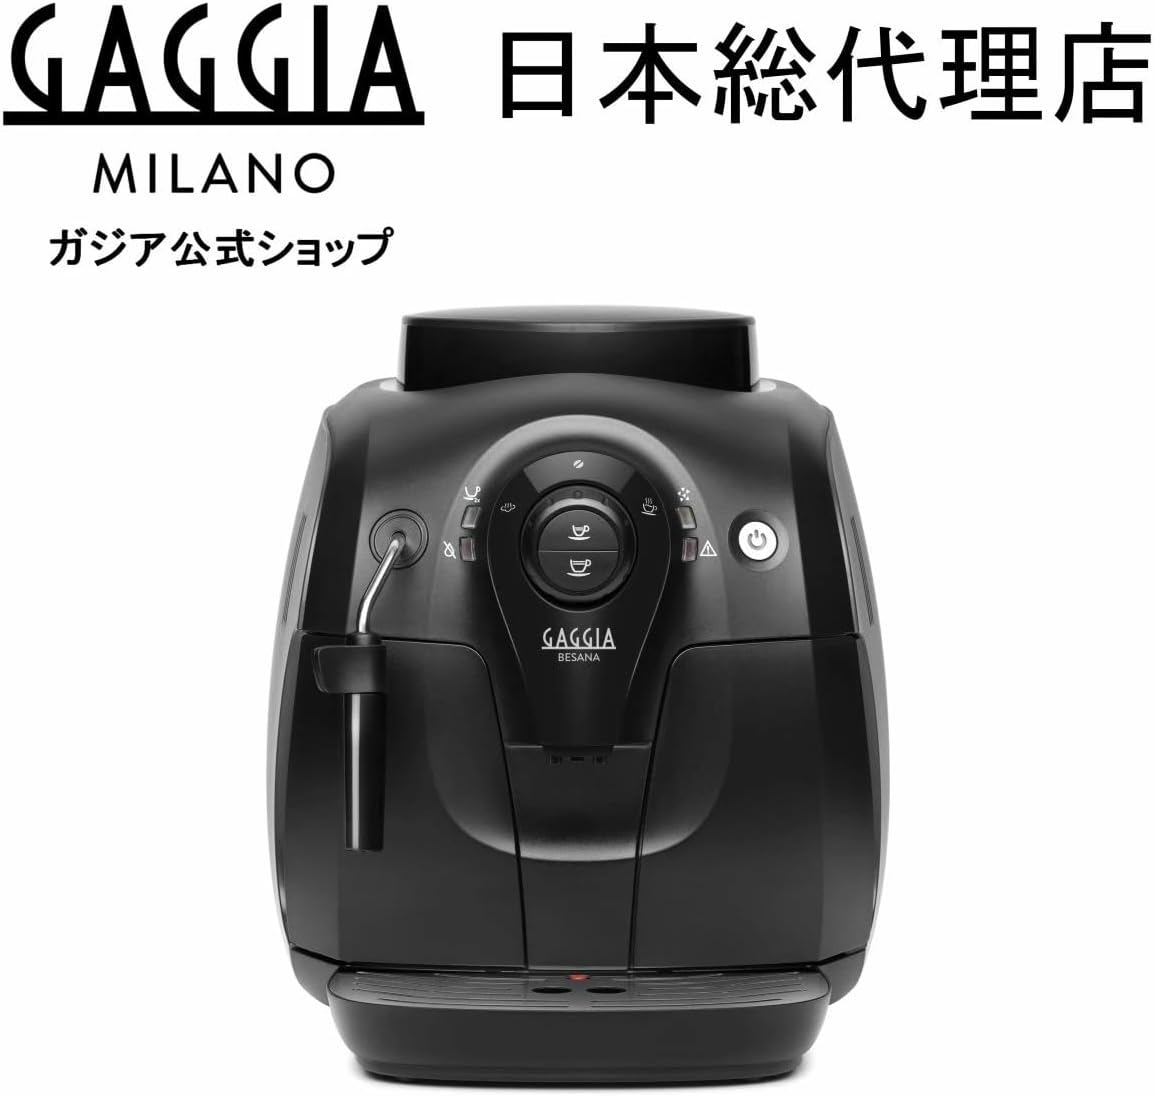
Figur 1: Forside view of the GAGGIA Besana Automatic Espresso Machine HD8651.
2. Sikkerhedsoplysninger
Læs venligst alle sikkerhedsinstruktioner omhyggeligt, inden apparatet tages i brug. Gem denne manual til senere brug.
- Sørg for, at apparatet er tilsluttet en jordet stikkontakt med den korrekte lydstyrke.tage (100V, 50/60Hz).
- Apparatet, netledningen eller stikket må ikke nedsænkes i vand eller andre væsker.
- Hold børn væk fra apparatet under drift.
- Tag altid stikket ud af maskinen før rengøring eller vedligeholdelse.
- Brug ikke maskinen, hvis netledningen eller stikket er beskadiget.
- Use only original GAGGIA accessories and spare parts.
3. Pakkens indhold
Kontroller, at alle varer er til stede i kassen:
- GAGGIA Besana Automatic Espresso Machine HD8651
- Strømledning (1.2 m)
- Instruktionsmanual
- Periodic Maintenance Booklet
- Grinder Adjustment Key
- Rengøringsbørste
- Brewing Unit Grease (5g)
- Descaling Solution (MEL-F2000)
4. Opsætning
4.1 Udpakning og placering
- Fjern alt emballagemateriale fra maskinen.
- Placer maskinen på en stabil, plan overflade, væk fra varmekilder og vand.
- Sørg for tilstrækkelig plads omkring maskinen til ventilation og adgang til komponenter.
4.2 Påfyldning af vandtanken
- Fjern vandtanken fra maskinen.
- Fyld tanken med frisk, koldt vand fra hanen op til MAX-niveauindikatoren.
- Sæt vandtanken sikkert ind i maskinen igen.
4.3 Tilsætning af kaffebønner
- Åbn låget på kaffebønnebeholderen.
- Pour fresh whole coffee beans into the container. Do not fill above the MAX level.
- Luk låget godt fast.

Figure 2: Adding coffee beans to the machine's bean hopper.
4.4 Første skyllecyklus
Before first use or after a long period of inactivity, perform a rinse cycle:
- Placer en beholder under kaffetuden.
- Tryk på tænd/sluk-knappen for at tænde for maskinen.
- The machine will automatically perform a rinse cycle, dispensing hot water.
- Når cyklussen er færdig, er maskinen klar til brug.
4.5 Opsætningsvideoguide
For a visual guide on setting up your GAGGIA Besana, please watch the video below:
Video 1: Detailed setup and initial operation guide for the GAGGIA Besana.
5. Betjeningsvejledning
5.1 Kontrolpanel overview
The GAGGIA Besana features a simple control panel for ease of use.

Figure 3: The control panel features two coffee buttons and a steam/hot water dial.
- Enkelt espresso-knap: Press once for a single shot of espresso.
- Dobbelt espresso-knap: Press once for a double shot of espresso.
- Damp-/varmtvandsskive: Turn to activate the steam wand for milk frothing or to dispense hot water.
- Power knap: Tænder eller slukker maskinen.
5.2 Tilberedning af espresso/kaffe
- Sørg for, at vandtanken er fyldt, og at der er kaffebønnerne i tragten.
- Stil en kop under kaffetuden.
- Press either the single or double espresso button. The machine will grind the beans and brew your coffee automatically.
5.3 Brug af damprøret til mælkeskumning
- Fyld en mælkekande med kold mælk.
- Turn the steam/hot water dial to the steam position. Wait for the steam indicator light to illuminate steadily.
- Sænk spidsen af dampdysen lige under mælkens overflade.
- Open the steam valve by turning the dial further. Froth the milk until desired texture and temperature are reached.
- Close the steam valve and clean the steam wand immediately after use with a damp klæde.
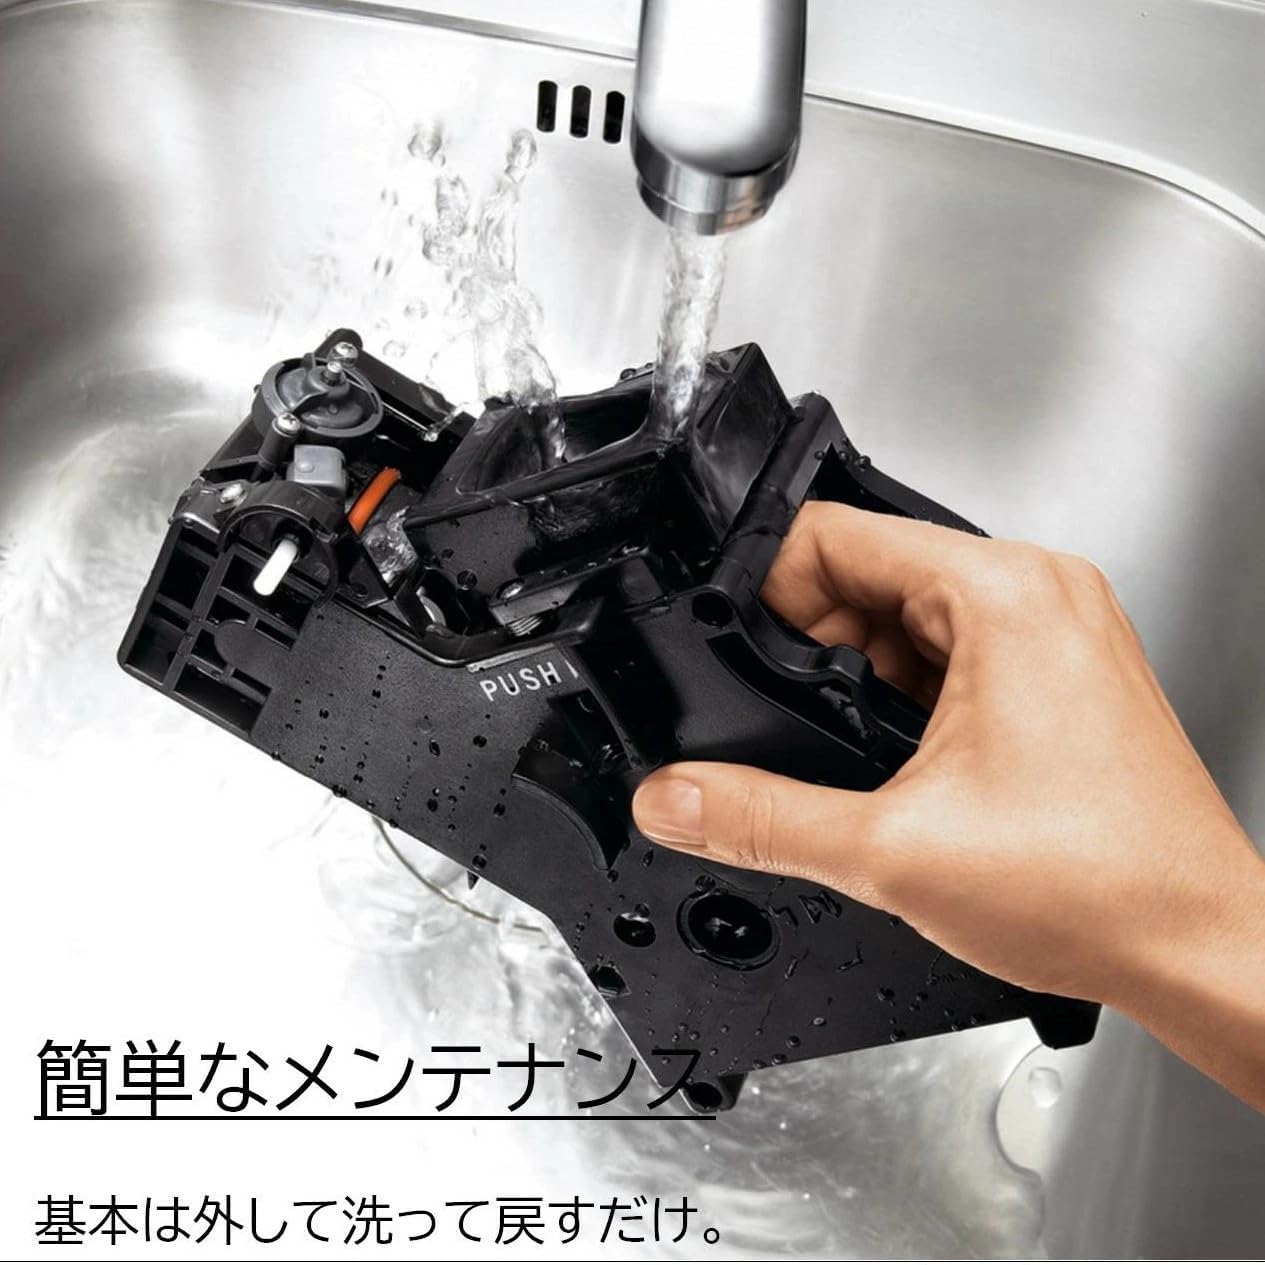
Figure 4: Frothing milk using the integrated steam wand.
5.4 Varmtvandsfunktion
For at dispensere varmt vand:
- Placer en kop under damprøret.
- Turn the steam/hot water dial to the hot water position.
- Hot water will be dispensed. Turn the dial back to stop.
6. Vedligeholdelse
Regular maintenance ensures optimal performance and longevity of your GAGGIA Besana machine.
6.1 Daglig rengøring
- Drypbakke og beholder til kaffegrums: Tøm og skyl dagligt.
- Vandtank: Skyl dagligt og fyld op med frisk vand.
- Kaffetud: Tør med annonceamp klæde.
6.2 Rengøring af bryggeenheden
The brewing unit should be rinsed weekly under running water.
- Sluk og tag stikket ud af maskinen.
- Open the service door and remove the brewing unit by pressing the 'PUSH' button and pulling it out.
- Rinse the brewing unit thoroughly under lukewarm running water until all coffee residues are removed.
- Lad den lufttørre, før den sættes i igen.

Figure 5: Rinsing the brewing unit under running water.
6.3 Grinder Adjustment
The ceramic grinder allows for adjustment of coffee fineness. Use the provided grinder adjustment key.
- Adjust the grinder only when the grinder is operating (e.g., during grinding for a coffee).
- Insert the adjustment key into the grinder adjustment knob inside the bean hopper.
- Turn the knob one click at a time to adjust fineness. Turning clockwise makes the grind finer, counter-clockwise makes it coarser.

Figure 6: Ceramic grinder components, ensuring fresh aroma and durability.
6.4 Afkalkning
Descale the machine when prompted by the descaling indicator light, or approximately every 2-3 months depending on water hardness. Use the provided GAGGIA descaling solution (MEL-F2000).
Refer to the dedicated 'Periodic Maintenance Booklet' for detailed descaling instructions.
6.5 Gråasing the Brewing Unit
Apply the provided brewing unit grease (5g) to the moving parts of the brewing unit every few months, or as indicated in the maintenance booklet.
6.6 Vedligeholdelsesvideoguide
For a visual guide on maintaining your GAGGIA Besana, please watch the video below:
Video 2: Guide to cleaning and maintaining the GAGGIA Besana brewing unit and other components.
7. Fejlfinding
Hvis du støder på problemer med din maskine, kan du se tabellen nedenfor for almindelige problemer og løsninger.
| Problem | Mulig årsag | Løsning |
|---|---|---|
| Der serveres ikke kaffe | Vandtanken er tom; ingen kaffebønner; bryggeenheden er blokeret. | Fill water tank; add coffee beans; clean brewing unit. |
| Svag kaffe | Grind too coarse; insufficient coffee dose. | Adjust grinder to a finer setting; ensure sufficient beans in hopper. |
| Maskinen lækker vand | Water tank not properly inserted; brewing unit seal damaged. | Reinsert water tank correctly; contact support if seal is damaged. |
| Dampstang producerer ikke damp | Damprøret er blokeret; maskinen er ikke opvarmet til damptemperatur. | Clean steam wand nozzle; wait for steam indicator light to stabilize. |
Hvis problemet fortsætter efter at have forsøgt disse løsninger, bedes du kontakte kundesupport.
8. Specifikationer
| Feature | Specifikation |
|---|---|
| Modelnummer | HD8651 |
| Voltage | 100V |
| Strømforbrug | 1000W |
| Strømforsyning | 50/60Hz |
| Dimensioner (B x H x D) | 295 x 325 x 420 mm |
| Vægt | 6.9 kg |
| Kropsmateriale | Plast |
| Vandtankkapacitet | 1.0 L |
| Kaffebønnebeholderens kapacitet | 200 g |
| Pumpetryk | Max 15 bar |
| Kedelmateriale | Rustfrit stål |
| Coffee Grinder Type | Keramisk |
| Coffee Bean Amount per Cup | Ca. 10 g |
| Kaffegrumsbeholderkapacitet | 8 kopper |
| Sikkerhedsanordning | Temperatursikring |
| Usable Cup Height | Op til 95 mm |
| Coffee Settings | 2 typer |
| Steam funktion | Ja |
| Varmtvandsfunktion | Ja |
9. Garanti og support
The GAGGIA Besana Automatic Espresso Machine HD8651 comes with a 1 års producentgaranti fra købsdatoen.
Fuji Sangyo Co., Ltd. is the official Japanese distributor for GAGGIA products. They ensure that all imported products comply with Japanese laws and regulations, providing reliable support and service.

Figure 7: GAGGIA official distributor information.
Vigtig bemærkning: Support and warranty services are only provided for products purchased through official channels. Parallel imported products are not covered by the manufacturer's warranty or local support services. Please ensure your purchase is from an authorized retailer.
For technical assistance, warranty claims, or spare parts, please contact your authorized GAGGIA service center or the official distributor.