
Indledning
This manual provides essential instructions for the setup, operation, maintenance, and troubleshooting of your Sharp 4T-C70DK1X 70-inch 4K Android Smart LED TV. Please read this manual thoroughly before using your television to ensure proper and safe operation. Keep this manual for future reference.
Opsætning
1. Udpakning
Carefully remove the television and all accessories from the packaging. Retain the packaging materials for potential future transport or service needs. Ensure all components listed in the packing list are present.
2. Montering af stativet
Place the TV screen-down on a soft, flat surface to prevent damage. Align the stand components with the designated slots on the TV's base. Secure the stand using the provided screws. Ensure the stand is firmly attached before placing the TV upright.
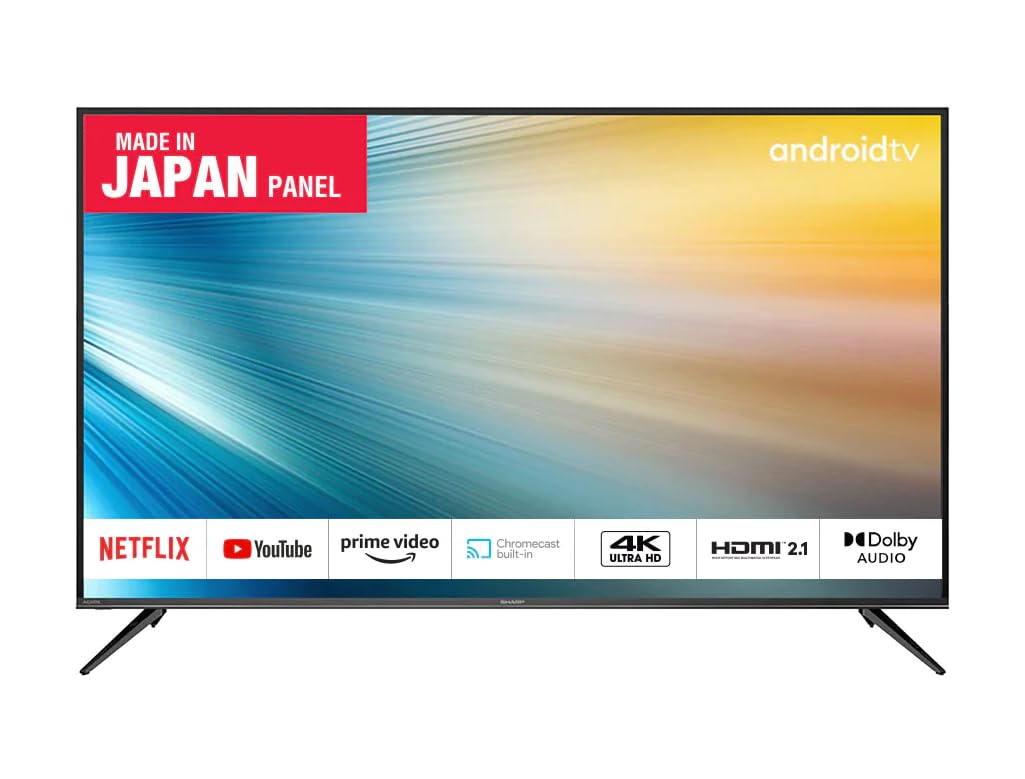
Billede: Side view of the Sharp 4T-C70DK1X television, illustrating the slim profile and the attached table stand. This view helps in understanding the TV's depth and how the stand supports it.
3. Vægmontering (valgfrit)
If you choose to wall mount your TV, ensure you use a VESA-compatible wall mount (400 x 400 mm) and follow the instructions provided with the wall mount kit. Professional installation is recommended for wall mounting to ensure safety and proper alignment.
4. Tilslutning af eksterne enheder
Connect your external devices such as set-top boxes, gaming consoles, or Blu-ray players to the TV's HDMI ports. Use the USB ports for connecting USB storage devices. Ensure all cables are securely connected.
- HDMI-porte: For high-definition audio and video input.
- USB-porte: Til afspilning af medier fra USB-drev.
- Antenne-/kabelindgang: For DVB-T2 digital TV signal.
- Strømledning: Connect to a suitable power outlet (220 VAC 50 Hz).
Betjeningsvejledning
1. Tænd/sluk
Press the power button on the remote control or on the TV to turn the TV on or off. A red indicator light typically signifies standby mode, while no light or a blue light indicates the TV is active.
2. Initial Setup Wizard
Upon first power-on, the TV will guide you through an initial setup wizard. This includes language selection, network connection (Wi-Fi or Ethernet), Google account login, and channel scanning for DVB-T2 signals.
3. Navigering i Android TV-grænsefladen
Use the directional buttons and the OK button on your remote control to navigate the Android TV home screen. Access apps, settings, and input sources from this interface. The home screen provides quick access to streaming services like YouTube and other installed applications.
4. Brug af stemmestyring
Your Sharp TV supports intelligent voice recognition via Google Assistant. Press the dedicated voice control button on your remote and speak commands to search for content, control playback, or adjust settings.
5. Valg af inputkilde
To switch between connected devices (e.g., HDMI 1, HDMI 2, USB, DVB-T2), press the "Input" or "Source" button on your remote control and select the desired input from the on-screen menu.
6. DVB-T2 Digital TV Setup
After connecting your antenna, navigate to the TV settings menu and select "Channel Scan" or "Auto Tuning" to search for available DVB-T2 digital channels. This process may take several minutes.
Opretholdelse
1. Rengøring af skærmen
Tør forsigtigt skærmen af med en blød, tør mikrofiberklud. Tør forsigtigt genstridige mærker afampRengør kluden med vand eller en specialiseret skærmrens. Sprøjt ikke væske direkte på skærmen. Undgå at bruge slibende rengøringsmidler eller opløsningsmidler.
2. Rengøring af TV-kabinettet
Wipe the exterior surfaces of the TV with a soft, dry cloth. If necessary, a slightly damp cloth can be used, followed by a dry cloth. Ensure no moisture enters the ventilation openings.
3. Softwareopdateringer
Your Android TV may receive automatic software updates. Ensure your TV is connected to the internet to receive these updates, which can improve performance and add new features. You can also manually check for updates in the settings menu.
Fejlfinding
Før du kontakter kundesupport, bedes du læse følgende almindelige problemer og løsninger på disse:
- Ingen strøm:
- Kontroller, om netledningen er korrekt tilsluttet både tv'et og stikkontakten.
- Sørg for, at stikkontakten fungerer ved at teste den med en anden enhed.
- Tryk på tænd/sluk-knappen på selve tv'et, ikke kun på fjernbetjeningen.
- Intet billede/lyd:
- Verify the correct input source is selected (e.g., HDMI 1, DVB-T2).
- Kontroller, at alle kabelforbindelser (HDMI, antenne) er sikre.
- Juster lysstyrke- og kontrastindstillingerne i TV-menuen.
- Fjernbetjeningen virker ikke:
- Udskift batterierne i fjernbetjeningen.
- Sørg for, at der ikke er nogen forhindringer mellem fjernbetjeningen og tv'ets IR-sensor.
- Pair the remote again if it's a Bluetooth remote (refer to initial setup instructions).
- Problemer med netværksforbindelse:
- Genstart din Wi-Fi-router.
- Kontrollér Wi-Fi-adgangskoden og netværksindstillingerne på tv'et.
- Try connecting via an Ethernet cable if available.
Specifikationer
| Feature | Detalje |
|---|---|
| Modelnummer | 4T-C70DK1X |
| Skærmstørrelse | 70 tommer |
| Opløsning | 4K (UHD) |
| Displayteknologi | LED-LCD |
| Opdateringshastighed | 60 Hz |
| HDR-understøttelse | HDR10 |
| Operativsystem | Android TV |
| Tuner type | DVB-T2 |
| Forbindelse | HDMI (Total 1), USB (Total 1), Bluetooth, Wired (Ethernet) |
| Stemmekontrol | Google Assistant |
| Monteringstype | Table Mount, VESA 400 x 400 mm |
| Produktmål (D x B x H) | 17.1D x 156.4W x 103.4H centimeter |
| Line Voltage | 220 VAC 50 Hz |
Garanti og support
1. Garantioplysninger
This Sharp 4T-C70DK1X television comes with a 3 års begrænset garanti provided by Sharp. Please retain your proof of purchase for warranty claims. The warranty covers manufacturing defects under normal use. For full terms and conditions, refer to the warranty card included with your product or contact Sharp customer service.
2. Kundesupport
For technical assistance, service inquiries, or further information, please contact Sharp customer support. Contact details can typically be found on the official Sharp website for your region or on the warranty documentation.