
1. Introduktion
This manual provides essential information for the safe and efficient operation, maintenance, and troubleshooting of your Fafeicy 18V Cordless Electric Pruning Shear. Please read it thoroughly before initial use and retain it for future reference. This tool is designed for pruning tree branches and similar vegetation.
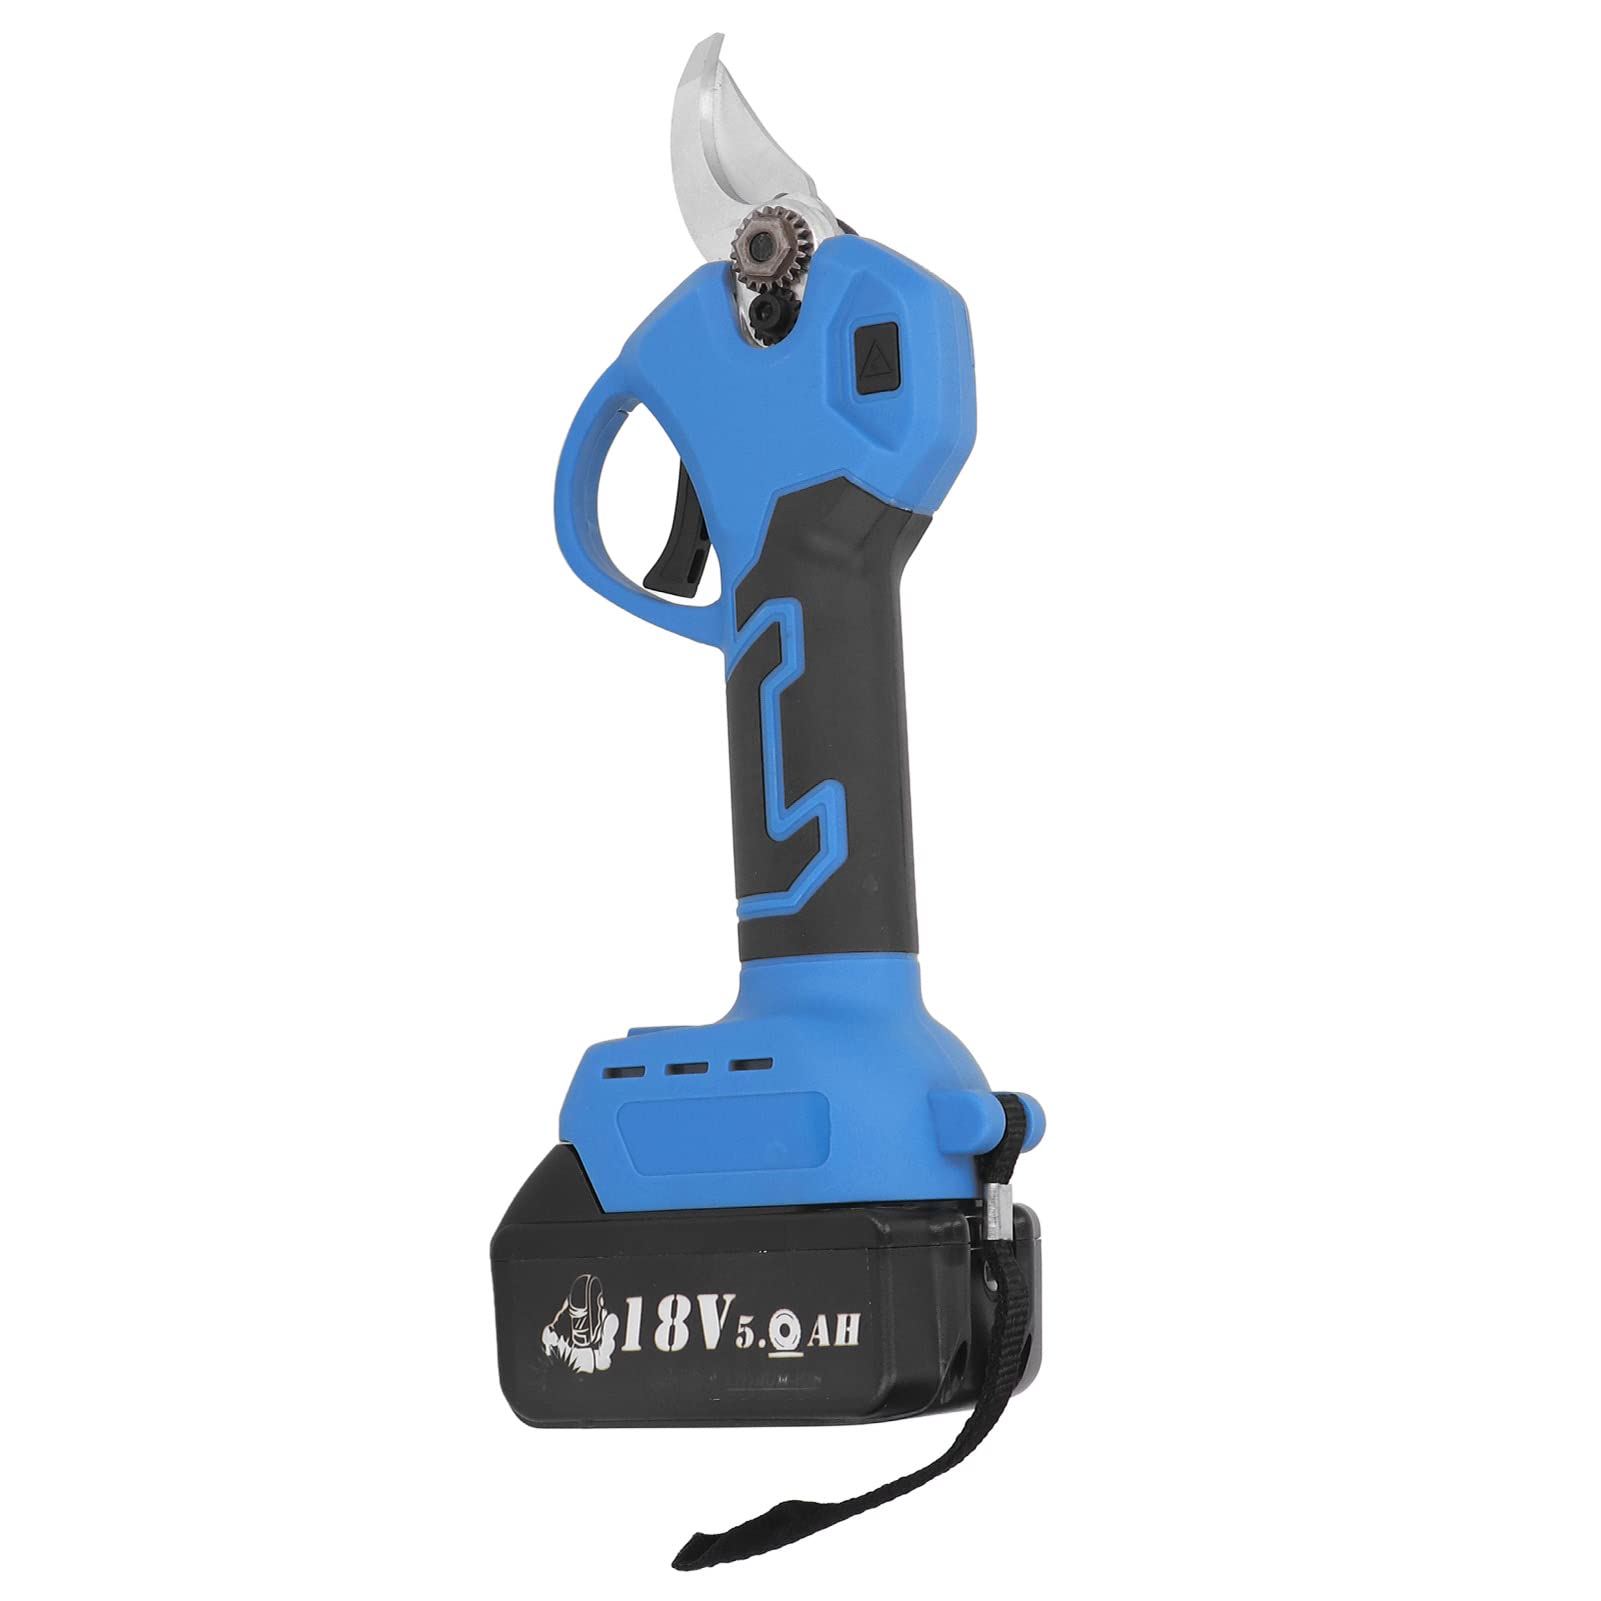
Image 1.1: Fafeicy 18V Cordless Electric Pruning Shear. This image shows the blue and black pruning shear alongside smaller images depicting its use in a garden, an orange orchard, and for shaping hedges.
2. Sikkerhedsoplysninger
Always observe basic safety precautions to reduce the risk of fire, electric shock, and personal injury when operating this tool.
- Læs manualen: Before operating the pruning shear, read and understand all instructions and safety warnings in this manual.
- Bær øjenbeskyttelse: Always wear appropriate eye protection (safety glasses or goggles) to protect against flying debris.
- Hold hænderne klare: Never place hands or fingers near the blades when the tool is connected to a battery. The blades are extremely sharp.
- Afbryd batteriet: Fjern altid batteripakken fra værktøjet, før du foretager justeringer, skifter tilbehør eller opbevarer værktøjet.
- Sikkert arbejdsområde: Ensure the area is clear of bystanders, especially children and pets, before operating the tool.
- Korrekt greb: Hold et fast greb om håndtaget under drift.
- Undgå utilsigtet start: Ensure the switch trigger is in the OFF position before inserting the battery pack.
- Brug anbefalede batterier: Only use battery packs specified for this tool. Refer to the 'Specifications' section for compatible battery types.
- Opbevar sikkert: Opbevar værktøjet et tørt og sikkert sted utilgængeligt for børn, når det ikke er i brug.
3. Pakkens indhold
Kontroller, at alle varer er til stede, når du åbner pakken:
- 1 x Cordless Electric Pruning Shear
- 2 x nøgle
- 1 x brugsanvisning
Note: Battery is not included with this product.
4. Produktet er slutview
Familiarize yourself with the components of your electric pruning shear.

Image 4.1: Key components of the Fafeicy 18V Cordless Electric Pruning Shear. The image highlights the Handle, Blade Lock Screw, Alloy Blade, Movable Blade, Switch Trigger, and Function Center.
- Håndtag: Ergonomisk designet for komfortabelt greb og kontrol.
- Blade Lock Screw: Secures the blade in place.
- Alloy Blade: Fixed blade made of high carbon steel.
- Bevægeligt blad: The cutting blade that moves to perform the cut.
- Afbryder: Activates the pruning shear.
- Function Center: Contains controls and indicators for operation.
5. Specifikationer
| Feature | Specifikation |
|---|---|
| Materiale | ABS, High Carbon Steel |
| Maximum Cutting Capacity (Steel plate 400N/mm²) | 1.6 mm (16 ga.) |
| Maximum Cutting Capacity (Steel plate 600N/mm²) | 1.2 mm (18 ga.) |
| Maximum Cutting Capacity (Steel plate 200N/mm²) | 2.5 mm (13 ga.) |
| Minimum skæreradius | 250 mm |
| Stroke Speed | 4300/min |
| Gældende batteritype | 18V Lithium-ion battery (e.g., BL1815, BL1820, BL1530, BL1840, BL1850, BL1860) |
| Compatible 18V B-series Batteries | BL1850B (197285-8), BL1840B (197270-1), BL1830B (197602-2), BL1430B (197618-7), BL1820B (197487-6) |
| Other Compatible Batteries | BL1850, BL1840, BL1440 (196391-6), BL1415 (194560-3), BL1815N (196781-3) |
| Non-Compatible Batteries | G series batteries (e.g., BL1813G, BL1413G, BL1415G, BL1430G, BL1815G), 18V Ni-CD batteries (e.g., 1822) |
6. Opsætning
6.1 Batteriinstallation
- Ensure the pruning shear is turned off and the switch trigger is disengaged.
- Align the battery pack with the battery port on the bottom of the pruning shear.
- Slide the battery pack into the port until it clicks securely into place. Ensure it is fully seated.
- To remove the battery, press the release button (if present) and slide the battery pack out.
6.2 Indledende inspektion
- Før hver brug skal knivene kontrolleres for skader, sløvhed eller snavs.
- Sørg for, at alle skruer og fastgørelseselementer er spændte.
- Check that the switch trigger operates smoothly and returns to the OFF position.
7. Betjeningsvejledning
7.1 Tænd og sluk
- For at tænde: With the battery installed, press and hold the power button (located on the function center) until the indicator light illuminates.
- For at slukke: Press and hold the power button again until the indicator light turns off. Always power off the tool when not in use or when changing positions.
7.2 Beskæringsteknik
- Ensure you have a stable footing and clear access to the branch you intend to prune.
- Position the branch between the open blades. Ensure the branch fits within the maximum cutting capacity of the shear.
- Press the switch trigger to close the blades and make the cut. Release the trigger to open the blades.
- Avoid forcing the tool through thick branches. If the tool struggles, the branch may exceed its capacity.
- Make clean cuts to promote healthy plant growth.
8. Vedligeholdelse
Regelmæssig vedligeholdelse sikrer optimal ydeevne og forlænger levetiden på din beskæresaks.
8.1 Rengøring
- Fjern altid batteriet før rengøring.
- Efter hver brug rengøres knivene med adamp cloth to remove sap, dirt, and debris. A mild detergent can be used if necessary.
- Tør bladene grundigt for at forhindre rust.
- Clean the body of the tool with a soft, dry cloth. Do not use harsh chemicals or abrasive cleaners.
8.2 Smøring
- Apply a few drops of light machine oil to the pivot points of the blades periodically to ensure smooth operation.
8.3 Opbevaring
- Store the pruning shear in a dry, cool place, away from direct sunlight and moisture.
- Ensure the blades are closed and secured (if a blade lock mechanism is present).
- Fjern batteripakken før langtidsopbevaring.
9. Fejlfinding
If you encounter issues with your pruning shear, refer to the following common problems and solutions:
| Problem | Mulig årsag | Løsning |
|---|---|---|
| Værktøjet tænder ikke | Batteriet er ikke installeret korrekt Batteri afladet Power-knappen er ikke trykket korrekt | Sørg for, at batteriet er helt isat Oplad batteriet Press and hold the power button until indicator light illuminates |
| Blades do not cut effectively | Bladene er sløve eller snavsede Branch is too thick Lav batteristrøm | Clean blades; consider sharpening or replacement Do not attempt to cut branches exceeding capacity Oplad eller udskift batteriet |
| Værktøjet stopper under drift | Overbelastningsbeskyttelse aktiveret Batteri afladet | Reduce cutting load; allow tool to cool Oplad eller udskift batteriet |
Hvis problemet fortsætter efter at have forsøgt disse løsninger, bedes du kontakte kundesupport.
10. Garanti og support
For garantioplysninger og kundesupport henvises til den dokumentation, der blev leveret ved køb, eller kontakt sælgeren direkte. Behold din købskvittering som købsbevis.
Fafeicy is committed to providing quality products. For any questions or assistance, please reach out to the authorized Fafeicy service center or your retailer.