
Indledning
This manual provides detailed instructions for the installation, operation, and maintenance of your Cooler Master MasterLiquid Atmos 360 Black CPU Liquid Cooler. This all-in-one (AIO) water cooling system is designed to deliver efficient thermal performance for your CPU, featuring a dual-chamber pump, pre-installed SickleFlow 120 Edge fans, and Addressable Gen 2 RGB lighting.
The MasterLiquid Atmos 360 is compatible with a wide range of Intel LGA (1700/1200/1151/1150/1155/1156) and AMD (AM5/AM4) sockets.

Image: The Cooler Master MasterLiquid Atmos 360 Black CPU Liquid Cooler, showcasing its radiator, three RGB fans, and illuminated pump head.
Pakkens indhold
Før installationen påbegyndes, skal du kontrollere, at alle komponenter er til stede i pakken:
- 360mm Radiator with pre-installed SickleFlow 120 Edge Fans
- CPU Water Block/Pump Unit
- Mounting Hardware for Intel LGA 1700/1200/115x sockets
- Mounting Hardware for AMD AM5/AM4 sockets
- Termisk pasta
- ARGB Gen 2 Controller (if included)
- Various Cables (PWM fan cables, ARGB cables)
- Brugermanual

Billede: En omfattende view of all included components for the MasterLiquid Atmos 360, including the radiator, fans, pump, mounting brackets, and accessories.
Opsætning og installation
Follow these steps carefully to install your liquid cooler. Refer to your motherboard and PC case manuals for specific guidance on component placement and cable routing.
1. Forbered CPU-sokkelen
- Identificér din CPU-sokkeltype (Intel LGA eller AMD AM).
- Install the appropriate backplate (for Intel) or retention clips (for AMD) as per the included hardware guide.
- Clean the CPU surface with isopropyl alcohol to remove any residue.
2. Påfør termisk pasta
- Apply a small, pea-sized amount of the included thermal paste to the center of your CPU's integrated heat spreader (IHS).
- Do not spread the paste manually; the pressure from the cold plate will distribute it evenly.
3. Installer radiator og ventilatorer
- Bestem den optimale monteringsplacering for 360 mm radiatoren i dit pc-kabinet (typisk øverst eller foran).
- Secure the radiator to the case using the provided screws. The SickleFlow Edge fans are pre-installed on the radiator for convenience.
4. Monter pumpen/kølepladen
- Attach the correct mounting brackets to the pump unit for your CPU socket.
- Carefully place the pump/cold plate assembly onto the CPU, aligning the mounting holes.
- Secure the pump unit with the appropriate screws, tightening them in a diagonal pattern until snug. Do not overtighten.
5. Tilslut kabler
- Connect the pump's 3-pin power cable to an available CPU_FAN or AIO_PUMP header on your motherboard.
- Connect the PWM fan cables from the SickleFlow Edge fans to the CPU_FAN or other available fan headers on your motherboard. It is recommended to connect them to a single header using a splitter if necessary, to ensure synchronized fan speed control.
- Connect the ARGB cables from the pump and fans to an Addressable Gen 2 RGB header on your motherboard (5V-D-G) or to the included ARGB controller.

Image: The assembled MasterLiquid Atmos 360, showing the radiator, fans, and pump unit connected by tubing.
Betjeningsvejledning
Første gang tændt
After installation, power on your system. The pump and fans should begin operating. Monitor your CPU temperatures using system monitoring software to ensure proper function.
RGB lysstyring
The MasterLiquid Atmos 360 features Addressable Gen 2 RGB lighting on both the pump and fans. You can control the lighting effects through several methods:
- Bundkort synkronisering: If connected to a compatible ARGB motherboard header, use your motherboard's RGB software (e.g., ASUS Aura Sync, MSI Mystic Light, Gigabyte RGB Fusion, ASRock Polychrome Sync) to customize lighting.
- Medfølgende ARGB-controller: If an ARGB controller is included, use its physical buttons to cycle through pre-set lighting modes and colors.
- Cooler Master MasterCTRL/MasterPlus Software: Download and install Cooler Master's MasterCTRL or MasterPlus software for advanced customization of lighting effects and device performance.
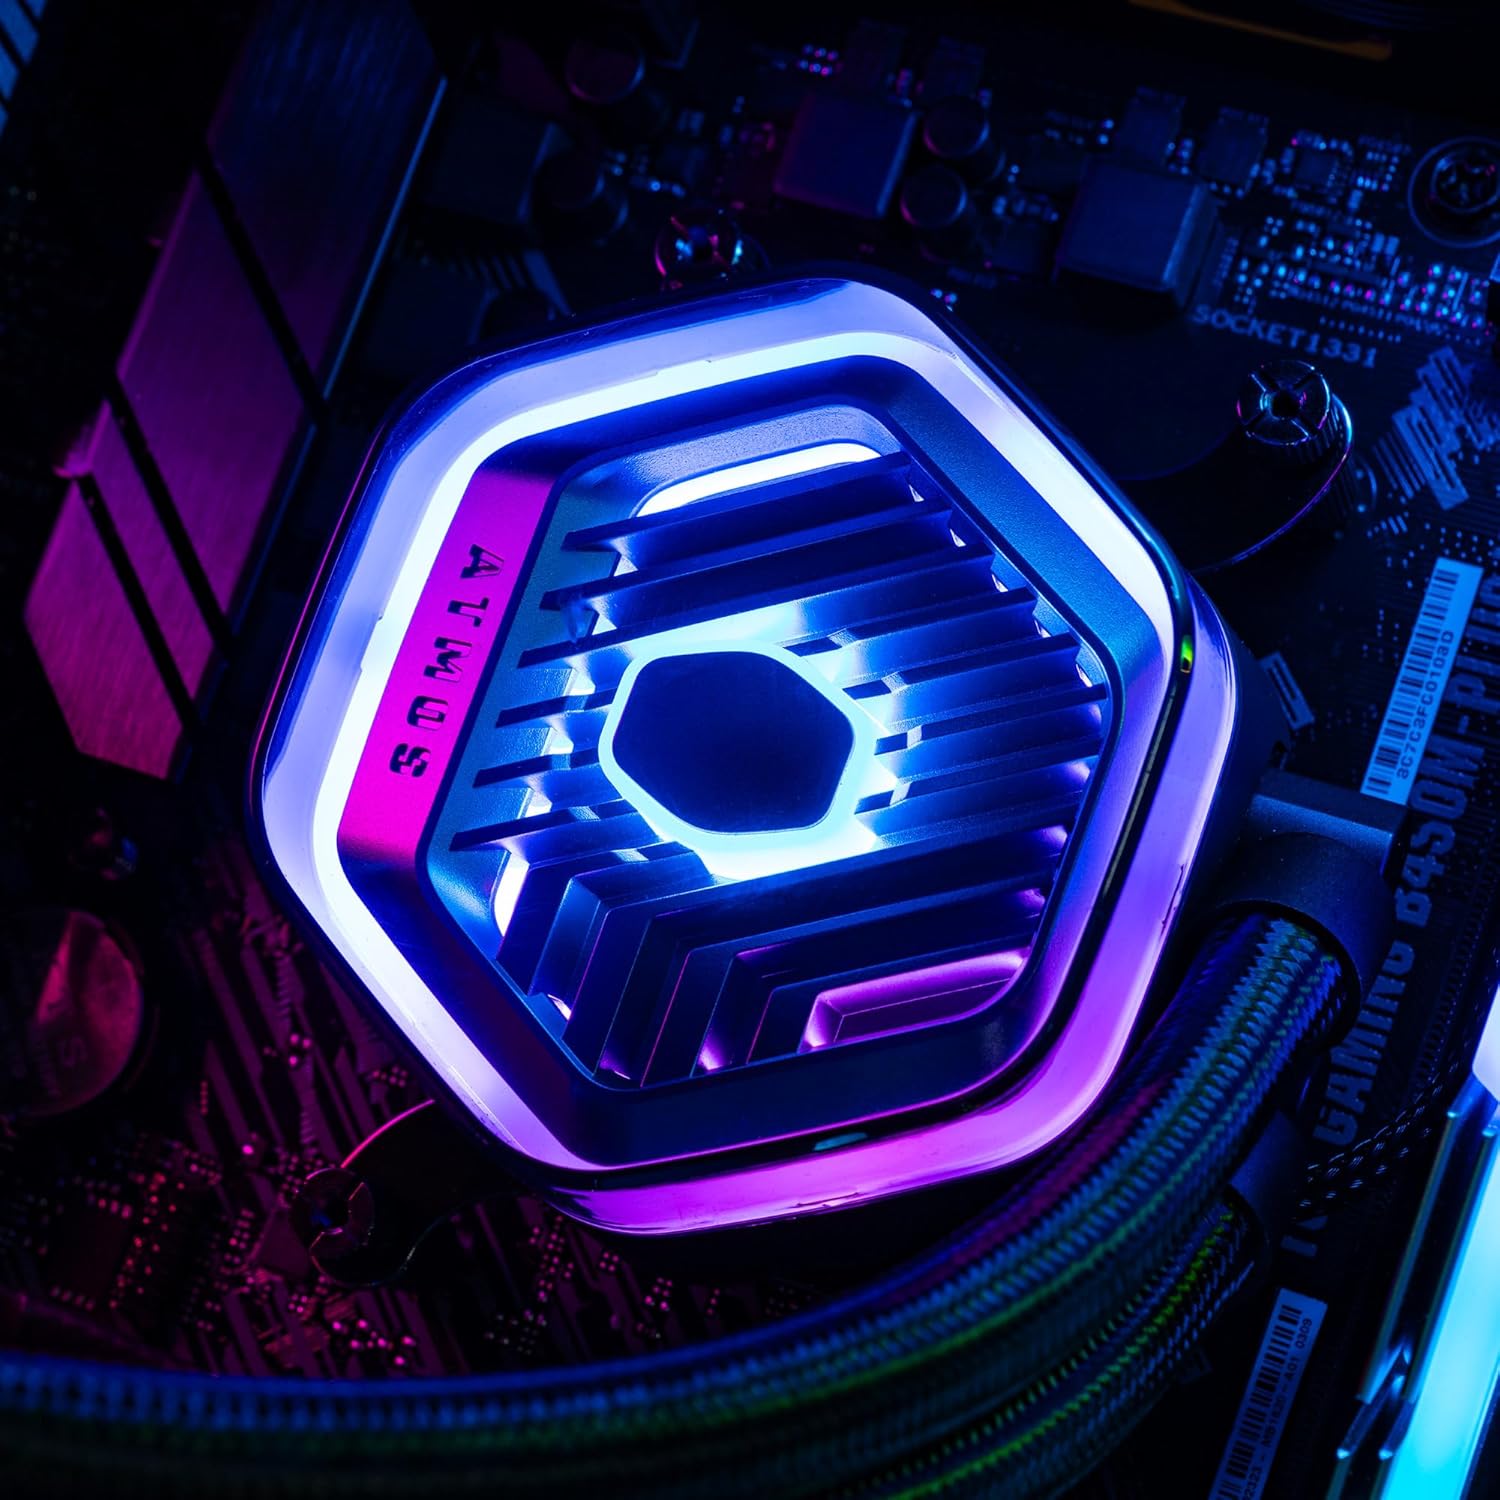
Billede: En detaljeret view of the MasterLiquid Atmos pump head, showcasing its unique design and customizable RGB illumination.
Blæserhastighedskontrol
The SickleFlow Edge fans are PWM (Pulse Width Modulation) controlled. Their speed can be managed via your motherboard's BIOS/UEFI settings or through motherboard-specific software. Adjust fan curves to balance cooling performance and noise levels according to your preferences.
Opretholdelse
Regelmæssig vedligeholdelse er med til at sikre optimal ydeevne og levetid for din væskekøler.
- Støvrensning: Periodically clean dust from the radiator fins and fan blades using compressed air or a soft brush. Ensure the system is powered off before cleaning.
- Visuel inspektion: Occasionally inspect the tubing and connections for any signs of leaks or damage. While AIO coolers are sealed systems, a quick visual check can prevent potential issues.
- Softwareopdateringer: Keep your Cooler Master MasterCTRL/MasterPlus software and motherboard BIOS/UEFI updated to ensure compatibility and access to the latest features and performance optimizations.
Fejlfinding
If you encounter issues with your MasterLiquid Atmos 360, refer to the following common troubleshooting steps:
Høje CPU-temperaturer
- Kontroller pumpetilslutning: Ensure the pump's power cable is securely connected to the correct motherboard header (CPU_FAN or AIO_PUMP) and receiving power.
- Bekræft ventilatordrift: Confirm that all radiator fans are spinning. Check their connections to the motherboard or fan controller.
- Termisk pasta: Ensure thermal paste was applied correctly and the cold plate has good contact with the CPU. Re-apply if necessary.
- Luftstrøm: Check your PC case's overall airflow. Ensure radiator fans are oriented correctly for intake or exhaust as desired.
RGB-belysning virker ikke
- ARGB-forbindelse: Verify that the ARGB cables are correctly connected to a 5V-D-G header on your motherboard or the ARGB controller. Ensure it is not connected to a 12V RGB header, which can damage the LEDs.
- Software: Check your motherboard's RGB software or Cooler Master's MasterCTRL/MasterPlus software for lighting settings. Ensure the lighting is enabled and configured.
- Styrestyrke: If using an external ARGB controller, ensure it is receiving power (usually via SATA power connector).
Usædvanlig pumpelyd
- Luftbobler: New AIOs may have some air bubbles that can cause gurgling noises initially. These usually dissipate within a few hours of operation. Gently tilt your PC case to help move air bubbles to the radiator.
- Montering: Sørg for, at pumpen er sikkert monteret og ikke vibrerer mod andre komponenter.
If problems persist, please contact Cooler Master customer support.
Specifikationer
| Feature | Specifikation |
|---|---|
| Modelnummer | MLX-D36M-A25PZ-R1 |
| Produktmål (L x B x H) | 394 x 119.6 x 27.2 mm (15.51" x 4.71" x 1.07") |
| Afkølingsmetode | Væske (Alt-i-en) |
| Kompatible enheder | Desktop, Server |
| Kompatible stikkontakter | Intel LGA 1700/1200/1151/1150/1155/1156, AMD AM5/AM4 |
| Støjniveau | 27.2 Decibels (Fan) |
| Maximum Rotational Speed (Fan) | 2500 RPM |
| Air Flow Capacity (Fan) | 70.7 CFM |
| Materiale | Aluminium (radiator) |
| Strømstik type | 3-benet (pumpe), 4-benet PWM (blæsere) |
| Voltage | 12 volt |
| Wattage | 3.6 watt |
| Varens vægt | 1.42 kilo |
Garantioplysninger
The Cooler Master MasterLiquid Atmos 360 Black CPU Liquid Cooler comes with a 5-års garanti fra købsdatoen. Denne garanti dækker fejl i materialer og udførelse ved normal brug.
For warranty claims or detailed terms and conditions, please retain your proof of purchase and visit the official Cooler Master webwebsted eller kontakt deres kundesupport.
Støtte
For further assistance, technical support, or to download the latest software and drivers, please visit the official Cooler Master webwebsted:
You may also find helpful resources, FAQs, and community forums on their support pages.