
Indledning
Thank you for choosing the XREXS Digital Kitchen Timer, Model 093. This versatile timer is designed for various applications, including cooking, studying, exercise, and meetings. It features a large 5-inch LED display, adjustable brightness and volume, and multiple placement options for convenience. This manual provides detailed instructions for setup, operation, maintenance, and troubleshooting to ensure optimal performance.
Billede: Forside view of the XREXS Digital Kitchen Timer, Model 093, displaying a time.
Opsætning
1. Opladning af timeren
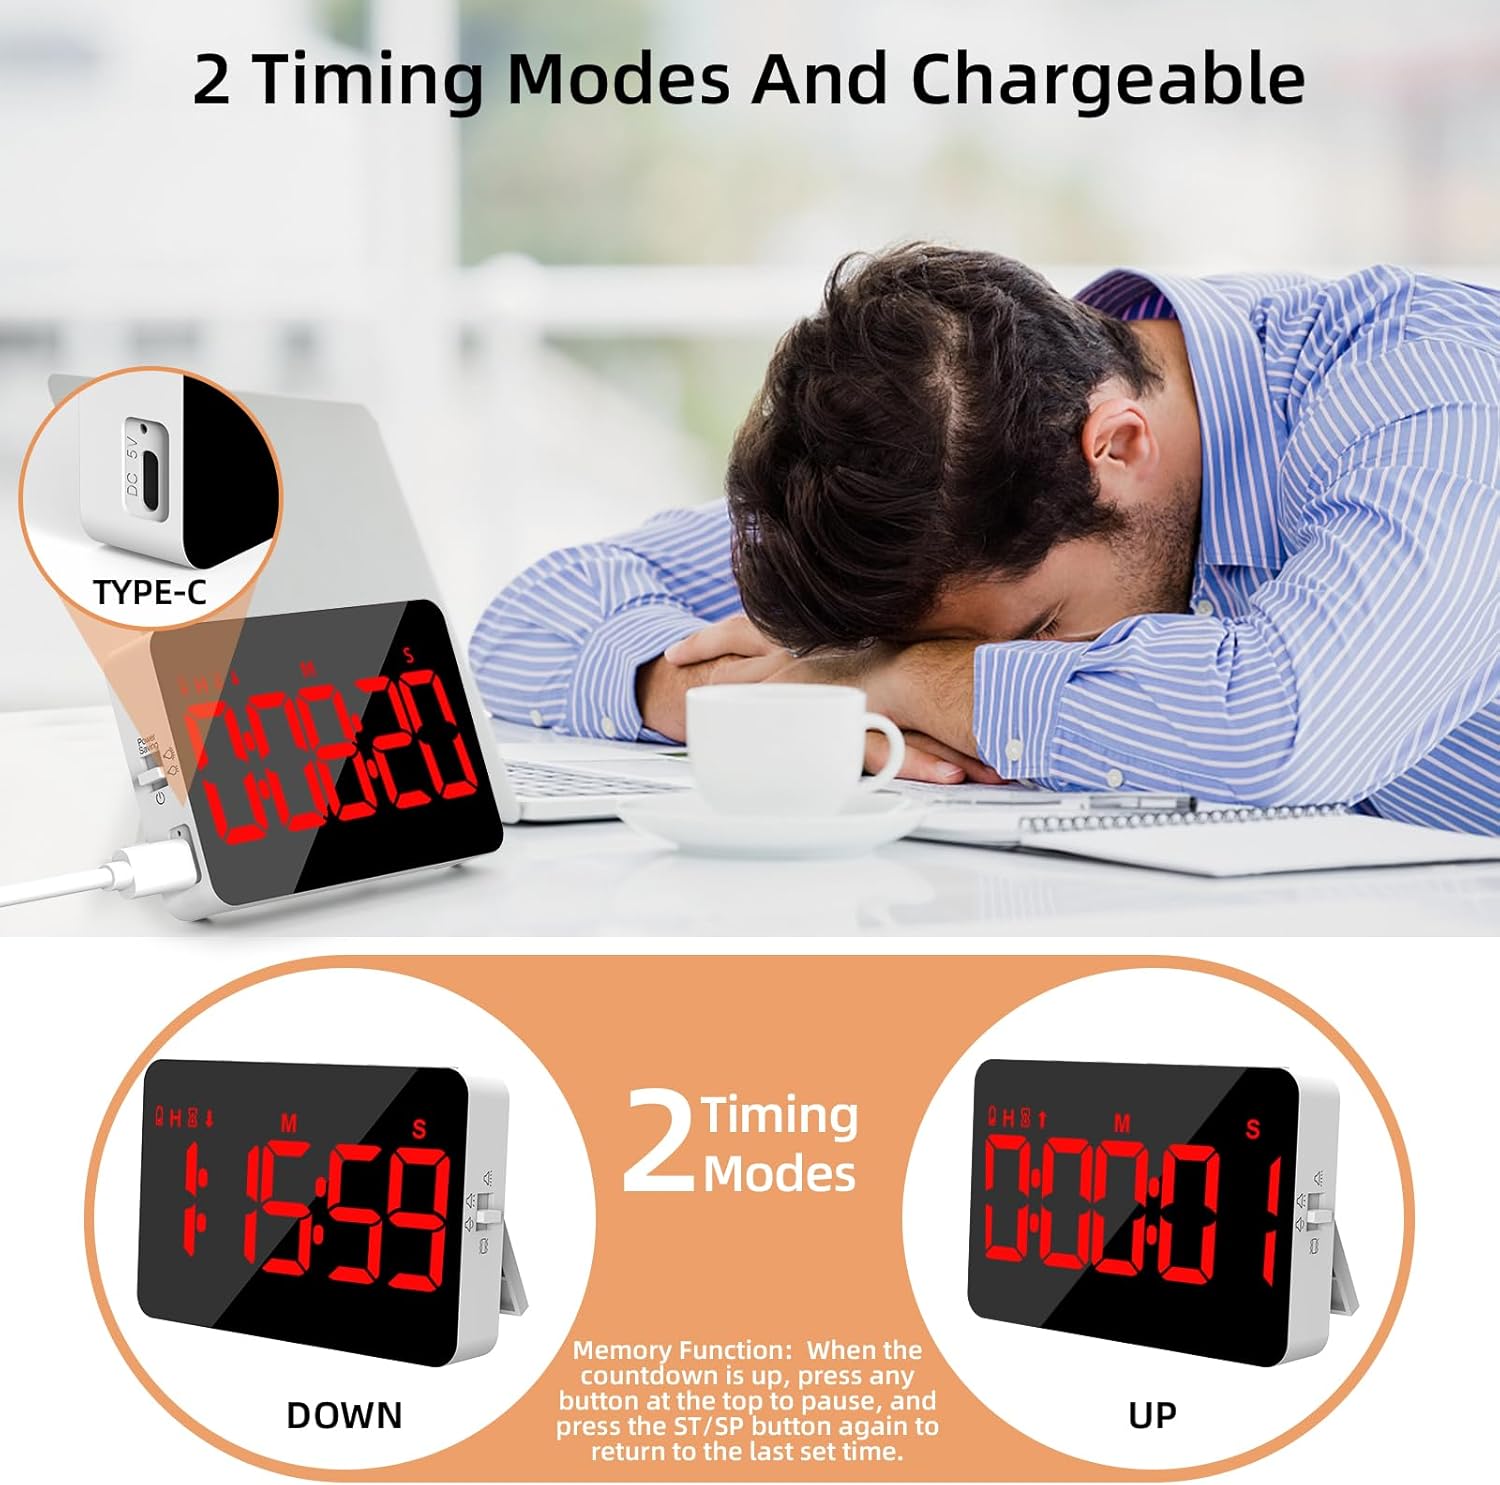
The XREXS Digital Kitchen Timer is rechargeable. When the battery power is low, a low battery icon will appear on the screen. Connect the included charging cable to the Type-C port on the side of the timer and to a suitable USB power source to charge the device. Ensure the timer is fully charged before first use for optimal battery life.

Image: The timer showing its Type-C charging port and examples of count-down and count-up modes.
2. Tænd/sluk
Locate the power switch on the side of the timer. Slide the switch to the 'ON' position to power on the device. To conserve battery, slide the switch to 'OFF' when not in use. If the timer is inactive for 5 minutes, the screen will automatically turn off. Press any button on the top to wake it up.
3. Placeringsmuligheder
The timer offers versatile placement methods:
- Magnetisk bagside: Attach the timer to any metallic surface, such as a refrigerator or oven.
- Sammenklappelig stativ: Use the integrated foldable stand to place the timer on a countertop or desk.
- Hængende hul: Utilize the hidden hanging hole (located under the foldable tab) to hang the timer on a hook.

Image: The timer displayed in various settings, demonstrating its hanging, magnetic, and stand placement options.
Betjeningsvejledning
1. Setting Time (Count Down Mode)
- Tryk på HR button to set hours.
- Tryk på MIN button to set minutes.
- Tryk på SEC knappen for at indstille sekunder.
- Tryk på ST/SP (Start/Stop)-knappen for at starte nedtællingen.
- For at sætte nedtællingen på pause, tryk på ST/SP igen. Tryk én gang til for at genoptage.
- To clear the set time, press the KLAR knap.
2. Count Up Mode
When the timer display shows 00:00:00, press the ST/SP button to start counting up. The timer will count up from zero. Press ST/SP at sætte på pause/genoptage, og KLAR to reset to 00:00:00.
3. Hukommelsesfunktion
After a countdown expires and the alarm sounds, press any button on the top to stop the alarm. To quickly recall the last set countdown time, press the ST/SP knappen igen.
4. Justering af lysstyrke
The timer features 3 adjustable brightness modes. Use the brightness switch on the side of the timer to cycle through low, medium, and high brightness settings to suit your environment. The screen automatically turns off after 5 minutes of inactivity to save power; press any button to reactivate.

Image: The timer highlighting its 5-inch LED screen and illustrating low light, high light, and power-saving modes.
5. Justering af lydstyrke
The timer offers 4-level volume adjustment, including a mute mode with flashing lights. Use the volume adjustment switch on the side of the timer to select your preferred alert level:
- Høj lydstyrke
- Lav lydstyrke
- Mute (with flashes)
- Vibrere

Image: The timer demonstrating its four volume settings: high, low, mute with flashes, and vibrate, shown in different usage scenarios.

Image: Close-up of the timer's controls (HR, MIN, SEC, ST/SP, CLEAR buttons) and back features (hanging hole, reset, magnets, stand, volume adjustment).
Opretholdelse
- Rensning: Wipe the timer with a soft, dry cloth. Avoid using abrasive cleaners or solvents that may damage the surface or screen.
- Batteripleje: Recharge the timer promptly when the low battery icon appears to maintain battery health. Avoid prolonged storage with a completely depleted battery.
- Opbevaring: Opbevar timeren et køligt, tørt sted væk fra direkte sollys og ekstreme temperaturer.
Fejlfinding
| Problem | Løsning |
|---|---|
| Skærmen slukker automatisk. | This is the power-saving feature. Press any button on the top to wake the timer. |
| Timer is not functioning normally. | Locate the hidden reset hole under the hanging tab. Press this hole to restore factory settings. |
| Low battery icon appears. | The battery is low. Connect the timer to a power source using the included Type-C charging cable. |
Specifikationer
- Modelnummer: 093
- Mærke: XREXS
- Skærmstørrelse: 5 tommer
- Tidsinterval: Op til 9 timer, 59 minutter, 59 sekunder
- Batteri: 1 litiumpolymer (inkluderet)
- Varens vægt: 150 gram
- Pakkedimensioner: 11.5 x 9.6 x 2.7 cm
- Fabrikant: Blueekin
Garanti og support
For warranty information or technical support, please refer to the product packaging or contact XREXS customer service through the retailer where the product was purchased. Please have your model number (093) and purchase details ready when contacting support.


