1. Introduktion
Thank you for choosing the Tempest Umbra RGB ATX Mid-Tower PC Case. This manual provides detailed instructions for the proper installation, operation, and maintenance of your new PC case. Please read this guide thoroughly before beginning any installation to ensure optimal performance and longevity of your system components.
The Tempest Umbra RGB case is designed for enthusiasts seeking a blend of aesthetics and functionality, featuring ample space for high-performance components, efficient cooling options, and customizable RGB lighting.
2. Produktfunktioner
- Rummeligt interiør: Supports ATX, Micro-ATX, and Mini-ITX motherboards with generous room for components.
- Hærdet glas sidepanel: Showcases your build with a clear, durable tempered glass panel.
- Integreret RGB-belysning: Customizable RGB illumination for a personalized aesthetic.
- Optimeret luftstrøm: Designed for efficient cooling with multiple fan mounting options.
- Tilslutningsmuligheder på frontpanelet: Easy access to USB 3.0, USB 2.0, and audio ports.
- Støvfiltre: Removable dust filters for easy maintenance and component protection.
3. Specifikationer
| Feature | Specifikation |
|---|---|
| Modelnavn | Umbra |
| Modelnummer | S7815434 |
| Sagstype | Mid-Tower |
| Bundkort kompatibilitet | ATX, Micro ATX, Mini ITX |
| Mål (D x B x H) | 49.2 x 34.8 x 41.9 cm (19.4 x 13.7 x 16.5 tommer) |
| Vægt | 5 kg (11 lbs) |
| Materiale | Stållegering, hærdet glas |
| Udvidelsesslots | 7 |
| Drive Bays | 2 x 3.5" harddisk, 2 x 2.5" SSD |
| Front I / O-porte | 1 x USB 3.0, 2 x USB 2.0, Audio In/Out (3.5mm Jack) |
| PSU-montering | Bundmontering |
| Afkølingsmetode | Luft |
| Belysning | RGB (Changeable) |
4. Pakkens indhold
Kontroller venligst indholdet af din pakke. Hvis der mangler eller er beskadigede dele, skal du kontakte din forhandler.
- Tempest Umbra RGB ATX Mid-Tower PC Case
- Tilbehørsæske (skruer, kabelbindere, afstandsstykker)
- Brugervejledning (dette dokument)
5. Case Layout and Components
Familiarize yourself with the various parts of your Tempest Umbra case before installation.
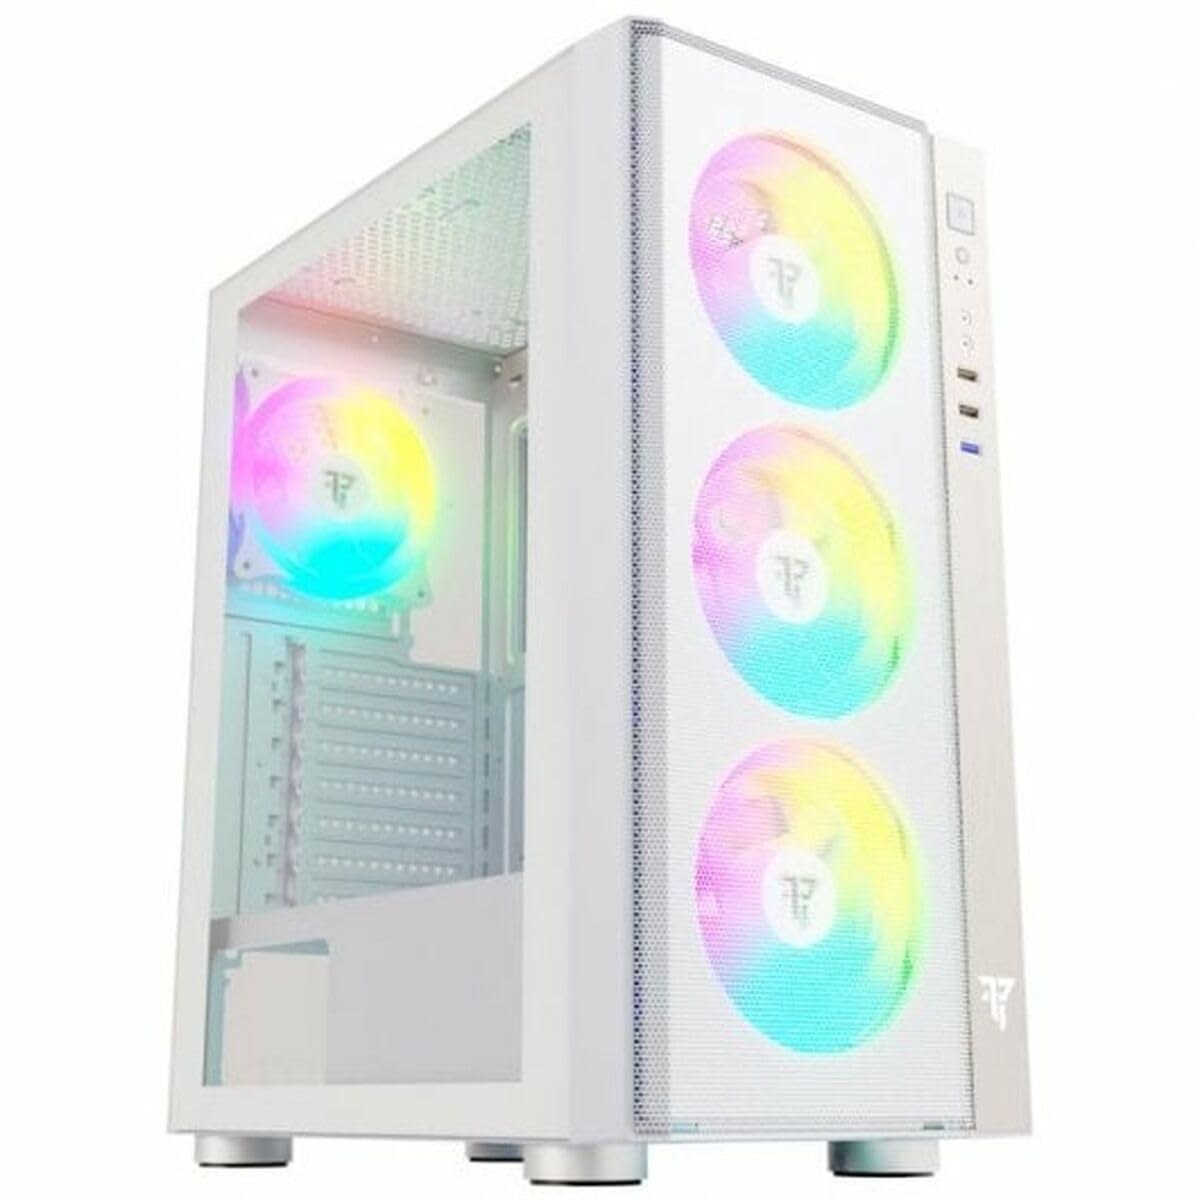
Figur 1: Front view of the Tempest Umbra RGB ATX Mid-Tower PC Case, showcasing its tempered glass side panel and front panel design.
5.1 Forreste I/O-panel
- Power knap: For at tænde/slukke systemet.
- Nulstil knap: For at genstarte systemet.
- USB 3.0-port: Til højhastigheds dataoverførsel.
- USB 2.0-porte (x2): Til standard periferiudstyr.
- Lydstik (hovedtelefon/mikrofon): Til lydindgang og -udgang.
- RGB Control Button: To cycle through RGB lighting modes.
5.2 Indvendig indretning
The case features a spacious interior with dedicated areas for the motherboard, power supply unit (PSU), storage drives, and cable management. The PSU shroud helps to conceal cables and improve airflow.
- Motherboard Tray: Pre-installed standoffs for ATX, Micro-ATX, and Mini-ITX motherboards.
- PSU kappe: Located at the bottom, separating the PSU and drive bays from the main chamber.
- Drevbure: Bays for 3.5" HDDs and 2.5" SSDs.
- Fan/Radiator Mounts: Locations for installing additional cooling fans or liquid cooling radiators.
- Cable Routing Cutouts: Strategically placed openings for efficient cable management behind the motherboard tray.
6. Installationsvejledning (opsætning)
Follow these steps to install your PC components into the Tempest Umbra case.
6.1 Forberedelse af sagen
- Placer etuiet på en flad, stabil overflade.
- Remove the tempered glass side panel by unscrewing the thumb screws at the rear and carefully pulling the panel away. Set it aside on a soft, non-abrasive surface.
- Remove the opposite steel side panel by unscrewing its thumb screws.
6.2 Installation af bundkort
- Installer I/O-skjoldet (hvis relevant) i den bageste åbning af kabinettet.
- Align your motherboard with the pre-installed standoffs. Ensure the I/O ports match the I/O shield.
- Fastgør bundkortet med de medfølgende skruer. Spænd ikke for hårdt.
6.3 Installation af strømforsyningsenhed (PSU).
- Position the PSU into its designated compartment at the bottom rear of the case, usually with the fan facing downwards (if there's a vent) or upwards.
- Secure the PSU to the case using the provided PSU screws from the rear of the case.
6.4 Installation af lagerdrev
6.4.1 3.5" HDD Installation
- Locate the 3.5" drive cage, typically under the PSU shroud.
- Slide the HDD into the drive tray/cage until it clicks into place or can be secured with screws.
6.4.2 2.5" SSD Installation
- Locate the 2.5" SSD mounting brackets, often on the back of the motherboard tray or on the PSU shroud.
- Secure the SSD to the bracket using the provided screws, then attach the bracket to the case.
6.5 Installation af udvidelseskort (GPU)
- Fjern de nødvendige dæksler til udvidelsespladserne fra bagsiden af kabinettet.
- Insert your expansion card (e.g., graphics card) into the appropriate PCIe slot on your motherboard.
- Fastgør kortet med den medfølgende skrue eller fastholdelsesklips.
6.6 Connecting Front Panel Cables
Connect the front panel cables (USB, Audio, Power, Reset, RGB) to their corresponding headers on your motherboard. Refer to your motherboard manual for exact header locations.
- USB 3.0: Connect the large blue connector to the USB 3.0 header.
- USB 2.0: Connect the smaller black connectors to the USB 2.0 headers.
- HD-lyd: Connect the HD Audio connector to the audio header.
- Power SW, Reset SW, HDD LED, Power LED: Connect these small connectors to the front panel header pins according to your motherboard manual.
- RGB-stik: Connect the RGB cable from the case to an available RGB header on your motherboard or to the integrated RGB controller.
6.7 Kabelstyring
Route all cables through the cutouts behind the motherboard tray to achieve a clean build and improve airflow. Use the included cable ties to secure cables.
6.8 Slutsamling
- Once all components are installed and cables are managed, reattach the steel side panel and secure it with thumb screws.
- Carefully reattach the tempered glass side panel and secure it with its thumb screws.
7. Betjening
7.1 Tænd
Connect your monitor, keyboard, mouse, and power cable to the rear of your PC. Press the Power button on the front I/O panel to turn on your system.
7.2 RGB-lysstyring
The Tempest Umbra case features integrated RGB lighting. You can control the lighting effects in two ways:
- RGB Control Button: Press the dedicated RGB button on the front I/O panel to cycle through various lighting modes and colors.
- Bundkortsoftware: If the case's RGB is connected to a compatible motherboard RGB header, you can use your motherboard's RGB software (e.g., ASUS Aura Sync, MSI Mystic Light, Gigabyte RGB Fusion) to synchronize and customize the lighting effects.
8. Vedligeholdelse
Regular maintenance helps ensure optimal performance and extends the lifespan of your components.
- Støvrensning: Periodically clean dust from the case, especially from fan filters and intake areas. Remove the dust filters and wash them with water, then dry thoroughly before reinstallation. Use compressed air to clean internal components.
- Udvendig rengøring: Tør ydersiden af kabinettet af med en blød, tør klud.amp cloth. Avoid harsh chemicals or abrasive materials. For the tempered glass panel, use a glass cleaner and a microfiber cloth.
- Kabelhåndteringstjek: Occasionally check cable routing to ensure no cables are obstructing airflow or fan blades.
9. Fejlfinding
If you encounter issues with your PC case, refer to the following common troubleshooting steps:
- Ingen strøm:
- Sørg for, at strømforsyningen er tændt og korrekt tilsluttet stikkontakten.
- Verify that the 24-pin ATX and 8-pin CPU power cables are securely connected to the motherboard.
- Check that the front panel Power Switch cable is correctly connected to the motherboard header.
- Ventilatorer drejer ikke / RGB virker ikke:
- Ensure all fan power cables are connected to the motherboard or fan controller.
- Verify that the RGB cables are properly connected to the motherboard RGB header or the case's RGB controller.
- If using motherboard software, ensure it is installed and configured correctly.
- Frontpanel USB/lyd virker ikke:
- Check that the USB 3.0, USB 2.0, and HD Audio cables from the front panel are securely connected to their respective headers on the motherboard.
For more complex issues, consult your motherboard and component manuals or contact technical support.
10. Garanti og support
The Tempest Umbra RGB ATX Mid-Tower PC Case comes with a 3-year warranty from the date of purchase. This warranty covers defects in materials and workmanship under normal use. It does not cover damage caused by misuse, accident, modification, or unauthorized repair.
For technical support or warranty claims, please contact your retailer or visit the official Tempest website for further assistance. Please have your proof of purchase and product model number (S7815434) ready when contacting support.


