Indledning
Welcome to the COUGAR Duoface Pro RGB Mid Tower Case instruction manual. This document provides essential information for setting up, operating, maintaining, and troubleshooting your new PC case. Please read through these instructions carefully to ensure proper installation and optimal performance of your system.
Produkt overview
The COUGAR Duoface Pro RGB is a versatile mid-tower case designed for PC enthusiasts. It offers two distinct front panels: a tempered glass panel for showcasing your build and an airflow-optimized mesh panel. The case supports large components, including graphics cards up to 390mm in length and E-ATX motherboards. It features incredible RGB lighting and an innovative quick-slide dust filter for easy maintenance.
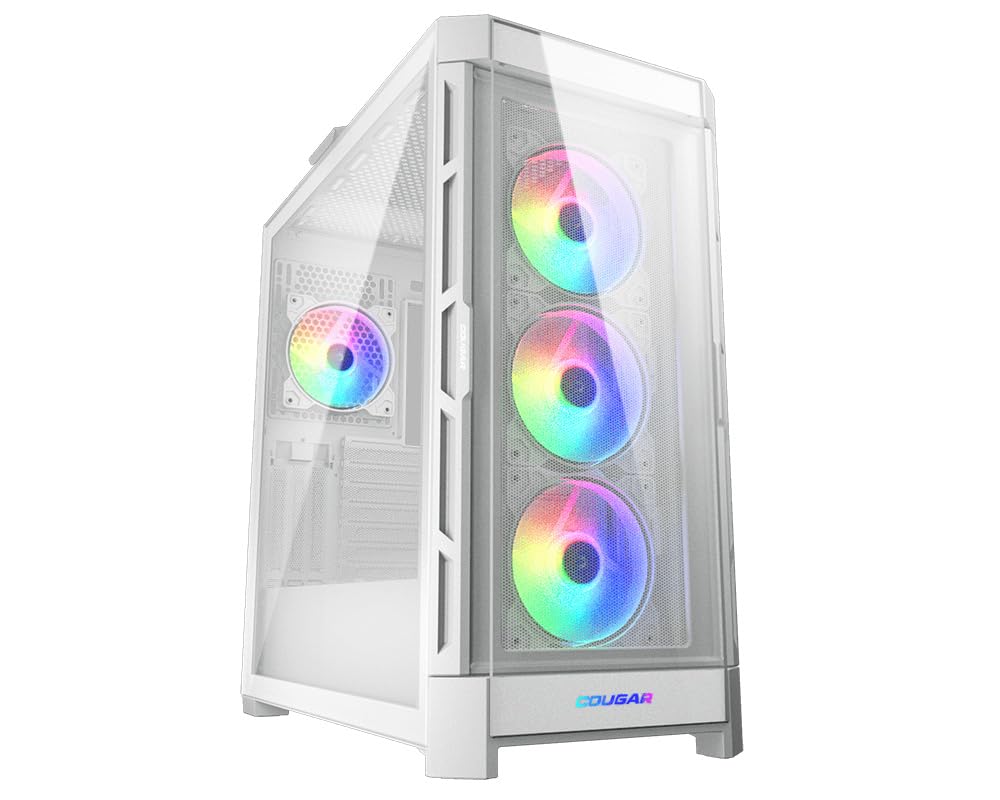
The COUGAR Duoface Pro RGB Mid Tower Case in white, showcasing its tempered glass front panel and internal RGB fans.
Specifikationer
| Feature | Specifikation |
|---|---|
| Mærke | PUMA |
| Modelnavn | CGR-5AD1W-RGB |
| Sagstype | Mid Tower |
| Bundkort kompatibilitet | Udvidet ATX |
| Understøttelse af grafikkortlængde | Op til 390 mm |
| CPU Cooler Height Support | Op til 190 mm |
| Dimensioner (LxBxH) | 18.31 x 9.45 x 19.53 tommer |
| Varens vægt | 22 pund |
| Indstillinger for frontpanel | Tempered Glass, Mesh Airflow Panel |
| Forudinstallerede ventilatorer | 3x 120mm ARGB (front), 1x 120mm ARGB (rear) |
| USB 3.0 porte | 2 |
| USB 2.0 porte | 2 |
| Afkølingsmetode | Luft, vand |
Opsætning
Udpakning og første inspektion
Carefully remove the case from its packaging. The case comes with the tempered glass front panel pre-installed. An additional mesh panel is included in a separate box.

The COUGAR Duoface Pro RGB case packaged in its standard brown carton box, with the tempered glass panel pre-installed and an additional mesh panel box.
Adgang til interiøret
To open the tempered glass side panel, locate and unscrew the thumb screw at the rear of the panel. Once the screw is removed, gently pull the panel from the top to disengage it from the magnetic mounts, then lift it off.

A hand unscrewing the thumb screw securing the tempered glass side panel of the COUGAR Duoface Pro RGB case.
The solid rear side panel is secured by two regular screws. Remove these screws and slide the panel backward to detach it.
Installation af bundkort
The Duoface Pro RGB supports motherboards from Mini-ITX up to E-ATX. For E-ATX motherboards, you may need to remove the cable management bar located on the right-hand side of the motherboard tray to provide sufficient space. This bar is typically secured by a single screw.

En intern view of the COUGAR Duoface Pro RGB case highlighting E-ATX motherboard compatibility and 390mm graphics card length support.
CPU Cooler and GPU Installation
The case accommodates CPU air coolers up to 190mm in height. For graphics cards, there is ample space for cards up to 390mm in length. The case also features triple vertical slots, allowing for vertical GPU mounting with a separate PCIe riser cable (not included).

Et nærbillede view of the adjustable GPU support bracket inside the COUGAR Duoface Pro RGB case, designed to prevent sag for longer graphics cards.
Fan and Radiator Support
The case supports up to nine fans. The front and top panels can accommodate up to three 120mm fans or two 140mm fans. The rear supports one 120mm or 140mm fan. For liquid cooling, the front and top can house radiators up to 360mm or 280mm, while the rear supports a 120mm or 140mm radiator.

En eksploderede view of the COUGAR Duoface Pro RGB case, showing the removable top panel, front fan bracket, and various internal components.
Opbevaringsinstallation
The case includes two SSD brackets behind the motherboard tray and a removable drive cage in front of the PSU shroud for two 3.5-inch HDDs. This cage can be removed by unscrewing a single screw and sliding it out.
Kabelstyring
The Duoface Pro RGB offers approximately 2.3-2.4mm of space behind the motherboard tray for cable management. It features pre-installed Velcro straps and guiding rails to help keep cables tidy. Rubber grommets are strategically placed around the motherboard tray to facilitate clean cable routing.
Betjeningsvejledning
Interchangeable Front Panels
The case comes with two distinct front panels: a tempered glass panel for aesthetics and a mesh panel for optimized airflow. To swap panels, gently pull the current panel from the bottom to disengage the clips, then lift it off. Align the new panel with the clips and push firmly until it snaps into place.
The COUGAR Duoface Pro RGB case with its tempered glass front panel, showcasing the internal RGB fans.

The COUGAR Duoface Pro RGB case with its mesh front panel, providing optimal airflow for the internal RGB fans.
RGB lysstyring
The case features incredible RGB lighting from its pre-installed fans. An RGB button on the I/O panel allows for direct control of lighting effects. For advanced synchronization, connect the included SATA-powered ARGB controller to your motherboard's ARGB header and use your motherboard's software.
Opretholdelse
Rengøring af støvfilter
The Duoface Pro RGB includes an innovative quick-slide dust filter at the bottom of the case. This filter can be easily removed by sliding it out for cleaning without disassembling any other components. Regularly clean the dust filters to maintain optimal airflow and prevent dust buildup inside your system.

The innovative quick-slide dust filter being removed from the bottom of the COUGAR Duoface Pro RGB case for easy cleaning.
Fejlfinding
Blæserstøj
The pre-installed fans may exhibit a slight whistling noise at lower speeds. While generally acceptable for included fans, if quiet operation is a priority, consider replacing them with premium aftermarket fans.
Montering af frontpanel
When re-installing the front panel, ensure it is aligned correctly with the clips before pushing it into place. Improper alignment may require more force and could potentially damage the clips or the panel.
Fjernelse af sidepanel
When removing the tempered glass side panel, after unscrewing the rear thumb screw and disengaging the top magnets, support the panel from the bottom to prevent it from falling. The bottom hook is short, and the panel can easily detach if not supported.
Garanti og support
For detailed warranty information, technical support, and service inquiries, please visit the official COUGAR webwebsted. Gem din købsbevis i tilfælde af garantikrav.
Yderligere beskyttelsesplaner kan muligvis købes separat for at udvide dækningen ud over producentens standardgaranti.