HFBTE Solids Densimeter
HFBTE Elektronisk Faststofdensitetsmåler Brugermanual
Model: Solids Densimeter
1. Introduktion
This user manual provides detailed instructions for the proper setup, operation, and maintenance of the HFBTE Electronic Solid Density Meter. This precision instrument is designed for accurate density measurement of various solid materials, including but not limited to plastics, rubber, polymers, metals, ceramics, and powders. Please read this manual thoroughly before operating the device to ensure correct usage and optimal performance.
2. Sikkerhedsoplysninger
- Always operate the densimeter on a stable, level surface to ensure accurate readings.
- Avoid exposing the instrument to extreme temperatures, humidity, or direct sunlight.
- Do not immerse the main unit in water or other liquids. Only the designated sink and test components are designed for liquid contact.
- Use only the provided power adapter. Using an incorrect power supply may damage the instrument.
- Hold instrumentet rent og fri for støv og snavs.
- Håndtag samples and accessories with care to prevent damage or injury.
- In case of malfunction, do not attempt to repair the instrument yourself. Contact qualified service personnel.
3. Produktet er slutview
The HFBTE Electronic Solid Density Meter is a high-precision gravimeter featuring a digital display and an intuitive interface for direct density readings. It is equipped with a sensitive sensor for accurate measurements and includes features like automatic zero tracking and overload warning.


Standard tilbehør:
- Vært (hovedenhed)
- Sink (Transparent Water Tank)
- Testbord
- Pincet
- Termometer
- Windproof and Dustproof Cover
- Set of Measuring Grain Accessories
- Set of Measuring Floating Body Accessories
- Strømtransformator
4. Opsætning
- Udpakning: Carefully remove all components from the packaging. Verify that all standard accessories listed in Section 3 are present.
- Placering: Place the main densimeter unit on a stable, flat, and vibration-free surface. Ensure there is adequate space around the instrument for operation and ventilation.
- Assemble Sink: Place the transparent water sink onto the designated area of the main unit's measurement platform. Ensure it is seated securely.
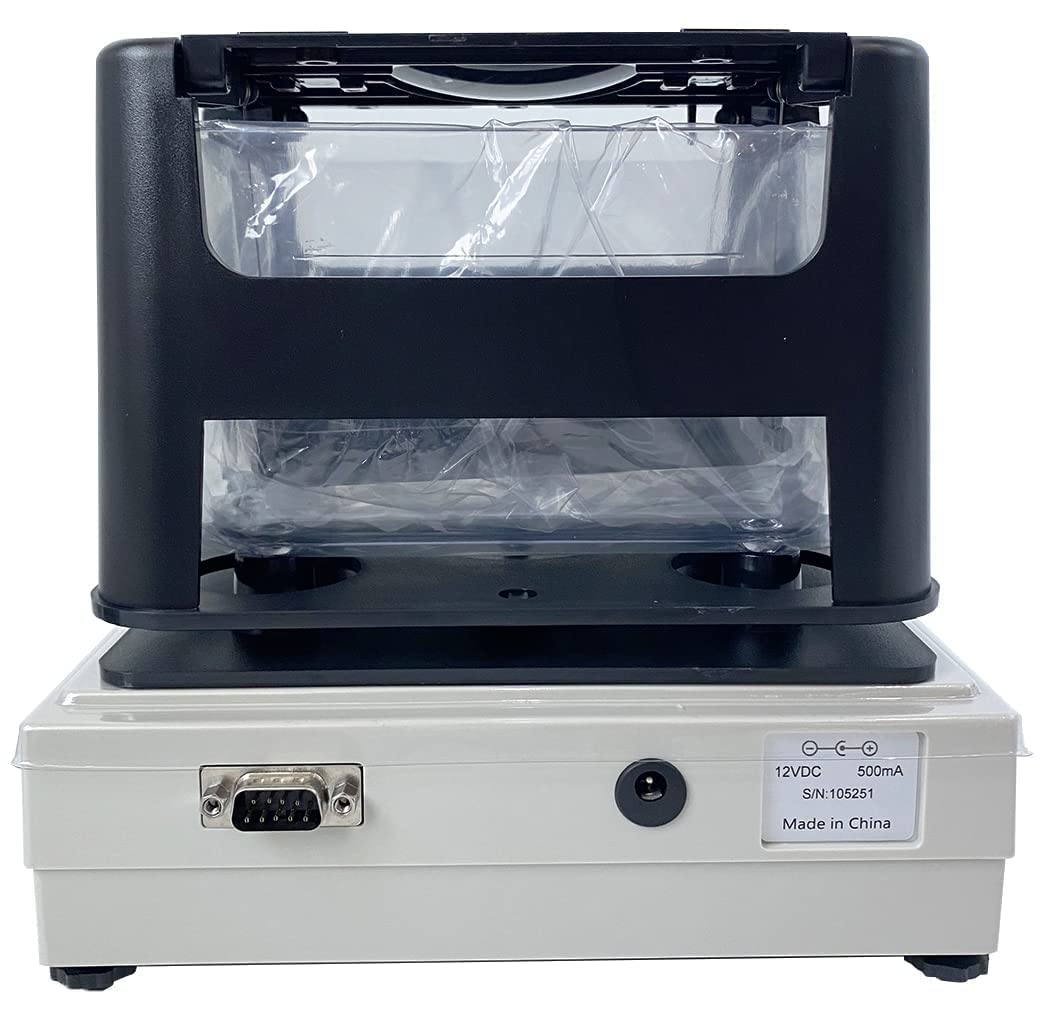
- Strømtilslutning: Connect the provided power transformer to the power input port on the rear of the densimeter. Plug the transformer into a suitable electrical outlet.
- Første gang tændt: Tryk på ON/OFF button to power on the instrument. The display should illuminate.
- Miljøhensyn: For optimal accuracy, operate the densimeter in a room with stable temperature and humidity, away from direct drafts or air conditioning vents.
5. Betjening
Measurement Procedure for Solid Materials:
This procedure outlines the steps for measuring the density of solid samples using the water displacement method.
- Klargør vasken: Fill the transparent water sink with distilled water up to the indicated fill line. Ensure no air bubbles are present in the water.
- Power On and Zero: Tryk på ON/OFF button to turn on the densimeter. Wait for the display to stabilize. Press the NUL knappen for at nulstille displayet.
- Measure Weight in Air: Placer forsigtigt sample on the test board (or appropriate accessory for the sample type) on the measurement platform. Ensure the sample is stable and not touching the sides of the sink or any other part of the instrument. Read the weight displayed on the screen. Press the ENTER button to record this weight (weight in air). The instrument will store this value.
- Measure Weight in Water: Without removing the sample from the test board, carefully lower the test board and sample into the water-filled sink. Ensure the sample is fully submerged and no air bubbles are clinging to it. The suspension wire (if used) should be perpendicular and not touch the sink walls. Read the new weight displayed on the screen. Press the ENTER button again to record this weight (weight in water).
- Density Display: After the second ENTER press, the densimeter will automatically calculate and display the density value (g/cm³) of the sample.
- Repeat Measurement: For increased accuracy, it is recommended to perform multiple measurements and average the results.
Særlige funktioner:
- Solution Compensation: If using a liquid other than water as the measurement medium, refer to the specific instructions in the full manual for solution compensation settings to ensure accurate density calculations.
- RS-232C Interface: The instrument includes an RS-232C interface for connecting to a computer or printer, allowing for data export and record-keeping. Consult the software/driver instructions for connectivity.
6. Vedligeholdelse
- Rensning: After each use, especially when using water, empty the sink and wipe it dry with a soft, lint-free cloth. Clean the exterior of the densimeter with a damp klæde. Brug ikke slibende rengøringsmidler eller opløsningsmidler.
- Opbevaring: When not in use, store the densimeter in a clean, dry, and dust-free environment. Use the provided windproof and dustproof cover to protect the instrument.
- Kalibrering: While the instrument is designed for high accuracy, periodic calibration with known reference standards is recommended to maintain precision. Refer to the full manual for detailed calibration procedures or contact HFBTE support.
- Vedligeholdelse af tilbehør: Clean all accessories (test board, tweezers, etc.) after use and store them properly to prevent damage.
7. Fejlfinding
| Problem | Mulig årsag | Løsning |
|---|---|---|
| Instrumentet tændes ikke. | Power adapter not connected; Power outlet faulty; Instrument fault. | Check power connections; Try a different outlet; Contact support. |
| Upræcise aflæsninger. | Unstable surface; Air bubbles on sample/sink; Incorrect zeroing; Temperature fluctuations; Sample touching sink walls. | Ensure stable surface; Remove air bubbles; Re-zero before measurement; Ensure stable environment; Reposition sample. |
| Displayet viser "OVERBELASTNING". | Sample weight exceeds maximum capacity (300g). | Fjern sample; Use a sample within the specified weight range. |
| No response from buttons. | Temporary software glitch; Button malfunction. | Power off and restart the instrument; If issue persists, contact support. |
8. Specifikationer
- Density Resolution: 0.001 g/cm³
- Maksimal vægtkapacitet: 300 g
- Minimum vægt: 0.005 g
- Måleområde: 0.001 – 99.999 g/cm³
- Produktdimensioner: 17.32 x 7.48 x 13.78 tommer (L x B x H)
- Varens vægt: Cirka 10.58 ounce (300 gram)
- Strømkilde: Battery Powered (via included power transformer)
- Interface: RS-232C
- Farve: Blue (control panel) / White (main body)
9. Garanti og support
For warranty information, technical support, or service inquiries, please contact HFBTE customer service. Refer to your purchase documentation for specific warranty terms and contact details. You may also visit the official HFBTE store on Amazon for additional resources and contact information.
HFBTE Store Link: Visit the HFBTE Store
Ask a question about this manual
Ask about setup, troubleshooting, compatibility, parts, safety, or missing instructions. Manuals+ will review the question and use this page’s manual context to help answer it.