1. Introduktion
This manual provides detailed instructions for the installation, operation, and maintenance of your Sanus Speaker Wall Mounts (Model WSWME12) designed specifically for Sonos Era 100 speakers. Please read these instructions carefully before beginning installation to ensure proper setup and safe use of the product.
2. Produktfunktioner
- Integreret design: Engineered to seamlessly complement the Sonos Era 100 speaker's aesthetic.
- Hurtig installation: Designed for an easy DIY installation, typically completed within 15 minutes.
- Justerbar placering: Offers tool-free tilt adjustment from 7 degrees up to 32 degrees down, and swivel adjustment of 72 degrees left or right for optimal sound direction.
- Fleksible monteringsmuligheder: Supports both upright and inverted speaker placement to suit various room layouts and acoustic needs.
- Sikker vedhæftning: Utilizes a bottom threaded insert for safe and secure speaker mounting.
3. Sikkerhedsoplysninger
Always ensure that the mounting surface can support the weight of the speaker and the mount. Use appropriate hardware for your wall type (e.g., wood stud, concrete, drywall). If you are unsure about the installation process or wall compatibility, consult a qualified professional. Do not exceed the maximum weight capacity of the mount. Keep small parts away from children.
4. Opsætning og installation
Follow these steps for a secure and efficient installation of your Sanus Speaker Wall Mounts:
- Forbered monteringsstedet: Choose a suitable wall location, considering speaker placement for optimal sound and power outlet accessibility. Ensure there are no hidden electrical wires or plumbing in the wall at the drilling location.
- Fastgør vægplade: Secure the wall plate to the desired location using the provided hardware. For wood studs, drill pilot holes and use wood screws. For drywall, use appropriate anchors and screws. Ensure the plate is level before tightening.
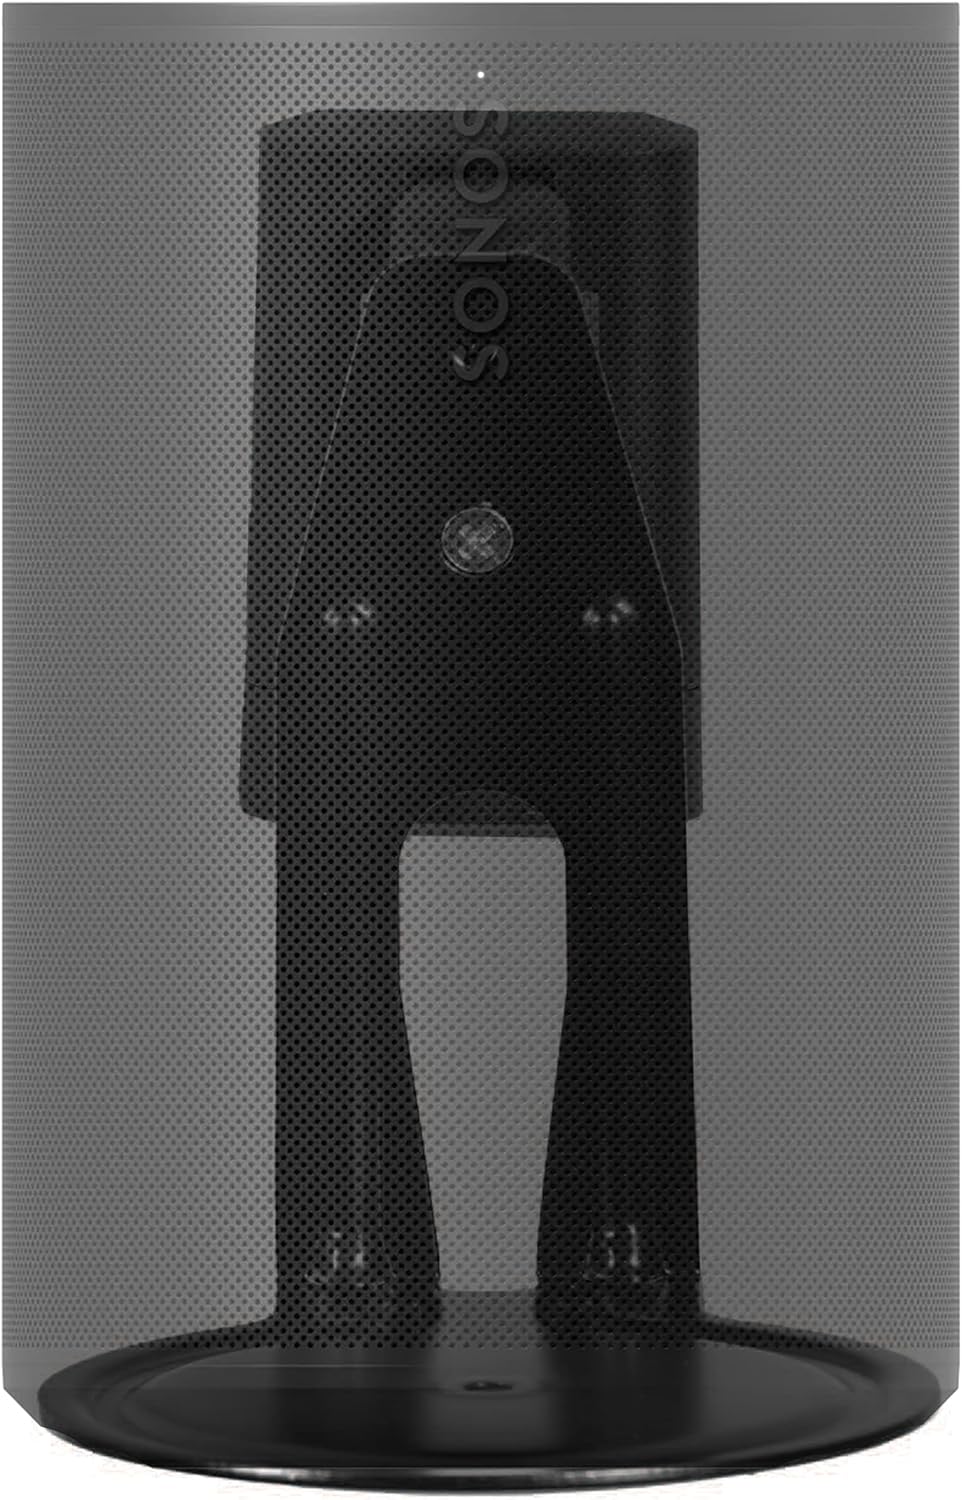
- Assemble Speaker Bracket: Attach the speaker bracket to the wall plate. Refer to the diagram below for visual guidance on how the bracket connects to the wall mount.
- Tilslut højttaler: Carefully align your Sonos Era 100 speaker with the bracket. The bottom threaded insert on the speaker will secure it to the mount. Ensure the speaker is firmly attached.
- Kabelstyring: Route the speaker's power cable through the integrated cable management channels on the mount for a clean and organized appearance.


5. Betjeningsvejledning (Justeringer)
The Sanus Speaker Wall Mount allows for flexible positioning of your Sonos Era 100 speakers to optimize your audio experience.
- Justering af hældning: The speaker can be tilted 7 degrees upwards or 32 degrees downwards. Gently push or pull the speaker to achieve the desired vertical angle.
- Drejejustering: The speaker can be swiveled 72 degrees to the left or right. Rotate the speaker horizontally to direct sound as needed.
All adjustments are tool-free, allowing for easy fine-tuning of your speaker's direction.


6. Vedligeholdelse
To maintain the appearance and functionality of your speaker mounts:
- Rengør holderen med en blød, tør klud. Undgå slibende rengøringsmidler eller opløsningsmidler.
- Kontrollér regelmæssigt alle monteringsskruer og forbindelser for at sikre, at de forbliver stramme og sikre.
7. Fejlfinding
If you encounter any issues with your speaker mounts, consider the following:
- Beslaget føles løst: Re-check and tighten all mounting screws on the wall plate and the speaker bracket. Ensure the wall material is appropriate for the chosen hardware.
- Vanskeligheder med at tilpasse sig: Ensure no cables are obstructing the movement of the mount. Apply gentle, even pressure when adjusting tilt or swivel.
- Speaker not level: Verify that the wall plate was installed level. Minor adjustments can often be made by slightly loosening and re-tightening the bracket screws.
8. Specifikationer
| Feature | Detalje |
|---|---|
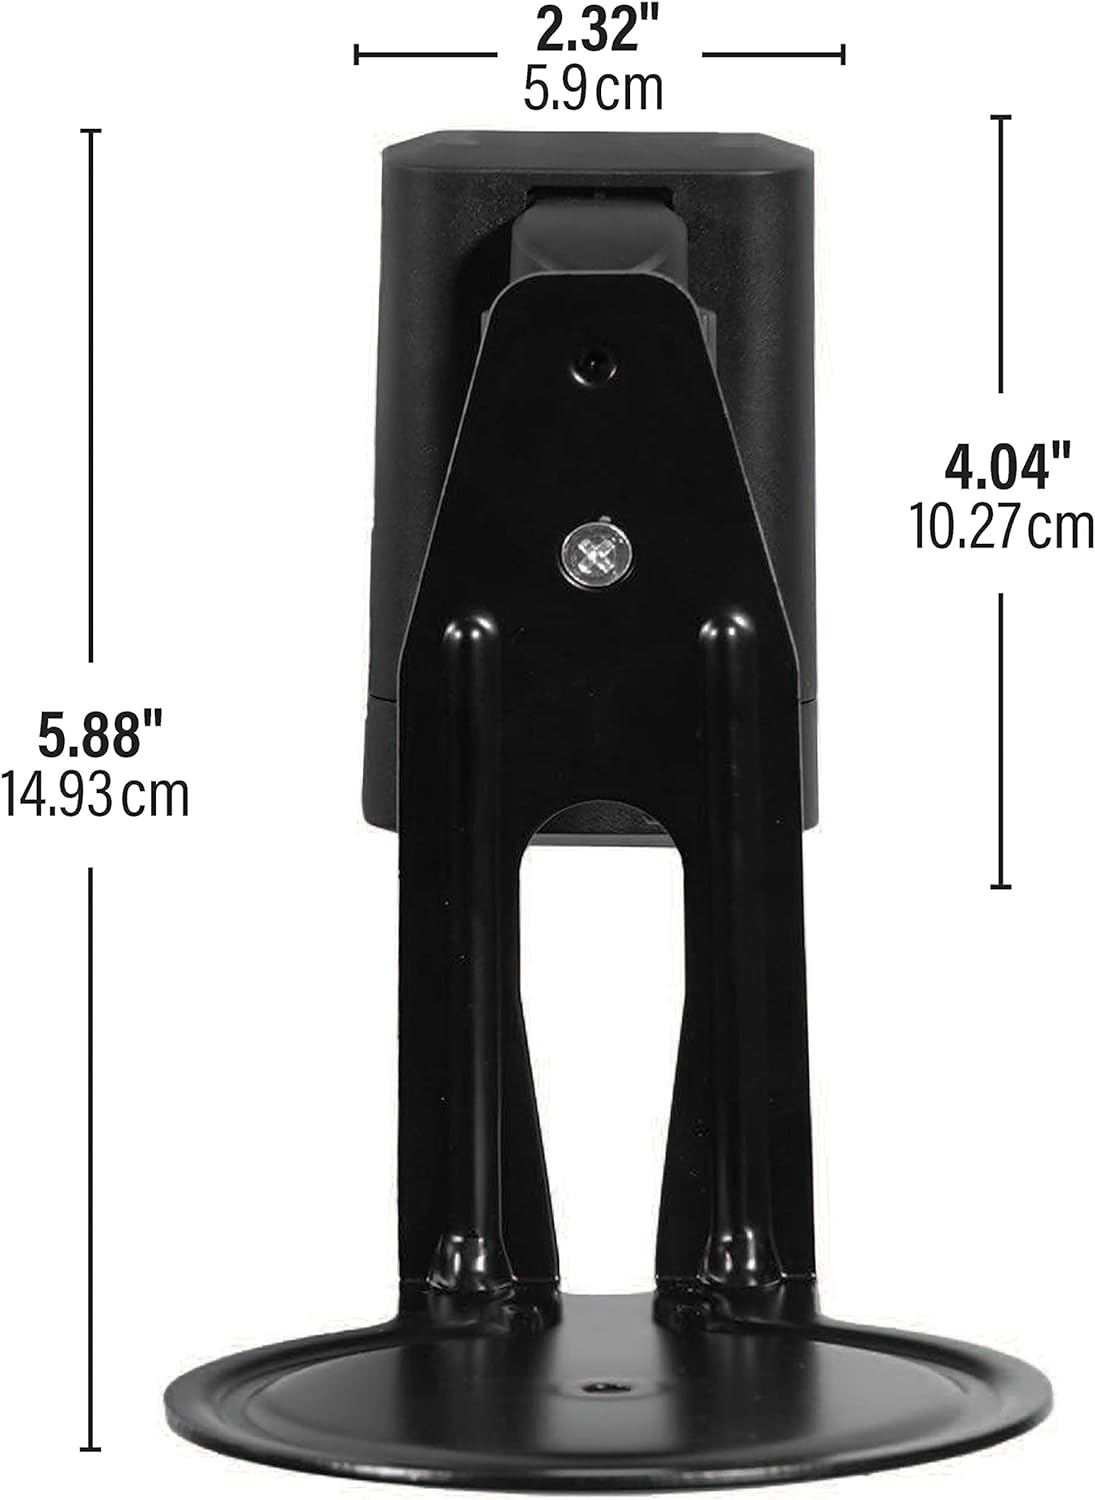
| Produktdimensioner | 7.36 x 3.94 x 6.29 tommer (18.7 x 10 x 16 cm) |
| Varens vægt | 2.68 pund (1.22 kg) |
| Modelnummer | WSWME12 |
| Kompatible enheder | Sonos Era 100 Speakers |
| Monteringstype | Vægmontering |
| Farve | Sort |
| Tilt rækkevidde | 7° op / 32° ned |
| Drejningsområde | 72° venstre / 72° højre |
9. Garanti og support
Sanus products are designed and engineered in the U.S. with over 30 years of experience in audio-visual mounting solutions. This product comes with a limited warranty. For any questions, installation assistance, or troubleshooting, Sanus offers U.S.-based expert customer care available 7 days a week.
For support, please visit the official Sanus webhjemmeside eller kontakt deres kundeservice direkte.