1. Introduktion
Thank you for choosing the COUGAR MX360 RGB Mid Tower Case. This manual provides essential information for the proper installation, operation, and maintenance of your new PC case. The MX360 RGB combines a sleek design with ARGB LED strips on the front panel, offering excellent cooling performance and support for a wide range of components, including up to a 360mm radiator, 315mm graphics cards, and 170mm CPU coolers. Its compact layout and full-length PSU shroud contribute to a clean and organized build.
2. Sikkerhedsoplysninger
- Afbryd altid strømforsyningen fra stikkontakten, før du installerer eller fjerner komponenter.
- Håndter komponenterne forsigtigt for at undgå skader fra statisk elektricitet. Overvej at bruge en antistatisk håndledsrem.
- Hold små dele og skruer væk fra børn.
- Sørg for tilstrækkelig ventilation omkring kabinettet for at forhindre overophedning.
- Forsøg ikke at ændre kabinettet eller dets komponenter, da dette kan ugyldiggøre garantien og udgøre en sikkerhedsrisiko.
3. Pakkens indhold
Kontroller venligst, at alle følgende varer er inkluderet i din pakke:
- COUGAR MX360 RGB Mid Tower Taske
- Tilbehørsæske (indeholder skruer, afstandsstykker, kabelbindere osv.)
- Brugervejledning (dette dokument)
4. Produktet er slutview
The COUGAR MX360 RGB case features a minimalist design with integrated ARGB lighting and a tempered glass side panel for showcasing din build.

Figur 4.1: Forside view of the COUGAR MX360 RGB case, showing the interior and active RGB lighting.
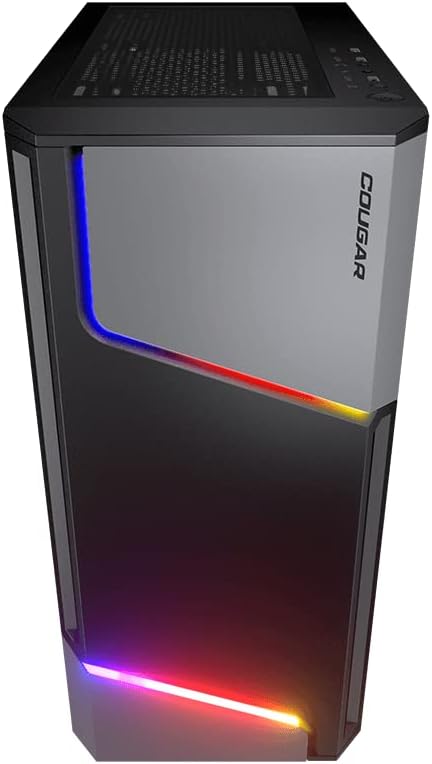
Figur 4.2: Forside view of the COUGAR MX360 RGB case, highlighting the integrated ARGB LED strips.
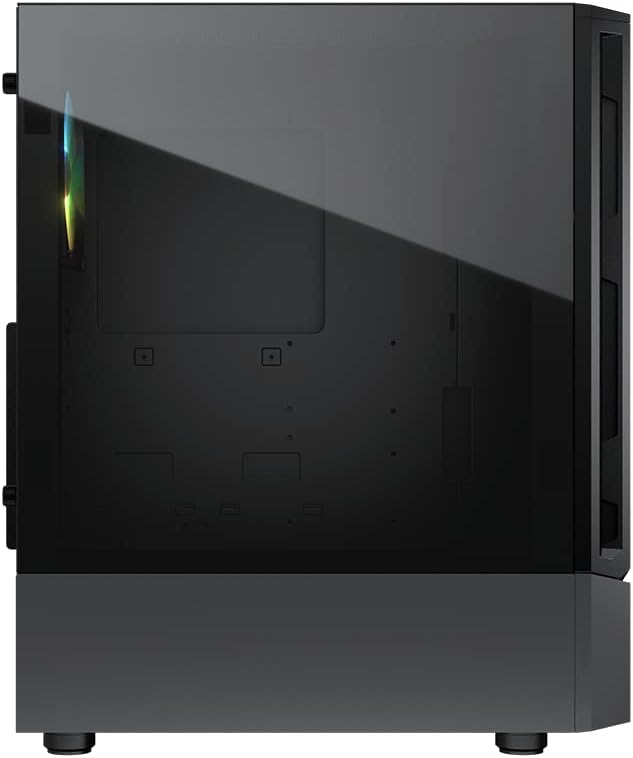
Figur 4.3: Side view of the COUGAR MX360 RGB case, featuring the tempered glass panel.

Figur 4.4: Vinklet front view of the COUGAR MX360 RGB case, showcasing its design and ARGB elements.
5. Opsætning og installation
Follow these steps to install your components into the COUGAR MX360 RGB case.
5.1 Forberedelse af sagen
- Placer etuiet på en flad, stabil overflade.
- Remove the tempered glass side panel by unscrewing the thumb screws at the rear of the case and carefully sliding the panel off.
- Remove the opposite metal side panel by unscrewing the thumb screws and sliding it off.
5.2 Installation af bundkort
- Installer I/O-skjoldet (hvis det ikke er forudinstalleret på dit bundkort) i den bageste åbning af kabinettet.
- Ensure the correct standoffs are installed for your motherboard form factor (ATX, Micro-ATX, Mini-ITX). Adjust or add standoffs as needed.
- Placer forsigtigt dit bundkort på afstandsstykkerne, og juster skruehullerne.
- Fastgør bundkortet med de medfølgende skruer.
5.3 Installation af strømforsyningsenhed (PSU).
- Locate the PSU shroud at the bottom of the case.
- Skub din strømforsyning ind i det dertil indrettede rum fra bagsiden af kabinettet.
- Fastgør strømforsyningen med skruer fra bagsiden af kabinettet.
- Route necessary cables through the cutouts in the PSU shroud for cable management.
5.4 Installation af lagerdrev
The MX360 RGB supports various storage configurations.
- 3.5" harddiske: Installer i drevkabinettet, der er placeret under strømforsyningsskærmen.
- 2.5" SSD'er/harddiske: Mount onto the dedicated trays or mounting points behind the motherboard tray.
5.5 Installation af grafikkort (GPU)
- Fjern de nødvendige PCIe-slotdæksler fra bagsiden af kabinettet.
- Indsæt dit grafikkort i det relevante PCIe-slot på bundkortet.
- Secure the graphics card with screws. The case supports graphics cards up to 315mm in length.
5.6 Installation af kølesystem (ventilatorer/radiatorer)
The case supports up to six fans and a 360mm water cooling radiator.
- Front: Supports up to 3 x 120mm or 2 x 140mm fans, or a 240/280/360mm radiator.
- Top: Supports up to 2 x 120mm or 2 x 140mm fans, or a 240/280mm radiator.
- Bag: Understøtter 1 x 120 mm blæser.
Install fans or radiators using the provided screws, ensuring proper airflow direction.
5.7 Frontpanelforbindelser
Connect the front panel cables (USB, Audio, Power, Reset, LED) to their corresponding headers on your motherboard. Refer to your motherboard manual for exact header locations.
5.8 ARGB Lighting Connection
The integrated ARGB LED strips on the front panel connect via a 5V/3Pin ARGB connector. Connect this cable to a compatible 5V/3Pin ARGB header on your motherboard to synchronize lighting effects with your system.
6. Betjening af sagen
Once all components are installed and connected, replace the side panels. Power on your system using the power button on the top I/O panel. The ARGB lighting will illuminate, controlled by your motherboard's software or a dedicated ARGB controller if you have one installed.
7. Vedligeholdelse
Regelmæssig vedligeholdelse er med til at sikre optimal ydeevne og levetid for dine pc-komponenter.
- Støvfiltre: The MX360 RGB includes removable dust filters (e.g., top, bottom). Periodically remove and clean these filters with compressed air or water (ensure they are completely dry before reinstallation).
- Indvendig rengøring: Use compressed air to remove dust from internal components like fans, heatsinks, and the motherboard.
- Udvendig rengøring: Tør de udvendige overflader af med en blød, damp klæde. Undgå slibende rengøringsmidler.
8. Fejlfinding
Hvis du støder på problemer, kan du se følgende almindelige fejlfindingstrin:
- Ingen strøm: Ensure all power cables (24-pin ATX, 8-pin CPU, GPU power) are securely connected. Check the PSU switch is in the 'ON' position. Verify front panel power button connection to the motherboard.
- ARGB-belysning virker ikke: Confirm the 5V/3Pin ARGB connector is correctly plugged into a compatible motherboard header. Check your motherboard's RGB software for control settings.
- Overophedning: Ensure all case fans are spinning and oriented correctly for optimal airflow. Check for dust buildup on filters and components. Verify CPU cooler and GPU cooler are properly installed.
- Løse forbindelser: Re-seat all components (RAM, GPU, storage drives) and check all power and data cables.
9. Specifikationer
| Feature | Specifikation |
|---|---|
| Mærke | PUMA |
| Modelnavn | MX360 RGB |
| Varemodelnummer | CGR-5CC6G-RGB |
| Sagstype | Mid Tower |
| Dimensioner (LxBxH) | 14.88 x 8.27 x 18.11 tommer (378 x 210 x 460 mm) |
| Varens vægt | 10.56 pund (4.8 kilo) |
| Materiale | Tempered Glass, Fine Metal |
| Farve | Sort |
| Bundkort support | Mini ITX / Micro ATX / ATX |
| Maks. Længde på grafikkort | 315 mm |
| Maks. CPU køler Højde | 170 mm |
| PSU support | Standard ATX PS2 |
| Afkølingsmetode | Luft/vand |
| Radiatorstøtte | Front: 360mm / 280mm / 240mm / 140mm / 120mm Top: 280mm / 240mm / 140mm / 120mm Bag: 120 mm |
| Fan Support | Forside: 3 x 120 mm / 2 x 140 mm Top: 2 x 120 mm / 2 x 140 mm Bageste: 1 x 120 mm |
| Drive Bays | 3.5" HDD: 2 2.5" SSD: 2+2 (converted from 3.5" drive bays) |
| I/O panel | USB 3.0 x 2, USB 2.0 x 1, Mikrofon x 1, Lyd x 1, RGB-knap |
| Speciel funktion | ARGB LED Strips, Full-length PSU Cover for Cable Hiding and Improved Airflow |
10. Garanti og support
COUGAR products are designed and manufactured to the highest quality standards. For warranty information, please refer to the warranty card included with your product or visit the official COUGAR webwebsted. Gem din købsbevis til garantikrav.
For technical support or further assistance, please visit the official COUGAR website or contact their customer service department. You can find more information and resources on the COUGAR Store on Amazon.