1. Produktet er slutview
The Roinvou 4+128G 9" Touch Screen Radio is an advanced infotainment system designed specifically for Toyota Corolla models from 2009 to 2013. It features a high-resolution 1280x720 In-Cell touchscreen, offering seamless integration with Wireless CarPlay and Android Auto. This unit provides robust performance with a 4-core processor, 4GB RAM, and 128GB storage, supporting 5GHz WiFi, Bluetooth 5.0, GPS navigation, and includes a backup camera for enhanced safety.
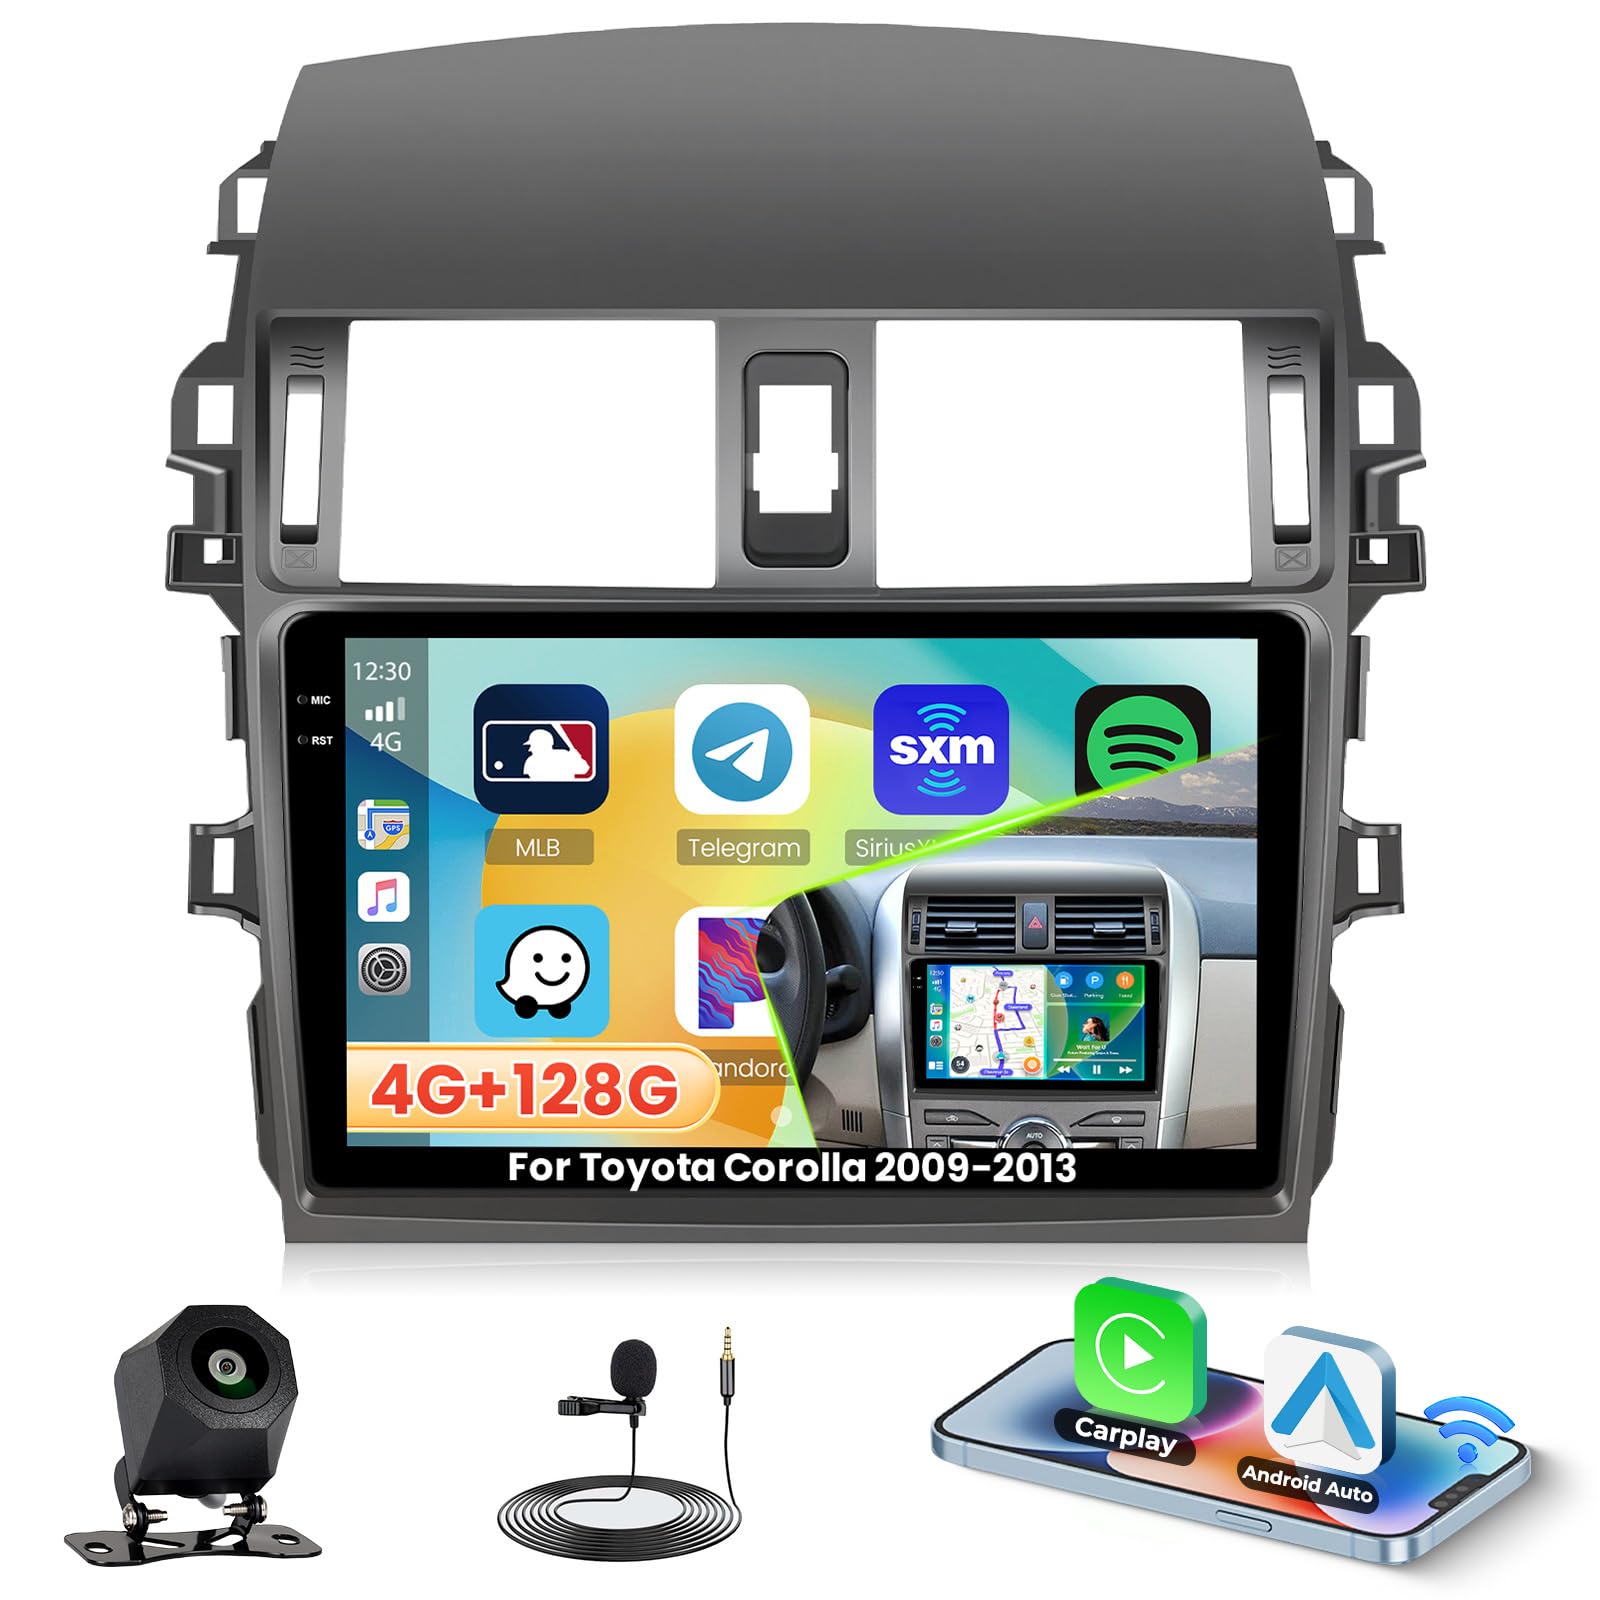
Image 1.1: Roinvou 9-inch Touch Screen Radio installed in a Toyota Corolla dashboard.
2. Pakkens indhold
Sørg for, at alle nedenstående varer er til stede i din pakke:
- Toyota Corolla Car Stereo (Main Unit)
- 1 x strømkabel
- 1 x RCA Harness
- 1 x radioantenne
- 1 x radioadapterkabel
- 1 x GPS-antenne
- 1 x AHD-bakkamera
- 1 x ekstern mikrofon
- 1 x bagkameraindgangskabel
- 2 x USB-kabler
- 1 x Installation Tool & Accessories

Image 2.1: Visual representation of the Roinvou car stereo package contents.
3. Specifikationer
| Feature | Beskrivelse |
|---|---|
| Mærke | Roinvou |
| Type køretøjstjeneste | Bil |
| Skærmstørrelse | 9 tommer |
| Opløsning | 1280 x 720 (In-Cell Touchscreen) |
| Operativsystem | Android 15 |
| Processor | 4-kerne |
| VÆDDER | 4 GB |
| Hukommelseslagringskapacitet | 128 GB |
| Forbindelsesteknologi | Bluetooth 5.0, USB, 5GHz Wi-Fi |
| Særlige funktioner | Wireless CarPlay, Android Auto, Wireless & Wired Mirror Link, HD Touchscreen, FM/RDS, EQ Settings, GPS Navigation, UI Display, Split Screen, SWC |
| Understøttet satellitnavigationssystem | BeiDou, GLONASS, GPS, Galileo |
| Varens vægt | 1.68 kilo |
4. Installationsvejledning
4.1. Center Console Disassembly
Before installing the new head unit, the existing radio and surrounding bezel pieces must be carefully removed. This process typically involves prying off the bezel pieces, unscrewing the old radio, and disconnecting its wiring harnesses.
Video 4.1: Detailed guide on how to disassemble the A7098 center console and remove the existing radio.
4.2. Ledningsforbindelser
Connect the provided wiring harnesses to the new Roinvou head unit and the vehicle's existing wiring. Ensure all connections are secure. The unit is designed for plug-and-play installation for the Toyota Corolla 2009-2013 model.

Image 4.2: Wiring diagram showing the power cable, RCA harness, radio antenna, GPS antenna, and other input cables.
4.3. Backup Camera Wiring
If installing the included backup camera, follow the wiring diagram to connect it to the head unit. The white plug must be connected to the car radio for Bluetooth and Wi-Fi signals. The red wire connects to Power+ and the Reversing Lamp, while the black wire connects to GND. The third wire from the black wire is the reverse trigger wire.

Image 4.3: Backup camera wiring instructions, showing connections for power, ground, and reverse trigger.
4.4. Opsætning af ratbetjening (SWC)
The unit supports steering wheel controls. Depending on whether your vehicle has a CANbus decoder, the setup method varies:
- Without CANbus Decoder: Connect the plugs or steering wheel control wires (Key1/Key2) in the power cable to the corresponding port or wire of your original car. Then, go to 'SteeringWheelKey' in the settings for manual matching to activate the button functions.
- With CANbus Decoder: Connect the CANbus before powering on the machine. Navigate to 'Apps' -> 'Settings' -> 'Factory settings (1234)' -> 'CAN Settings'. Select the brand of the CANbus decoder, then the matching model and year according to the actual situation.

Image 4.4: Steering wheel control connection and learning process.
4.5. Slutsamling
Once all wiring is connected and tested, carefully reassemble the dashboard components, ensuring all clips and screws are secured. Make sure no wires are pinched.

Image 4.5: Dashboard comparison showing the original radio and the Roinvou 9-inch unit installed.
5. Indledende opsætning
5.1. Sprogindstillinger
To change the system language, navigate to Settings > More Settings > Language & input > Language Settings. Select 'Add a language' and choose your desired language from the list.
5.2. Tidsindstillinger
Adjust date and time settings by going to Settings > More Settings > Date and time. You can choose to use network time or GPS to provide time, or set it manually.
5.3. Wi-Fi-forbindelse
To connect to Wi-Fi, go to Indstillinger > Wi-Fi. Turn on Wi-Fi, select your network, enter the password, and connect. This enables online features like YouTube and Google Maps.

Image 5.1: Wi-Fi connection screen, showing available networks and password input.
5.4. Justering af skærmens lysstyrke
Juster skærmens lysstyrke ved at navigere til Settings > Display > Day/Night. Use the slider to set brightness levels for day and night modes. You can also swipe down the status bar for quick adjustments.
5.5. Berøringskalibrering (fempunktskalibrering)
To calibrate the touchscreen, go to Settings > Factory Setup (password: 1234) > Touch Calibration. Follow the on-screen prompts to touch the indicated points. For five-point calibration, place all five fingers on the screen simultaneously to activate.
5.6. Touch Button Learning (for physical buttons on the unit)
If your unit has physical buttons, you can program them. Go to Settings > Factory Setup (password: 1234) > Touch Button Learning. Select a function (e.g., Power, Volume+, Home), then press the corresponding physical button on the unit to assign it.
5.7. Indstillinger for Backcar-kilde
Configure the backup camera input by going to Settings > Factory Setup (password: 1234) > Backcar Source Settings. Select the appropriate video input format (e.g., AHD 720P 25fps).
5.8. CAN-indstillinger
If your vehicle uses a CANbus system, configure it via Settings > Factory Setup (password: 1234) > Can Settings. Select your car's brand, model, and year to ensure proper communication between the head unit and vehicle systems.
5.9. Split Screen Settings
Enable or disable split-screen functionality via Settings > Factory Setup (password: 1234) > Split screen function. This allows you to run two applications simultaneously on the screen.

Image 5.2: Multiple UI options and split-screen technology in action.
5.10. Omskifter til hastighedsenhed
On the main screen, tap the speed unit display (e.g., km/h or mph) to switch between units.
5.11. Ryd hukommelse
To optimize system performance, swipe down from the top of the screen and tap the 'Clean up' icon to clear memory.
6. Betjeningsvejledning
6.1. UI Theme
The unit offers multiple UI themes for customization. Access themes via the 'ThemeSelect' app on the main screen. Some themes allow wallpaper customization.
6.2. Radioindstillinger
Access the radio application from the main menu. You can adjust radio bands (FM/AM), frequencies, and search for stations. Save your favorite stations for quick access.
6.3. EQ-indstillinger
Customize your audio experience using the Equalizer (EQ) settings. Access EQ settings from the sound settings menu. You can select from preset modes (e.g., Pop, Rock, Jazz) or manually adjust frequency bands to fine-tune the sound field.

Image 6.1: EQ settings interface for audio customization.
6.4. Bluetooth-forbindelse
To connect your mobile phone via Bluetooth, open the 'BT Call' application. Ensure Bluetooth is enabled on your phone and the head unit. Pair your device by selecting it from the list and confirming the pairing code. After connecting, you can make hands-free calls and stream music.
6.5. Trådløs CarPlay-forbindelse
To use Wireless CarPlay, open the 'S-Play' application on the head unit. Connect your iPhone's Bluetooth to the car infotainment system. Once connected, CarPlay will launch automatically, allowing access to navigation, calls, messages, and music.
Video 6.2: Demonstrates the connection process for Wireless CarPlay, Android Auto, and Mirror Link.

Image 6.3: Wireless CarPlay interface showing navigation, music, calls, and messages.
6.6. Trådløs Android Auto-forbindelse
Similar to CarPlay, open the 'S-Play' application. Connect your Android phone's Bluetooth to the head unit. Android Auto will then connect wirelessly, providing access to compatible apps and features.
Video 6.4: Demonstrates CarPlay and Android Auto connection, along with other functions of the head unit.
6.7. Wireless Mirroring (Jlink)
To mirror your phone's screen, open the 'Jlink' app. Connect your mobile phone's hotspot to the radio via Wi-Fi. For first-time connection, you may need to download the Jlink client app on your phone by scanning a QR code provided in the head unit's Jlink interface. Once connected, initiate screen mirroring from your phone.
Image 6.5: Fast Internet 5GHz WiFi enables streaming from popular apps.
7. Fejlfinding
- Ingen strøm: Kontroller alle strømtilslutninger og sikringer. Sørg for, at tændingen er tændt.
- Ingen lyd: Verify speaker connections and audio settings (EQ, balance). Check volume levels.
- Problemer med Bluetooth/CarPlay/Android Auto-forbindelse: Ensure Bluetooth is enabled on both devices. Try forgetting the device on both ends and re-pairing. Check Wi-Fi connection for wireless features.
- Skærmen reagerer ikke: Perform a touch calibration (Section 5.5). If issues persist, try a system restart.
- Radio Not Working: Check antenna connection. Ensure proper radio band and frequency selection.
- Ratbetjening virker ikke: Re-do the key learning process (Section 4.4). Ensure correct CAN settings if applicable.
- Bakkamera viser ikke: Verify camera wiring (Section 4.3) and backcar source settings (Section 5.7).
8. Vedligeholdelse
- Rengøring af skærm: Brug en blød, fnugfri klud til at rengøre berøringsskærmen. Tør let ved genstridige pletter.ampRengør kluden med vand eller et skærmsikkert rengøringsmiddel. Undgå skrappe kemikalier.
- Softwareopdateringer: Tjek regelmæssigt for softwareopdateringer for at sikre optimal ydeevne og adgang til nye funktioner. Se producentens webwebstedet eller kontakt support for opdateringsprocedurer.
- Generel pleje: Avoid exposing the unit to extreme temperatures or direct sunlight for prolonged periods. Do not use excessive force on the touchscreen or physical buttons.
9. Garanti og support
This Roinvou head unit comes with a 1 års garanti fra købsdatoen.
For any issues, missing cables, or questions regarding installation or operation, please contact Roinvou customer service via Amazon Chat. Provide your car's model, production year, and a picture of your car dashboard for efficient assistance.