
1. Produktet er slutview
The Daytech TY07-2-US WiFi Smart Home Security System is a wireless, DIY security solution designed to protect your home or apartment. This 8-piece kit provides comprehensive coverage without the need for contracts or subscription fees.
Sættets indhold
- 1 x Alarm Base Station
- 5 x dør-/vinduessensorer
- 2 x Key Fobs (Remote Controls)
- 1 x AC Adapter (for Alarm Base Station)

Image: The main components of the Daytech DIY Security System, including the alarm base station, a contact sensor, a key fob, and a siren.
Nøglefunktioner
- Wireless & DIY Installation: Easy setup without tools, preserving your walls.
- Smartphone app kontrol: Receive alerts and manage your system remotely via a dedicated app.
- Udvidbart system: Supports up to 200 additional sensors or key fobs.
- Justerbar alarmvolumen: Features 4 volume levels, including a 0-90 dB range and a silent mode.
- 2.4 GHz Wi-Fi-forbindelse: Ensures stable connection to your home network.
- Backup batteri: Alarm base station includes a 4-hour backup battery for emergency power.

Image: A visual representation highlighting that the system operates without monthly fees.
2. Opsætningsvejledning
2.1 Første opsætning og app-forbindelse
Follow these steps to connect your Daytech security system to your smartphone app:
- Sørg for, at din smartphone er forbundet til en 2.4 GHz WiFi-netværk og har Bluetooth aktiveret.
- Open the Smart Life or Tuya app (download from your app store if you haven't already).
- Long press the key on the back of the alarm base station for 6 seconds to enter distribution network mode.
- In the app, tap 'Add Device' and follow the on-screen prompts to discover and add the 'Multifunction alarm'.
- Indtast din WiFi-adgangskode, når du bliver bedt om det.
- Once successfully added, tap 'Done'.
Video: This video demonstrates the process of connecting the Daytech security system to the smartphone application, including enabling Bluetooth, entering pairing mode on the device, and adding it within the app.
2.2 Sensor and Key Fob Installation
The door/window sensors are designed for easy, tool-free installation. Ensure the two parts of the sensor are aligned and within 0.3 inches of each other when the door/window is closed.
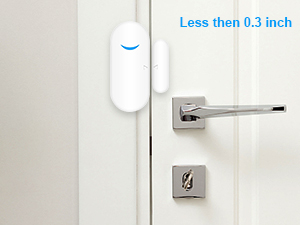
Image: Proper installation of a door sensor, demonstrating the required alignment and gap between the two magnetic components.
3. Betjening af dit system
3.1 Alarmtilstande
The system offers various modes to suit your security needs:
- Arming Mode (Away): All sensors are armed. Ideal when no one is home.
- Stay Armed Mode (Home): Only door and window sensors are armed by default. Suitable for when you are inside.
- Disarming Mode: The system is disarmed, and sensors will not trigger an alarm.
- SOS-tilstand: Triggers an immediate alarm in case of an emergency, accessible via key fob or app.
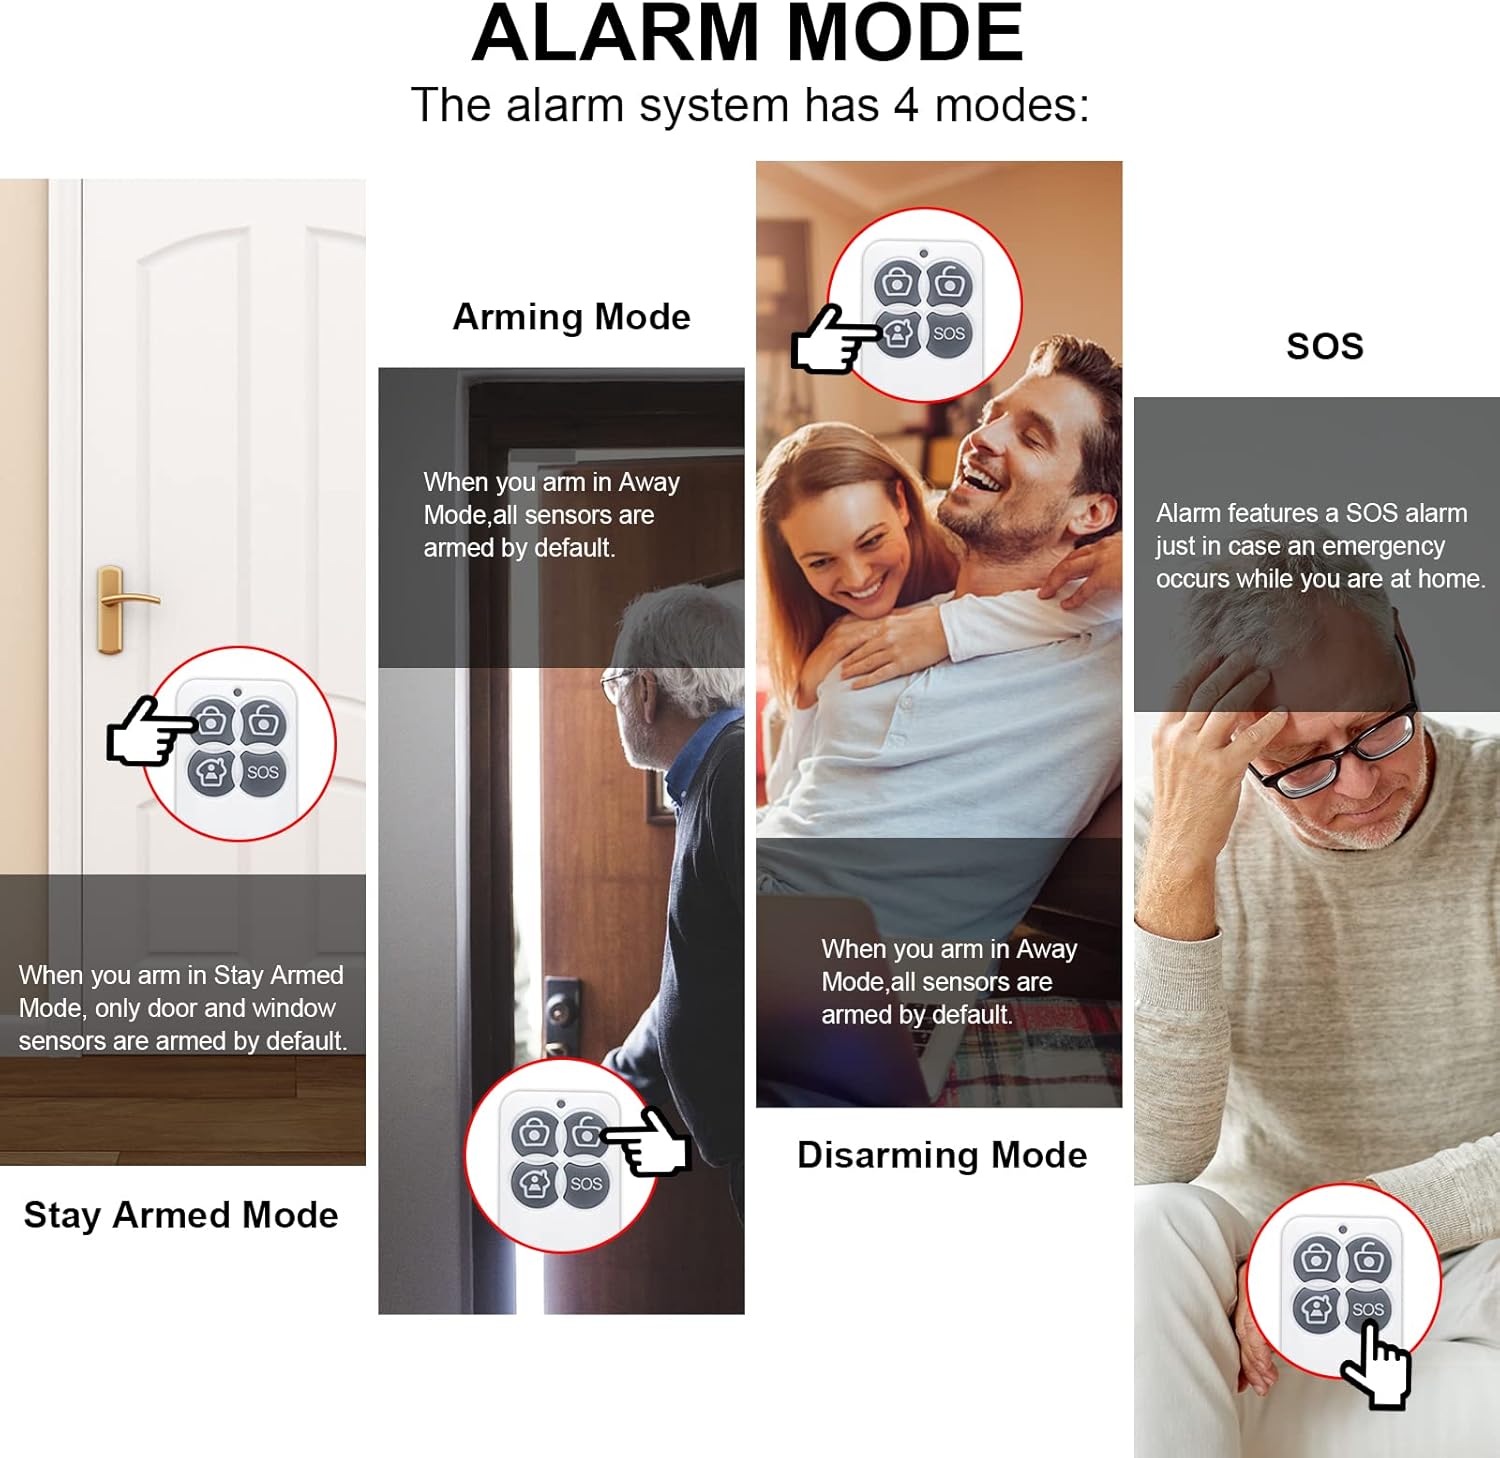
Image: A visual guide explaining the different alarm modes and their applications.
3.2 App Operations
The smartphone app allows for comprehensive control and customization of your security system:
- Manage Accessories: Delete unwanted key fobs or contact sensors.
- Tilpas indstillinger: Modify accessory names and ringtones for specific detectors.
- Adjust Alarm Parameters: Set alarm time, volume (Low, Middle, High, Mute), and light brightness.
- Meddelelser: Configure app notifications for system alerts.
- Ryd alle enheder: Option to factory reset and clear all paired accessories.
- Unbind Mobile App: Remove the device from your app account.
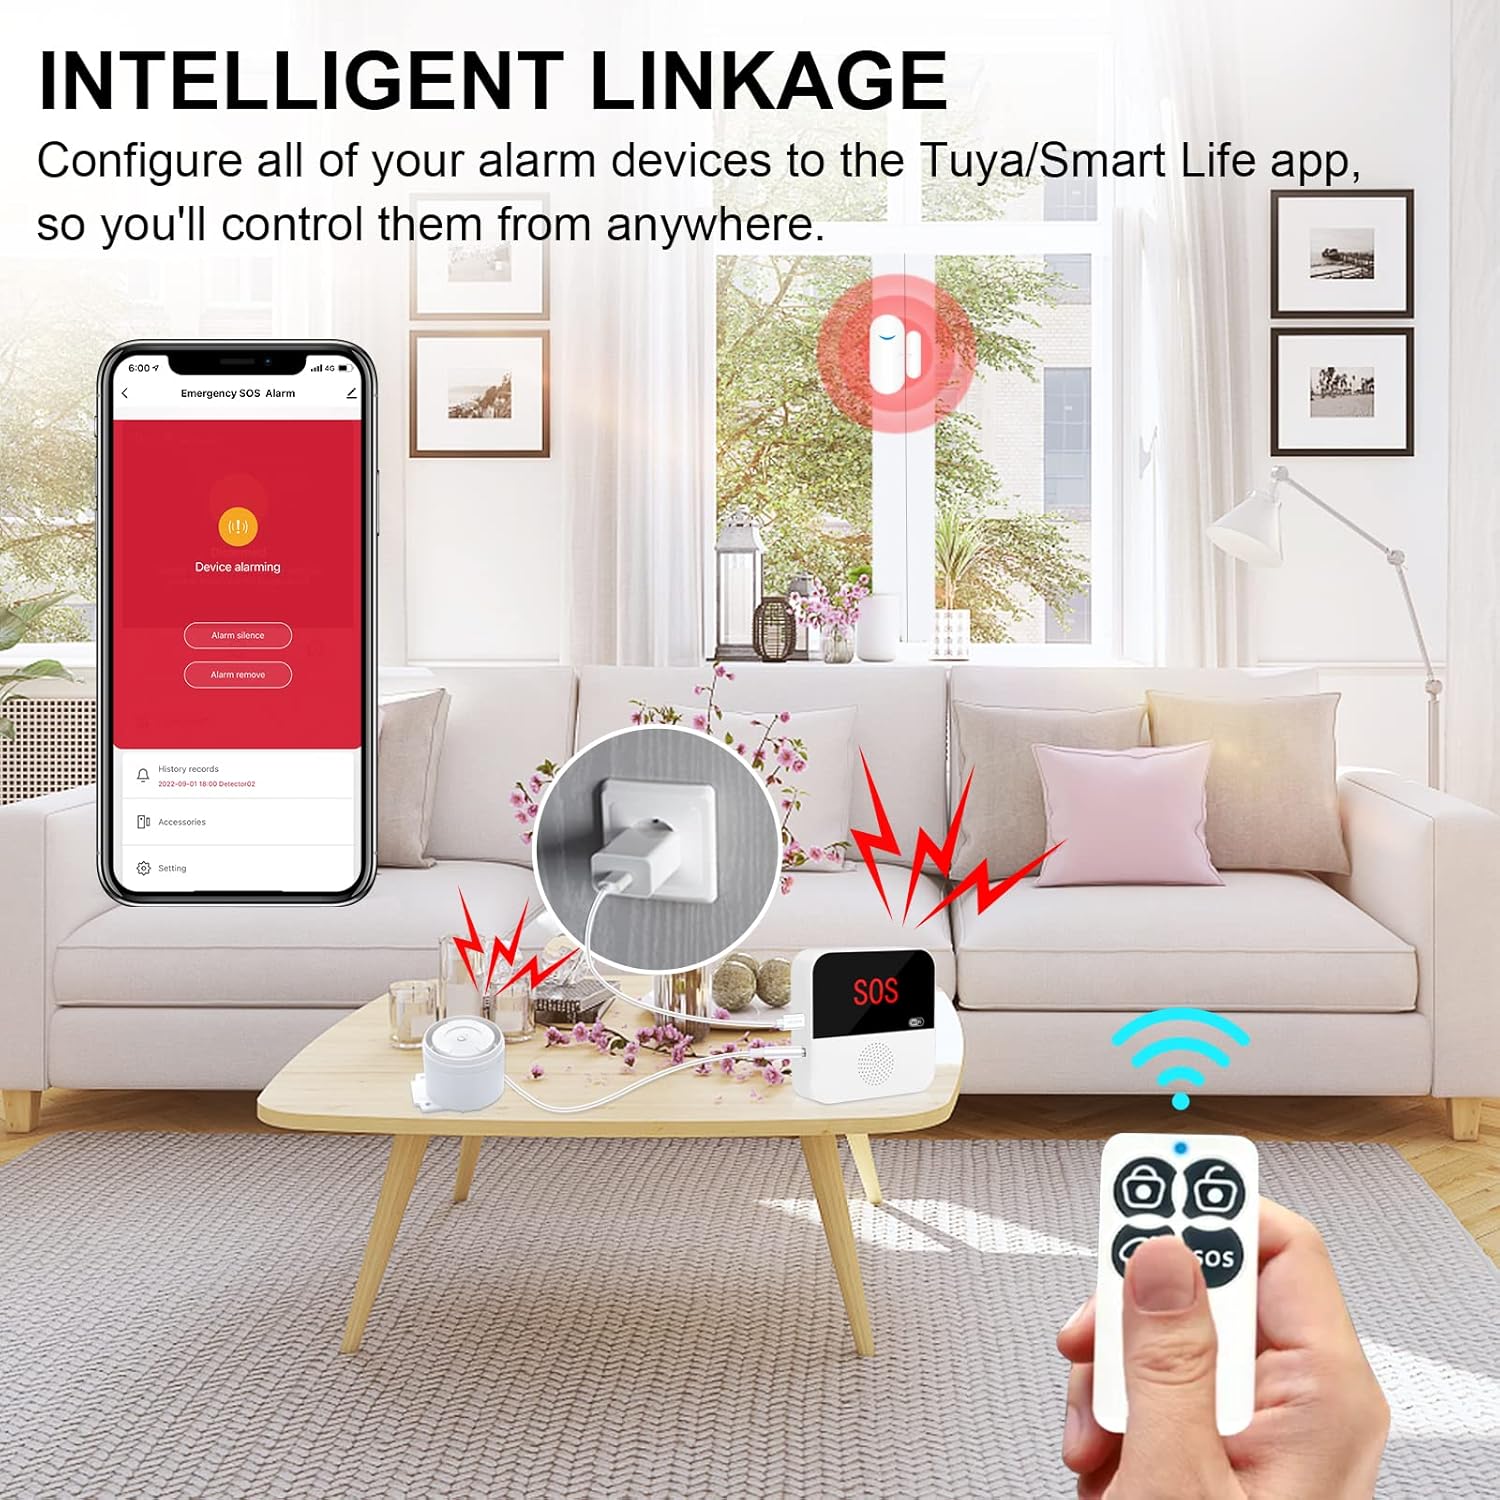
Image: The system's intelligent linkage feature, showing how the app, base station, and key fob work together for remote control.
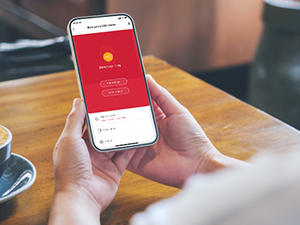
Image: The smartphone app interface for the alarm system, showing an active alarm notification.
3.3 Special Use Cases
The system can be particularly useful for monitoring access points for children or elderly family members.

Image: Illustrates the system's benefit for families with children or elderly individuals, providing alerts for unauthorized door openings.
Image: Demonstrates how the system can help prevent children from leaving refrigerator doors open.
4. Vedligeholdelse
4.1 Strømforsyning
The alarm base station should always be connected to the AC adapter for continuous operation. The internal backup battery provides approximately 4 hours of power during outages.
4.2 Udskiftning af batteri
Door/window sensors and key fobs are battery-powered. When a sensor's battery is low, the app will typically indicate its status. Replace batteries promptly to ensure continuous protection. Refer to the individual sensor/fob for specific battery types (e.g., CR2032 coin cell for many small sensors).
4.3 Rengøring
Wipe the devices with a soft, dry cloth. Avoid using abrasive cleaners or solvents that could damage the surfaces or internal components.
5. Fejlfinding
5.1 Forbindelsesproblemer
- Kan ikke oprette forbindelse til WiFi: Ensure your router is broadcasting a 2.4GHz network. The system does not support 5GHz WiFi. Verify your WiFi password is correct.
- Device offline in app: Check if the alarm base station is powered on and connected to AC. Verify your home WiFi network is active and stable.
5.2 Sensors Not Triggering
- Check sensor alignment: Ensure the two parts of the door/window sensor are within 0.3 inches when closed.
- Verify sensor battery: Udskift batterierne, hvis de er lave eller afladede.
- Check app status: Ensure the specific sensor is enabled and the system is in an armed mode.
5.3 Falske alarmer
- Review sensor placement: Ensure sensors are securely mounted and not subject to accidental triggers (e.g., loose doors, strong vibrations).
- Check app history: The app's history records can help identify which sensor triggered the alarm.
5.4 No Alarm Sound from Base Station
- Check volume settings: Ensure the alarm volume is not set to 'Mute' or a very low level in the app settings.
- Verify alarm mode: Confirm the system is in an armed state that allows for audible alarms.
6. Specifikationer
| Feature | Detalje |
|---|---|
| Mærke | Daytech |
| Modelnummer | TY07-2-US |
| Farve | Hvid |
| Strømkilde | Battery Powered (sensors/fobs), AC Adapter (base station) |
| Forbindelsesteknologi | Trådløs (2.4 GHz Wi-Fi) |
| Kompatible enheder | Smartphone |
| Installationstype | Plug In (base station) |
| Kontrolmetode | App |
| Varedimensioner (L x B x H) | 5.9 x 3.3 x 5 tommer |
| Varens vægt | 13.7 ounce |
| Antal enheder | 8.0 Count (1 Alarm Base Station, 5 Door Window Sensors, 2 Key Fobs) |
| Smart Home-kompatibilitet | Smart Home Compatible (via Tuya/Smart Life app) |
7. Garanti og support
7.1 Garantioplysninger
Daytech products typically come with a limited warranty covering manufacturing defects. Please refer to the product packaging or the official Daytech website for specific warranty terms and duration. Keep your proof of purchase for warranty claims.
7.2 Kundesupport
For technical assistance, troubleshooting, or any questions regarding your Daytech Smart Home Security System, please contact Daytech customer support. Contact information can usually be found on the product packaging, the official Daytech webhjemmeside eller gennem din forhandler.