
1. Introduktion
The LASERLINER VideoPocket HD 082262A is a compact and versatile industrial endoscope designed for visual inspection in hard-to-reach areas. This device allows for real-time viewing, image capture, and video recording, making it an essential tool for professionals in various fields. This manual provides detailed instructions for the safe and effective operation, maintenance, and troubleshooting of your VideoPocket HD.
2. Sikkerhedsinstruktioner
- Generel sikkerhed: Read all instructions carefully before use. Keep the device away from water, high temperatures, and direct sunlight.
- Batterisikkerhed: Use only specified AA alkaline batteries. Do not mix old and new batteries, or different types of batteries. Remove batteries if the device will not be used for an extended period.
- Kamerakabel: Do not bend, pinch, or pull the camera cable excessively. Avoid inserting the camera into live electrical circuits or hazardous environments without proper safety precautions.
- Rensning: Afbryd strømmen før rengøring. Brug en blød, tør klud. Brug ikke slibende rengøringsmidler eller opløsningsmidler.
- Reparation: Forsøg ikke at åbne eller reparere enheden selv. Overlad al service til kvalificeret personale.
3. Pakkens indhold
Bekræft at alle varer er til stede i din pakke:
- LASERLINER VideoPocket HD Main Unit
- Camera Cable with 5.2mm Camera Head (1m length)
- Magnet vedhæftning
- Spejl vedhæftning
- Krogfastgørelse
- Camera Tip Attachments (for securing magnet, mirror, hook)
- Brugermanual
4. Produktet er slutview
The VideoPocket HD features a robust design for industrial use, with an integrated display and flexible camera probe.

Figur 1: LASERLINER VideoPocket HD industrial endoscope handheld unit. This image shows the complete device, highlighting its compact form factor and integrated display.

Figur 2: Close-up of the 5.2mm camera head with 6 integrated LEDs for illumination. The small diameter allows access into narrow spaces, and the LEDs provide necessary lighting.
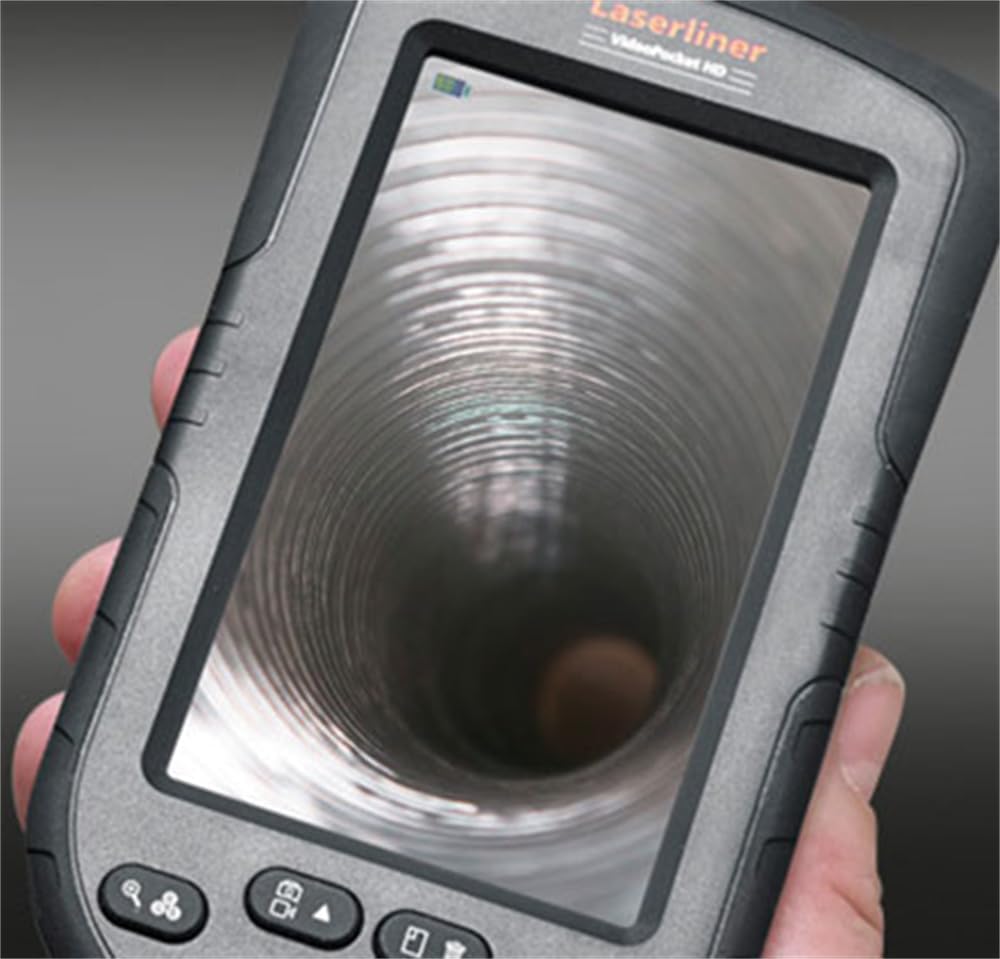
Figur 3: LASERLINER VideoPocket HD display showing a live view from inside a corrugated pipe. This demonstrates the device's capability to provide clear visuals during inspection.

Figur 4: Side view of the VideoPocket HD unit, highlighting the MicroUSB port and microSD card slot. These ports are used for data transfer and memory expansion.

Figur 5: Bag view of the LASERLINER VideoPocket HD, showing the integrated storage for the camera cable. This design ensures convenient and secure storage of the probe.
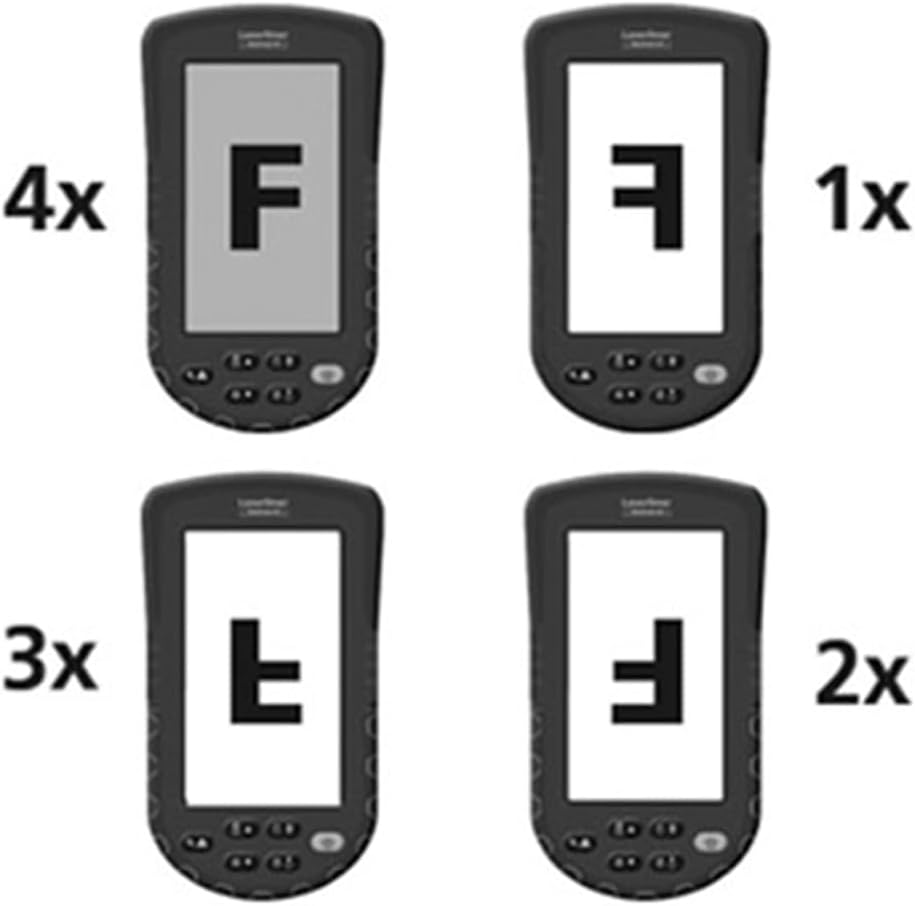
Figur 6: Diagram illustrating the 4x digital zoom function of the VideoPocket HD, showing different magnification levels. This feature allows for closer examination of details.
5. Opsætning
5.1 Batteriinstallation
- Find batteridækslet på bagsiden af enheden.
- Åbn dækslet ved at skubbe eller oplåse det.
- Isæt fire (4) AA alkaliske batterier, og sørg for korrekt polaritet (+/-) som angivet i batterirummet.
- Luk batterirummets dæksel forsvarligt.
5.2 Indsættelse af microSD-kort
- Locate the microSD card slot on the side of the device (refer to Figure 4).
- Insert a microSD card (up to 32GB, not included) into the slot with the contacts facing down, until it clicks into place.
- For at fjerne det skal du forsigtigt skubbe kortet ind, indtil det springer ud.
5.3 Montering af tilbehør
The magnet, mirror, and hook attachments can be secured to the camera head using the provided camera tip attachments.
- Select the desired attachment (magnet, mirror, or hook).
- Carefully slide the camera tip attachment over the camera head.
- Ensure the accessory is firmly seated and aligned with the camera lens if necessary (e.g., mirror).
6. Betjeningsvejledning
6.1 Tænd/sluk
- Tænd: Tryk på tænd/sluk-knappen, og hold den nede, indtil displayet lyser.
- Sluk: Tryk på tænd/sluk-knappen, og hold den nede, indtil skærmen slukker.
6.2 Live View og Navigation
- Once powered on, the device will display a live feed from the camera probe.
- Use the directional buttons (if present) to navigate through menus or adjust settings.
6.3 Justering af lysstyrke
The camera head features 6 LEDs with 10-stage brightness adjustment.
- Locate the brightness adjustment buttons (often marked with sun icons or up/down arrows).
- Press the appropriate button to increase or decrease the LED illumination intensity.
6.4 Brug af digital zoom
The device supports up to 4x digital zoom (refer to Figure 6).
- Press the Zoom button (often marked with a magnifying glass icon) to cycle through zoom levels (1x, 2x, 3x, 4x).
6.5 Optagelse af billeder og videoer
Ensure a microSD card is inserted before attempting to record.
- Tag billede: I live view, press the Photo/Capture button (often marked with a camera icon) to take a still image.
- Optag video: Press the Video/Record button (often marked with a video camera icon) to start recording. Press it again to stop recording.
6.6 Viewing Recorded Media
- Aktiver afspilningstilstand (normalt via en dedikeret knap eller menupunkt).
- Brug retningsknapperne til at gennemse optagne billeder og videoer.
- Press the OK/Play button to view an image or play a video.
6.7 Tilslutning til en computer
Use the MicroUSB port to transfer files til en computer.
- Connect the device to your computer using a MicroUSB cable (not included).
- Enheden skal vises som en flytbar lagerenhed på din computer.
- You can then access and transfer the images and videos stored on the microSD card.
7. Vedligeholdelse
7.1 Rengøring
- Hovedenhed: Wipe the main unit and display with a soft, dry, lint-free cloth. For stubborn dirt, a slightly damp en klud kan bruges, efterfulgt af en tør klud.
- Kamerahoved: Gently clean the camera lens with a soft lens cleaning cloth or cotton swab. Avoid scratching the lens.
- Nedsænk ikke nogen del af enheden i vand.
7.2 Opbevaring
- Opbevar enheden et køligt, tørt sted, væk fra direkte sollys og ekstreme temperaturer.
- Fjern batterierne, hvis enheden ikke skal bruges i længere tid, for at forhindre lækage.
- Ensure the camera cable is neatly coiled and stored in its designated compartment (refer to Figure 5).
8. Fejlfinding
| Problem | Mulig årsag | Løsning |
|---|---|---|
| Enheden tænder ikke. | Batterierne er døde eller isat forkert. | Udskift batterierne med nye AA alkaline-batterier, og sørg for at polariteten vender korrekt. |
| Intet billede på displayet. | Camera cable not properly connected or damaged. | Check the camera cable connection. If problem persists, contact support. |
| Cannot capture images/videos. | No microSD card inserted or card is full/corrupted. | Insert a valid microSD card. Delete unnecessary fileeller formater kortet (dette vil slette alle data). |
| Billedet er for mørkt/lyst. | LED brightness is not adjusted correctly. | Juster LED-lysstyrken ved hjælp af de dedikerede knapper. |
| Enheden fryser eller reagerer ikke. | Midlertidig softwarefejl. | Fjern og isæt batterierne igen for at udføre en hård nulstilling. |
9. Specifikationer
| Feature | Specifikation |
|---|---|
| Mærke | Laserliner |
| Modelnummer | 082262A |
| Produktmål (B x H x D) | 8.5 x 15.5 x 3.2 cm |
| Vægt (med batterier) | 370 g |
| Product Weight (Gross/Shipping) | 810 g |
| Diameter på kamerahoved | 5.2 mm |
| Kamerakabellængde | 1 m |
| Kameraopløsning | 1280 x 720 pixels |
| Felt af View | 65° |
| Brændvidde | 3 - 8 cm |
| Display Type | 4.3 tommer TFT-farveskærm |
| Skærmopløsning | 480 x 272 pixels |
| LED-lysstyrkejustering | 10 stages |
| Digital Zoom | 4x |
| Videooptagelsesopløsning | 1080p (for saved files) |
| Hukommelsesmedier | MicroSD-kort (op til 32 GB) |
| Havn | MicroUSB |
| Strømkilde | 4 x AA-alkaliske batterier |
| Inkluderet tilbehør | Magnet, Mirror, Hook, Camera Tip Attachments |
10. Garanti og support
10.1 Garantioplysninger
This LASERLINER VideoPocket HD 082262A comes with a 1 års producentgaranti fra købsdatoen. Denne garanti dækker defekter i materialer og udførelse ved normal brug. Den dækker ikke skader forårsaget af misbrug, ulykker, uautoriserede ændringer eller normal slitage. Gem venligst din købsbevis i tilfælde af garantikrav.
10.2 Kundesupport
For technical assistance, troubleshooting beyond this manual, or warranty inquiries, please contact your retailer or visit the official Laserliner website for support contact information. When contacting support, please have your product model number (082262A) and proof of purchase readily available.