Poyasilon CQ1X
Brugermanual til Poyasilon solcelleovervågningskamera
Model: CQ1X
1. Introduktion
This manual provides comprehensive instructions for the installation, operation, and maintenance of your Poyasilon Solar Security Camera (Model CQ1X). Please read this manual thoroughly before using the product to ensure proper functionality and safety.
2. Produktet er slutview
The Poyasilon Solar Security Camera is a wireless outdoor surveillance solution featuring 3MP 2K FHD resolution, pan-tilt capabilities, AI motion detection, and solar power for continuous operation.
2.1. komponenter
- Solar security camera x 1
- Solpanel x 1
- Bracket for camera x 1
- Bracket for solar panel x 1
- Skrueposer x 1
2.2. Nøglefunktioner
- Solar Powered & Auto Power-on: Equipped with a high-conversion monocrystalline silicon solar panel and a large-capacity rechargeable battery, ensuring 100% wireless operation without manual charging. The camera automatically powers on and connects once sufficient solar charge is accumulated.
- 3MP FHD Color Night Vision: Delivers 2048 x 1536 resolution images and videos. Features a bright spotlight and built-in IR lights for clear color night vision up to 30 ft.
- Pan, Tilt & Wide Viewvinkel: Offers 355° pan rotation, 90° tilt rotation, and a 120° ultra-wide viewing angle for comprehensive area monitoring.
- AI-bevægelsesdetektion: Advanced AI recognition technology allows customization of monitoring areas and targets (people, pets, vehicles, packages) for higher accuracy and instant alerts.
- Afskrækkelse af ubudne gæster: Activates strobe light, integrated spotlight, and built-in siren upon intruder detection to deter suspicious activity.
- Enhanced Wi-Fi Antenna: Features a high-gain 4dBi WiFi antenna and 2.4G Wi-Fi transmission for good wall penetration and strong anti-interference ability.
- Holdbarhed i alt vejr: IP66 waterproof rating ensures reliable operation in various weather conditions, including rain, snow, and hot temperatures.
- Secure Storage Options: Supports 8-128 GB micro SD card (not included) and offers a 3-day trial cloud storage. All video data is encrypted.
2.3. Visuel Overview

Figure 2.1: The Poyasilon Solar Security Camera and its accompanying solar panel.

Figure 2.2: Illustration of the camera and solar panel installed outdoors, highlighting its wire-free and solar-powered capabilities.

Figure 2.3: Remote control of the camera's 355° pan and 90° tilt functions via the mobile application.
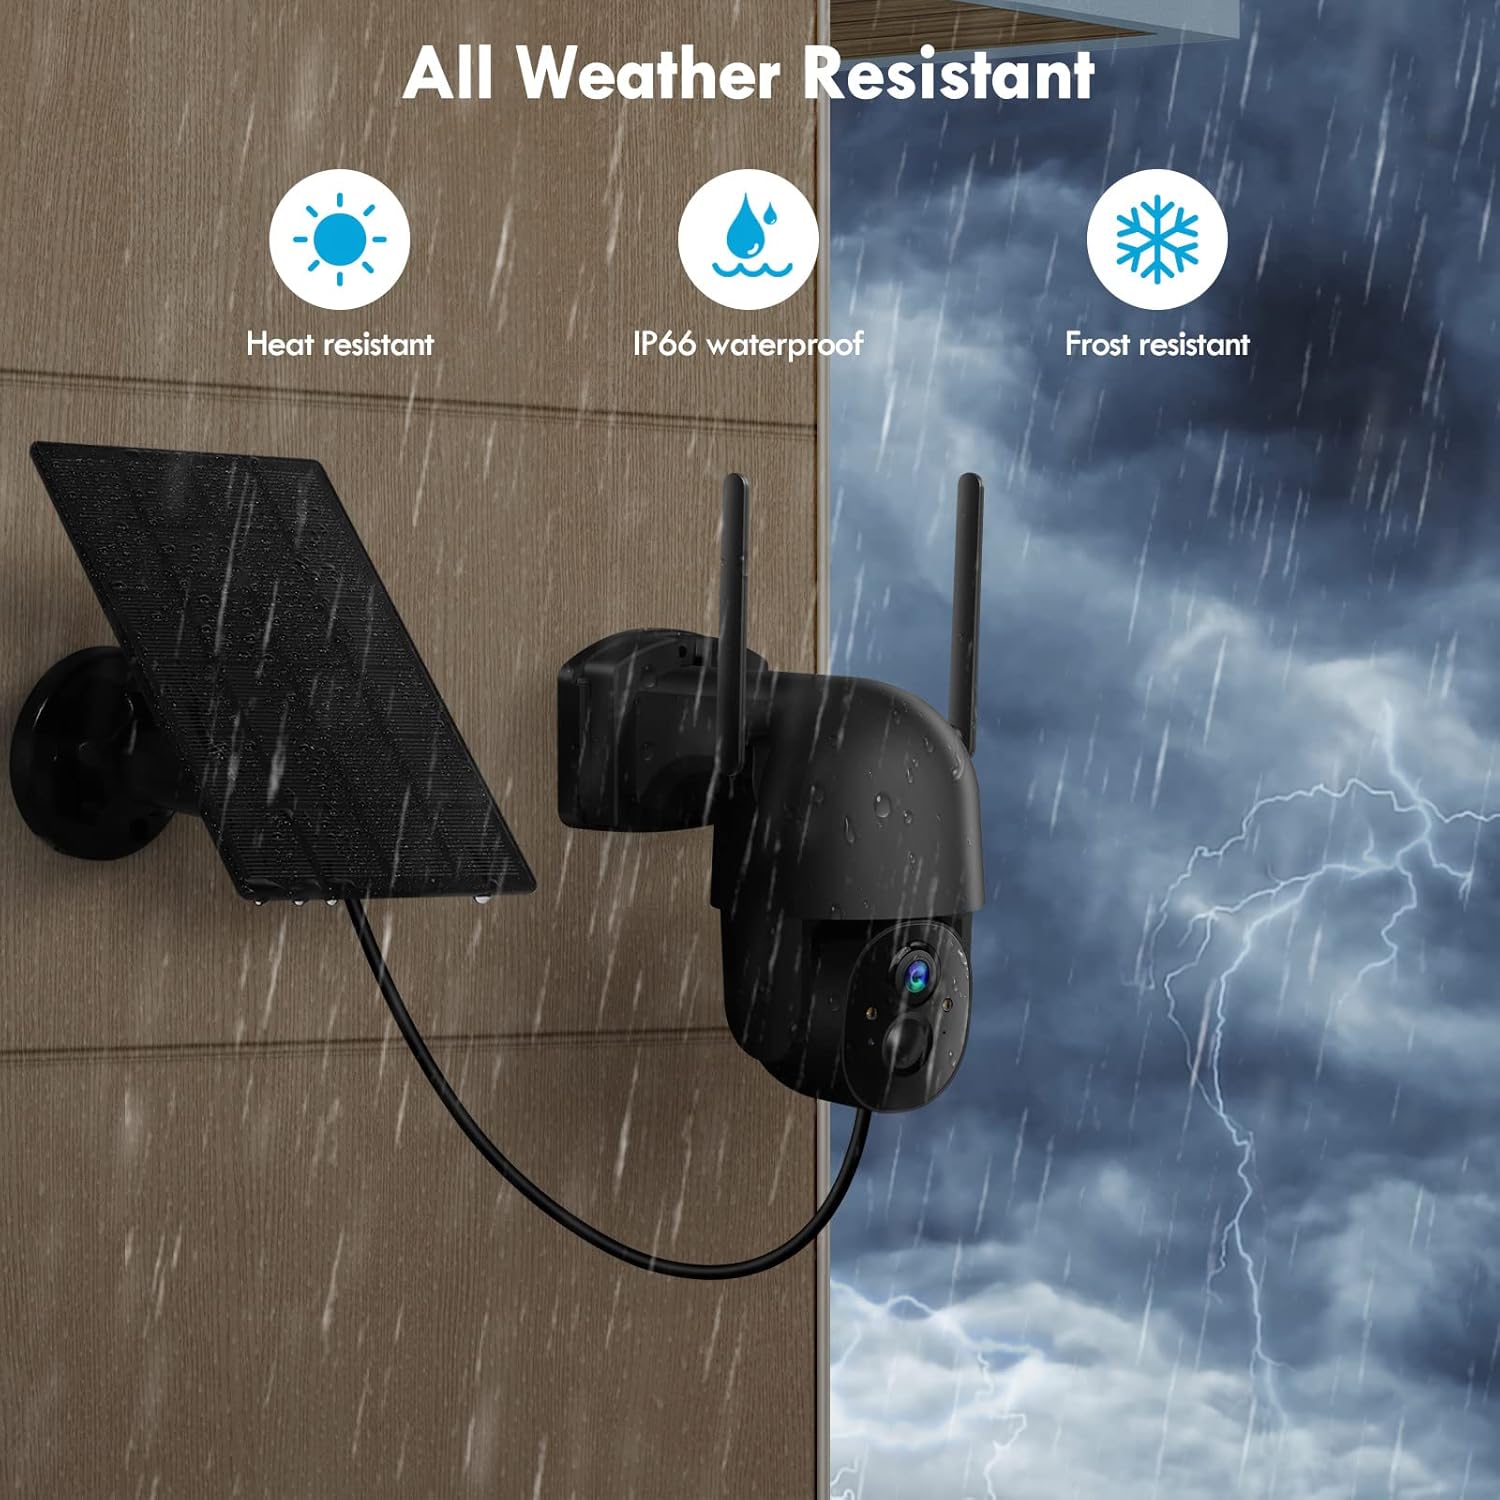
Figure 2.4: The camera and solar panel are designed to withstand various weather conditions, including heat, rain (IP66 waterproof), and frost.

Figure 2.5: The mobile application allows users to define custom activity zones for focused motion detection.
2.4. Produktvideo
Video 2.1: En overview of the Poyasilon Solar Security Camera, demonstrating its features and setup process.
3. Opsætning
Follow these steps to set up your Poyasilon Solar Security Camera:
3.1. Appinstallation og kontoregistrering
- Scan the QR code provided in the packaging or search for "VicoHome" in your device's App Store (iOS) or Google Play Store (Android).
- Download and install the VicoHome application.
- Open the app and register for a new account or log in if you already have one. Note: Only mobile phone numbers in the same country can share camera access.
- Complete registration by entering your username, mobile number, receiving a verification code, and setting a password.

Figur 3.1: Overview of the app connection process.
3.2. Camera Activation and Pairing
- Long press the power button on the camera until the blue indicator light illuminates.
- Double-click the power button. You will hear a "ding dong ding dong" prompt, indicating the camera is ready for pairing.
- In the VicoHome app, enter your Wi-Fi password (2.4GHz networks only).
- After successful Wi-Fi connection, a QR code will appear on your phone screen. Scan this QR code with the camera.
- Set a name and location for your camera (e.g., "Front Door," "Backyard").
- Access the camera settings within the VicoHome app to configure and begin use. (To add another camera or rematch the network, click the "+" icon in the upper right corner of the app).
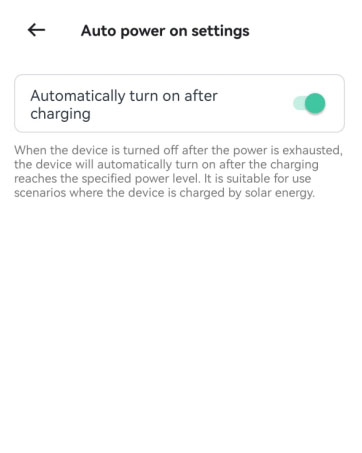
Figure 3.2: Powering on the camera by pressing the power button.
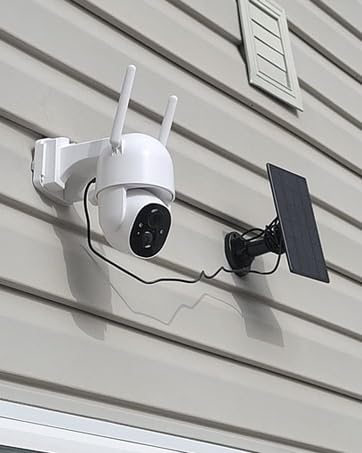
Figure 3.3: Double-clicking the power button to initiate pairing mode.
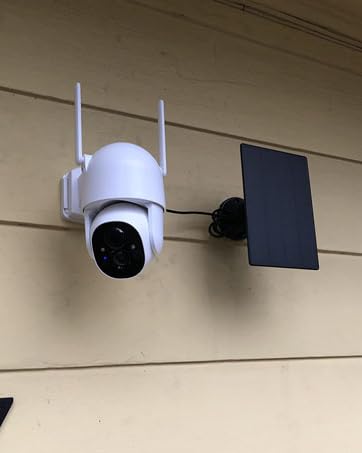
Figure 3.4: Entering your 2.4GHz Wi-Fi password in the VicoHome app.
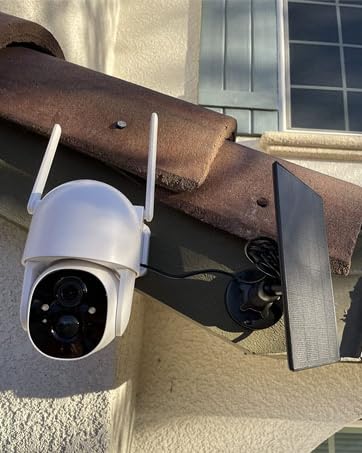
Figure 3.5: Scanning the QR code displayed on your phone with the camera lens.
3.3. Fysisk installation
Mount the camera and solar panel using the provided brackets and screws. Ensure the solar panel is placed in an area that receives ample direct sunlight for optimal charging. The long cable allows for flexible placement of the solar panel relative to the camera.

Figure 3.6: The camera's motion detection features, including siren, spotlight, and instant message alerts.

Figure 3.7: Comparison of 3MP Super FHD day vision and color night vision capabilities.
4. Betjeningsvejledning
Once your camera is set up and connected to the VicoHome app, you can utilize its various features:
4.1. Lev View og fjernbetjening
- Access live video feed from your smartphone or tablet via the VicoHome app.
- Use the app's controls to pan (355°) and tilt (90°) the camera remotely to view forskellige områder.
- Switch between full-screen and smaller views efter behov.
4.2. Bevægelsesdetektion og advarsler
- The camera features advanced AI motion detection. You can customize activity zones within the app to focus on specific areas and reduce false alerts.
- Modtag øjeblikkelige notifikationer på din smartphone, når der registreres bevægelse.
- Configure the sensitivity of motion detection in the app settings.
4.3. Two-Way Audio and Siren
- Utilize the two-way audio feature to communicate with visitors or deter intruders. Press the "Press to Speak" button in the app to talk.
- Activate the built-in siren and spotlight from the app to scare away unwanted individuals.
4.4. Nattesyn
- The camera supports both black-and-white and color night vision modes.
- The integrated spotlight enhances color night vision clarity.
5. Vedligeholdelse
Korrekt vedligeholdelse sikrer kameraets levetid og optimale ydeevne:
- Solopladning: Ensure the solar panel is clean and free from obstructions (e.g., dirt, leaves) to maximize sunlight absorption. Position it for maximum daily sun exposure.
- Batteristyring: The camera features auto power-on when the solar panel charges the battery to a certain level, eliminating the need for manual restarts after power depletion.
- Vejrbestandighed: The IP66 waterproof rating protects the camera from rain, snow, and extreme temperatures. Periodically inspect the camera and connections for any signs of wear or damage.
- Opbevaring: Regularly check your micro SD card (if used) for storage capacity. Back up important recordings to cloud storage or another device. The 3-day trial cloud storage offers a convenient backup solution.
- Firmwareopdateringer: Check the VicoHome app regularly for firmware updates to ensure your camera has the latest features and security enhancements.
6. Fejlfinding
If you encounter issues with your Poyasilon Solar Security Camera, refer to the following common solutions:
| Problem | Mulig årsag | Løsning |
|---|---|---|
| Kameraet er offline/har ikke forbindelse til Wi-Fi. | Weak Wi-Fi signal; camera powered off; incorrect Wi-Fi password. |
|
| Solar panel not charging effectively. | Insufficient direct sunlight; dirty solar panel; poor connection. |
|
| Motion detection alerts are too frequent or infrequent. | Sensitivity settings; activity zone configuration. |
|
| Dårlig billedkvalitet om natten. | Obstructions; insufficient lighting. |
|
7. Specifikationer
| Feature | Detalje |
|---|---|
| Indendørs/Udendørs brug | Udendørs |
| Kompatible enheder | Smartphone |
| Strømkilde | Solar Powered/Battery Powered |
| Forbindelsesprotokol | Wi-Fi (2.4G) |
| Controller type | Vicohome app |
| Monteringstype | Vægmontering |
| Videooptagelsesopløsning | 2K (3MP, 2048 x 1536) |
| Farve | Sort |
| Inkluderede komponenter | Bracket for camera x 1, Bracket for solar panel x 1, Screws bags x 1, Solar panel x 1, Solar security camera x 1 |
| Trådløs kommunikationsteknologi | Wi-Fi |
| Formfaktor | Kuppel |
| Night Vision Range | 30 fod |
| Billedhastighed | 15 billeder i sekundet |
| Materiale | Acrylonitril Butadien Styren (ABS) |
| Voltage | 5 volt |
| Wattage | 5 watt |
| Varemål L x B x H | 7.2 x 5.3 x 7.6 tommer |
| Batterier påkrævet? | Ja (1 lithium-ion-batteri inkluderet) |
| Batteristrøm | 5200 mioamp Timer |
| Fokus Type | Autofokus |
| Felt Af View | 120 grader |
| Lav lys teknologi | Nat farve |
| Zoom type | Digital Zoom |
| Zoomforhold | 4X |
| Alert Type | Kun bevægelse |
| International Protection Rating | IP66 |
| Kontrolmetode | App |
| Varens vægt | 2.14 pund |
| Fabrikant | Poyasilon |
| Anbefalet anvendelse af produktet | Udendørs sikkerhed |
8. Garanti og support
Specific warranty details and direct customer support contact information are not provided within this manual. For warranty claims, technical assistance, or further inquiries, please refer to the product's original purchase platform or the manufacturer's official webwebsted. Yderligere beskyttelsesplaner kan muligvis købes separat.