1. Introduktion
This manual provides detailed instructions for the installation, operation, and maintenance of your NICOR DGC43120SRDWH 4-inch selectable canless adjustable gimbal LED recessed downlight. Please read these instructions carefully before beginning installation and retain them for future reference.
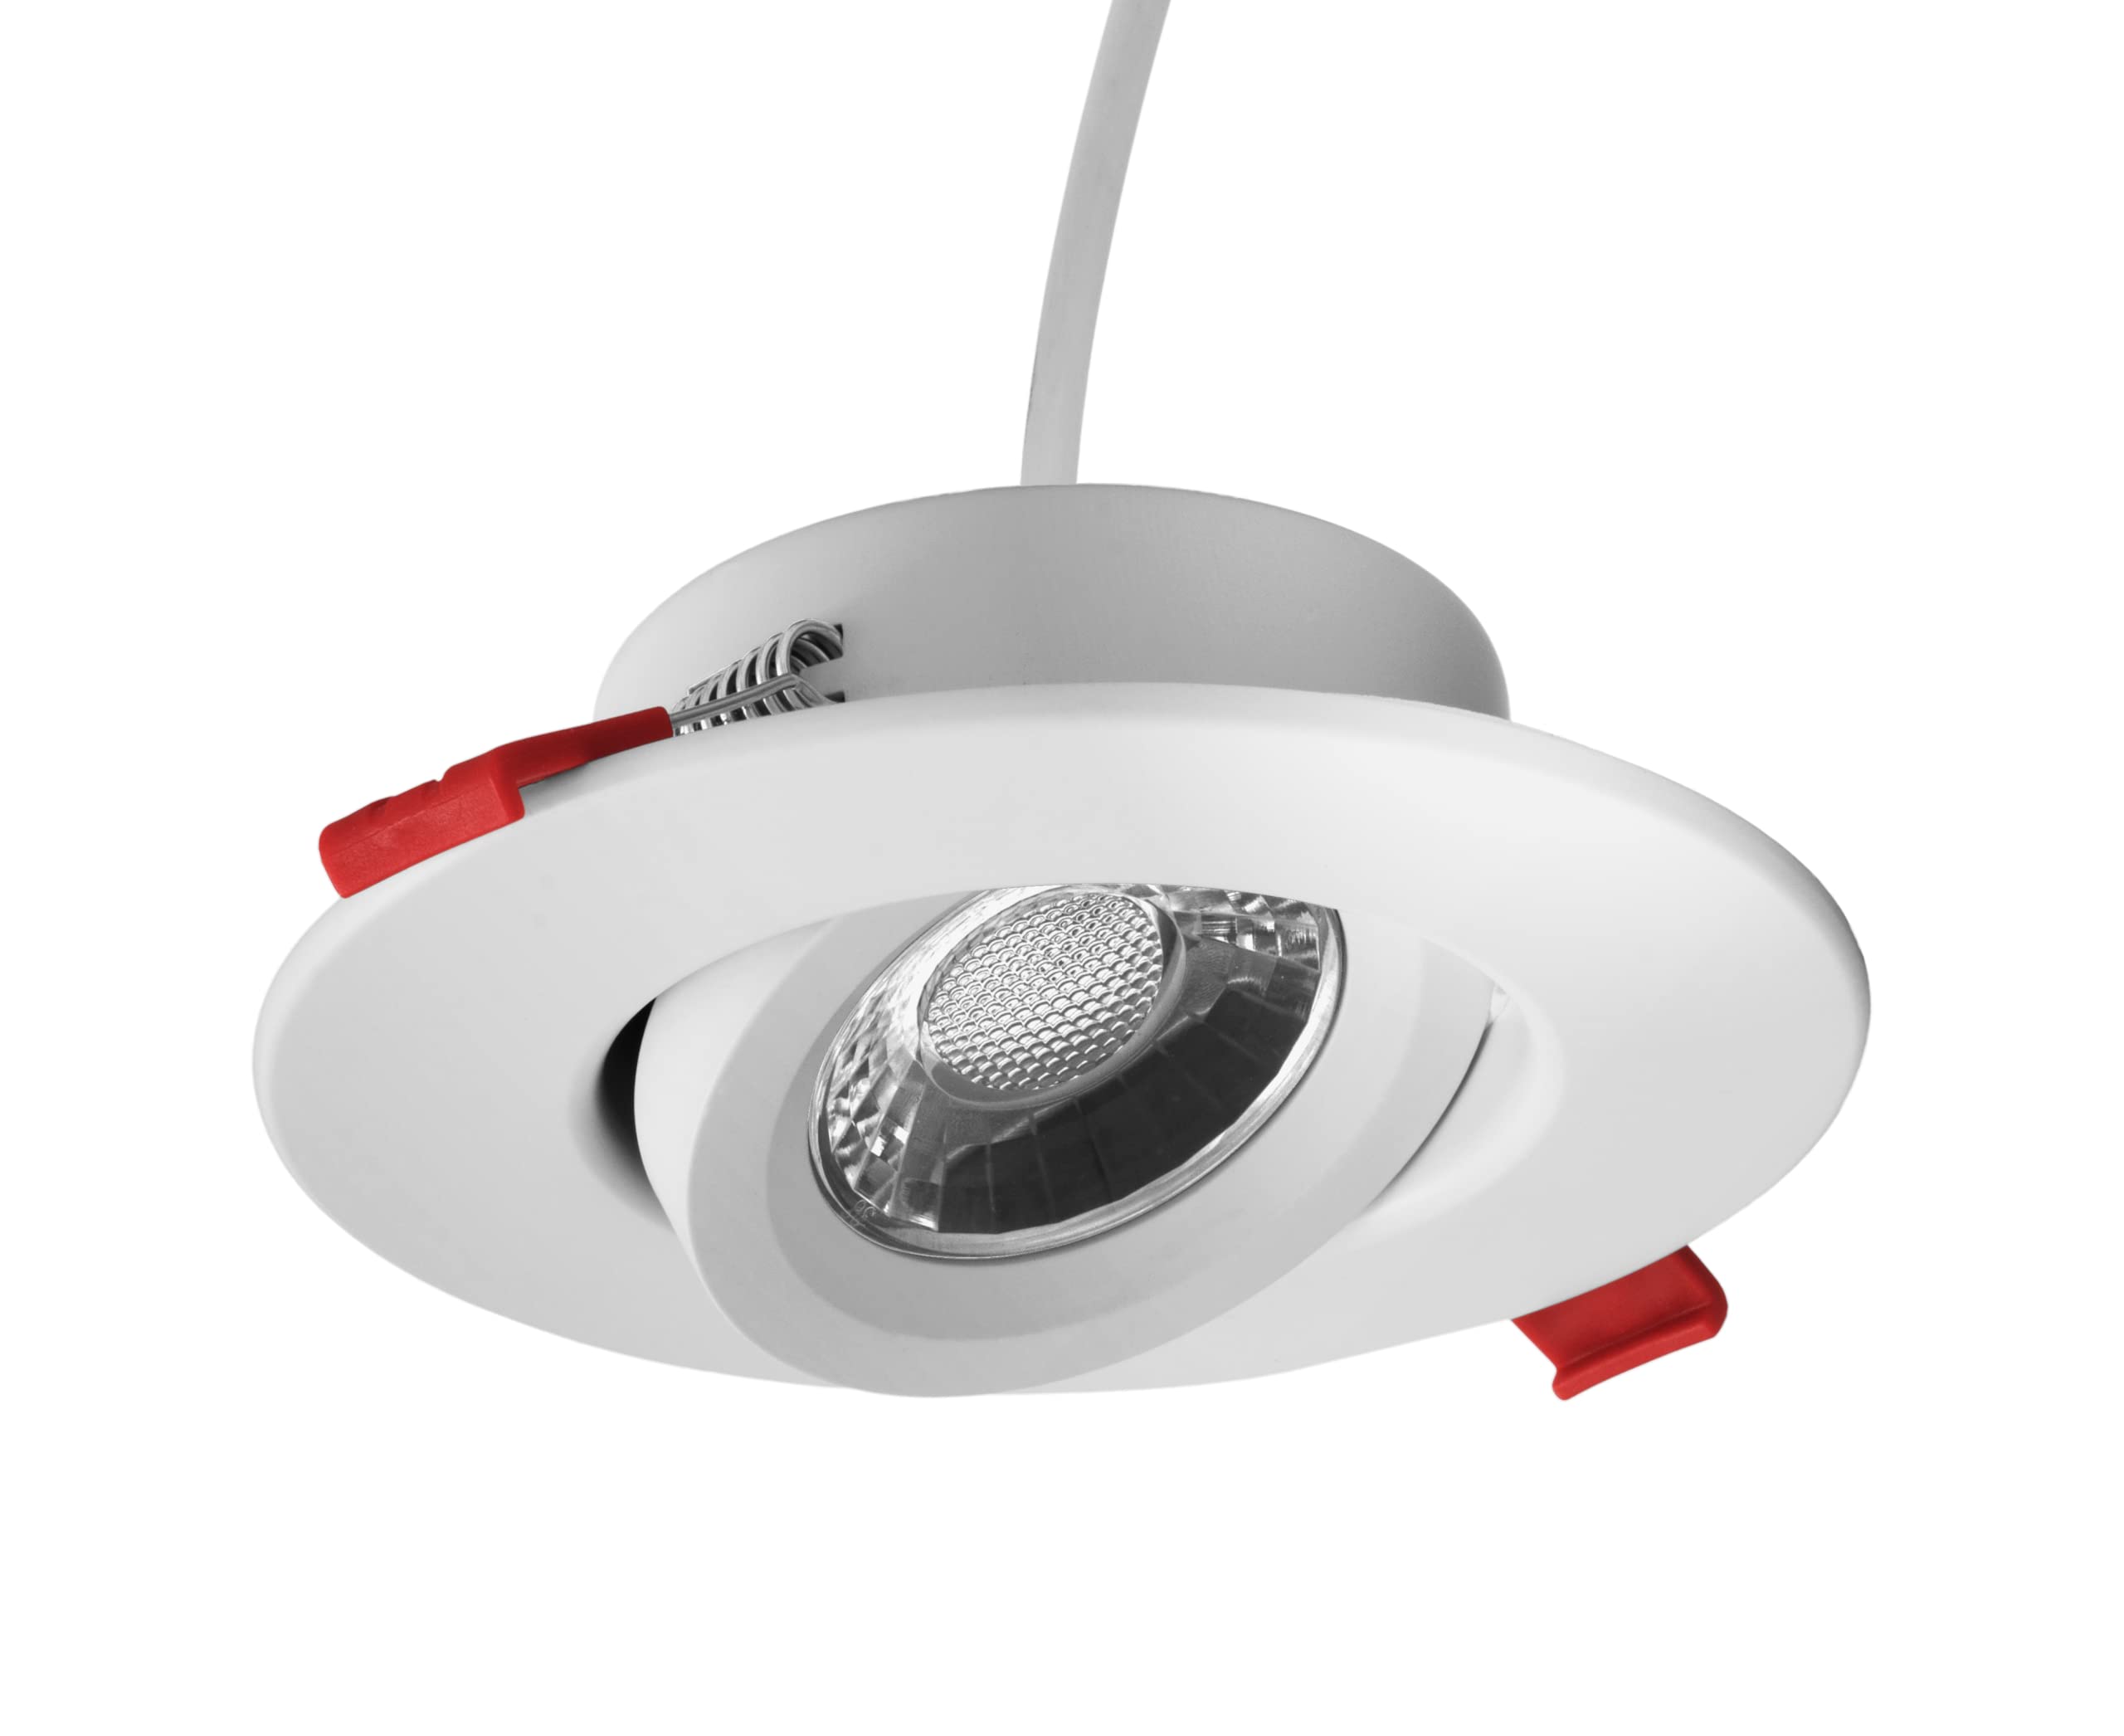
Image 1: NICOR DGC43120SRDWH 4-inch LED Recessed Downlight. This image shows the complete downlight unit with its white finish and adjustable gimbal.
2. Sikkerhedsoplysninger
ADVARSEL: Risiko for elektrisk stød. Afbryd strømmen ved sikringen eller afbryderen før installation eller service.
- Alle elektriske forbindelser skal være i overensstemmelse med lokale og National Electrical Code (NEC) standarder.
- Consult a qualified electrician if you are unsure about proper installation.
- Må ikke installeres på steder, hvor driftstemperaturen overstiger armaturets nominelle temperatur.
- Sørg for, at armaturet er korrekt jordet.
- This product is suitable for indoor use only. Not water resistant.
- For installationer, hvor strømstød kan være mulig, anbefaler NICOR at installere yderligere overspændingsbeskyttelse ved det elektriske distributionspanel.
3. Pakkens indhold
Kontroller, at alle komponenter er til stede, før installationen påbegyndes:
- Selectable LED Downlight (DGC43120SRDWH)
- Plenum-rated cable
- Off-board driver / Remote Junction Box
4. Funktioner
The NICOR DGC43120SRDWH downlight offers advanced features for versatile lighting:
- Dåsefrit design: Installs directly into the ceiling; no traditional recessed housing or junction box is required.
- Adjustable Directional Lighting: Features 25° tilt and 360° rotation for precise light direction.
- Valgbar farvetemperatur (CCT): Vælg mellem 5 farvetemperaturer (2700K, 3000K, 3500K, 4000K, 5000K) ved hjælp af en kontakt på samledåsen.
- Høj ydeevne: Produces over 715 Lumens at 9-Watts (equivalent to a 65W incandescent bulb) with an impressive 97 CRI (Color Rendering Index) and R9 value over 70.
- Dæmpbar: Fully dimmable to less than 5% using standard TRIAC LED Dimmers.
- Lav-Profile: Designed for installation into ceilings up to 1-inch thick.
- Holdbar konstruktion: Fully enclosed aluminum housing protects electrical components and provides a wet location rating.

Image 2: Key specifications and selectable color temperature feature of the downlight.
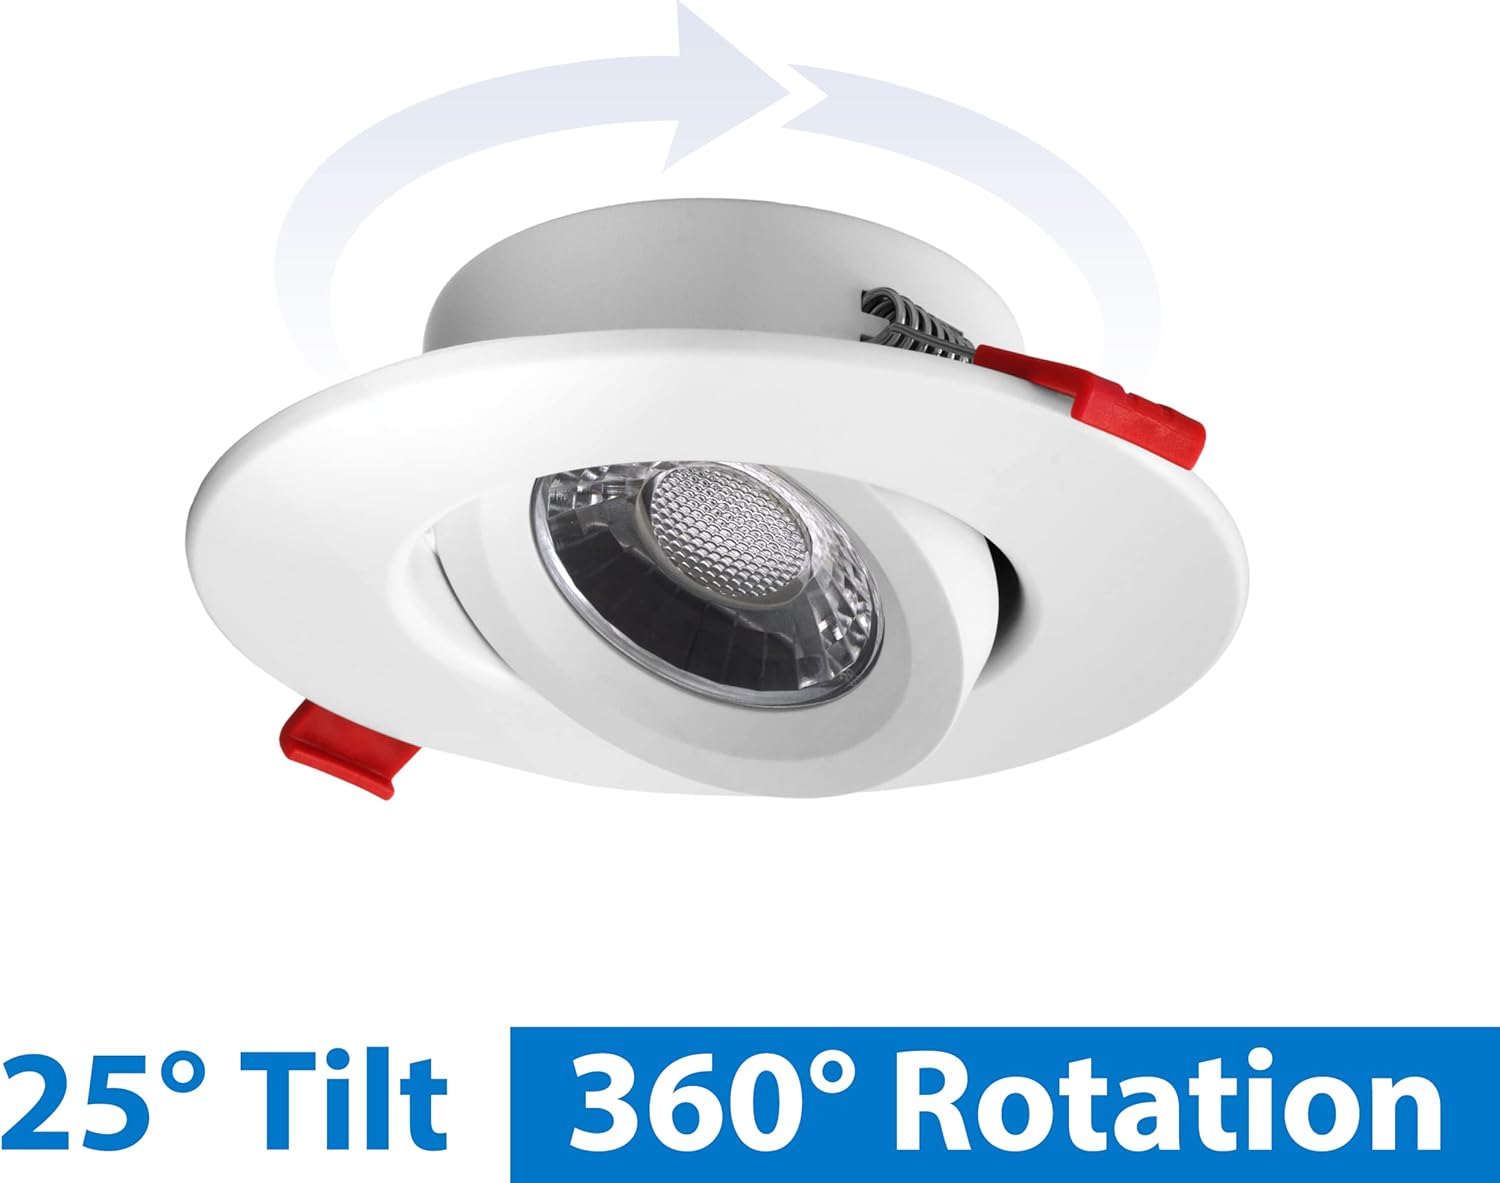
Image 3: Illustration of the 25° tilt and 360° rotation capabilities of the gimbal.
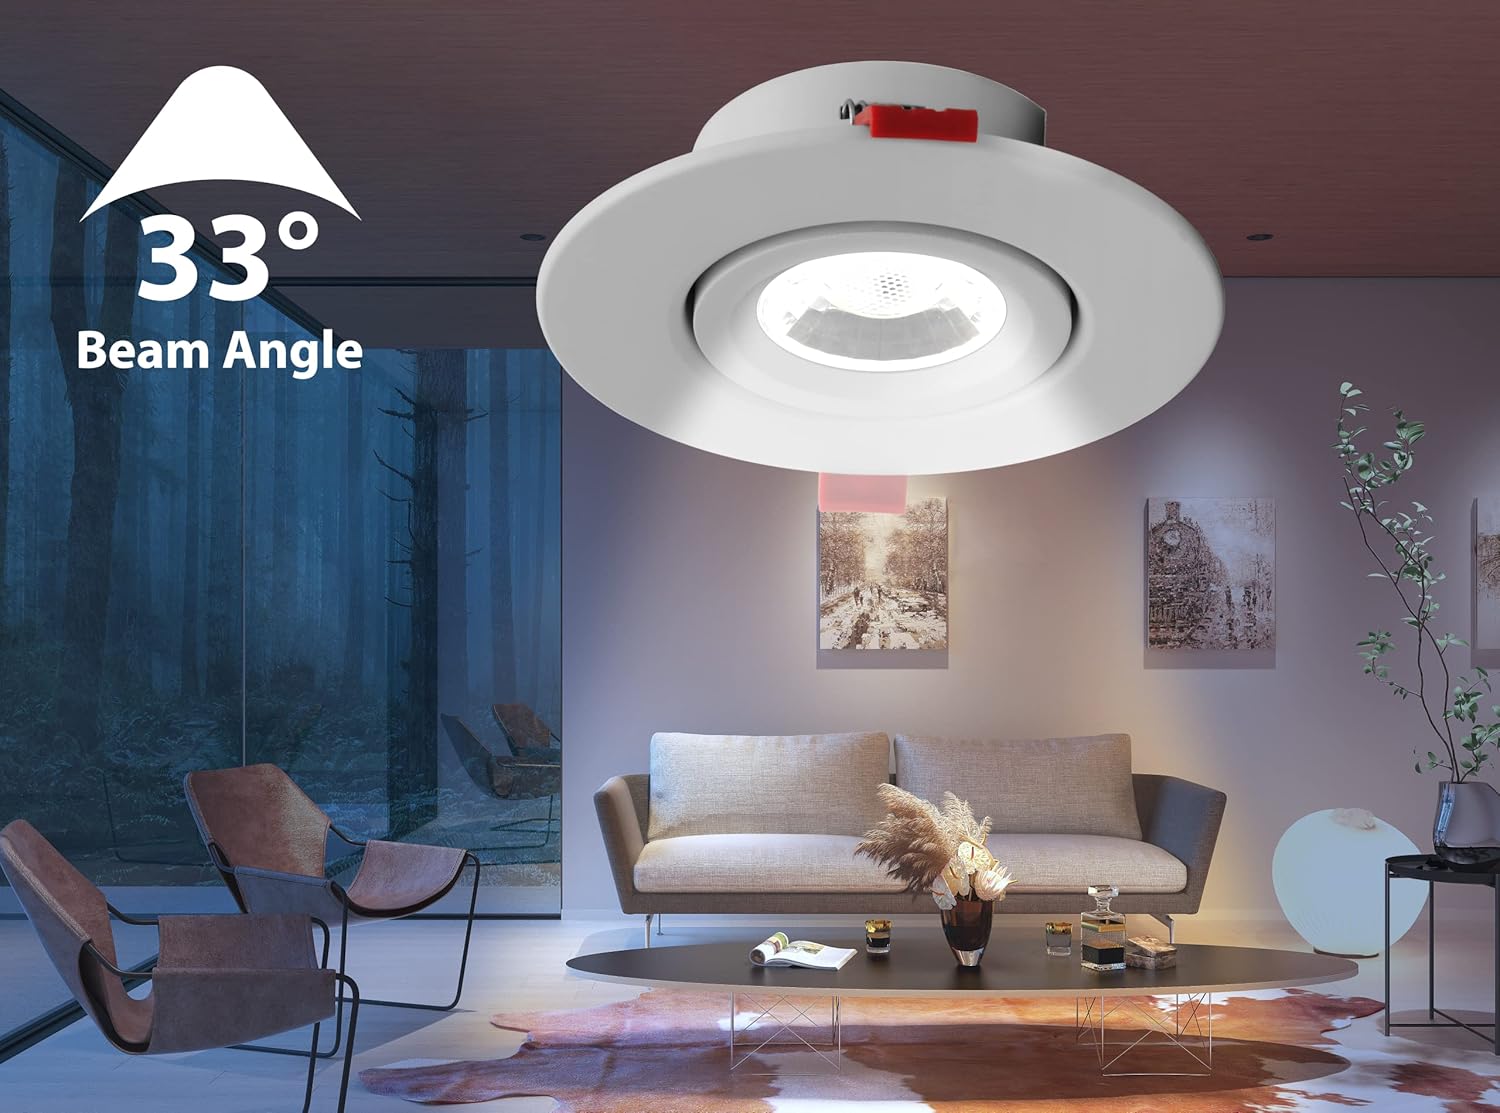
Image 4: Visual representation of the 33° beam angle, showing focused illumination.

Billede 5: Side view illustrerer lavprofitfile design, suitable for thin ceilings.

Billede 6: Top-down view of the fully enclosed aluminum housing, highlighting its protective features.
5. Opsætning og installation
Nødvendige værktøjer: Hole saw, measuring tape, pencil, wire strippers, screwdriver.
- Sluk for strømmen: Before starting any electrical work, ensure the power is turned off at the circuit breaker or fuse box to prevent electric shock.
- Mark and Cut Hole: Use the provided 3.75-inch template (or measure 3.75 inches) to mark the desired location on the ceiling. Use a hole saw to cut the opening.
- Tilslut ledninger: Open the remote junction box. Connect the building's electrical wires (hot, neutral, ground) to the corresponding wires inside the junction box using appropriate wire connectors. Ensure all connections are secure.
- Vælg farvetemperatur: Before closing the junction box, use the switch located inside to select your desired color temperature (2700K, 3000K, 3500K, 4000K, or 5000K).
- Sikker samledåse: Close the junction box and place it above the ceiling, ensuring it is securely positioned and not resting on the downlight.
- Tilslut downlight til samledåse: Connect the plenum-rated cable from the downlight to the remote junction box. Ensure the connection is firm.
- Installer downlight: Push the spring-loaded retention clips on the downlight upwards and insert the downlight into the ceiling opening. Release the clips to secure the fixture against the ceiling.
- Gendan strøm: Once the downlight is securely installed, restore power at the circuit breaker.

Image 7: Diagram showing the remote junction box and spring-loaded retention clips for canless installation.

Image 8: Simplified installation diagram illustrating the connection between the downlight and the driver above the ceiling.
6. Betjeningsvejledning
After successful installation, operate your downlight as follows:
- Tænd/sluk: Brug din almindelige vægkontakt til at tænde eller slukke lysarmaturet.
- Dæmpning: If connected to a compatible TRIAC LED dimmer, adjust the dimmer switch to control the light intensity.
- Adjusting Gimbal: Gently tilt the inner light module up to 25° in any direction or rotate it 360° to direct the light beam as desired.
- Ændring af farvetemperatur: To change the color temperature, you must first turn off power at the circuit breaker. Then, carefully remove the downlight from the ceiling to access the remote junction box. Open the junction box and adjust the CCT selection switch to your preferred setting. Reinstall the downlight and restore power.

Image 9: Close-up of the selectable color temperature switch located within the remote junction box.
7. Vedligeholdelse
The NICOR DGC43120SRDWH LED downlight requires minimal maintenance.
- Rensning: Sørg for, at strømmen er slukket, inden rengøring. Tør armaturet af med en blød, tør eller let fugtet klud.amp klud. Brug ikke skrappe kemikalier eller slibende rengøringsmidler, da de kan beskadige overfladen eller de elektriske komponenter.
- Udskiftning af pære: The LED light source is integrated and not user-replaceable. If the LED fails, the entire fixture should be replaced.
8. Fejlfinding
| Problem | Mulig årsag | Løsning |
|---|---|---|
| Lyset tændes ikke. | Ingen strøm til armaturet. Løs ledningsforbindelse. Defekt armatur. | Kontroller afbryderen og vægafbryderen. Kontroller, at alle ledningsforbindelser er sikre (med strømmen slukket). Contact customer support if wiring is correct and power is present. |
| Lyset flimrer eller dæmpes forkert. | Inkompatibel lysdæmper. Løse ledninger. Strømstød. | Ensure dimmer is a compatible TRIAC LED dimmer. Kontroller ledningsforbindelserne (med strømmen afbrudt). Consider installing surge protection. |
| Forkert farvetemperatur. | CCT-kontakten er indstillet forkert. | Turn off power, access junction box, and adjust CCT switch. |
9. Specifikationer
| Attribut | Værdi |
|---|---|
| Mærke | Nicor |
| Modelnummer | DGC43120SRDWH |
| Armaturtype | Canless Downlight |
| Størrelse | 4 tommer |
| Farve | Hvid |
| Materiale | Aluminium, plast |
| Lyskilde | LED |
| Wattage | 8.7 watt |
| Lysstyrke | 805 Lumen (over 715 Lumens stated in features) |
| Voltage | 120 volt |
| Lys farve (CCT) | 2700K - 5000K (Selectable) |
| CRI | 97 (R9 value over 70) |
| Strålevinkel | 33° |
| Tilt justering | 25° |
| Rotationsjustering | 360° |
| Dæmpning | Dimmable to less than 5% (TRIAC LED Dimmers) |
| Installationstype | Indbygget montering, uden kanyle |
| Indendørs/Udendørs brug | Indendørs |
| Vandmodstandsniveau | Not Water Resistant (Wet location rated for housing) |
| Varens vægt | 1 pund |
| UPC | 767706195767 |

Image 10: Dimensional drawing showing the measurements of the downlight and its remote junction box.
10. Garantioplysninger
This NICOR DGC43120SRDWH downlight is protected by NICOR’s 5-Year Limited System Warranty.
Vigtige bemærkninger:
- For installationer, hvor strømstød kan være mulig, anbefaler NICOR at installere yderligere overspændingsbeskyttelse ved det elektriske distributionspanel.
- Garantien dækker ikke produktfejl på grund af overvoldtage-hændelse (strømstød).
11. Support og kontakt
If you have any questions, require technical assistance, or need to report an issue with your NICOR DGC43120SRDWH downlight, please contact NICOR customer support. Refer to the product packaging or the official NICOR webhjemmeside for de seneste kontaktoplysninger.


