
1. Sikkerhedsoplysninger
Læs venligst alle instruktioner omhyggeligt inden montering og brug. Gem denne manual til senere brug.
- Ensure not to exceed the maximum weight capacity of 300 lbsOverbelastning kan forårsage skade eller personskade.
- Adjust the chair according to the user's height and follow the assembly instructions precisely for safe use.
- Hold børn væk fra samleområdet. Små dele kan udgøre en kvælningsfare.
- Regularly check all bolts and screws to ensure they are tightened. Re-tighten if necessary.
- Stå ikke på stolen.
- Use the chair only for its intended purpose as an office or desk chair.

Image: SGS BIFMA certified gas lift, indicating compliance with safety and durability standards.
2. Pakkens indhold
Kontroller, at alle komponenter er til stede, før monteringen påbegyndes. Hvis der mangler eller er beskadigede dele, bedes du kontakte kundesupport.
- Ryglænsenhed (1)
- Sædehynde (1)
- Nakkestøtte (1)
- Armlæn (2)
- Gasløftecylinder (1)
- Stjernebase (1)
- Hjul (5)
- Mekanismeplade (1)
- Hardware Kit (Screws, Washers, Allen Wrench) (1)
- Brugervejledning (1)
3. Monteringsvejledning
Assembly typically takes 10-15 minutes. Follow these steps carefully.
- Fastgør hjul til basen: Sæt de fem hjul ind i hullerne for enden af hvert ben på stjernebasen, indtil de klikker sikkert på plads.
- Indsæt gasløft: Placer gasløftecylinderen i centerhullet på stjernebasen.
- Fastgør mekanismepladen til sædet: Align the mechanism plate with the pre-drilled holes on the underside of the seat cushion. Ensure the lever is on the right side when facing the front of the seat. Secure with screws from the hardware kit using the provided Allen wrench.

Billede: Underside view of the chair's mechanism plate, which attaches to the seat and controls adjustments.
- Fastgør armlæn til sæde: Secure the armrests to the sides of the seat cushion using the designated screws. Ensure they are firmly attached.
- Fastgør ryglænet til sædet: Align the backrest with the mounting points on the seat cushion and armrests. Secure with screws.
- Fastgør nakkestøtten: Insert the headrest into the top of the backrest until it is securely in place.
- Tilslut sæde til gaslift: Carefully place the assembled seat and backrest onto the gas lift cylinder, ensuring it is centered and fully seated.

Billede: Forside og bagside view of the fully assembled Flysky Ergonomic Office Desk Chair.
4. Betjeningsvejledning
The Flysky Ergonomic Office Desk Chair offers multiple adjustments for personalized comfort.
4.1 Adjusting Chair Height
- To raise the seat: While standing, pull the lever located under the right side of the seat upwards. The seat will rise. Release the lever at the desired height.
- To lower the seat: While seated, pull the lever located under the right side of the seat upwards. The seat will lower. Release the lever at the desired height.

Image: Close-up of the height adjustment lever located beneath the seat.
4.2 Adjusting Recline and Tilt Tension
- Recline Function (90°-120°): Push the same lever used for height adjustment inwards to lock the backrest in an upright position (90° work mode). Pull the lever outwards to unlock the recline function, allowing the backrest to tilt back (up to 120° rest/sleep mode).
- Vippespænding: Rotate the round knob located under the front-center of the seat. Turn clockwise to increase tilt tension (making it harder to recline) or counter-clockwise to decrease tension (making it easier to recline).

Image: Diagram illustrating the tilt and rocking function, showing the height lock lever and tilt tension knob.
4.3 Adjusting Headrest
- Højdejustering: Gently pull the headrest up or push it down to adjust its vertical position (up to 3.2 inches).
- Vinkeljustering: Rotate the headrest forward or backward (up to 90°) to find the optimal angle for neck support.
Billede: Detaljeret view of the adjustable headrest, showing lift, down, forward, backward, and rotation capabilities.
4.4 Adjusting Lumbar Support
- The chair features a 3D self-adaptive elastic lumbar pillow designed to conform to your lower back. No manual adjustment is typically required for its position, as it flexes with your posture.

Billede: Overview of ergonomic design, highlighting headrest, back support, lumbar support, and hip support.
4.5 Using Flip-Up Armrests
- To flip up the armrests: Gently lift the armrests upwards until they lock into a vertical position. This allows the chair to be pushed closer to a desk or stored more compactly.
- To lower the armrests: Pull the armrests downwards until they return to their horizontal position.

Image: Illustration of the flip-up armrest feature, showing the armrest in both down and up positions.
5. Vedligeholdelse
Proper maintenance will extend the life and appearance of your chair.
- Rensning: Tør af med annonceamp cloth. For mesh areas, use a soft brush or vacuum cleaner to remove dust and debris. Avoid harsh chemicals or abrasive cleaners.
- Inspektion: Periodically check all screws and bolts for tightness. Re-tighten as needed to prevent loosening and ensure stability.
- Hjulpleje: Hold hjulene fri for hår og snavs for at sikre jævn rulning.

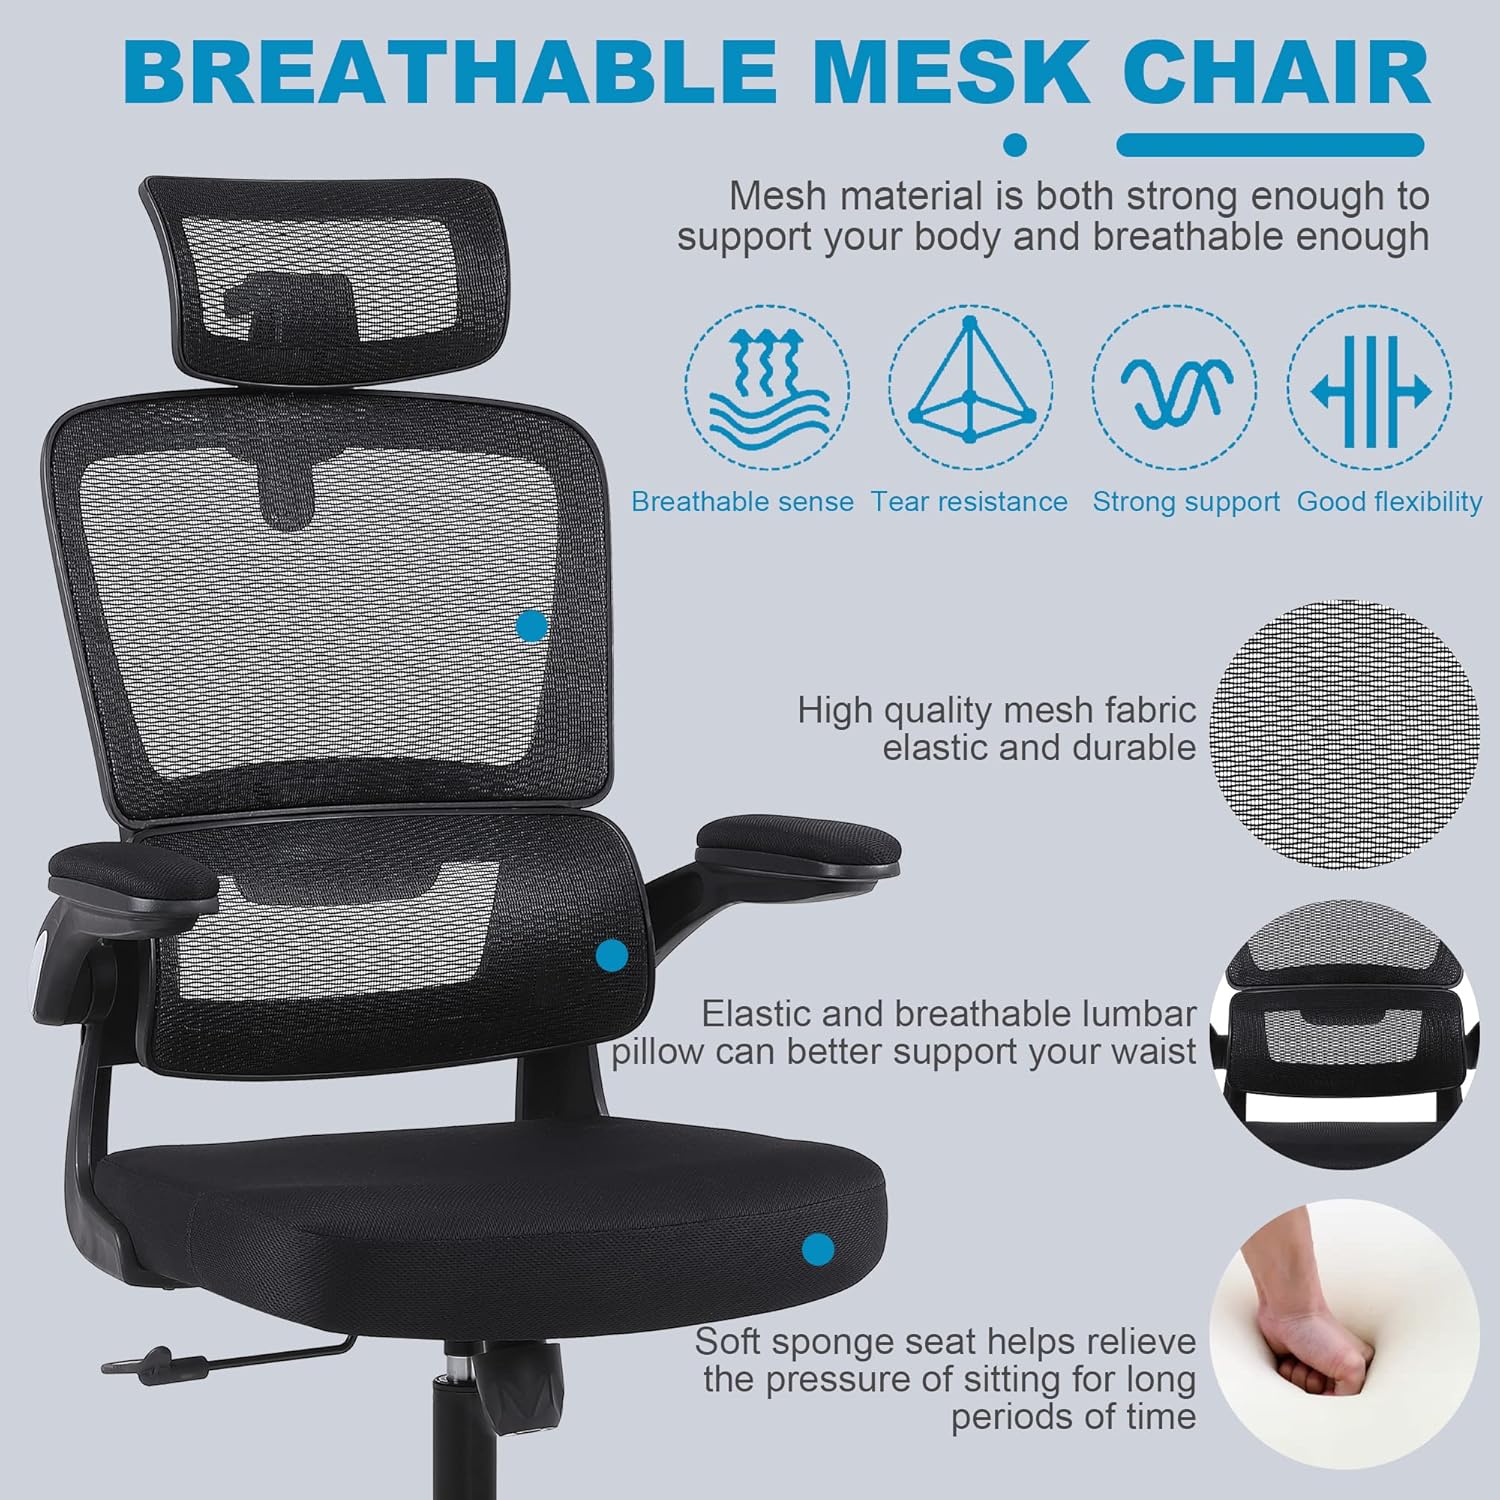
Image: Close-up of the breathable mesh fabric used for the chair's backrest and headrest.
6. Fejlfinding
Se dette afsnit for almindelige problemer og deres løsninger.
| Spørgsmål | Mulig årsag | Løsning |
|---|---|---|
| Stolen vakler eller føles ustabil | Løse skruer eller ujævn montering. | Check and tighten all screws, especially those connecting the seat, backrest, and mechanism plate. Ensure casters are fully inserted. |
| Stolen justerer ikke højden | Gas lift lever not engaged correctly or gas lift cylinder malfunction. | Ensure the lever is fully pulled up. If the issue persists, the gas lift cylinder may need replacement. Contact customer support. |
| Hjulene ruller ikke jævnt | Affald sidder fast i hjulene eller er beskadigede hjul. | Fjern hår eller snavs fra hjulene. Hvis de er beskadigede, kan hjulene udskiftes. |
| Ryglænet kan ikke lænes tilbage eller låses | Recline lever not engaged or tilt tension too high. | Pull the recline lever outwards to unlock. Adjust the tilt tension knob counter-clockwise to reduce tension. |
7. Specifikationer
Key technical specifications for the Flysky Ergonomic Office Desk Chair Model S5016.
| Feature | Detalje |
|---|---|
| Modelnavn | S5016 |
| Mærke | Flysky |
| Farve | Mesh sort |
| Produktmål (D x B x H) | 28"D x 22"W x 42"H (Adjustable height) |
| Maksimal vægtanbefaling | 300 pund |
| Varens vægt | 20 pund |
| Rygstil | Mesh-ryg |
| Særlige funktioner | Adjustable Height, Arm Rest (Flip-Up), Ergonomic, Head Support, Rolling, Lumbar Support |
| Tilbagelænet Position Tæl | >=2 (90°-120°) |
| Fyldningsmateriale | Mesh |
| Møbelbasebevægelse | Drejelig |

Image: Diagram showing the key dimensions of the Flysky Ergonomic Office Desk Chair.

Image: Illustration of the chair's sturdy base, highlighting its 300 lbs weight capacity.
8. Garanti og support
For warranty information, technical support, or to inquire about replacement parts, please contact Flysky customer service. Refer to the contact information provided with your purchase or visit the official Flysky webwebsted.
We are committed to assisting you with any questions or concerns regarding your product.