1. Introduktion
This manual provides essential information for the proper installation, configuration, and operation of your Teltonika RUT951 4G LTE Router. The RUT951 is a robust industrial cellular router designed for professional applications, offering reliable internet connectivity via 4G LTE, Wi-Fi, and Ethernet. It features dual-SIM support for network redundancy and is powered by RutOS, providing advanced customization and security features.
2. Produktet er slutview
2.1 Nøglefunktioner
- Dual-SIM 4G LTE cellular connectivity for reliable network access.
- Integrated Wi-Fi (802.11b/g/n) for local wireless networking.
- Four Ethernet interfaces (3x LAN, 1x WAN) for wired connections.
- Powered by RutOS for advanced customization, automation, and security.
- Robust design suitable for various IoT and industrial scenarios.
2.2 Pakkens indhold
The standard package for the Teltonika RUT951 router typically includes:
- Teltonika RUT951 Router Unit
- Strømadapter
- 2 x Mobile Antennas (SMA)
- 2 x Wi-Fi Antennas (RP-SMA)
- Ethernet kabel
- Hurtig startvejledning
2.3 Router Layout
Familiarize yourself with the router's ports, indicators, and slots.
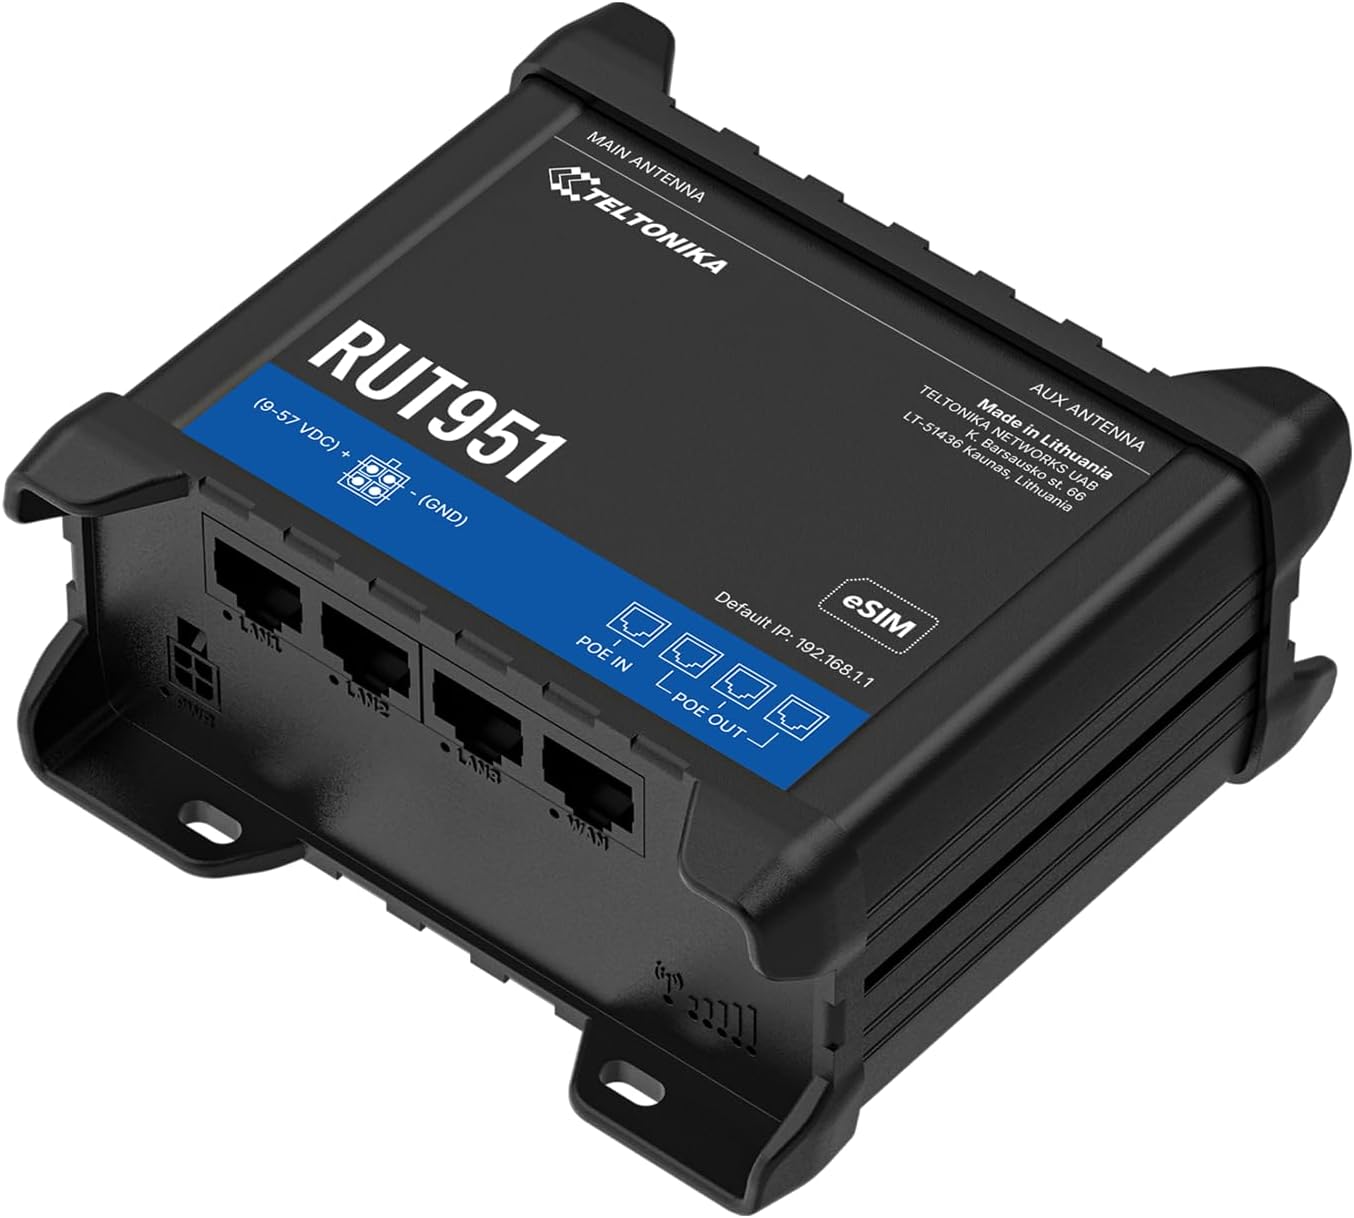
Figur 1: Front view of the Teltonika RUT951 router, showing the model name and general design.

Figur 2: Detailed diagram illustrating the various ports and indicators on the Teltonika RUT951 router, including mobile and Wi-Fi antenna connectors, SIM slots, Ethernet ports, power socket, and LED indicators.
- Mobile AUX Antenna Connector (SMA female): For secondary mobile antenna.
- Mobile MAIN Antenna Connector (SMA female): For primary mobile antenna.
- SIM1 / SIM2 Slots: Til isætning af mobil-SIM-kort.
- Genstarts knap: To restore factory settings or reboot.
- Wi-Fi Antenna Connectors (RP-SMA female): For Wi-Fi antennas.
- Stikkontakt: Til tilslutning af strømadapteren.
- LAN Ethernet-porte: For connecting local network devices.
- WAN Ethernet Port: For connecting to an external network (e.g., fiber modem).
- Mobile Signal Strength LEDs: Indicate cellular signal strength.
- Mobile Connection Status LED: Indicates cellular connection status.
- LAN LED'er: Indicate activity on LAN ports.
- WAN LED: Angiver aktivitet på WAN-porten.
3. Opsætningsvejledning
3.1 Installation af SIM -kort
- Locate the SIM card slots (SIM1 and SIM2) on the top panel of the router.
- Using a SIM ejector tool or a paperclip, gently press the small button next to the SIM slot to open it.
- Insert your activated Mini-SIM card(s) into the slot(s) with the gold contacts facing down and the notched corner oriented correctly.
- Push the SIM tray back into the router until it clicks into place.

Figur 3: Top view of the RUT951, highlighting the SIM card slots and antenna connectors.
3.2 Antenneforbindelse
- Screw the two mobile antennas onto the SMA connectors labeled 'MOBILE' (MAIN and AUX) on the top panel.
- Screw the two Wi-Fi antennas onto the RP-SMA connectors labeled 'WIFI' on the top panel.
- Ensure all antennas are securely tightened for optimal signal reception.
3.3 Strømtilslutning
- Connect the provided power adapter to the power socket on the router.
- Sæt den anden ende af strømadapteren i en passende stikkontakt.
- The router will power on automatically. Observe the power LED indicator.

Figur 4: Bund view of the RUT951, showing the Ethernet ports and power input.
3.4 Ethernet-forbindelse
To connect a device directly to the router:
- Connect one end of an Ethernet cable to any of the LAN ports (LAN1, LAN2, LAN3) on the router.
- Connect the other end of the Ethernet cable to your computer or network device.
- If you are using the router as a WAN gateway, connect your external modem (e.g., fiber modem) to the WAN port.
4. Betjeningsvejledning
4.1 Førstegangsadgang til WebUI
- Ensure your computer is connected to the router via Ethernet or Wi-Fi. The default Wi-Fi SSID and password can be found on the router's label.
- Åbn a web browser og indtast standard-IP-adressen: 192.168.1.1
- Du vil blive bedt om loginoplysninger. Standardbrugernavnet er admin. The default password is also admin (or as specified on the router's label).
- Upon first login, you will be guided through a setup wizard to change the default password and configure basic settings.
4.2 Netværkskonfiguration
After initial login, you can configure various network settings through the WebUI:
- WAN-indstillinger: Configure your cellular (4G LTE) connection, including APN settings, or set up the Ethernet WAN port.
- LAN-indstillinger: Manage the local network IP address range and DHCP server.
- Wi-Fi-indstillinger: Change Wi-Fi SSID, password, security protocols, and channel settings.
- Dobbelt SIM-kort: Configure failover or load balancing between the two SIM cards for continuous connectivity.
- VPN: Set up various VPN protocols for secure remote access.
5. Vedligeholdelse
5.1 firmwareopdateringer
Regularly updating the router's firmware is crucial for security, performance, and new features. Firmware updates can be performed via the WebUI under the 'System' or 'Firmware' section. Always download firmware from the official Teltonika Networks webwebsted.
5.2 Fabriksindstilling
Hvis du støder på vedvarende problemer eller glemmer dine loginoplysninger, kan du udføre en fabriksnulstilling:
- Når routeren er tændt, skal du finde RESET-knappen (se figur 2).
- Press and hold the RESET button for approximately 10 seconds until all LEDs flash.
- Slip knappen. Routeren genstarter med fabriksindstillingerne.
6. Fejlfinding
- Ingen internetforbindelse:
- Kontroller isætning og aktivering af SIM-kort.
- Bekræft APN-indstillinger i WebUI.
- Ensure mobile antennas are securely connected.
- Kontroller LED'erne for mobilsignalstyrken.
- Wi-Fi virker ikke:
- Sørg for, at Wi-Fi er aktiveret i WebUI.
- Check Wi-Fi antenna connections.
- Bekræft Wi-Fi SSID og adgangskode.
- Kan ikke få adgang WebUI:
- Ensure your device is connected to the router (Ethernet or Wi-Fi).
- Bekræft din computers IP-indstillinger (bør være indstillet til at hente IP automatisk).
- Prøv at rydde din browsers cache eller brug en anden browser.
- Perform a factory reset if you suspect incorrect IP configuration or forgotten password.
7. Specifikationer
| Feature | Specifikation |
|---|---|
| Mærke | Teltonica |
| Modelnavn | RUT951 |
| Forbindelsesteknologi | Wi-Fi, 4G LTE, 3G, 2G |
| Standard for trådløs kommunikation | 802.11b, 802.11g, 802.11n |
| Frekvensbåndsklasse | Dual-Band |
| Antal havne | 4 (3x LAN, 1x WAN) |
| LAN-portbåndbredde | 100 Mbps |
| Dataoverførselshastighed | 150 Megabits Per Second (Max Upstream) |
| Operativsystem | RutOS |
| Varens vægt | 287 gram |
| Voltage | 30 volt |
| Sikkerhedsprotokol | WPS (and others via RutOS) |
| Dækning | Dual SIM network redundancy |
8. Sikkerhedsoplysninger
- Brug kun den strømadapter, der følger med enheden.
- Udsæt ikke enheden for vand, fugt eller ekstreme temperaturer.
- Undgå at placere enheden i nærheden af varmekilder eller i direkte sollys.
- Sørg for korrekt ventilation for at forhindre overophedning.
- Forsøg ikke at åbne eller ændre enheden. Dette vil ugyldiggøre garantien.
- Dispose of the device and its accessories responsibly according to local regulations.
9. Garanti og support
The Teltonika RUT951 router comes with a standard manufacturer's warranty. For detailed warranty terms and conditions, please refer to the documentation included with your product or visit the official Teltonika Networks website. For technical support, firmware downloads, and additional resources, please visit the Teltonika Networks support portal or contact your vendor.