
1. Introduktion
This manual provides detailed instructions for the HATOKU Stylus Pen ID732. This stylus is designed to enhance your interaction with compatible iPad models, offering features like fast charging, palm rejection, and tilt sensitivity for a natural writing and drawing experience.
Kompatibilitet
The HATOKU Stylus Pen is compatible with iPad models released between 2018 and 2025, including:
- iPad 6th, 7th, 8th, 9th, 10th, 11th Generation
- iPad Air 3rd, 4th, 5th Generation, iPad Air M2/M3
- iPad Mini 5th, 6th, 7th Generation
- iPad Pro 11-inch (1st, 2nd, 3rd, 4th Generation), iPad Pro 11-inch M4/M5
- iPad Pro 12.9-inch (3rd, 4th, 5th, 6th Generation), iPad Pro 13-inch M4/M5
Note: This stylus is not compatible with iPad Pro 12.9" 1st/2nd Gen, iPad Pro 10.5"/9.7", iPad 1/2/3/4/5 Generation, iPad Mini 1/2/3/4 Gen, or iPad Air 1st/2nd Gen.

Figure 1: Detailed compatibility chart for HATOKU Stylus Pen with iPad models.
2. Pakkens indhold
The HATOKU Stylus Pen package includes the following items:
- 1 x HATOKU styluspen (1. generation)
- 3 x Replaceable Pen Tips
- 1 x Type-C ladekabel
- 1 x brugermanual
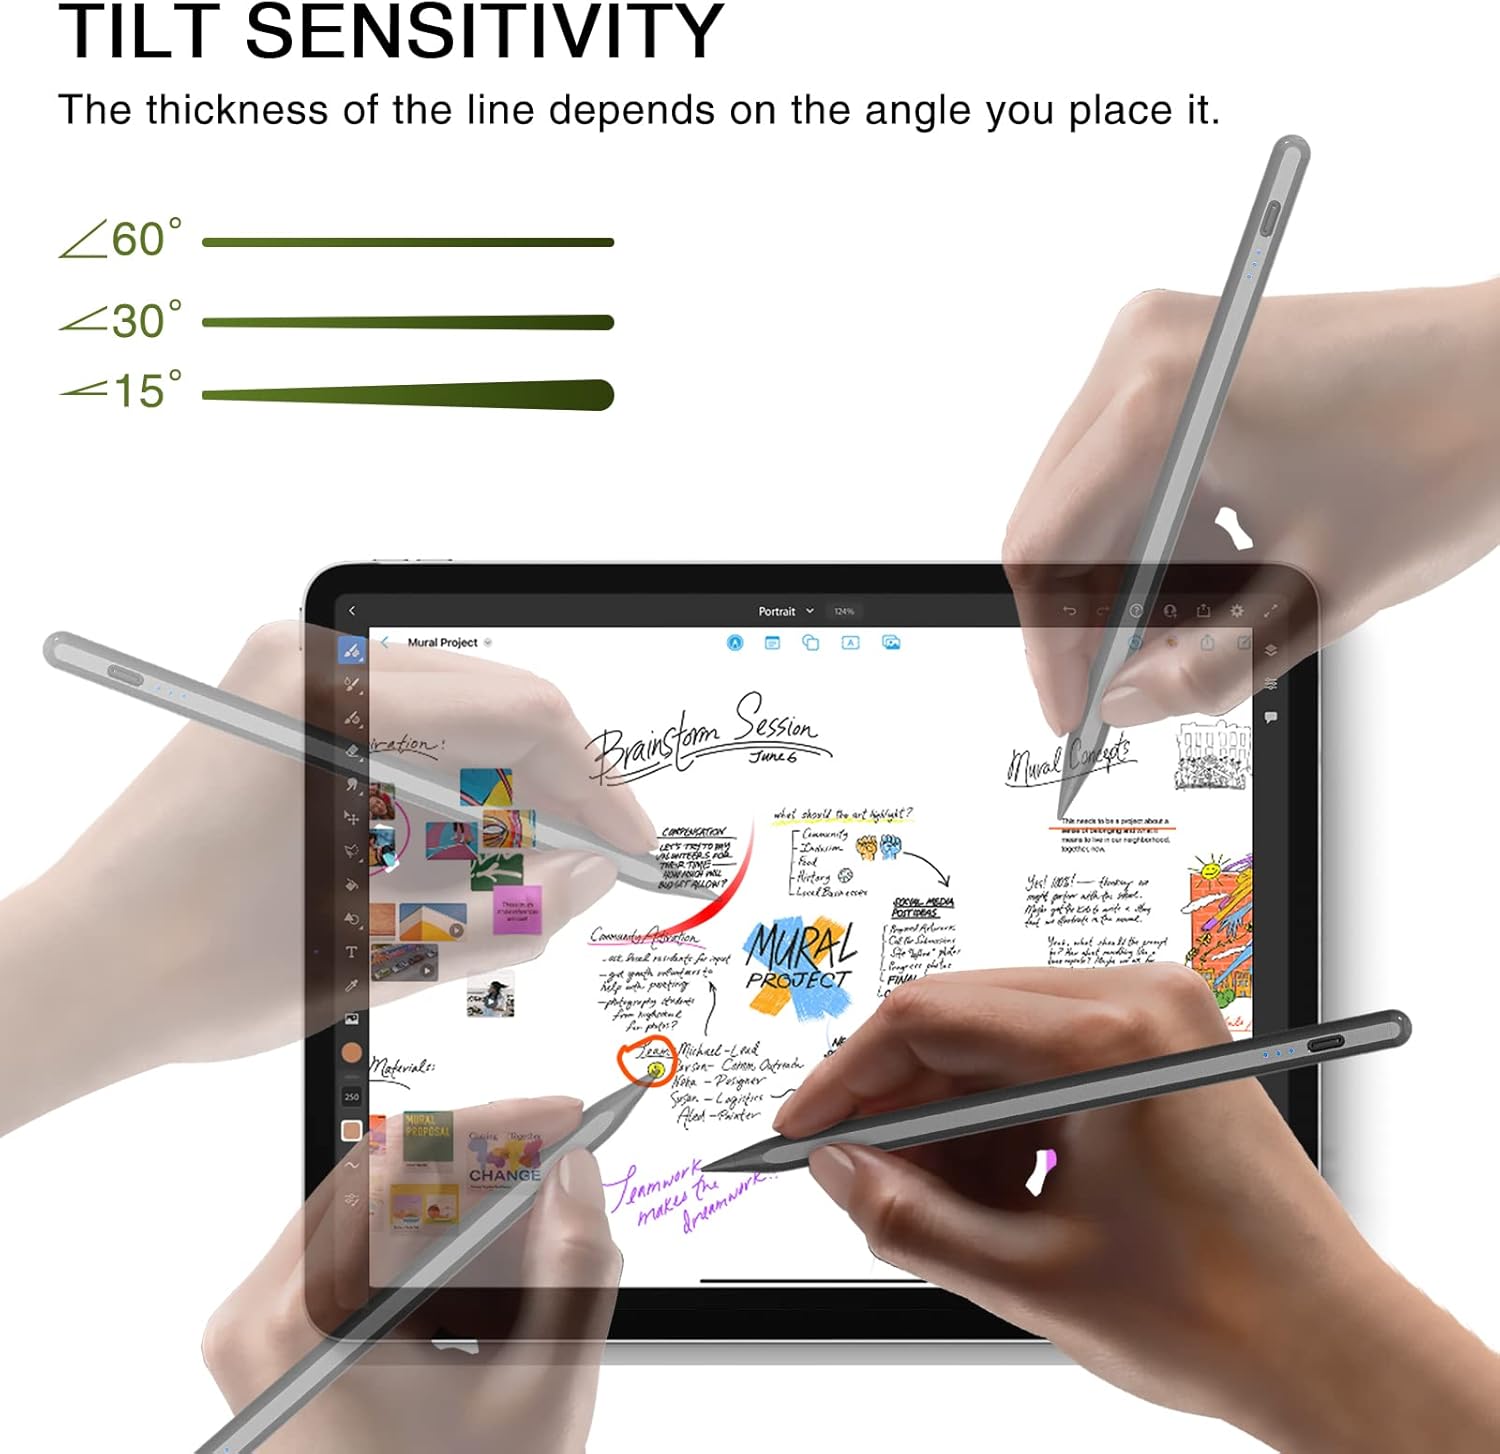
Figure 2: Contents of the HATOKU Stylus Pen package.
3. Opsætning
3.1 Opladning af styluspennen
The HATOKU Stylus Pen features fast charging. A full charge takes approximately 15 minutes and provides up to 8 hours of continuous writing and drawing time.
- Connect the provided Type-C charging cable to the charging port on the stylus.
- Tilslut den anden ende af kablet til en kompatibel USB-strømkilde.
- The LED indicator lights will show the charging status:
- 3 blå lys: 70% til fuld opladning
- 2 blå lys: 30% til 70% opladning
- 1 Blåt lys: 5% til 30% opladning
- 1 Flashing Blue Light: Less than 5% charge, requires immediate charging.
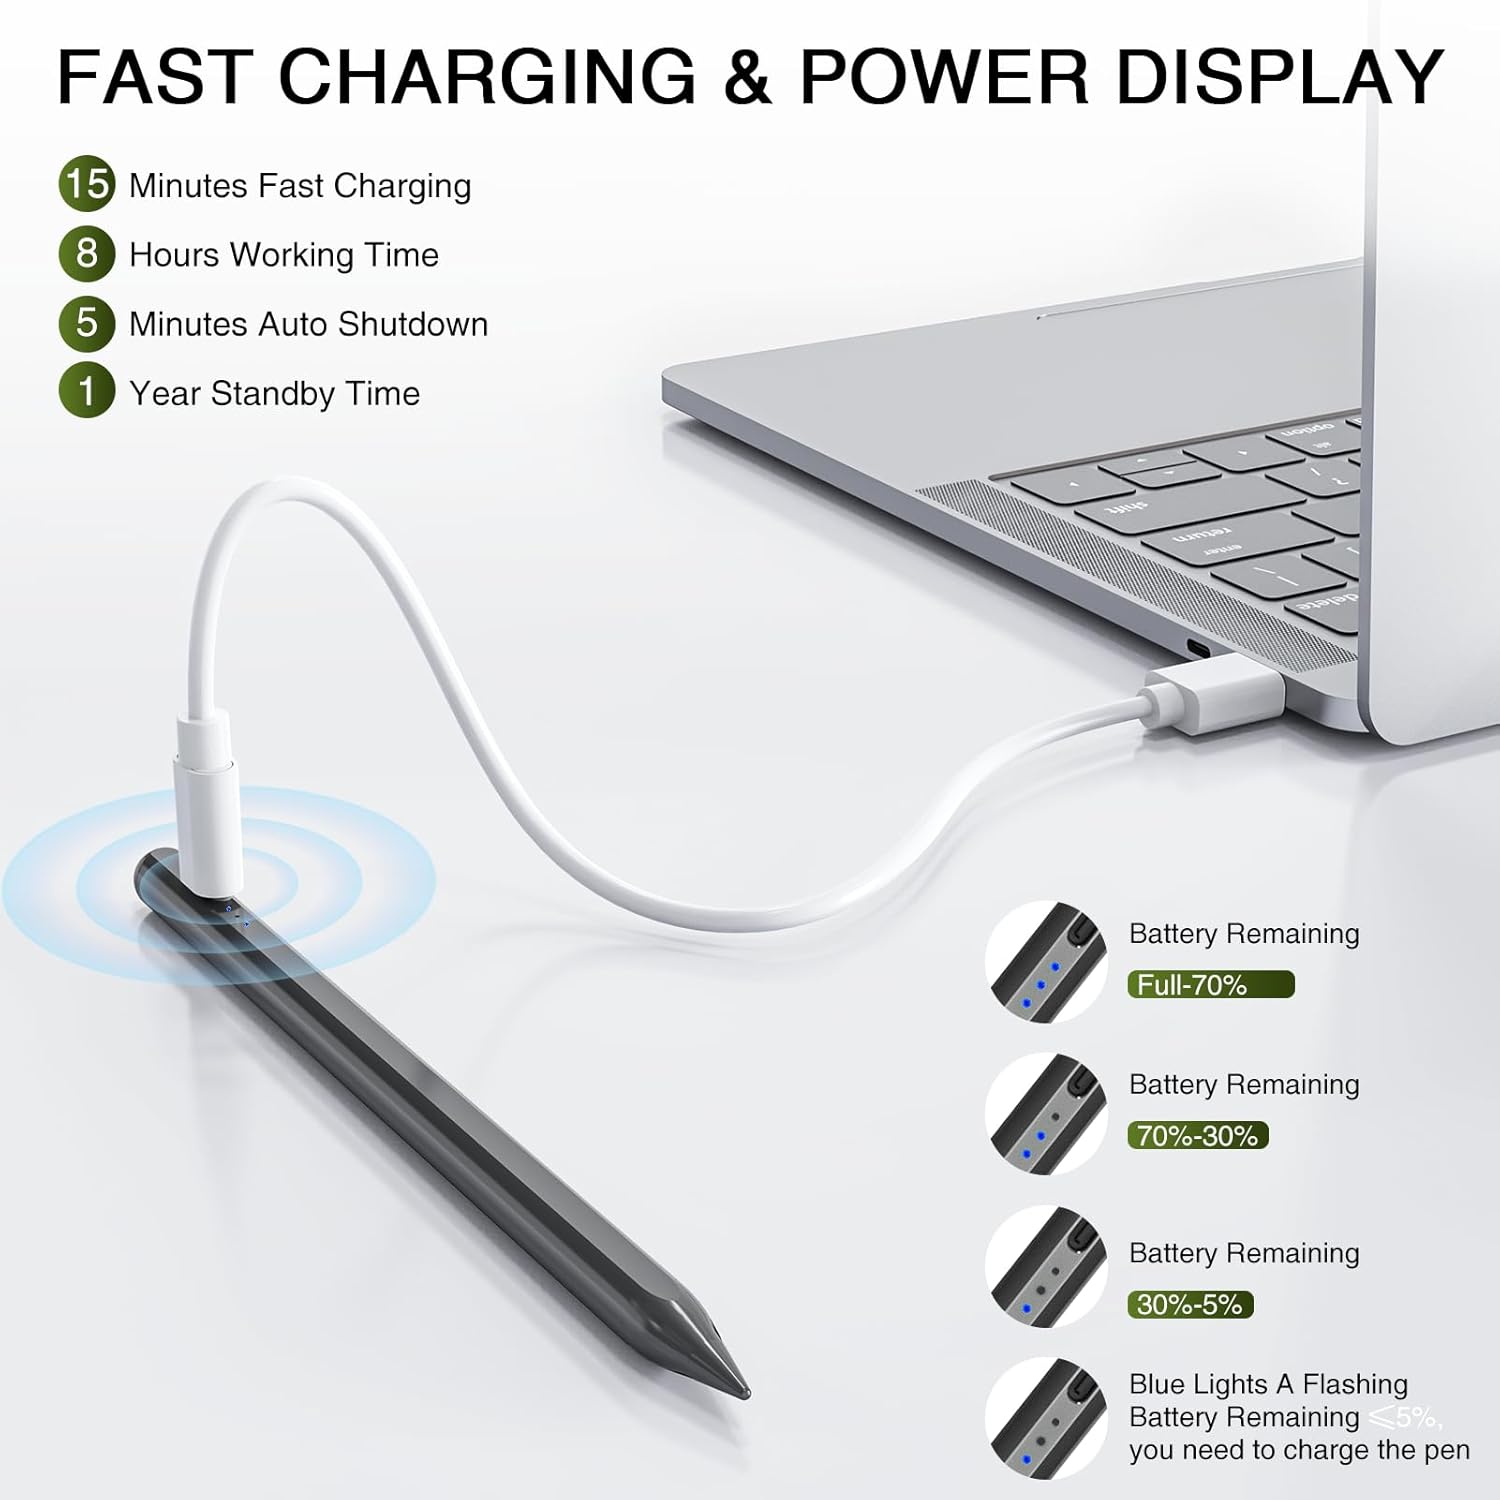
Figure 3: Stylus Pen charging and power display indicators.
3.2 Tænd/sluk
To power on or off the stylus, simply tap the top button. No Bluetooth pairing is required for basic functionality.
- Tænd: Tap the top button once. The blue indicator lights will illuminate.
- Sluk: Tap the top button once. The blue indicator lights will turn off.
- Automatisk nedlukning: The stylus will automatically turn off after 5-10 minutes of inactivity to conserve power.
Video 1: Demonstration of the HATOKU Stylus Pen's power on/off function and magnetic attachment. This video is provided by the seller.
4. Betjeningsvejledning
4.1 Afvisning af håndflade
The stylus supports palm rejection, allowing you to rest your hand naturally on the iPad screen without causing unintended marks or input. This feature ensures a comfortable and intuitive writing or drawing experience.
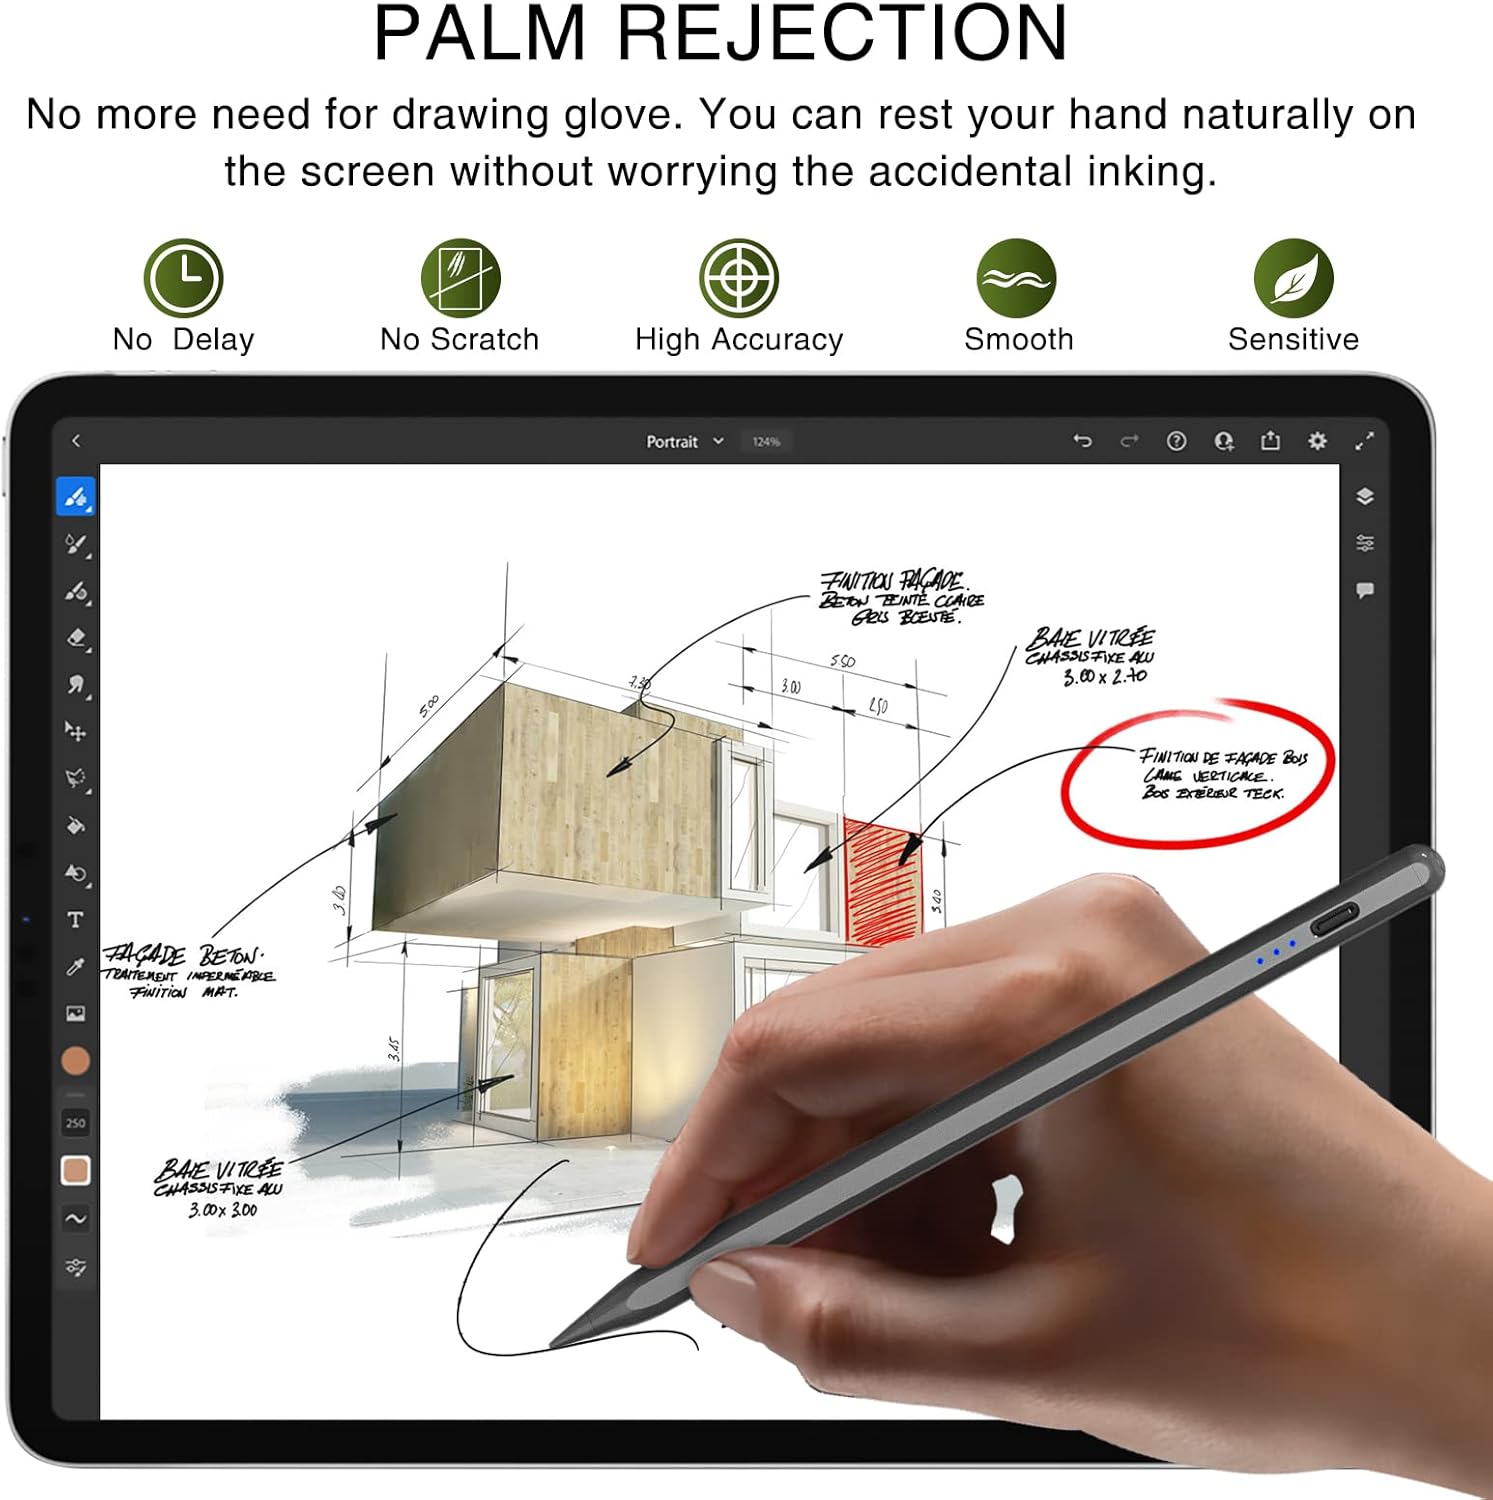
Figure 4: Palm rejection allows comfortable hand placement on the screen.
4.2 Hældningsfølsomhed
The stylus offers tilt sensitivity, meaning the thickness of the line drawn on the screen will vary based on the angle at which you hold the pen. This provides a more dynamic and artistic control over your strokes.
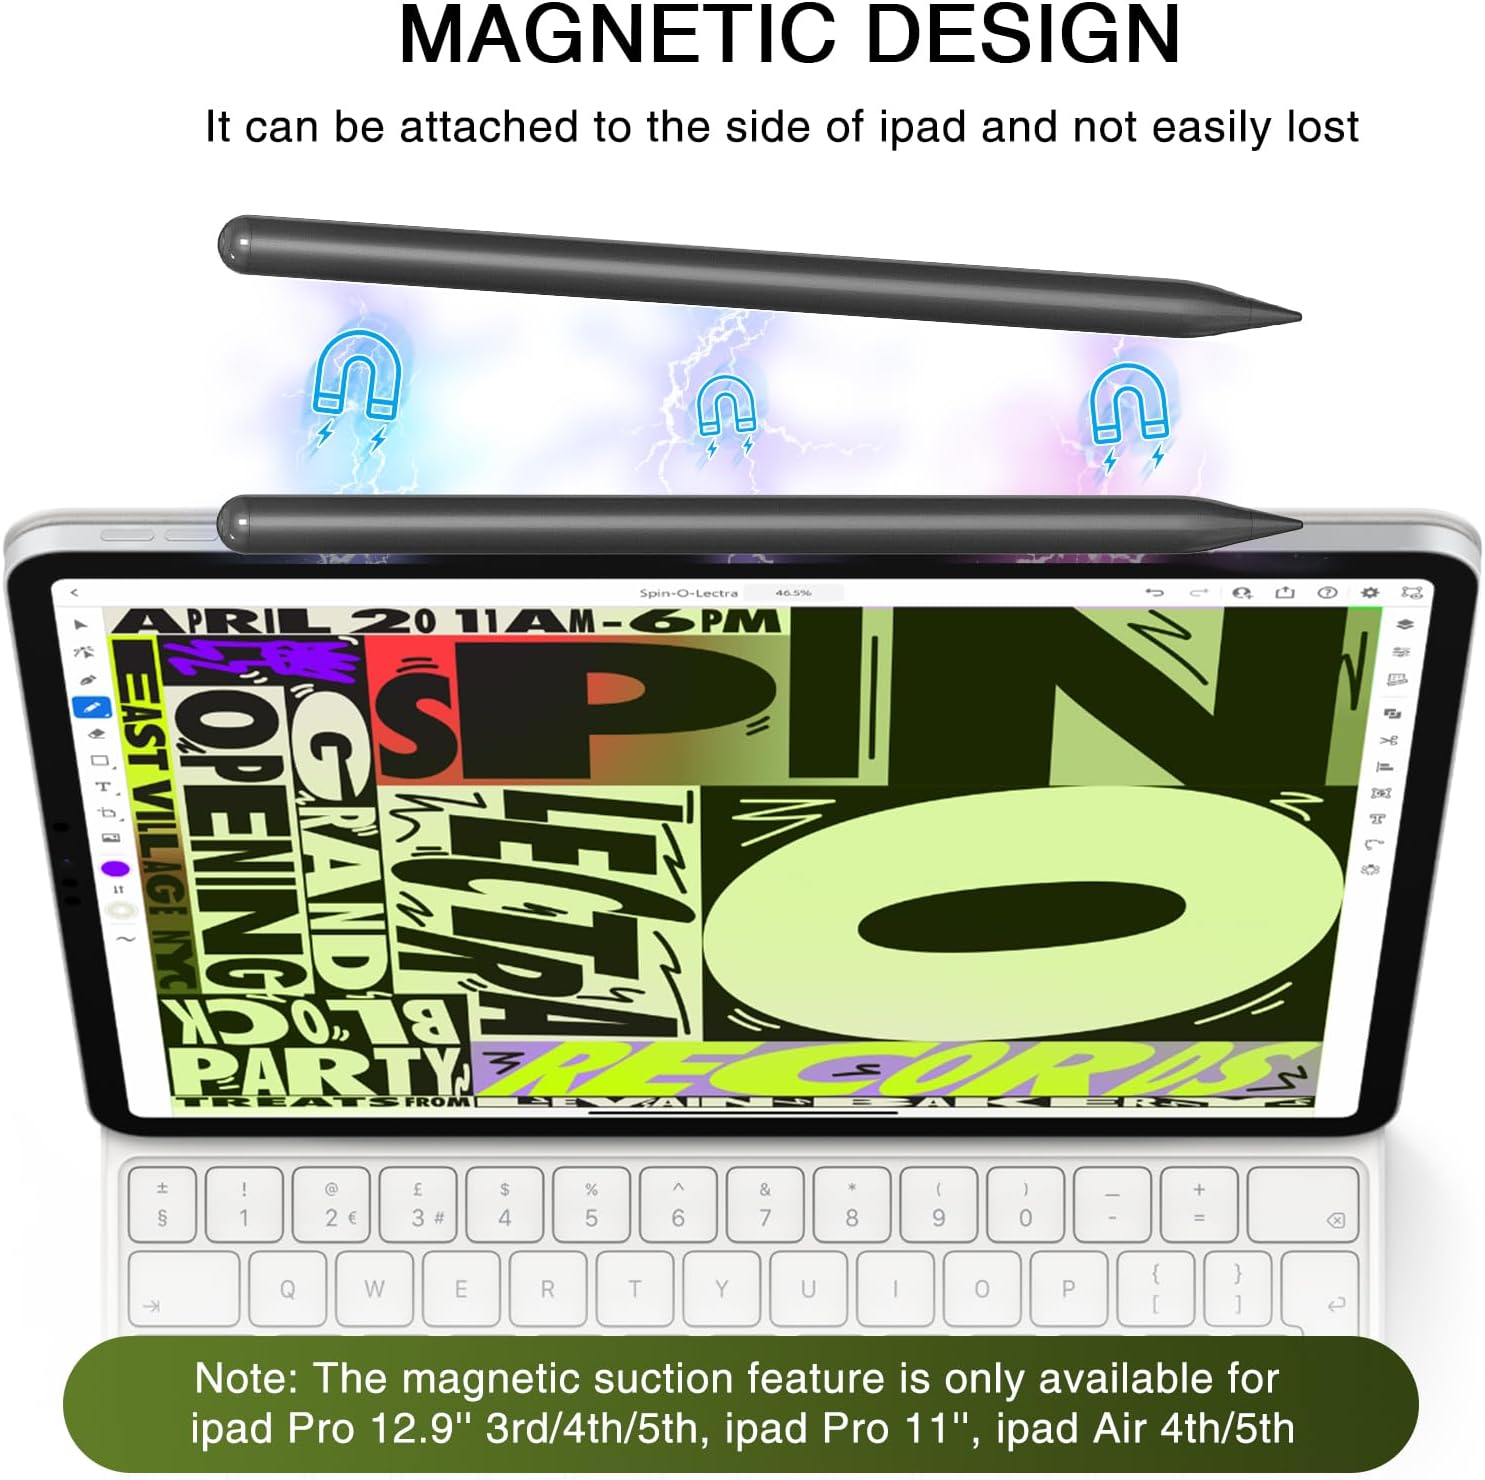
Figure 5: Tilt sensitivity feature for varied line thickness.
4.3 Magnetisk adsorption
The HATOKU Stylus Pen can magnetically attach to the side of compatible iPad models, preventing loss and keeping it readily accessible. This feature works with iPad Pro 12.9" (3rd/4th/5th Gen), iPad Pro 11"/13", iPad Air M2/M3/4th/5th Gen, and iPad Mini 6th Gen.
Figure 6: Magnetic attachment of the stylus to an iPad.
4.4 Generel brug
Once powered on, the stylus can be used directly on your iPad for various tasks:
- Writing notes and documents
- Tegning og skitsering
- Marking up PDFs and images
- Signing digital documents
- Navigating the iPad interface
Video 2: Overståetview of the HATOKU Pencil's features including fast charging, palm rejection, and tilt sensitivity. This video is provided by the seller.
5. Vedligeholdelse
5.1 Udskiftning af penspidser
The stylus comes with three replaceable pen tips. If the tip becomes worn or damaged, follow these steps to replace it:
- Gently twist the old pen tip counter-clockwise to remove it.
- Vælg en ny udskiftningsspids.
- Align the new tip with the stylus and twist clockwise until it is securely fastened.
6. Specifikationer
| Produktdimensioner | 0.28 x 0.28 x 6.54 tommer |
| Varens vægt | 0.49 ounce |
| Varemodelnummer | ID732 |
| Batterier | 1 Lithium Polymer batteri påkrævet (medfølger) |
| Battery Average Life Standby | 365 timer |
| Fabrikant | HATOKU |
| Materiale | Aluminium |
| Farve | Sort |
7. Garanti og support
HATOKU offers a 1-year warranty from the purchase date for the Stylus Pen. For any questions or support needs, please contact our 24/7 online customer service. Our goal is to ensure customer satisfaction, and we will assist with refunds or replacements as necessary.


