1. Vigtige sikkerhedsforanstaltninger
Ved brug af elektriske apparater skal grundlæggende sikkerhedsforanstaltninger altid følges for at reducere risikoen for brand, elektrisk stød og personskade, herunder følgende:
- Læs alle instruktioner før brug af apparatet.
- Betjen ikke noget apparat med en beskadiget ledning eller stik, eller efter at apparatet ikke fungerer korrekt eller er blevet beskadiget på nogen måde.
- Må ikke bruges udendørs.
- Nedsænk ikke ledning, stik eller apparat i vand eller anden væske.
- Tæt opsyn er nødvendigt, når et apparat bruges af eller i nærheden af børn.
- Lad ikke ledningen hænge ud over kanten af et bord eller bord eller røre ved varme overflader.
- Må ikke placeres på eller i nærheden af en varm gas- eller elektrisk brænder eller i en opvarmet ovn.
- Sæt altid stikket i apparatet først, og sæt derefter ledningen i stikkontakten. For at afbryde forbindelsen skal du slukke for en vilkårlig knap og derefter tage stikket ud af stikkontakten.
- Brug ikke apparatet til andet end tilsigtet brug.
- Always ensure the glass turntable is properly seated before operation.
- Opvarm ikke væsker eller andre fødevarer i lukkede beholdere, da de er tilbøjelige til at eksplodere.
- Maintain the inside of the oven. Food particles or spilled liquids can cause arcing or fire.
- Forsøg ikke at betjene denne ovn med døren åben, da betjening af en åben dør kan resultere i skadelig eksponering for mikrobølgeenergi.
- Anbring ikke genstande mellem ovnens forside og lågen, og lad ikke snavs eller rengøringsrester samle sig på tætningsflader.
- Brug ikke ovnen, hvis den er beskadiget. Det er især vigtigt, at ovndøren lukker korrekt, og at der ikke er skader på (1) døren (bøjet), (2) hængsler og låse (brudte eller løse), (3) dørtætninger og tætningsflader.
- Ovnen bør ikke justeres eller repareres af andre end kvalificeret servicepersonale.
2. Produktet er slutview
The West Bend 900-Watt 0.9 Cu. Ft. Compact Microwave Oven (Model WBMW92W) is designed for convenient and efficient cooking in various settings. It features a compact footprint, electronic control panel, and a rotating glass turntable for even heating.

Figur 2.1: The West Bend Microwave Oven (Model WBMW92W) positioned on a kitchen countertop, showcasing its compact design and white finish. The microwave features a black door and control panel, with a silver trim.
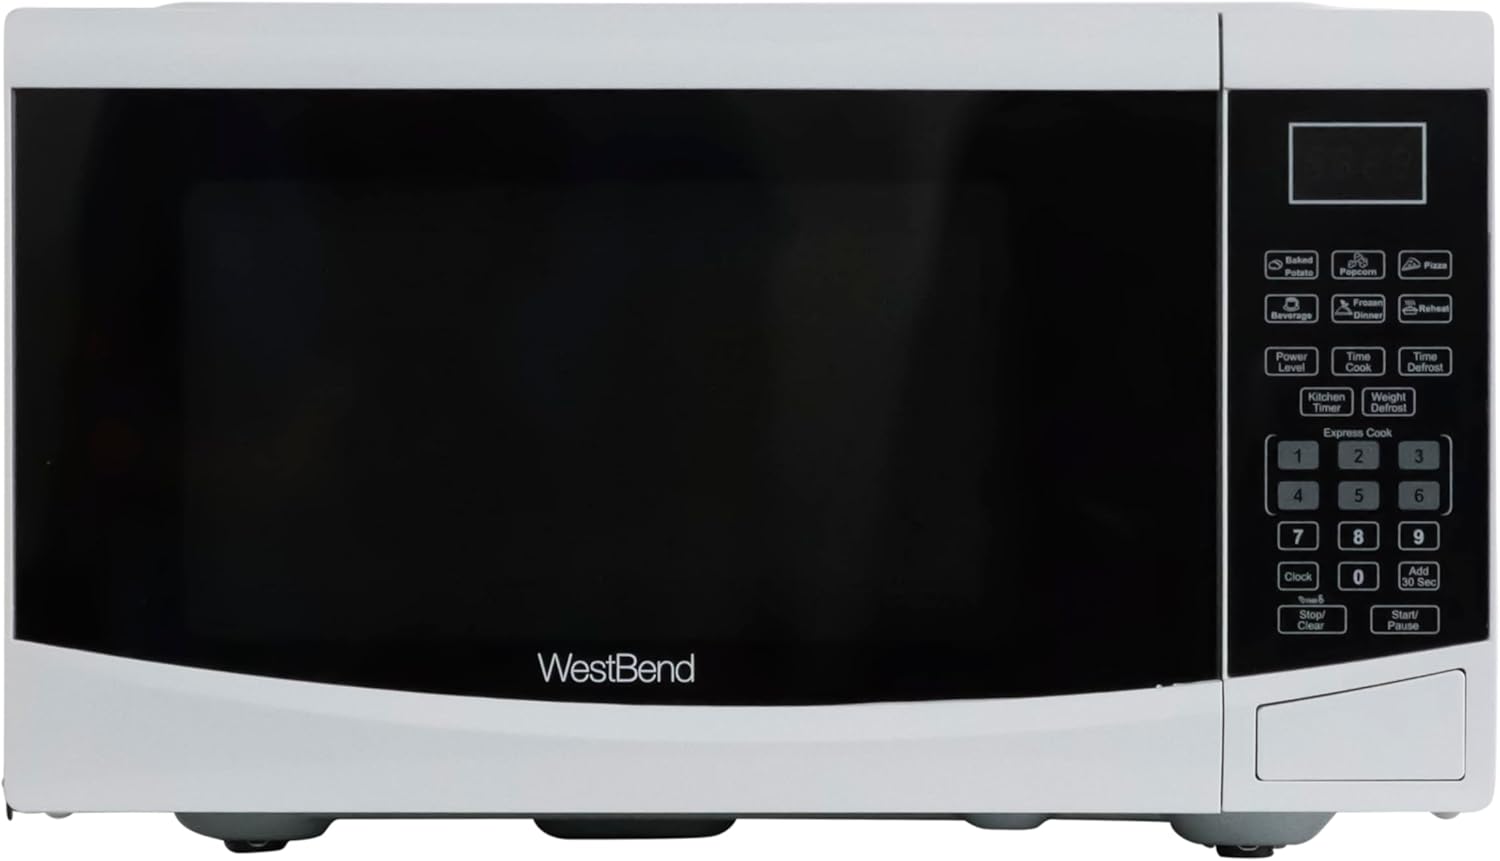
Figur 2.2: En direkte front view of the West Bend Microwave Oven, highlighting the door, control panel, and the West Bend logo. The unit is white with a black door and silver accents.
Figur 2.3: The interior of the microwave oven with the door open, revealing the glass turntable and the oven cavity. The interior is white, and the 900 WATTS power rating is visible above the door opening.
3. Opsætning og installation
3.1 Udpakning
Carefully remove the microwave oven from its packaging. Remove all packing materials, including any protective film or tape from the oven surfaces. Check the oven for any damage, such as dents or a misaligned door. Do not operate the oven if it is damaged. Contact customer support if any damage is found.
3.2 Montering af pladespiller
Place the roller ring in the depression in the bottom of the microwave oven. Place the glass turntable on top of the roller ring, ensuring it is securely seated in the center support.
- Stil aldrig glasbakken på hovedet.
- The glass tray and roller ring must always be used during cooking.
- Al mad og beholdere med mad skal altid placeres på glasbakken til madlavning.
3.3 Placering
Place the microwave oven on a flat, stable surface that can support its weight and the heaviest food item likely to be cooked in it. Ensure there is adequate ventilation around the oven. Maintain a minimum of 3 inches (7.5 cm) of space on the top, sides, and rear for proper airflow.
3.4 Elektriske krav
The microwave oven requires a standard 120V AC, 60Hz electrical outlet. Do not use an extension cord. Ensure the outlet is properly grounded.
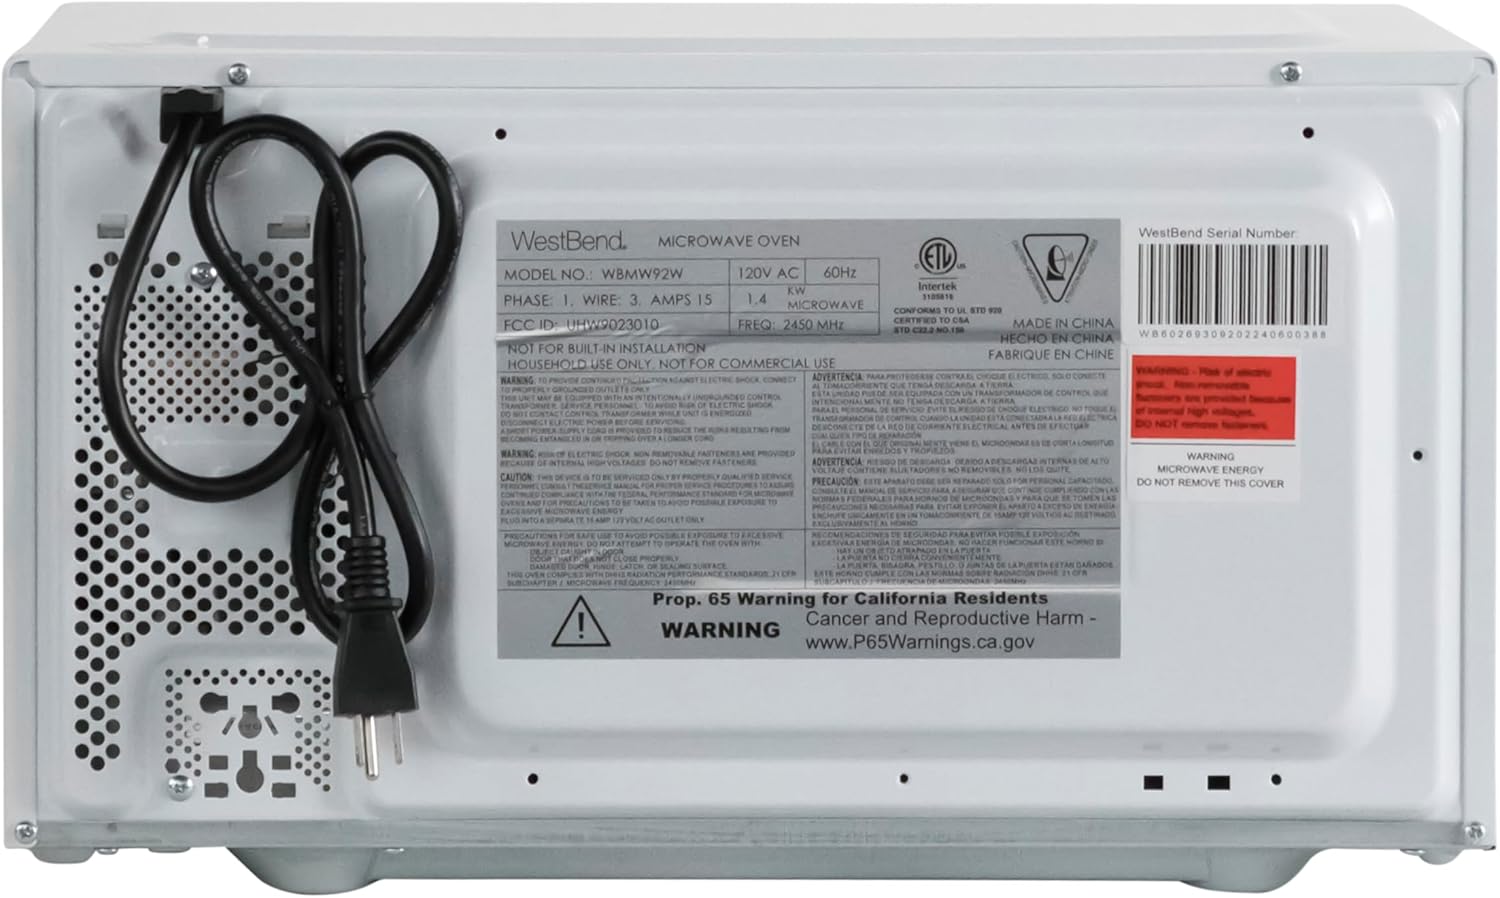
Figur 3.1: The rear of the microwave oven, displaying the power cord and the product information label with electrical specifications and model number WBMW92W.
4. Betjeningsvejledning
The control panel allows you to set cooking times, power levels, and use pre-programmed functions.

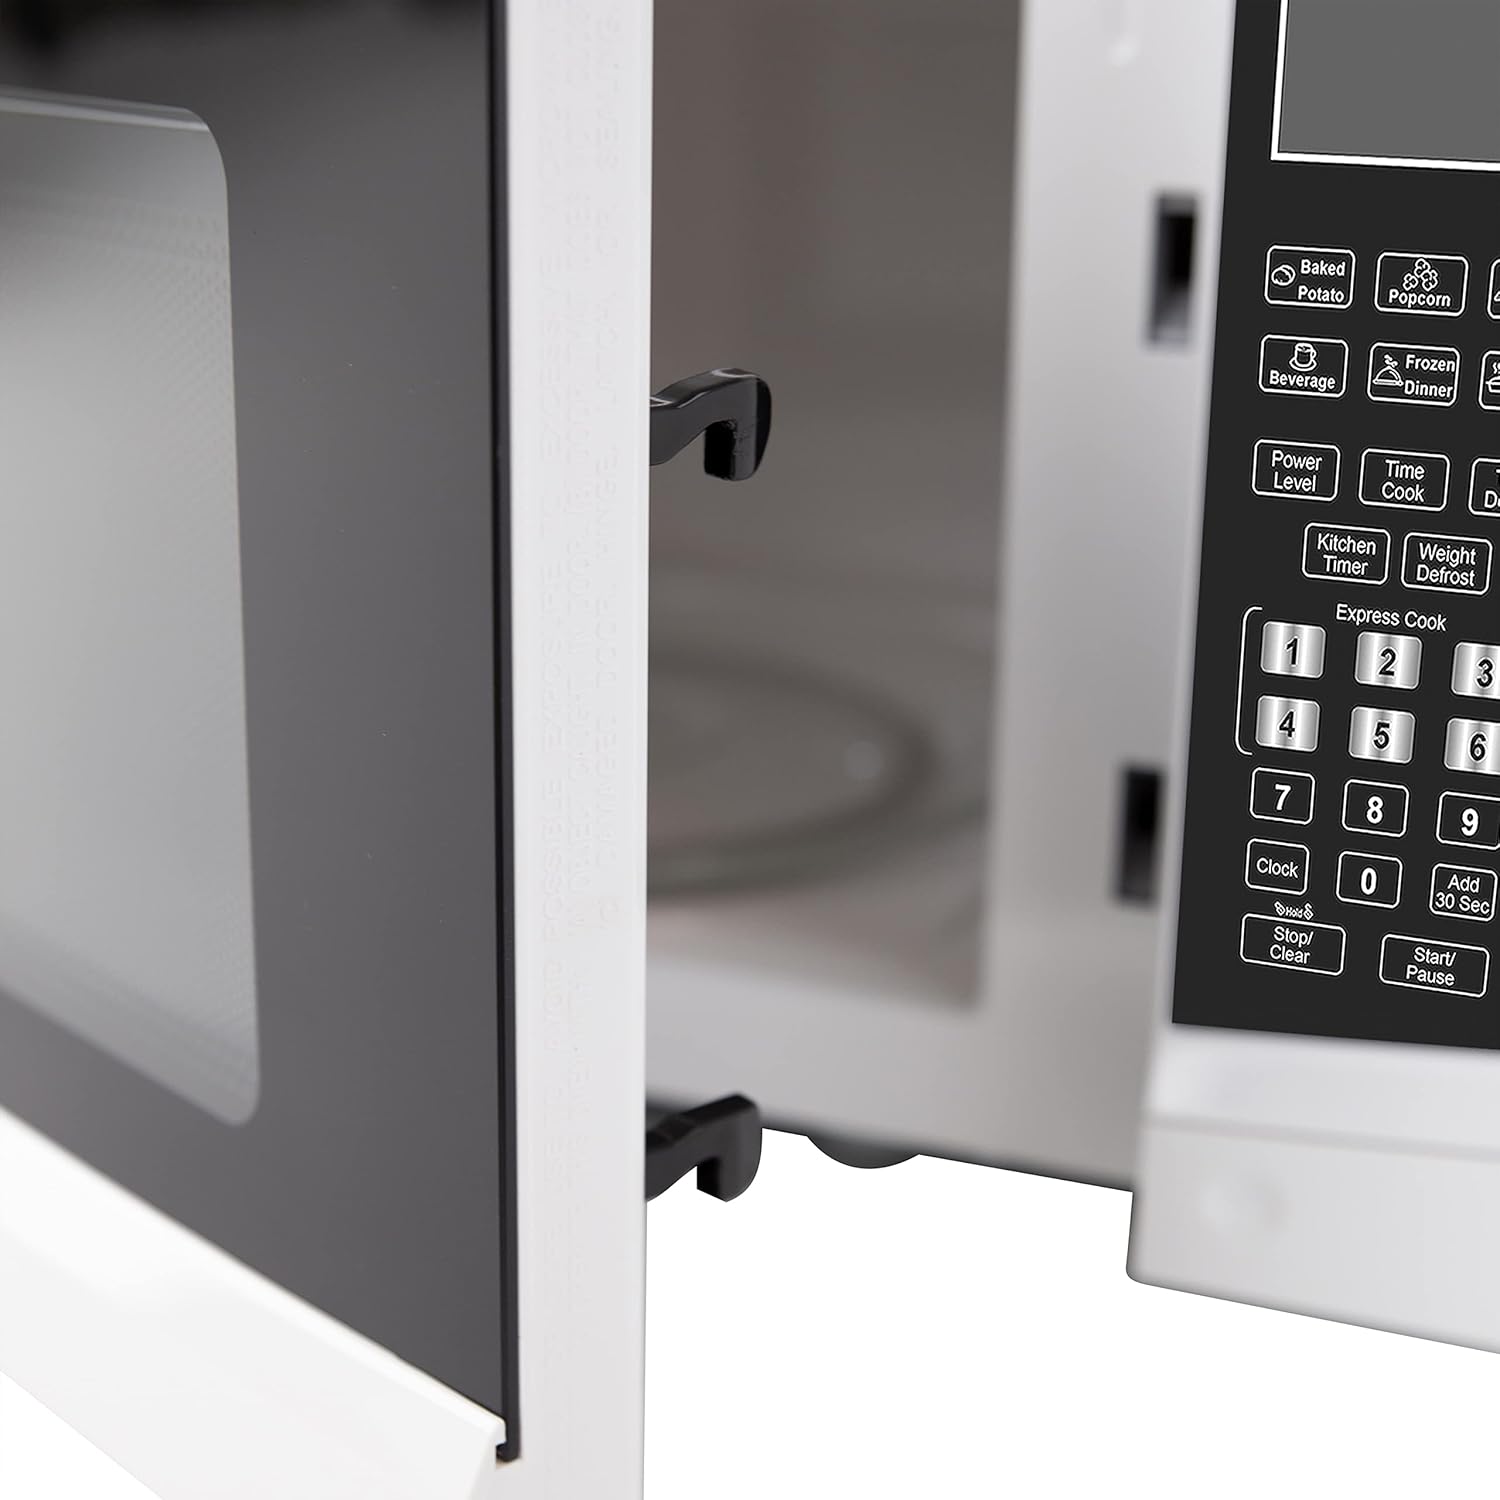
Figur 4.1: En detaljeret view of the electronic control panel, showing buttons for Time Cook, Time Defrost, Weight Defrost, Power Level, Clock, Kitchen Timer, Popcorn, Potato, Pizza, Frozen Vegetable, Beverage, Dinner Plate, Express Cook numbers, Stop/Clear, and Start/+30 Sec.
4.1 Indstilling af uret
- Tryk på UR knap én gang.
- Brug det numeriske tastatur til at indtaste det aktuelle klokkeslæt (f.eks. 12:30 for 12:30 PM).
- Tryk på UR knappen igen for at bekræfte.
4.2 Grundlæggende mikrobølgeovnstilberedning (Time Cook)
- Placer maden i mikrobølgeovnen.
- Tryk på TIDSTILBEREDNING knap.
- Indtast den ønskede tilberedningstid ved hjælp af taltastaturet.
- (Optional) To adjust power level, press EFFEKT NIVEAU and then a number from 1-10 (10 being 100% power).
- Trykke START/+30 SEK at begynde at lave mad.
4.3 Ekspres-kogning
For quick cooking at 100% power, simply press one of the number buttons (1-6) to cook for that many minutes. Press START/+30 SEK to add 30 seconds to the current cooking time or to start cooking for 30 seconds at 100% power if no other function is selected.
4.4 Pre-Set Cooking Functions
The microwave includes 6 pre-set cooking options for common food items:
- POPCORN: For microwave popcorn.
- KARTOFFEL: Til bagning af kartofler.
- PIZZA: Til genopvarmning af pizzastykker.
- FROZEN VEGETABLE: Til tilberedning af frosne grøntsager.
- DRIK: Til opvarmning af drikkevarer.
- DINNER PLATE: Til genopvarmning af en middagstallerken.
To use a pre-set function, simply press the corresponding button. The oven will automatically set the cooking time and power level. For some functions, you may need to press the button multiple times to select the desired quantity (e.g., number of potatoes).

Figur 4.2: The interior of the microwave oven with a bag of microwave popcorn placed on the glass turntable, ready for cooking using the Popcorn pre-set function.
4.5 Defrost Functions
The microwave offers two defrost modes:
- TIDSTID OPTØNING:
- Trykke TID AFrimning.
- Indtast den ønskede optøningstid.
- Trykke START/+30 SEK.
- VÆGT AFrimning:
- Trykke VÆGT AFrimning.
- Indtast madens vægt i ounces (f.eks. 16 for 1 lb).
- Trykke START/+30 SEK.
4.6 Køkkentimer
The Kitchen Timer operates independently of the microwave cooking functions.
- Tryk på KØKKENTIMER knap.
- Indtast det ønskede tidspunkt ved hjælp af det numeriske tastatur.
- Trykke START/+30 SEK. The timer will count down without activating the microwave.
4.7 Børnelås
The Child Lock feature prevents unintended operation of the microwave oven, enhancing safety.
- Sådan aktiveres: Tryk og hold på STOP/RYD -knappen i 3 sekunder. En låseindikator vises på displayet.
- For at deaktivere: Tryk og hold på STOP/RYD -knappen nede i 3 sekunder igen. Låseindikatoren forsvinder.

Figur 4.3: An informational graphic detailing the new mandatory 2-step child safety lock feature, explaining how it reduces risks by preventing the oven door from being opened during cooking cycles when enabled.
5. Pleje og vedligeholdelse
Regelmæssig rengøring og vedligeholdelse vil sikre din mikrobølgeovns levetid og optimale ydeevne.
5.1 Rengøring af ydersiden
Tør de udvendige overflader af med en blød, damp klud. Undgå at bruge slibende rengøringsmidler eller stærke kemikalier, der kan beskadige overfladen.
5.2 Rengøring af indersiden
To clean the interior, wipe with a soft, damp cloth and mild soap. For stubborn food splatters, place a bowl of water with lemon slices inside and microwave on high for 2-3 minutes. The steam will loosen the residue, making it easier to wipe clean. Ensure the oven is unplugged before cleaning.
5.3 Rengøring af glaspladetallerkenen
Glasdrejetallerkenen og rulleringen kan fjernes for rengøring. Vask dem i varmt sæbevand eller i opvaskemaskinen. Sørg for, at de er helt tørre, før du sætter dem tilbage i ovnen.
6. Fejlfindingsvejledning
If you experience issues with your microwave oven, consult the following table for common problems and solutions.
| Problem | Mulig årsag | Løsning |
|---|---|---|
| Ovnen starter ikke. | Netledningen er ikke sat i; Døren er ikke lukket ordentligt; Sikringen er sprunget, eller afbryderen er udløst; Børnesikringen er aktiveret. | Ensure power cord is securely plugged into a grounded outlet; Close the oven door firmly; Check household fuse/circuit breaker; Deactivate child lock by holding STOP/CLEAR for 3 seconds. |
| Maden varmes ikke op. | Forkert indstillet tilberedningstid eller effektniveau; Døren er ikke lukket ordentligt. | Adjust cooking time and power level as needed; Ensure the door is fully closed and latched. |
| Drejeskiven roterer ikke. | Turntable or roller ring not positioned correctly; Obstruction under the turntable. | Remove and re-seat the turntable and roller ring; Check for any debris or obstructions. |
| Gnister eller buedannelse inde i ovnen. | Metal in microwave; Food splatters or grease buildup. | Remove any metal objects or containers; Clean the oven interior thoroughly. |
| Displayet viser "E" eller fejlkoden. | Intern funktionsfejl. | Tag stikket ud af ovnen i 1 minut, og sæt den derefter i igen. Hvis fejlen fortsætter, skal du kontakte kundesupport. |
7. Specifikationer
Key technical specifications for the West Bend 900-Watt 0.9 Cu. Ft. Compact Microwave Oven.
| Feature | Detalje |
|---|---|
| Modelnummer | WBMW92W |
| Kapacitet | 0.9 Kubikfod |
| Wattage | 900 watt |
| Effektniveauer | 10 |
| Produktmål (B x D x H) | 19 x 14.5 x 11 cm (ca.) |
| Varens vægt | 27 pund |
| Farve | Hvid |
| Pladespiller materiale | Glas |
| Installationstype | Bordplade |
| Inkluderede komponenter | Mikroovn, glaspladespiller, pleje- og brugsvejledning |

Figur 7.1: A diagram illustrating the approximate dimensions of the microwave oven: 19 inches wide, 14.5 inches deep, and 11 inches high.
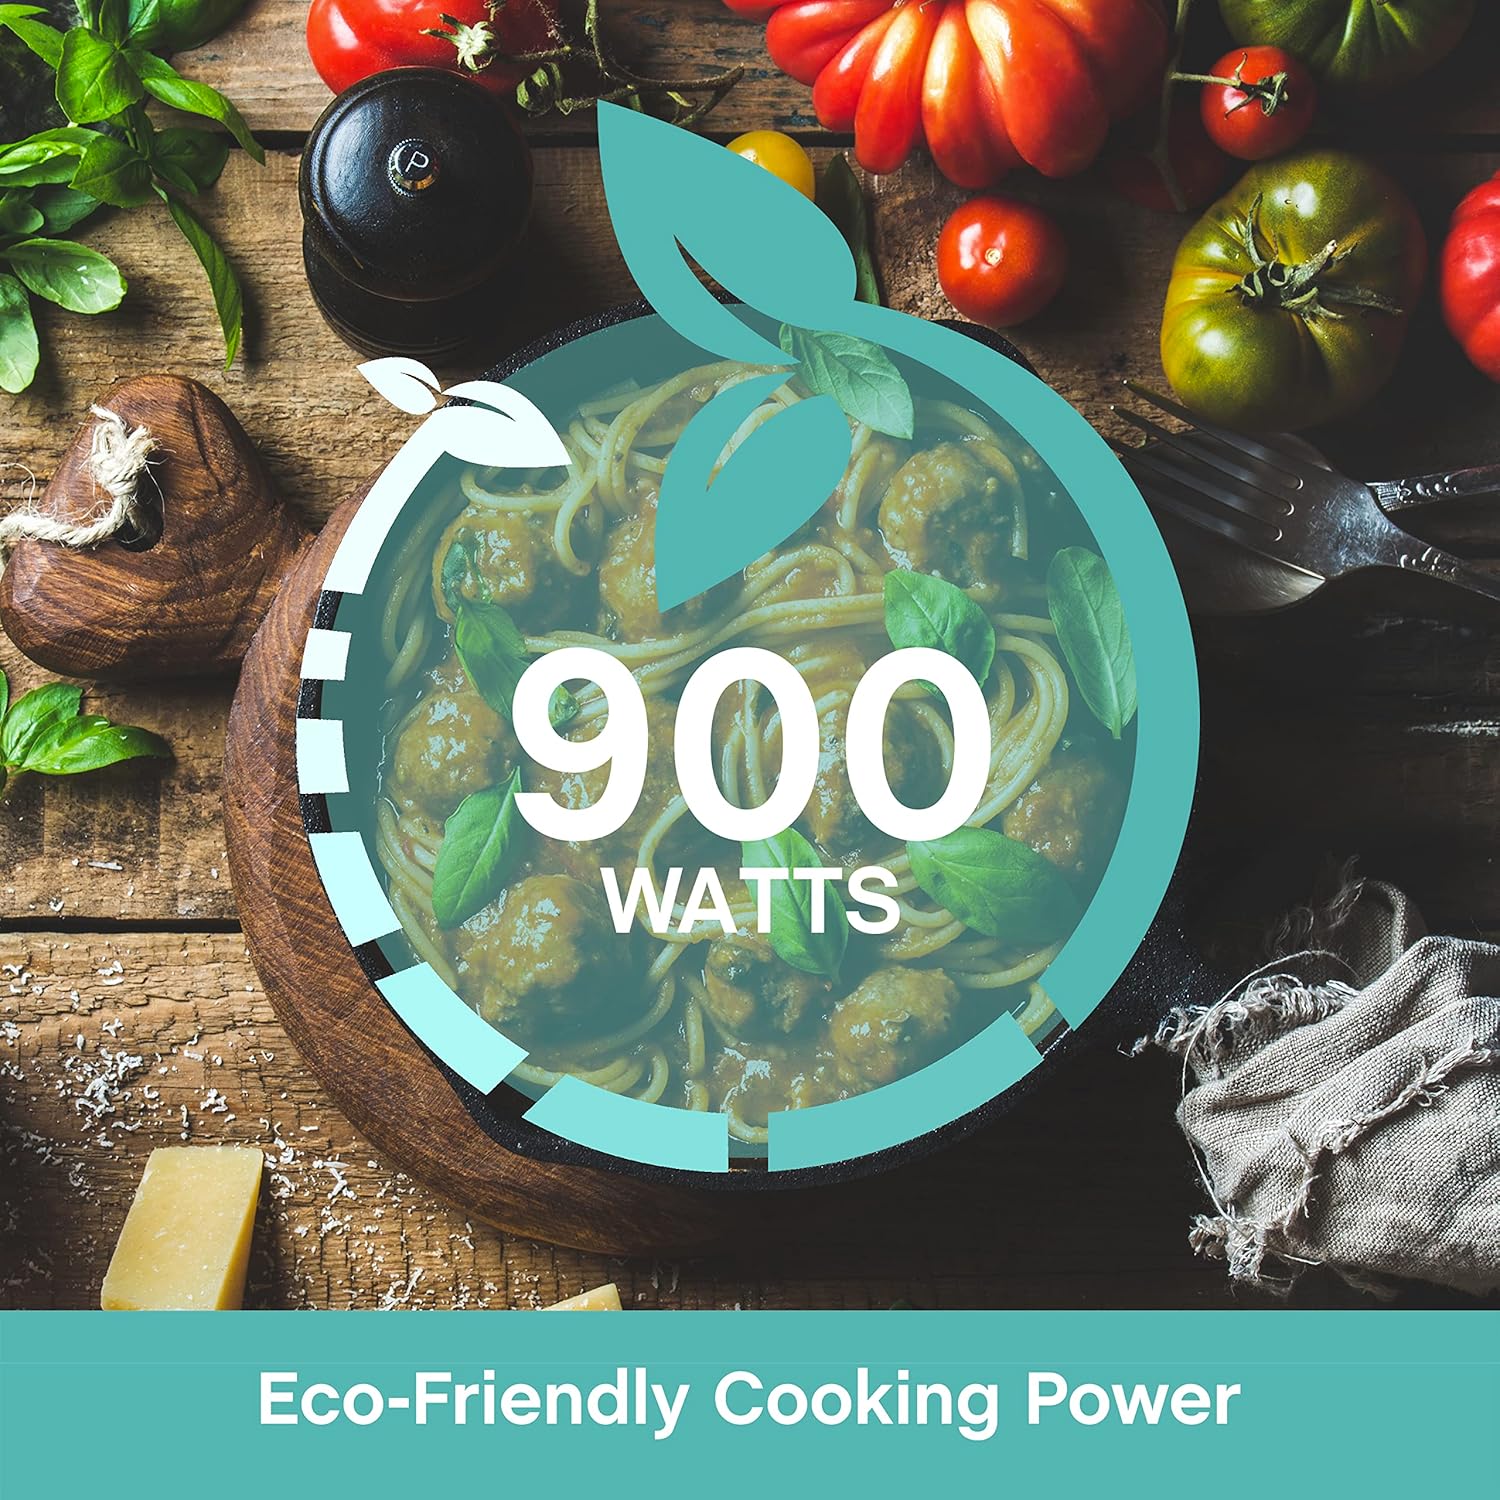
Figur 7.2: A graphic emphasizing the 900 Watts of cooking power, indicating efficient performance.
8. Garanti og support
This West Bend microwave oven is covered by a manufacturer's warranty. Please refer to the included "Care and Use Manual" for specific warranty details, terms, and conditions. For technical assistance, troubleshooting beyond this guide, or warranty claims, please contact West Bend Customer Support.
Kundesupport: Refer to the official West Bend website or the contact information provided in your product's packaging for the most up-to-date support details.