
1. Introduktion
Thank you for choosing the Geepas GSWM18026 Semi-Automatic Twin Tub Washing Machine. This manual provides essential information for the safe and efficient operation, installation, and maintenance of your appliance. Please read it thoroughly before use and keep it for future reference.
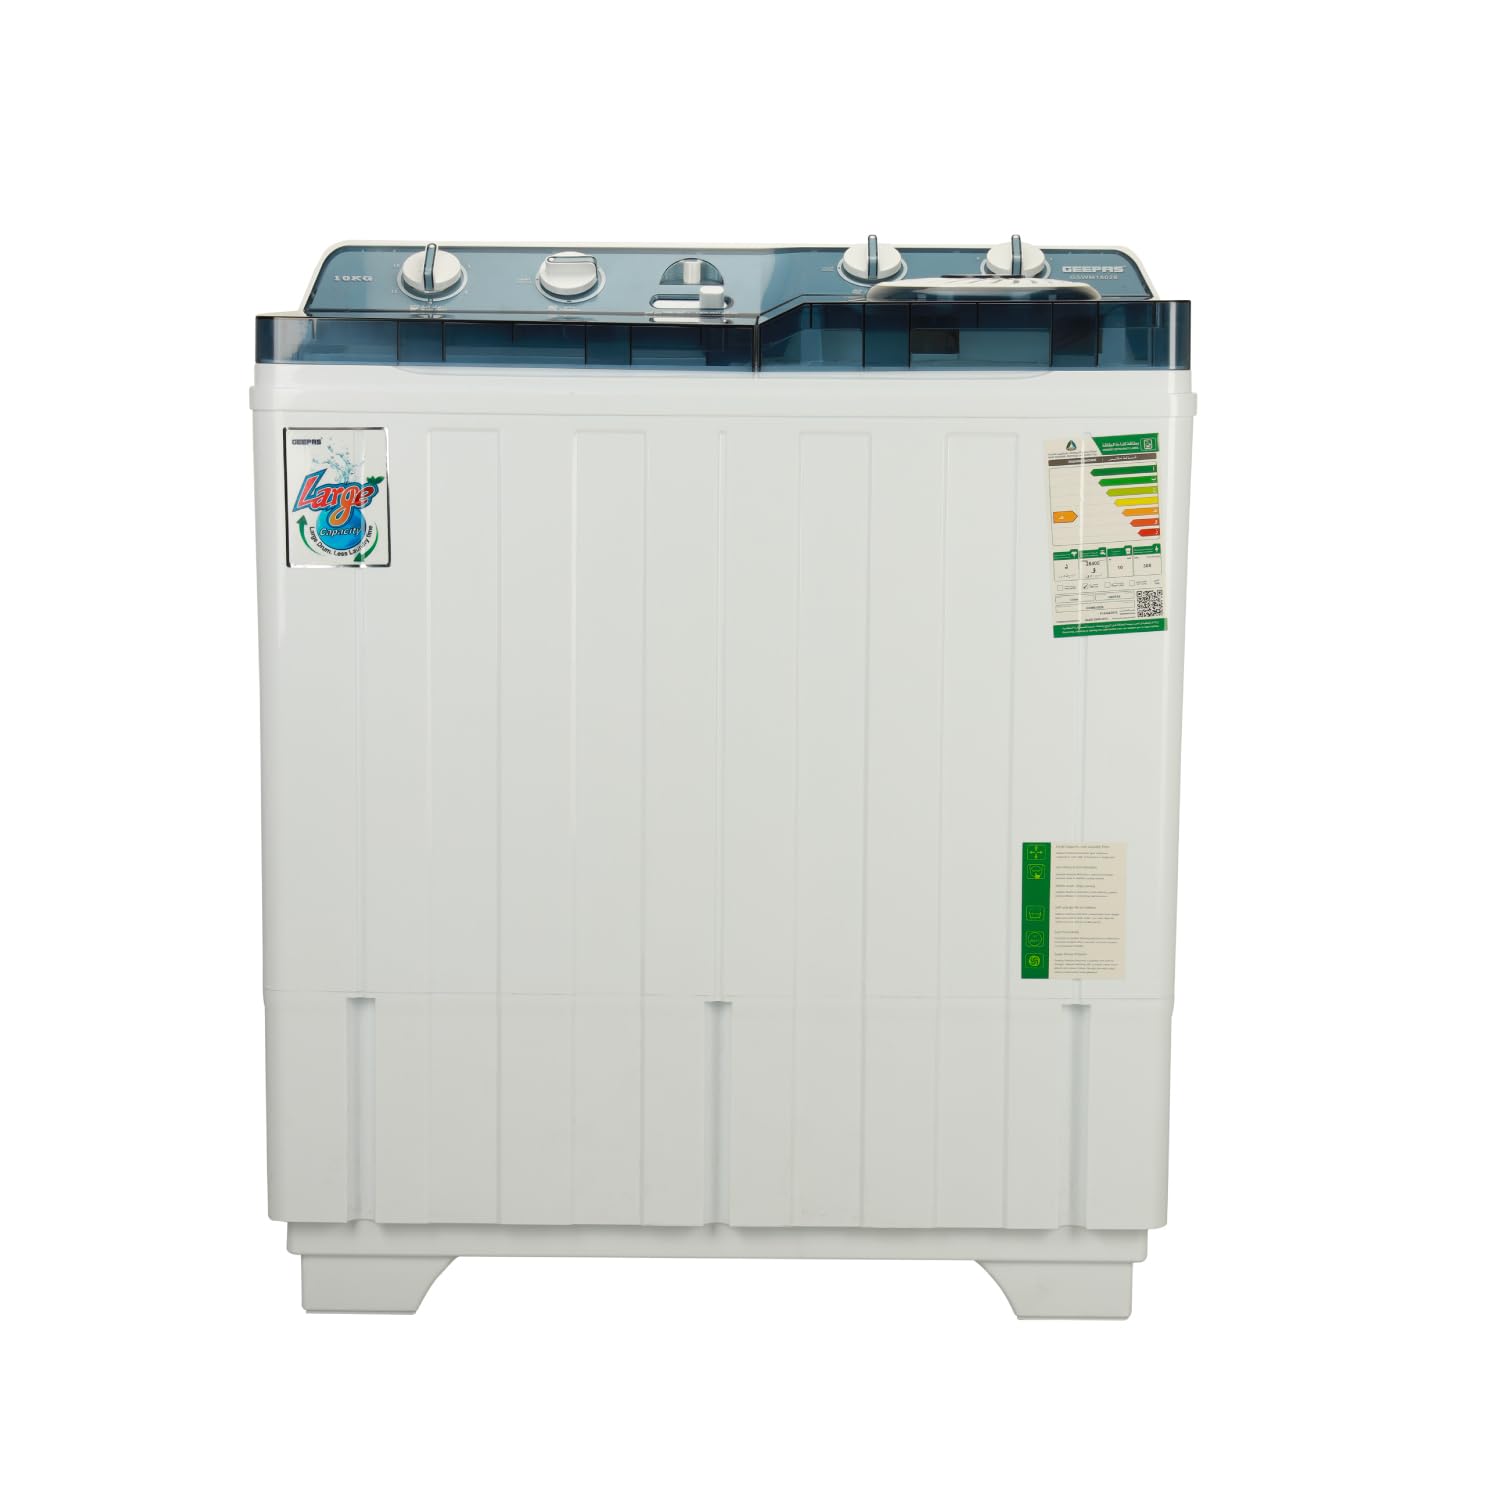
Billede: Forside view of the Geepas GSWM18026 washing machine.
2. Sikkerhedsoplysninger
For at forhindre skader på dig selv og andre, eller beskadigelse af apparatet, bedes du overholde følgende sikkerhedsforanstaltninger:
- Sørg for, at vaskemaskinen er installeret på en stabil og plan overflade.
- Brug ikke maskinen med en beskadiget netledning eller stik.
- Hold børn og kæledyr væk fra apparatet under drift.
- De elektriske dele må ikke nedsænkes i vand.
- Tag stikket ud af maskinen, før du rengør eller udfører nogen form for vedligeholdelse.
- Vask ikke genstande, der er snavset med brandfarlige stoffer.
- Always close the lids before starting a wash or spin cycle.
3. Produktet er slutview
Nøglefunktioner:
- Stor kapacitet: 10kg wash capacity and 6kg spin capacity, suitable for large laundry loads.
- Dual Tub Design: Allows for simultaneous washing and spinning, saving time.
- Kraftig motor: 770W total power (570W wash, 200W spin) for efficient and quiet operation.
- 360° Smart Wash Technology: Pulsator action ensures deep cleaning without fabric damage.
- Turbo Dryer: High-speed drying system to reduce drying time.
- Magic Filter: Effectively collects lint and debris during the wash cycle.
- Holdbart karosseri: Rust-resistant plastic body for long-lasting use.
Komponenter:

Billede: Forside view of the washing machine, highlighting the wash and spin tubs.
- Vaskekar
- Spindekar
- Control Panel (Knobs for Wash Timer, Wash Selector, Spin Timer)
- Vandindtag
- Afløbsslange
- Strømledning
- Lids (Wash Tub Lid, Spin Tub Lid)
4. Opsætning og installation
4.1 Udpakning
- Tag forsigtigt vaskemaskinen ud af emballagen.
- Check for any damage during transit. Contact your retailer immediately if damage is found.
- Fjern al emballage, inklusive basisemballagen.
4.2 Placering
- Place the machine on a firm, level surface in a dry area.
- Sørg for, at der er tilstrækkelig plads omkring maskinen til ventilation og betjening.
- Undgå direkte sollys eller varmekilder.
4.3 Vandtilslutning
- Connect the water inlet hose to a suitable water tap.
- Ensure the drain hose is positioned to allow water to drain freely, either into a sink or a floor drain.
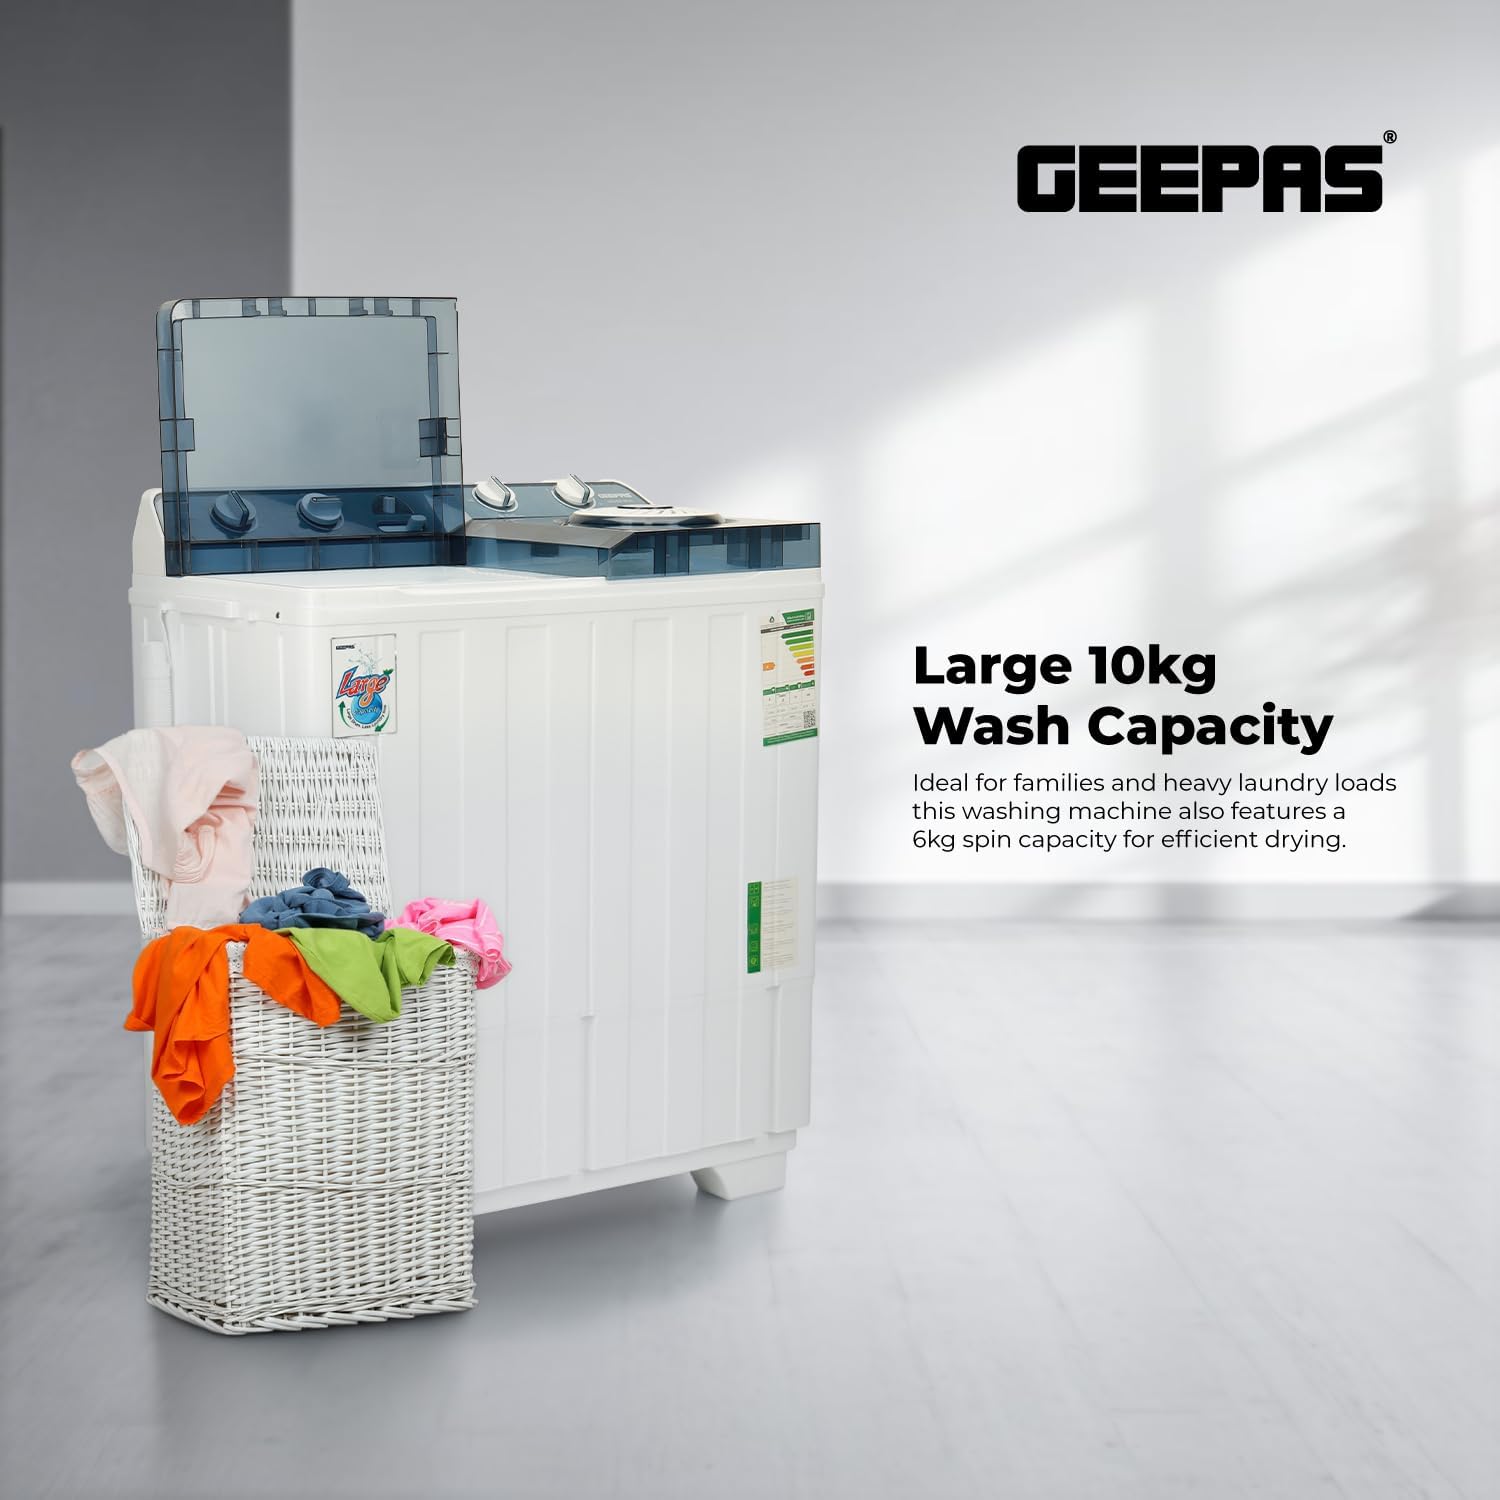
Billede: Side view of the washing machine, illustrating water inlet and drain hose connections.
4.4 Strømtilslutning
- Sæt netledningen i en jordet stikkontakt.
- Verify that the power supply matches the specifications listed on the appliance.
5. Betjeningsvejledning
5.1 Kontrolpanel overview

Billede: Detaljeret view of the control panel with three rotary knobs.
- Wash Timer Knob: Sets the duration of the wash cycle.
- Wash Selector Knob: Selects wash mode (e.g., Gentle, Normal, Drain).
- Spin Timer Knob: Sets the duration of the spin cycle.
5.2 Vaskeprocedure
- Sorter vasketøjet efter stoftype og farve.
- Load clothes into the wash tub, ensuring not to exceed the 10kg capacity.
- Add appropriate amount of detergent and fabric softener.
- Fyld vaskekarret med vand til det ønskede niveau.
- Luk låget på vaskekarret.
- Indstil Timerknap til vask to the desired wash duration.
- Indstil Vaskevælgerknap to the appropriate wash mode.
- The machine will start washing. Once the cycle is complete, drain the water by setting the Vaskevælgerknap to 'Drain'.

Billede: Intern view of the wash tub during operation and the spin tub.
5.3 Centrifugeringsprocedure
- After washing and draining, transfer the wet clothes from the wash tub to the spin tub, ensuring even distribution. Do not exceed the 6kg spin capacity.
- Place the spin cap firmly on top of the clothes in the spin tub.
- Luk låget på spin-karret.
- Indstil Spin Timer knap to the desired spin duration (typically 1-5 minutes).
- The machine will begin spinning. Once the cycle is complete, the machine will stop automatically.
- Carefully open the spin tub lid and remove the clothes.
6. Vedligeholdelse
6.1 Rengøring af ydersiden
- Tør maskinens ydre af med en blød, damp klæde.
- Brug ikke slibende rengøringsmidler eller opløsningsmidler.
6.2 Cleaning the Magic Filter
- Regularly remove and clean the Magic Filter located inside the wash tub.
- Rinse the filter under running water to remove lint and debris.
- Reinsert the filter securely.
6.3 Vinterklargøring (hvis relevant)
- If the machine is stored in an area where temperatures may drop below freezing, drain all water from the hoses and tubs to prevent damage.
7. Fejlfinding
Før du kontakter kundeservice, bedes du se følgende tabel for almindelige problemer og løsninger på disse:
| Problem | Mulig årsag | Løsning |
|---|---|---|
| Maskinen starter ikke | No power; Lid not closed; Timer not set. | Check power connection; Ensure lids are closed; Set timer. |
| Vand drænes ikke | Drain hose blocked or improperly positioned; Drain selector not set to 'Drain'. | Clear blockage; Position hose correctly; Set selector to 'Drain'. |
| For meget vibration/støj under centrifugering | Uneven load in spin tub; Machine not level. | Rearrange clothes evenly; Adjust machine to be level. |
| Vandlækage | Hose connections loose; Drain hose damaged. | Tighten hose connections; Inspect and replace damaged hoses. |
8. Specifikationer
| Feature | Detalje |
|---|---|
| Modelnummer | GSWM18026 |
| Mærke | Geepas |
| Type | Semi-Automatic Twin Tub |
| Vaskekapacitet | 10 kg |
| Spin kapacitet | 6 kg |
| Samlet kraft | 770W (570W Wash, 200W Spin) |
| Mål (D x B x H) | 0.85m x 4.65m x 0.96m (85cm x 465cm x 96cm) |
| Varens vægt | 23 kg |
| Materiale | Plastic body, Metal drum |
| Farve | Hvid |
| Kontroltype | Knop |
| Installationstype | Frit stående |
| Oprindelsesland | Forenede Arabiske Emirater |
9. Garanti og support
This Geepas GSWM18026 washing machine comes with a to års producentgaranti fra købsdatoen.
For warranty claims, technical support, or service inquiries, please contact Geepas customer service. Keep your purchase receipt as proof of purchase.
For further assistance, please refer to the contact information provided on the Geepas official webwebstedet eller din købsdokumentation.