1. Introduktion
The j5create JCH474 USB-C 3-Port Hub with Gigabit Ethernet is designed to expand the connectivity of your computer. This multi-adapter provides three USB Type-A ports for connecting peripherals and a Gigabit Ethernet port for wired network access. It offers data transfer speeds of up to 5Gbps for USB devices and 10/100/1000Mbps for Ethernet connections.
This compact device is ideal for laptops and desktop computers equipped with a USB Type-C port, especially those lacking an integrated Ethernet port.

Image: The j5create JCH474 hub, highlighting its USB-C input, three USB 3.2 Gen 1 Type-A ports, and Gigabit Ethernet port. It also indicates USB-C, Ethernet (1000 Mbps), and USB 3.2 Gen 1 (5 Gbps) capabilities.
2. Pakkens indhold
- j5create JCH474 USB-C 3-Port Hub with Gigabit Ethernet
- Quick Installation Guide (if applicable, not explicitly mentioned but standard)
3. Systemkrav
- Available USB Type-C port on host computer
- Operating System: Windows 7 or later (Windows 10 recommended), macOS 9 or later, Chrome OS, Linux
4. Opsætningsvejledning
- Tilslut hubben til din computer: Insert the USB Type-C connector of the JCH474 hub into an available USB Type-C port on your laptop or desktop computer.
- Driverinstallation (hvis nødvendigt): In most modern operating systems (Windows 10, macOS, Chrome OS), the necessary drivers for the USB hub and Gigabit Ethernet adapter will install automatically upon connection. If prompted, follow the on-screen instructions. For older operating systems like Windows 7 or specific Linux distributions, manual driver installation might be required. Refer to the j5create support website for driver downloads if needed.
- Tilslut USB-tilbehør: Plug your USB devices (e.g., mouse, keyboard, flash drive, external hard drive) into the three available USB Type-A ports on the hub.
- Connect to a Wired Network: Connect an Ethernet cable from your router or network switch to the RJ45 Gigabit Ethernet port on the hub. The network connection should be established automatically.
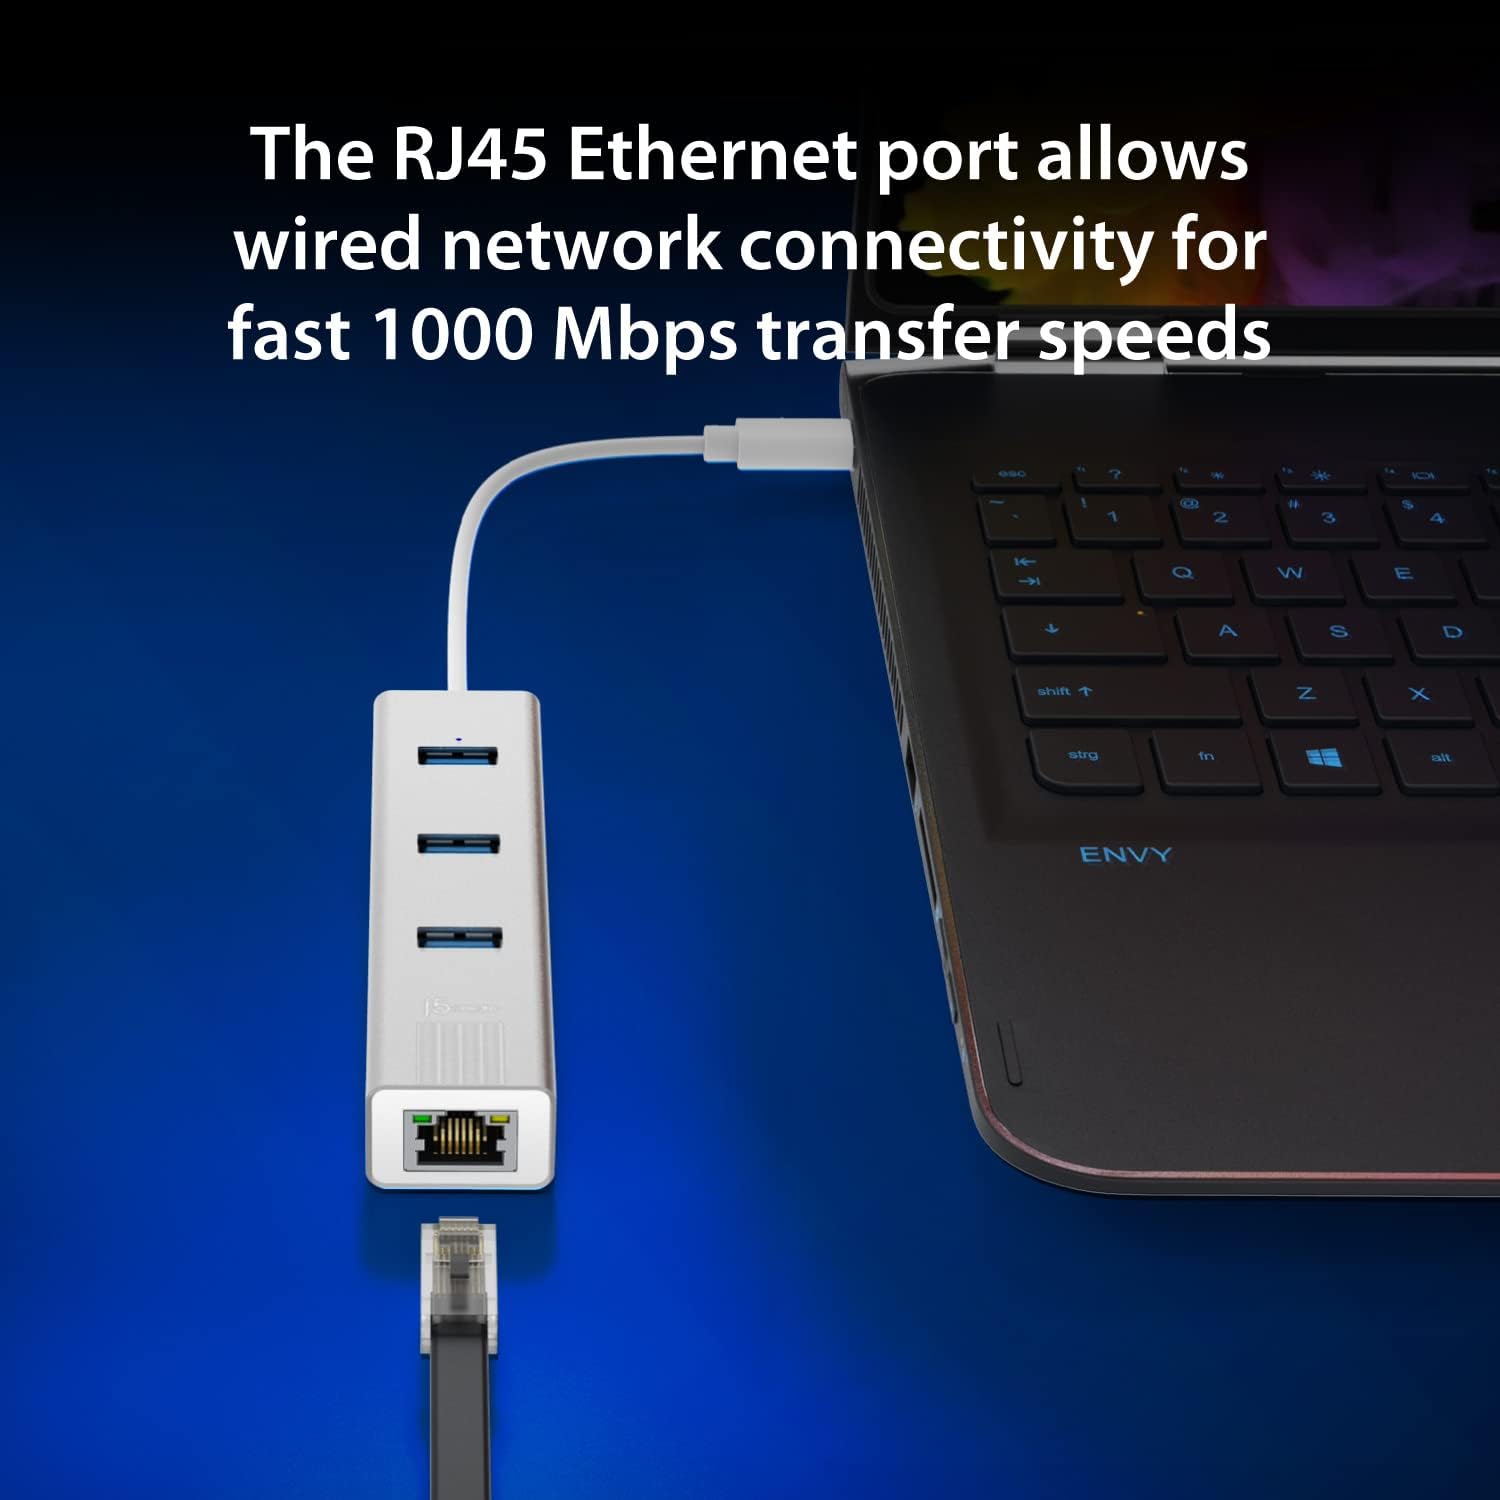
Image: The j5create JCH474 hub connected to a laptop via its USB-C cable, demonstrating an Ethernet cable plugged into the RJ45 port for wired network connectivity. The image emphasizes fast 1000 Mbps transfer speeds.
5. Betjeningsvejledning
5.1. Using the USB Type-A Ports
The JCH474 provides three USB 3.2 Gen 1 Type-A ports, offering data transfer speeds of up to 5Gbps. These ports are backward compatible with USB 2.0 and USB 1.1 devices.
- Simply plug your USB devices into any of the three available USB Type-A ports.
- The blue LED indicator above the USB ports will illuminate when the hub is powered and connected.
- Ensure your devices are properly recognized by your operating system.

Billede: En detaljeret view of the three USB Type-A ports on the j5create JCH474 hub, highlighting their capability to connect various peripherals. A graphic compares USB 2.0 (480 Mbps) and USB 3.2 Gen 1 (5 Gbps) transfer speeds.
5.2. Using the Gigabit Ethernet Port
The RJ45 Gigabit Ethernet port allows for a stable and fast wired network connection, supporting 10/100/1000Mbps speeds.
- Connect a standard RJ45 Ethernet cable from your network source to the hub's Ethernet port.
- The LED indicators on the Ethernet port will show network activity (link and activity).
- Your computer should automatically detect the wired network connection. If not, check your network settings.
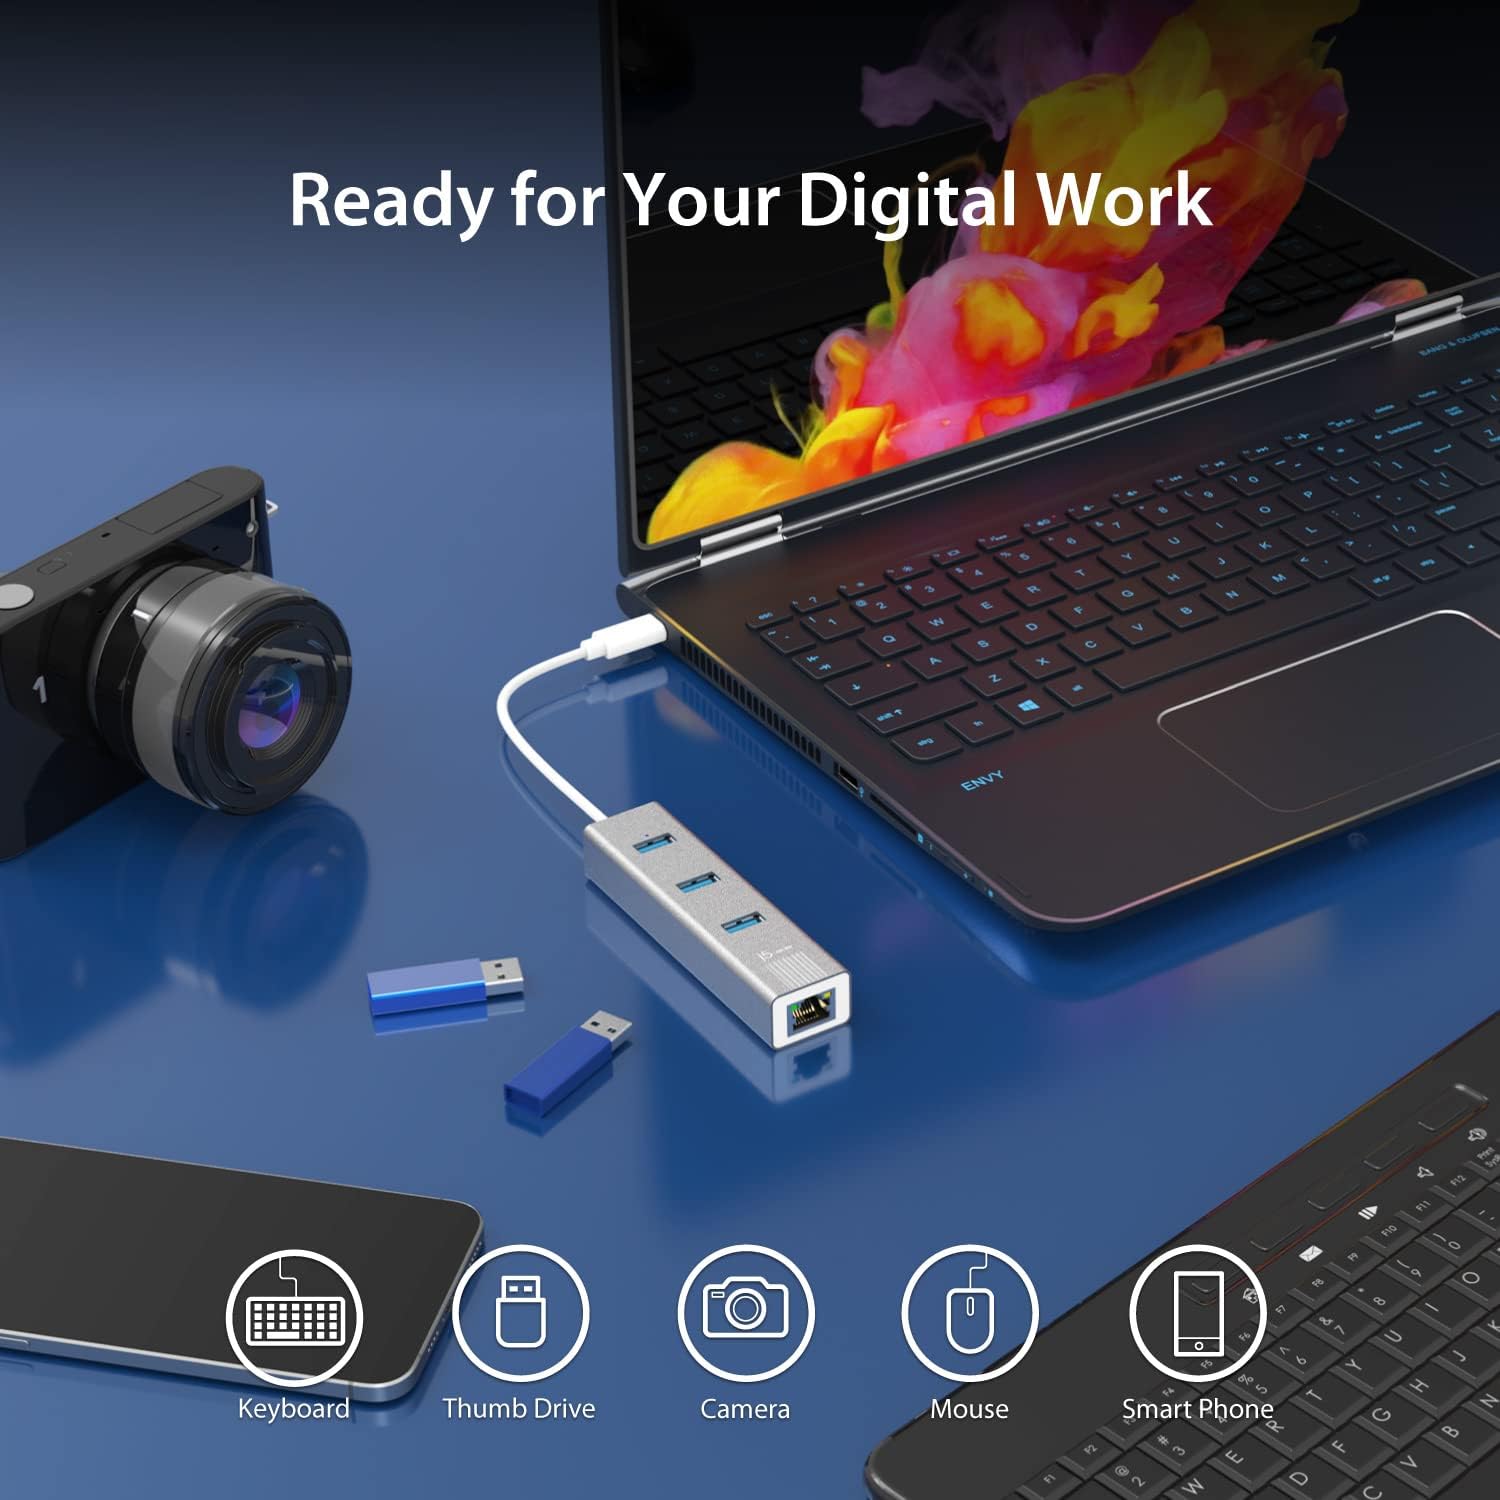
Image: The j5create JCH474 hub in a digital workspace setup, connected to a laptop. Icons below illustrate its compatibility with various devices such as keyboards, thumb drives, cameras, mice, and smartphones, emphasizing its readiness for digital work.
6. Vedligeholdelse
- Rensning: Brug en blød, tør klud til at rengøre navet. Undgå flydende rengøringsmidler eller aerosoler.
- Opbevaring: Opbevar navet på et køligt, tørt sted, når det ikke er i brug.
- Håndtering: Avoid dropping the device or exposing it to extreme temperatures or humidity.
- The hub features an aluminum heat-dissipating housing for optimal performance. Ensure proper ventilation around the device.

Image: A visual representation of the j5create JCH474 hub's aluminum heat-dissipating housing, designed to maintain optimal operating temperatures.
7. Fejlfinding
- Issue: USB devices are not recognized.
- Ensure the hub's USB-C connector is fully inserted into your computer's USB-C port.
- Prøv at tilslutte USB-enheden direkte til din computer for at kontrollere dens funktionalitet.
- Test the USB device in a different port on the hub.
- Genstart din computer.
- Check your computer's Device Manager (Windows) or System Information (macOS) to see if the hub or connected devices are listed.
- Issue: No network connection via Ethernet.
- Verify that the Ethernet cable is securely connected to both the hub and your router/modem/switch.
- Check the LED indicators on the Ethernet port for link and activity. If no lights, try a different Ethernet cable.
- Ensure your computer's network settings are configured for DHCP (automatic IP address assignment) or the correct static IP.
- Try connecting your computer directly to the Ethernet source to confirm the network source is active.
- Update or reinstall the Ethernet driver if necessary (check j5create support webwebsted).
- Problem: Langsomme dataoverførselshastigheder.
- Ensure you are using USB 3.0/3.1/3.2 compatible devices and cables to achieve 5Gbps speeds. USB 2.0 devices will operate at their native 480Mbps speed.
- Confirm your computer's USB-C port supports USB 3.0/3.1/3.2 data transfer rates.
- For Ethernet, ensure your network infrastructure (router, cables) supports Gigabit Ethernet (1000Mbps).
8. Specifikationer
| Feature | Detalje |
|---|---|
| Modelnummer | JCH474 |
| Mærke | j5 skabe |
| Hardware-interface | USB Type-C (Host), USB Type-A (3x), RJ45 Ethernet |
| USB-porte | 3 x USB 3.2 Gen 1 Type-A (5 Gbps) |
| Ethernet hastighed | 10/100/1000 Mbps (Gigabit Ethernet) |
| Dataoverførselshastighed | 5 Gigabits Per Second (USB) |
| Kompatible enheder | Laptops with USB Type-C port |
| Operativsystemsupport | Windows 7/10, Mac OS 9, Chrome OS, Linux |
| Materiale | Plastic (Enclosure Material) |
| Farve | Space Grey |
| Varens vægt | 0.18 pund |
| Speciel funktion | Transportabel |

Image: An illustration demonstrating the universal compatibility of the j5create JCH474 hub across various operating systems, including Windows, macOS, Chrome OS, and Linux.
9. Garantioplysninger
For detailed warranty information regarding the j5create JCH474 USB-C 3-Port Hub with Gigabit Ethernet, please refer to the manufacturer's official website or contact j5create customer support directly.
The product warranty typically covers defects in materials and workmanship under normal use. Specific terms, conditions, and duration may vary by region and product. Please retain your proof of purchase for warranty claims.
10. Support
If you encounter any issues or have questions regarding the j5create JCH474 USB-C 3-Port Hub with Gigabit Ethernet that are not covered in this manual, please visit the official j5create support webwebsted med ofte stillede spørgsmål, driverdownloads og kontaktoplysninger.
Online support: www.j5create.com/support (Eksamplinket, det faktiske link kan variere)
Fabrikant: j5 skabe


