
1. Introduktion
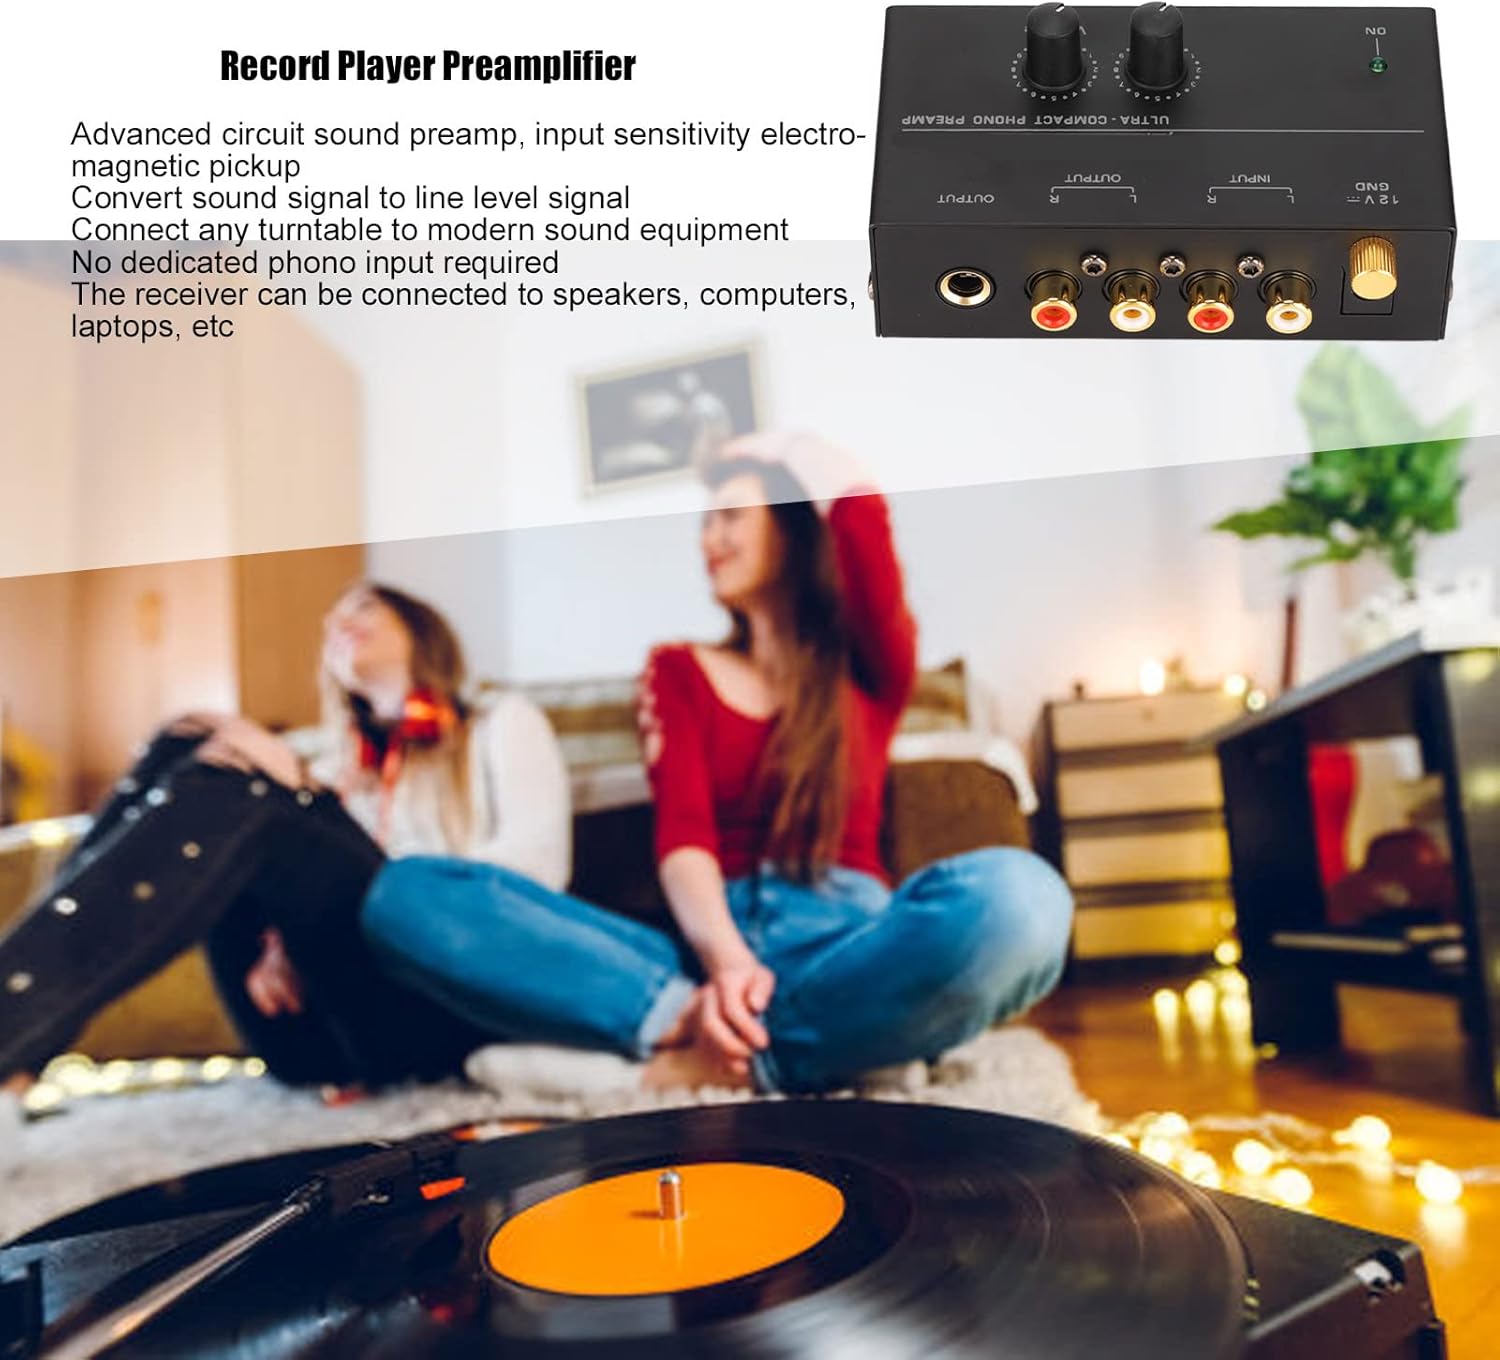
The Dilwe PP500 Phono Turntable Preamplifier is designed to convert a phono signal to a line-level signal, enabling connection of a turntable to modern audio equipment that lacks a dedicated phono input. This device features low-noise operation and adjustable gain for optimal sound performance.
2. Produktet er slutview
The PP500 is a compact phono preamplifier featuring stereo RCA input and output, a ground terminal, and adjustable level and volume controls. It is powered by a DC 12V adapter.
Billede 2.1: Forside view of the Dilwe PP500 Phono Turntable Preamplifier, highlighting its compact design and controls.
Nøglefunktioner:
- Nem at bruge: Features a DC 12V power adapter and gain adjustment on input and output for optimal volume.
- Lav støj: Provides excellent sound performance with an output of 2V (PP) maximum at 10K ohms.
- Sensitive Input: Converts phono signals to line-level with input sensitivity for electromagnetic pickups.
- Bred anvendelse: Connects any turntable to modern sound equipment (speakers, computers, laptops) without a dedicated phono input.
- Plug and Play: Stereo input and output for easy connection of turntables to input and ground, and preamp to receiver output.
3. Sikkerhedsoplysninger
- Sørg for, at strømadapteren er kompatibel med dit lokale lydniveau.tage.
- Udsæt ikke enheden for vand eller overdreven fugt.
- Undgå at placere enheden i nærheden af varmekilder eller i direkte sollys.
- Forsøg ikke at åbne eller reparere enheden selv. Kontakt kvalificeret personale.
- Opbevares utilgængeligt for børn.
4. Pakkens indhold
Markér venligst feltet for følgende elementer:
- 1 x Dilwe PP500 Phono Preamp
- 1 x DC 12V strømadapter
- 1 x Brugermanual (dette dokument)
- RCA kabler

Image 4.1: The Dilwe PP500 Preamplifier shown with its included power adapter.
5. Opsætning
Follow these steps to connect your Dilwe PP500 Phono Turntable Preamplivligere:
- Connect Turntable to Input: Use RCA cables to connect the output of your turntable to the INPUT (L/R) jacks on the PP500 preamplivligere.
- Tilslut jordledning: Attach the ground wire from your turntable to the GND terminal on the PP500. This helps reduce hum and noise.
- Connect Preamp to Receiver/Amplivligere: Use RCA cables to connect the OUTPUT (L/R) jacks of the PP500 to a line-level input (e.g., AUX, CD, TAPE) on your receiver, amplifier, powered speakers, computer, or laptop. Do not connect to a phono input on your receiver, as this will result in distorted sound.
- Tilslut strømadapter: Plug the DC 12V power adapter into the 12V power input jack on the PP500, then plug the adapter into a wall outlet. The 'ON' indicator light should illuminate.

Image 5.1: The PP500 Preamplifier showing its input, output, and ground connections for easy setup.

Billede 5.2: Detaljeret view of the rear panel connections on the PP500, including RCA inputs, outputs, ground terminal, and power input.
6. Betjeningsvejledning
Once all connections are made and the unit is powered on, you can begin playing your records.
- Tænd: Ensure the 'ON' indicator light is illuminated.
- Juster niveau: Brug NIVEAU knob to adjust the input gain. This helps match the output level of your turntable to the preamplifier's input for optimal signal quality.
- Juster lydstyrken: Brug BIND knob to control the overall output volume of the preamplifier. Adjust this in conjunction with your receiver/amplifiers volumenkontrol.
- Optimal placering: For best results and to minimize unwanted noise and interference, place the preamplifier as close as possible to your turntable.

Billede 6.1: Nærbillede view of the Level and Volume control knobs, allowing fine-tuning of audio output.

Image 6.2: The PP500 Preamplifier emphasizing its dual gain adjustment and low noise operational amplifier for excellent sound.
7. Vedligeholdelse
- Rensning: Brug en blød, tør klud til at rengøre enhedens yderside. Brug ikke flydende rengøringsmidler eller opløsningsmidler.
- Opbevaring: When not in use for extended periods, disconnect the power adapter and store the unit in a cool, dry place.
- Ventilation: Sørg for korrekt ventilation omkring enheden for at forhindre overophedning.
8. Fejlfinding
- Ingen lyd:
- Check all cable connections (turntable to preamp, præamp to receiver, power adapter).
- Ensure the PP500 is powered on (green 'ON' light illuminated).
- Verify the input selection on your receiver/amplifier is set to the correct input connected to the PP500.
- Adjust the LEVEL and VOLUME knobs on the PP500 and the volume on your receiver/amplivligere.
- Brummen eller støj:
- Ensure the turntable's ground wire is securely connected to the GND terminal on the PP500.
- Try moving the PP500 away from other electronic devices that might cause interference.
- Check for loose or damaged RCA cables.
- Forvrænget lyd:
- Ensure the PP500 is connected to a line-level input (e.g., AUX, CD) on your receiver, not another phono input. Connecting to a phono input will result in over-ampforvrængning og forvrængning.
- Adjust the LEVEL and VOLUME knobs on the PP500 to prevent signal clipping.
- Only One Channel Working:
- Check the RCA cable connections for both left (L) and right (R) channels from the turntable to the preamp, and from the preamp to the receiver. Ensure they are fully inserted and not damaged.
- Test with different RCA cables if possible.
- Kompatibilitet:
- The PP500 is designed for record player systems. It cannot be connected to any other music system that does not output a phono-level signal.
9. Specifikationer
| Feature | Specifikation |
|---|---|
| Varetype | Phono Preamp |
| Materiale | Metal |
| Farve | Sort |
| Modelnavn | PP500 |
| Anvendelsesområde | Record Player Systems |
| Udgang Voltage (maks.) | 2V (PP) at 10K ohms |
| Strømforsyning | DC 12V-adapter |
| Speciel funktion | Forstærkningsjustering |
| Inkluderede komponenter | RCA kabler |
| Pakkedimensioner | 5.91 x 3.66 x 3.62 tommer |
| Varens vægt | 10.9 ounce |
| Kompatible enheder | højttalere, Amplifiers, Computers, Laptops |
10. Garanti og support
Garantioplysninger: Please refer to the retailer or manufacturer's official website for specific warranty details and terms of service.
Teknisk support: For technical assistance or further inquiries, please contact Dilwe customer service through their official channels or the retailer where the product was purchased.