ESX VN940-4G
ESX VN940-4G Autoradio Navigation Naviceiver User Manual
Model: VN940-4G
1. Introduktion
This manual provides comprehensive instructions for the installation, operation, and maintenance of your ESX VN940-4G Autoradio Navigation Naviceiver. Please read this manual thoroughly before using the device to ensure proper and safe operation.
The ESX VN940-4G is a state-of-the-art car radio system featuring a 9-inch touchscreen display, integrated navigation, and Bluetooth connectivity, designed to enhance your in-car entertainment and navigation experience.
2. Sikkerhedsoplysninger
Overhold altid følgende sikkerhedsforanstaltninger for at forhindre personskade eller beskadigelse af enheden:
- Brug ikke enheden på en måde, der distraherer dig fra kørslen. Prioritér altid trafiksikkerhed.
- Sørg for, at alle ledninger er korrekt tilsluttet for at forhindre kortslutninger eller elektriske farer. Kontakt en professionel til installation, hvis du er i tvivl.
- Udsæt ikke enheden for ekstreme temperaturer, direkte sollys i længere perioder eller overdreven fugtighed.
- Avoid disassembling or modifying the unit. This can void the warranty and cause damage.
- Hold lydstyrken på et niveau, der gør det muligt at høre trafiklyde udefra.
3. Pakkens indhold
Kontroller venligst, at alle varer er til stede i pakken:
- ESX VN940-4G Naviceiver Unit
- Monteringsbeslag
- Strømkabelledning
- GPS antenne
- USB-forlængerkabel
- Brugervejledning (dette dokument)
4. Opsætning og installation
Proper installation is crucial for the performance and longevity of your ESX VN940-4G. It is recommended to have the unit installed by a qualified professional.
4.1 Montering af enheden
Use the provided mounting bracket to secure the Naviceiver in your vehicle's dashboard. Ensure the unit is firmly seated and does not obstruct any vehicle controls or airbags.
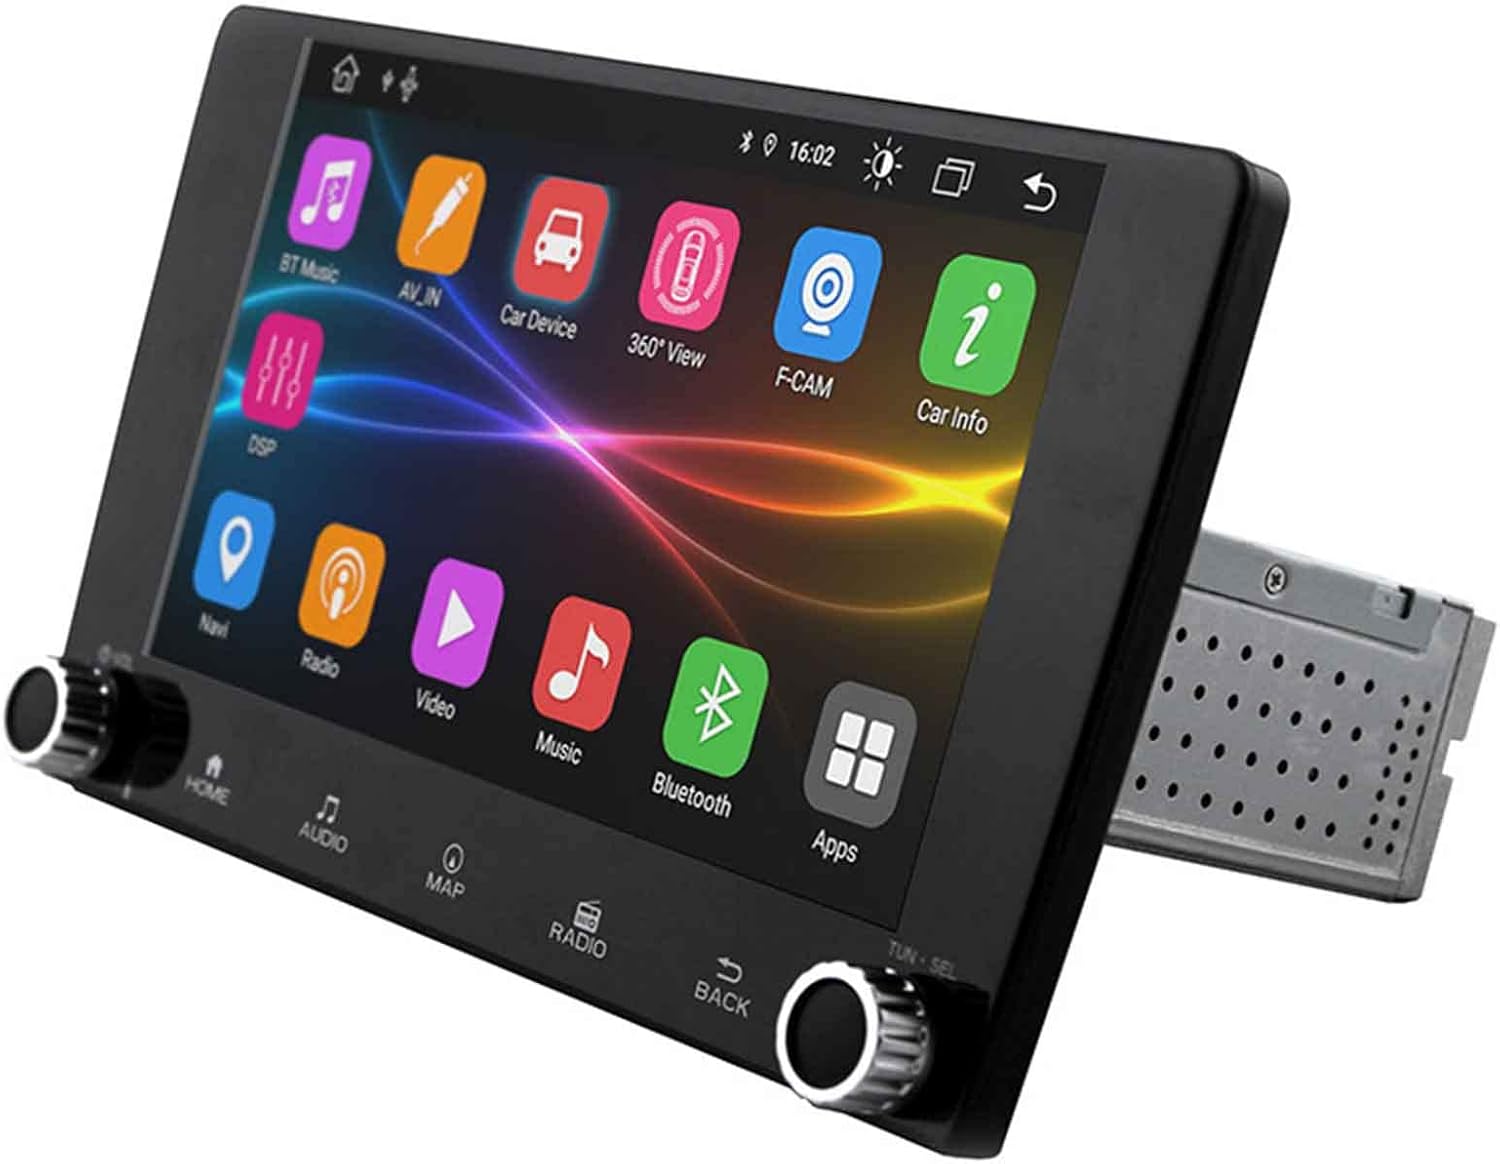
Image: The ESX VN940-4G Naviceiver unit, displaying its side profile and the integrated mounting cage, ready for dashboard installation.
4.2 Ledningsforbindelser
Connect the power harness, speaker wires, GPS antenna, and any other auxiliary inputs/outputs according to your vehicle's wiring diagram and the unit's connection ports. Pay close attention to positive and negative terminals.
- Strøm (Gul): Konstant 12V (batteri)
- Tænding (rød): Switched 12V (ACC)
- Jord (sort): Køretøjets chassis jord
- Højttalerkabler: Tilslut til de tilsvarende højttalerledninger i bilen (f.eks. forreste venstre +, forreste venstre -).
- GPS-antenne: Connect to the dedicated GPS antenna port and mount the antenna in a location with a clear view af himlen.
4.3 Første opstart og konfiguration
After installation, turn on your vehicle's ignition. The unit should power on. Follow the on-screen prompts for initial setup, which may include:
- Valg af sprog
- Indstilling af tid og dato
- Radio Region Selection
5. Betjeningsvejledning
This section details the primary functions and operations of your ESX VN940-4G.
5.1 Grundlæggende kontroller
- Power knap: Press and hold to turn the unit on/off. Short press to mute/unmute.
- Lydstyrkeknap: Drej med uret for at øge lydstyrken, mod uret for at sænke den.
- Hjemknappen: Vender tilbage til hovedmenuskærmen.
- Tilbage knap: Vender tilbage til den forrige skærm eller menu.
5.2 Radiodrift
From the main menu, select the 'Radio' icon. You can manually tune frequencies, scan for stations, or save your favorite stations as presets.
- Scan: Automatically searches for and stops at strong signals.
- Presets: Touch and hold a numbered button to save the current station.
5.3 Bluetooth-forbindelse
Enheden understøtter Bluetooth til håndfri opkald og streaming af lyd.
- Gå til menuen 'Bluetooth'.
- Aktiver Bluetooth på din mobilenhed, og søg efter tilgængelige enheder.
- Select 'ESX VN940-4G' from the list on your phone.
- Bekræft parringskoden, hvis du bliver bedt om det.
Når den er parret, kan du foretage/modtage opkald og streame musik trådløst.
5.4 Navigationssystem
Access the navigation application by selecting the 'Map' or 'Navi' icon from the main menu. The system provides turn-by-turn directions and real-time traffic information (if supported by the map software).

Image: The ESX VN940-4G Naviceiver's touchscreen displaying a detailed navigation map, including current route, speed, and remaining distance to destination.
- Destinationsindtastning: Use the on-screen keyboard to enter addresses or points of interest.
- Rutevejledning: Follow the voice prompts and visual cues on the screen.
- Kort View: Skift mellem 2D og 3D views, and adjust zoom levels.
5.5 Medieafspilning
The unit supports media playback from various sources, such as USB drives. Connect your USB device to the designated USB port. The unit will automatically detect compatible audio or video files.
6. Vedligeholdelse
Regular maintenance ensures the longevity and optimal performance of your Naviceiver.
- Rengøring af skærmen: Brug en blød, fnugfri klud til forsigtigt at tørre berøringsskærmen af. Fjern genstridige pletterampen the cloth slightly with water or a screen-cleaning solution. Do not use abrasive cleaners.
- Softwareopdateringer: Kontroller jævnligt producentens webwebsted for tilgængelige softwareopdateringer. Opdateringer kan forbedre ydeevnen, tilføje nye funktioner eller rette fejl. Følg instruktionerne, der følger med opdateringspakken, omhyggeligt.
7. Fejlfinding
If you encounter issues with your ESX VN940-4G, refer to the following common problems and solutions:
| Problem | Mulig årsag | Løsning |
|---|---|---|
| Enheden tænder ikke. | Forkert ledningsføring, sprunget sikring, problem med bilens batteri. | Kontroller strøm- og jordforbindelser. Undersøg køretøjets sikringer. Sørg for, at batteriet er opladet. |
| Ingen lyd fra højttalere. | Speaker wires disconnected, volume too low, unit muted. | Verify speaker connections. Increase volume. Check if unit is muted. |
| Bluetooth-forbindelse mislykkes. | Bluetooth not enabled on phone/unit, device out of range, interference. | Ensure Bluetooth is active on both devices. Move phone closer. Restart both devices. |
| GPS-signal mistet eller unøjagtigt. | GPS antenna obstructed, faulty antenna, poor satellite reception. | Relocate GPS antenna to a clear area. Check antenna connection. Wait for clear sky. |
Hvis problemet fortsætter efter at have forsøgt disse løsninger, bedes du kontakte kundesupport.
8. Specifikationer
| Feature | Detalje |
|---|---|
| Modelnavn | ESX VN940-4G |
| Mærke | ESX udvidelse |
| Skærmstørrelse | 9 tommer (22.8 cm) |
| Skærmopløsning | 800 x 480 pixels |
| Forbindelsesteknologi | Bluetooth |
| Monteringstype | Dashboard-Mounting |
| Lydudgangstilstand | Stereoanlæg |
| Type køretøjstjeneste | Bil |
| Inkluderede komponenter | Monteringsbeslag |
| Første ledige dato | 10. marts 2022 |
9. Garanti og support
For warranty information, please refer to the documentation provided at the time of purchase or contact your retailer. Warranty terms and conditions may vary by region and seller.
For technical support, troubleshooting assistance beyond this manual, or inquiries about spare parts, please contact the seller or the official ESX customer service. Contact details are typically available on the seller's website or the ESX official webwebsted.
Ask a question about this manual
Ask about setup, troubleshooting, compatibility, parts, safety, or missing instructions. Manuals+ will review the question and use this page’s manual context to help answer it.