
1. Introduktion
Thank you for choosing the InFocus P120 INL412 Multimedia Projector. This manual provides essential information for the safe and efficient operation of your projector. Please read it thoroughly before using the device and retain it for future reference. The InFocus P120 INL412 is designed for versatile multimedia presentations, offering clear and vibrant images for various applications.
2. Sikkerhedsoplysninger
To ensure safe operation and prevent damage to the projector, please observe the following safety precautions:
- Bloker ikke ventilationsåbningerne. Sørg for tilstrækkelig plads omkring projektoren for korrekt luftgennemstrømning og for at forhindre overophedning.
- Undgå at se direkte ind i projektorlinsen, når lamp er tændt, da det skarpe lys kan forårsage øjenskader.
- Do not place the projector on an unstable cart, stand, or table. The projector may fall, causing serious injury to a child or adult, and serious damage to the unit.
- Tag netledningen ud af stikkontakten, hvis projektoren ikke skal bruges i længere tid.
- Overlad al service til kvalificeret servicepersonale. Forsøg ikke selv at åbne eller reparere projektoren.
- Keep the projector away from water or moisture. Do not expose it to rain or immerse it in liquid.
- Use only the power cord supplied with the projector or an authorized replacement.
3. Pakkens indhold
Bekræft, at alle nedenstående varer er inkluderet i din projektorpakke:
- InFocus P120 INL412 Multimedia Projector
- Strømledning
- Fjernbetjening med batterier
- VGA-kabel
- Brugervejledning (dette dokument)
- Hurtig startvejledning
4. Produktet er slutview
Familiarize yourself with the main components of your InFocus P120 INL412 projector.
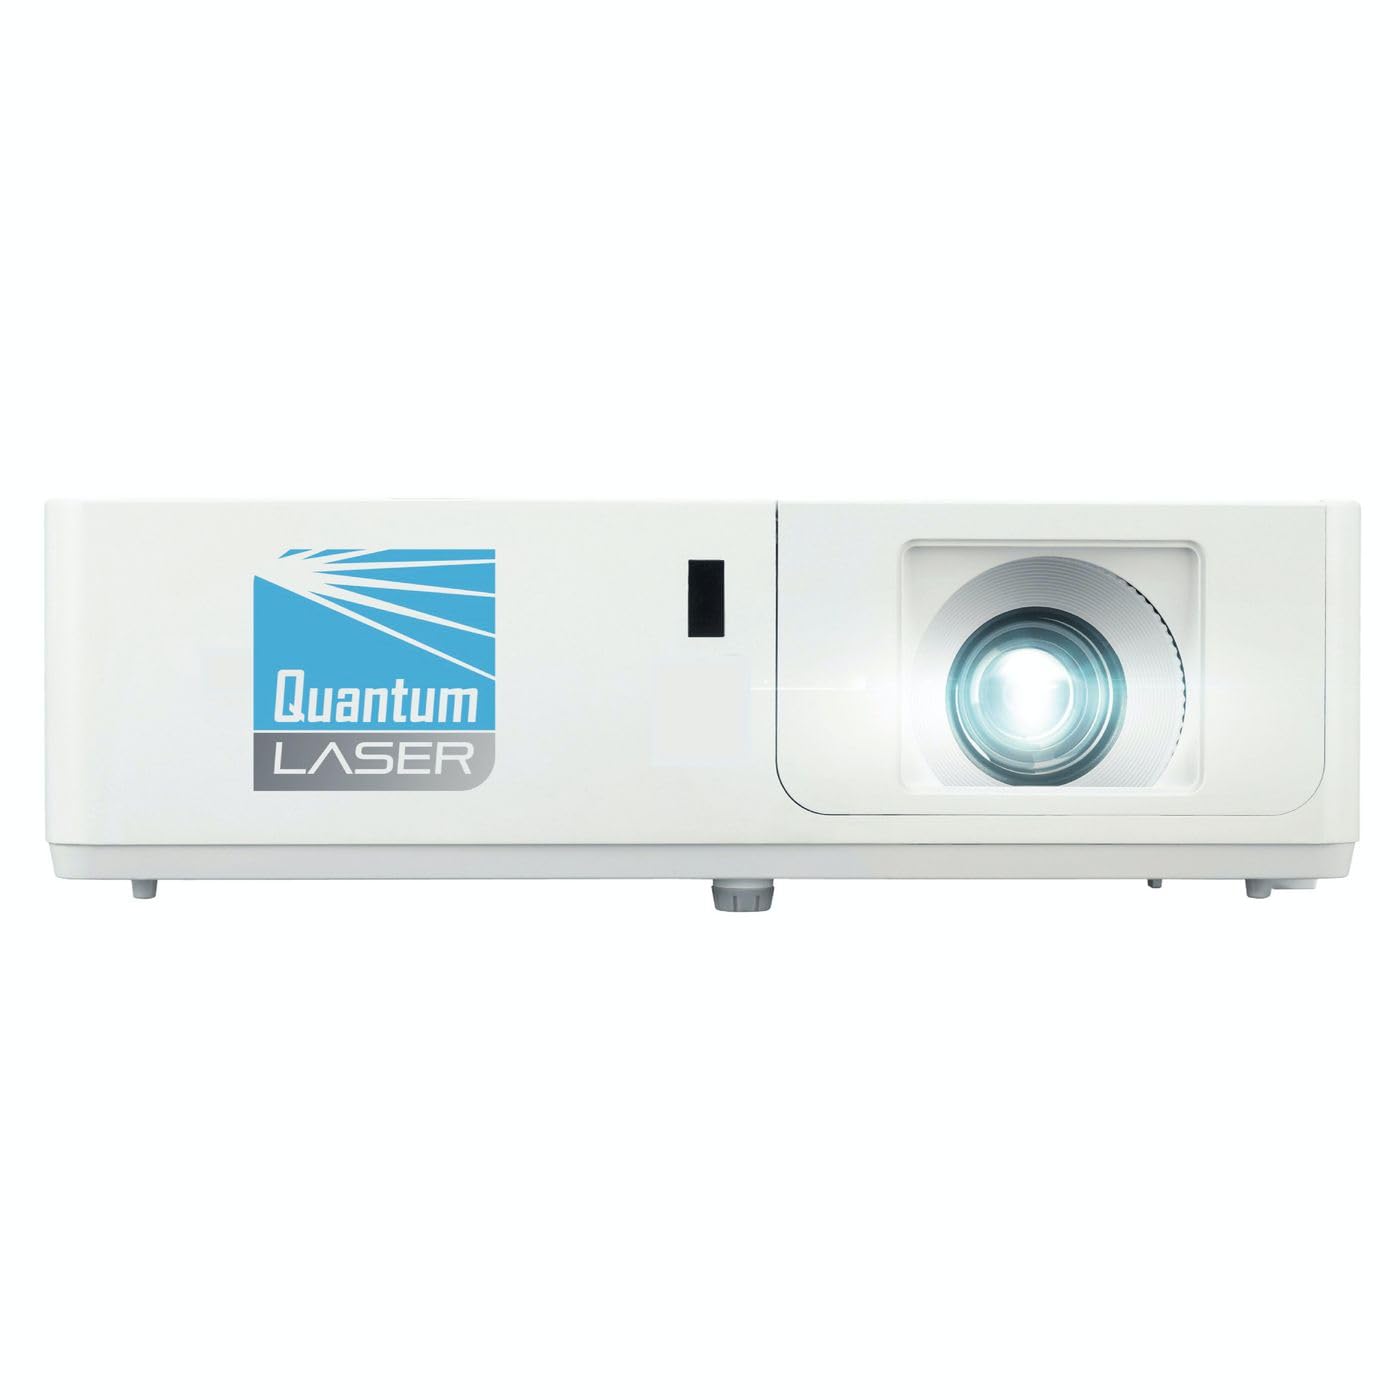
Billede 1: Forside view of the InFocus P120 INL412 Multimedia Projector, showing the lens and ventilation grilles.
4.1 Frontpanel
- Projektionsobjektiv: Sender billedet ud på skærmen.
- Fokusring: Justerer klarheden af det projicerede billede.
- Zoomring: Adjusts the size of the projected image.
- IR-modtager: Modtager signaler fra fjernbetjeningen.
4.2 Toppanel
- Kontrolpanel: Buttons for power, menu navigation, source selection, and keystone correction.
- Indikatorlys: Display the projector's status (e.g., power, lamp, temperature).
4.3 Bagpanel (tilslutningsmuligheder)
- HDMI -indgang: Connects to HDMI-enabled devices (laptops, Blu-ray players).
- VGA-indgang: Tilsluttes computere med VGA-udgang.
- USB-port: For service or connecting USB devices (if supported by model).
- Lyd ind/ud: For connecting external audio sources or speakers.
- Strømindtag: Tilslutter strømkablet.
5. Opsætning
Følg disse trin for den indledende opsætning af din projektor:
- Placering: Place the projector on a stable, flat surface or mount it securely. Ensure the projector is positioned at an appropriate distance from the screen to achieve the desired image size.
- Strømtilslutning: Tilslut netledningen til projektorens strømindgang og derefter til en jordforbundet stikkontakt.
- Tilslut kildeenhed: Connect your source device (e.g., laptop, DVD player) to the projector using an appropriate cable (HDMI, VGA, etc.). Ensure the cable is securely connected to both the source and the projector.
- Tænd: Press the power button on the projector's control panel or the remote control to turn on the projector. The power indicator light will illuminate.
- Juster fokus og zoom: Once an image is projected, rotate the focus ring on the lens until the image is sharp and clear. Use the zoom ring to adjust the image size to fit your screen.
- Keystone-korrektion: If the image appears trapezoidal, use the keystone correction function (either via buttons on the projector/remote or through the on-screen menu) to square the image.
6. Betjeningsvejledning
6.1 Tænd/sluk
- For at tænde: Press the power button once. The projector will go through a warm-up sequence.
- For at slukke: Press the power button twice. The first press will prompt a shutdown confirmation; the second press will initiate shutdown. Allow the projector to cool down completely before unplugging.
6.2 Kildevalg
Press the 'Source' button on the projector or remote control to cycle through available input sources (HDMI, VGA, etc.) until your desired source is displayed.
6.3 Menunavigation
Press the 'Menu' button to access the on-screen display (OSD) menu. Use the arrow buttons to navigate through options and 'Enter' or 'OK' to select. Use the 'Exit' or 'Menu' button to close the OSD.
- Billedindstillinger: Adjust brightness, contrast, color, aspect ratio, and picture mode.
- Skærmindstillinger: Configure keystone, projection mode (front/rear, desktop/ceiling), and resolution.
- Lydindstillinger: Control volume and audio output options.
- Systemindstillinger: Manage language, timer, power-saving modes, and factory reset.
7. Vedligeholdelse
Regelmæssig vedligeholdelse sikrer optimal ydeevne og forlænger projektorens levetid.
- Rengøring af linser: Tør forsigtigt projektorlinsen af med en blød, fnugfri klud, der er specielt designet til optiske overflader. Brug ikke slibende rengøringsmidler eller overdreven kraft.
- Skabsrengøring: Use a soft, dry cloth to clean the projector's exterior. For stubborn marks, dampen the cloth slightly with water. Avoid using harsh chemicals.
- Rengøring/udskiftning af luftfilter: Check the air filter periodically. If your model has a removable filter, clean it with a soft brush or vacuum cleaner. Replace the filter as recommended in the on-screen menu or when visibly dirty to maintain proper ventilation.
- Lamp Udskiftning: Projektoren lamp har en begrænset levetid. Når lamp life indicator appears, or the image brightness significantly decreases, replace the lamp according to the instructions provided in the full service manual or by a qualified technician. Always allow the projector to cool down completely before attempting lamp udskiftning.
8. Fejlfinding
Se tabellen nedenfor for almindelige problemer og løsninger på disse:
| Problem | Mulig årsag | Løsning |
|---|---|---|
| Intet billede vises | Power cord disconnected, incorrect input source, source device off. | Check power connections. Select correct input source. Ensure source device is powered on. |
| Billedet er sløret | Objektivet er ude af fokus, forkert projektionsafstand. | Adjust the focus ring on the lens. Reposition the projector closer or further from the screen. |
| Billedet er trapezformet | Projektoren er ikke vinkelret på lærredet. | Use keystone correction (manual or automatic) to square the image. |
| Projektoren overopheder og slukker | Blokeret ventilation, snavset luftfilter. | Ensure clear space around vents. Clean or replace the air filter. |
| Fjernbetjening virker ikke | Dead batteries, obstruction between remote and projector, incorrect angle. | Replace batteries. Ensure clear line of sight to IR receiver. Point remote directly at the projector. |
9. Specifikationer
Key technical specifications for the InFocus P120 INL412 Multimedia Projector:
| Feature | Specifikation |
|---|---|
| Modelnummer | P120 INL412 (Item model number: 7296144) |
| Display Type | DLP |
| Indfødt opløsning | 1280 x 800 |
| Maksimal skærmopløsning | 1280 x 800 |
| Forbindelsesteknologi | USB (and other standard inputs like HDMI, VGA) |
| Produktdimensioner | 5.25 x 0.31 x 1.66 tommer |
| Varens vægt | 6.6 pund |
| Fabrikant | I fokus |
10. Garanti og support
The InFocus P120 INL412 Multimedia Projector comes with a standard manufacturer's warranty. Please refer to the warranty card included in your package for specific terms and conditions, including warranty duration and coverage details. For technical support, service, or further inquiries, please visit the official InFocus support webwebsted eller kontakt deres kundeserviceafdeling.
For de mest opdaterede supportoplysninger, besøg venligst: www.infocus.com/support