1. Introduktion
This manual provides detailed instructions for the setup, operation, and maintenance of the Generic WS2812 Addressable 5050 RGB LED Pixel Lights. These individually addressable LEDs offer full-color control and are compatible with various microcontrollers, including Arduino.
2. Produktet er slutview
The WS2812 5050 RGB LED Pixel Light features an integrated control IC, allowing each LED to be individually addressed. This enables complex lighting patterns and animations. The LEDs are mounted on a small PCB board, facilitating flexible integration into various projects.
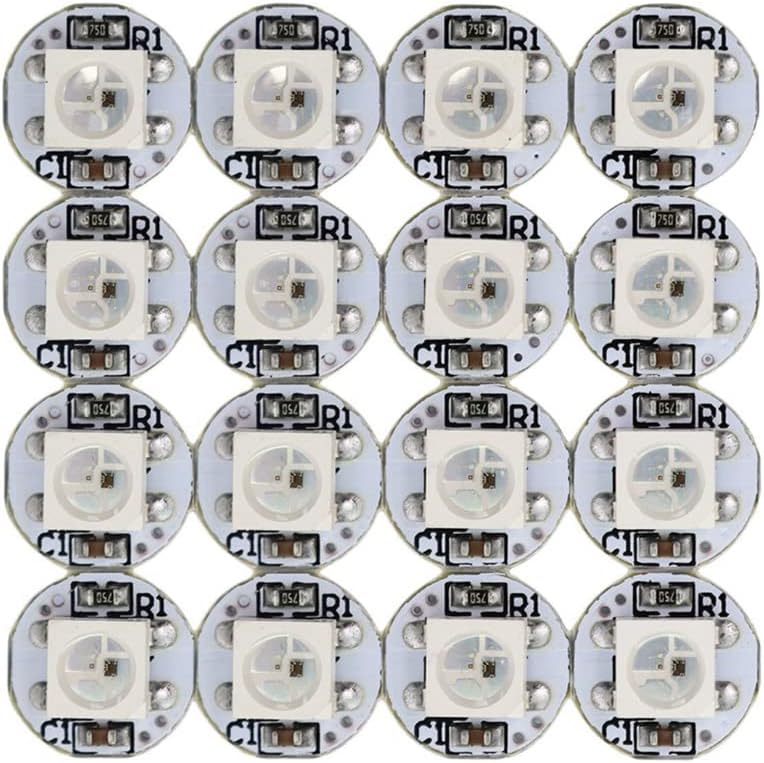
Figure 1: A grid of WS2812 5050 RGB LED Pixel Lights on white PCBs.

Figur 2: Detaljeret view of a single WS2812 LED pixel, showing the top with the LED chip and the bottom with labeled pins (DIN, DOUT, VDD, VSS).
3. Opsætning og ledningsføring
These LED pixels are designed for easy integration. Each pixel requires a 5V DC power supply, ground, and a single digital data pin for control. The chainable design simplifies wiring for multiple LEDs.
3.1-bens konfiguration
| Pin nr. | Symbol | Funktionsbeskrivelse |
|---|---|---|
| 1 | VSS | Jord |
| 2 | DIN | Styredatasignalindgang |
| 3 | VDD | Power supply for LED (+5V DC) |
| 4 | DOUT | Control data signal output (for chaining to next LED) |
3.2 Tilslutningstrin
- Tilslut VDD pin (Pin 3) of the first LED to a +5V DC power source.
- Tilslut VSS pin (Pin 1) of the first LED to the ground of the power source and your microcontroller.
- Tilslut DIN pin (Pin 2) of the first LED to a digital output pin on your microcontroller (e.g., Arduino).
- For chaining multiple LEDs, connect the DOUT pin (Pin 4) of the previous LED to the DIN pin (Pin 2) of the next LED. Ensure all VDD and VSS pins are connected in parallel to the 5V power supply and ground, respectively.

Figure 3: An array of WS2812 LED pixels, demonstrating the compact design on both white and black PCB variants.
4. Betjeningsvejledning
The WS2812 LEDs are controlled digitally, allowing for precise manipulation of color and brightness for each individual pixel.
4.1 Softwarekontrol
To operate these LEDs, you will need a microcontroller (such as Arduino) and a compatible library (e.g., FastLED or Adafruit NeoPixel library). These libraries provide functions to easily set colors, brightness, and create animations.
- Individual Addressability: Each LED can be set to a specific color and brightness independently.
- Farvedybde: Supports 256 brightness levels per color channel, resulting in a full 24-bit (16,777,216) color display.
- Animation: Capable of displaying complex animations and dynamic lighting effects.
4.2 Compatible Controllers
In addition to microcontrollers, these LEDs can be controlled by various dedicated LED controllers:
- Pre-programmed App Controllers: SP105E, SP108E, SP110E
- Music Controllers: SP106E, SP107E
- Smart WiFi Controllers: SP501E, and other 5V smart WiFi controllers.
5. Vedligeholdelse
The WS2812 LED pixels are low-maintenance components. Follow these guidelines to ensure longevity:
- Strømforsyning: Always use a stable 5V DC power supply. Over-voltage can damage the LEDs.
- Miljøforhold: While rated for outdoor usage, protect the LEDs from direct water exposure and extreme temperatures to prevent damage.
- Rensning: If necessary, gently clean the PCB and LED surface with a soft, dry cloth. Avoid abrasive materials or harsh chemicals.
- Håndtering: Handle the PCBs by the edges to avoid damaging the components or solder joints.
6. Fejlfinding
If you encounter issues with your WS2812 LED pixels, consider the following troubleshooting steps:
6.1 LEDs Not Lighting Up
- Strømtilslutning: Verify that the 5V DC and Ground connections are correctly made and that the power supply is active.
- Dataforbindelse: Ensure the DIN pin is correctly connected to the microcontroller's data output pin.
- Wiring Order: For chained LEDs, confirm that DOUT of one LED is connected to DIN of the next.
- Code Check: Review your microcontroller code to ensure it initializes the LEDs correctly and sends data to the correct pin.
6.2 Incorrect Colors or Flickering
- Power Supply Capacity: Insufficient power supply current can cause flickering or incorrect colors, especially with many LEDs at high brightness. Ensure your power supply can provide enough current (each LED can draw up to 60mA at full white brightness).
- Data Signal Integrity: Long data lines can suffer from signal degradation. Consider adding a data line resistor (e.g., 300-500 Ohm) close to the first LED's DIN pin.
- Jordforbindelse: Ensure a common ground between the power supply, microcontroller, and LEDs.
- Timing Issues: Verify that your software library is configured for the correct WS2812 timing.
6.3 Only First Few LEDs Work
- Data Chain Break: Check the connections between the DOUT of the last working LED and the DIN of the first non-working LED. A broken solder joint or incorrect connection can interrupt the data chain.
- Power Drop: For very long chains, voltage drop can occur. Consider injecting power at multiple points along the strip if you are using many LEDs.
7. Specifikationer
Detailed technical specifications for the WS2812 5050 RGB LED Pixel Light:
| Parameter | Værdi |
|---|---|
| LED type | WS2812 5050 RGB LED (built-in IC) |
| Input bindtage (VDD) | +3.5V to +5.3V DC (Absolute Max: +5.5V) |
| Logic Input Voltage (V(IN)) | -0.5V to VDD+0.5V |
| Working Temperature (Topt) | -40°C til +85°C |
| Storage Temperature (Tstg) | -50°C til +150°C |
| ESD Pressure (V(ESD)) | 4 KV |
| Rød bølgelængde | 620-630NM (Luminous intensity: 550-700MCD) |
| Grøn bølgelængde | 515-530NM (Luminous intensity: 1100-1400MCD) |
| Blå bølgelængde | 465-475NM (Luminous intensity: 200-400MCD) |
| Farvedybde | 24-bit (16,777,216 colors) |
| Lysstyrkeniveauer | 256 per color channel |
| PCB Color (Variant) | Hvid (fås også i sort) |
| Indendørs/Udendørs brug | Outdoor (with proper protection) |
| Speciel funktion | Dæmpbar |
8. Yderligere oplysninger
For further technical details, programming examples, or community support, refer to online resources for WS2812 LEDs and Arduino programming.


