
1. Introduktion
This manual provides detailed instructions for the installation, operation, and maintenance of your GNCC T2 1080P WiFi Security Camera. Please read this manual thoroughly before using the product to ensure proper functionality and safety. The GNCC T2 camera is designed for both outdoor and indoor surveillance, offering high-definition video, night vision, two-way audio, and smart detection features.
2. Produktfunktioner
- Fuld HD 1080P-video: Captures clear and detailed images with 1920x1080 resolution.
- 110° vidvinkelobjektiv: Provides extensive coverage to minimize blind spots.
- IR nattesyn: Automatic activation of 850nm infrared LEDs for clear black and white vision in low light or darkness.
- Tovejs lyd: Indbygget mikrofon og højttaler muliggør kommunikation i realtid.
- Bevægelses- og lyddetektion: Sends real-time push notifications upon detecting movement or sound. Adjustable sensitivity and customizable detection zones are available.
- IP65 Weatherproof Metal Casing: Durable design suitable for extreme weather conditions (sun, rain, snow, sand).
- 2.4 GHz Wi-Fi-forbindelse: Ensures a stable wireless connection (5GHz Wi-Fi is not supported).
- Fleksible opbevaringsmuligheder: Supports local storage via TF (MicroSD) card (up to 128GB, 64GB recommended) with loop recording, and cloud storage via the Osaio App.
- Smart Home Integration: Compatible with Alexa and Google Assistant for voice control and live view på smartskærme.

Image: GNCC T2 Camera highlighting its key features including motion detection, night vision, two-way audio, 1080P resolution, IP65 waterproofing, and Alexa integration.
3. Opsætningsvejledning
3.1 Indledende opsætningstrin
- Download the Osaio App: Søg efter "Osaio" in the App Store (iOS) or Google Play Store (Android) and install the application on your smartphone.
- Tænd for kameraet: Connect the camera to a power source using the provided power adapter. Wait for the camera's indicator light to flash, indicating it is ready for pairing.
- Opret forbindelse til 2.4GHz Wi-Fi: Ensure your smartphone is connected to a 2.4GHz Wi-Fi network. The GNCC T2 camera only supports 2.4GHz Wi-Fi.
- Tilføj enhed i appen: Open the Osaio App, create an account or log in, and follow the in-app instructions to add your new camera. This typically involves scanning a QR code displayed on your phone with the camera lens.
- Komplet konfiguration: Follow the remaining prompts in the app to name your camera and finalize the setup.
Important Note: Please ensure your Wi-Fi network is 2.4GHz and the Wi-Fi password does not exceed 32 characters for successful connection.

Image: Visual guide showing the three steps for configuring the GNCC T2 camera: downloading the Osaio app, connecting to 2.4GHz Wi-Fi, and starting live view.
3.2 Montering af kameraet
The GNCC T2 camera supports surface, ceiling, and wall mounting. Choose a location that provides the desired viewvinklen og er inden for rækkevidde af dit 2.4 GHz Wi-Fi-netværk og en stikkontakt.
- Brug den medfølgende monteringsskabelon til at markere borehullerne.
- Bor huller og isæt vægankre, hvis det monteres på gipsvæg eller murværk.
- Fastgør monteringsbeslaget til overfladen med skruer.
- Fastgør kameraet til monteringsbeslaget, og juster vinklen efter behov.

Image: The GNCC T2 camera mounted on an exterior wall, demonstrating its robust IP65 weatherproof metal construction, designed for durability in various environmental conditions.
4. Betjeningsvejledning
4.1 Live View og afspilning
Once configured, open the Osaio App to access the live feed from your camera. You can view real-time video and listen to audio. To review optaget footage, navigate to the playback section within the app. You can drag the timeline to select specific times or dates to view optagede begivenheder.

Image: A smartphone displaying the Osaio app's playback records interface, illustrating how to navigate the timeline to review tidligere videooptagelser.
4.2 Tovejslyd
The camera features a built-in microphone and speaker. In the Osaio App's live view, tap the microphone icon to speak through the camera, and tap the speaker icon to listen to audio from the camera's location. This allows for communication with visitors or to deter intruders.

Image: A visual representation of the two-way audio function, where a user can speak through their phone to the camera, enabling communication or warning.
4.3 Bevægelses- og lydregistrering
The GNCC T2 camera is equipped with advanced motion and sound detection. When an event is detected, you will receive a real-time push notification on your smartphone. You can customize the detection sensitivity and set specific activity zones within the Osaio App to reduce false alerts.

Image: A smartphone screen showing a real-time alert from the Osaio app indicating motion detection, demonstrating the camera's surveillance capabilities.

Image: The GNCC T2 camera actively monitoring a garden, with motion detection zones highlighted and a notification bubble indicating a real-time alert.
4.4 Nattesyn
The camera automatically switches to infrared night vision mode in low light conditions, providing clear black and white video footage up to a certain distance. This ensures continuous surveillance 24/7.

Image: A comparison illustrating the camera's 1080P Full HD day vision (color) and black and white night vision, highlighting its clear imaging capabilities in varying light conditions.
4.5 Lagringsmuligheder
The GNCC T2 camera offers two storage methods for your recordings:
- MicroSD-kort: Insert a C10 TF (MicroSD) card (up to 128GB, 64GB recommended) into the camera's slot for local storage. The camera supports loop recording, overwriting older footage når kortet er fuldt.
- Cloud Storage: Subscribe to the Osaio App's cloud storage service for secure, off-site storage of your video recordings.
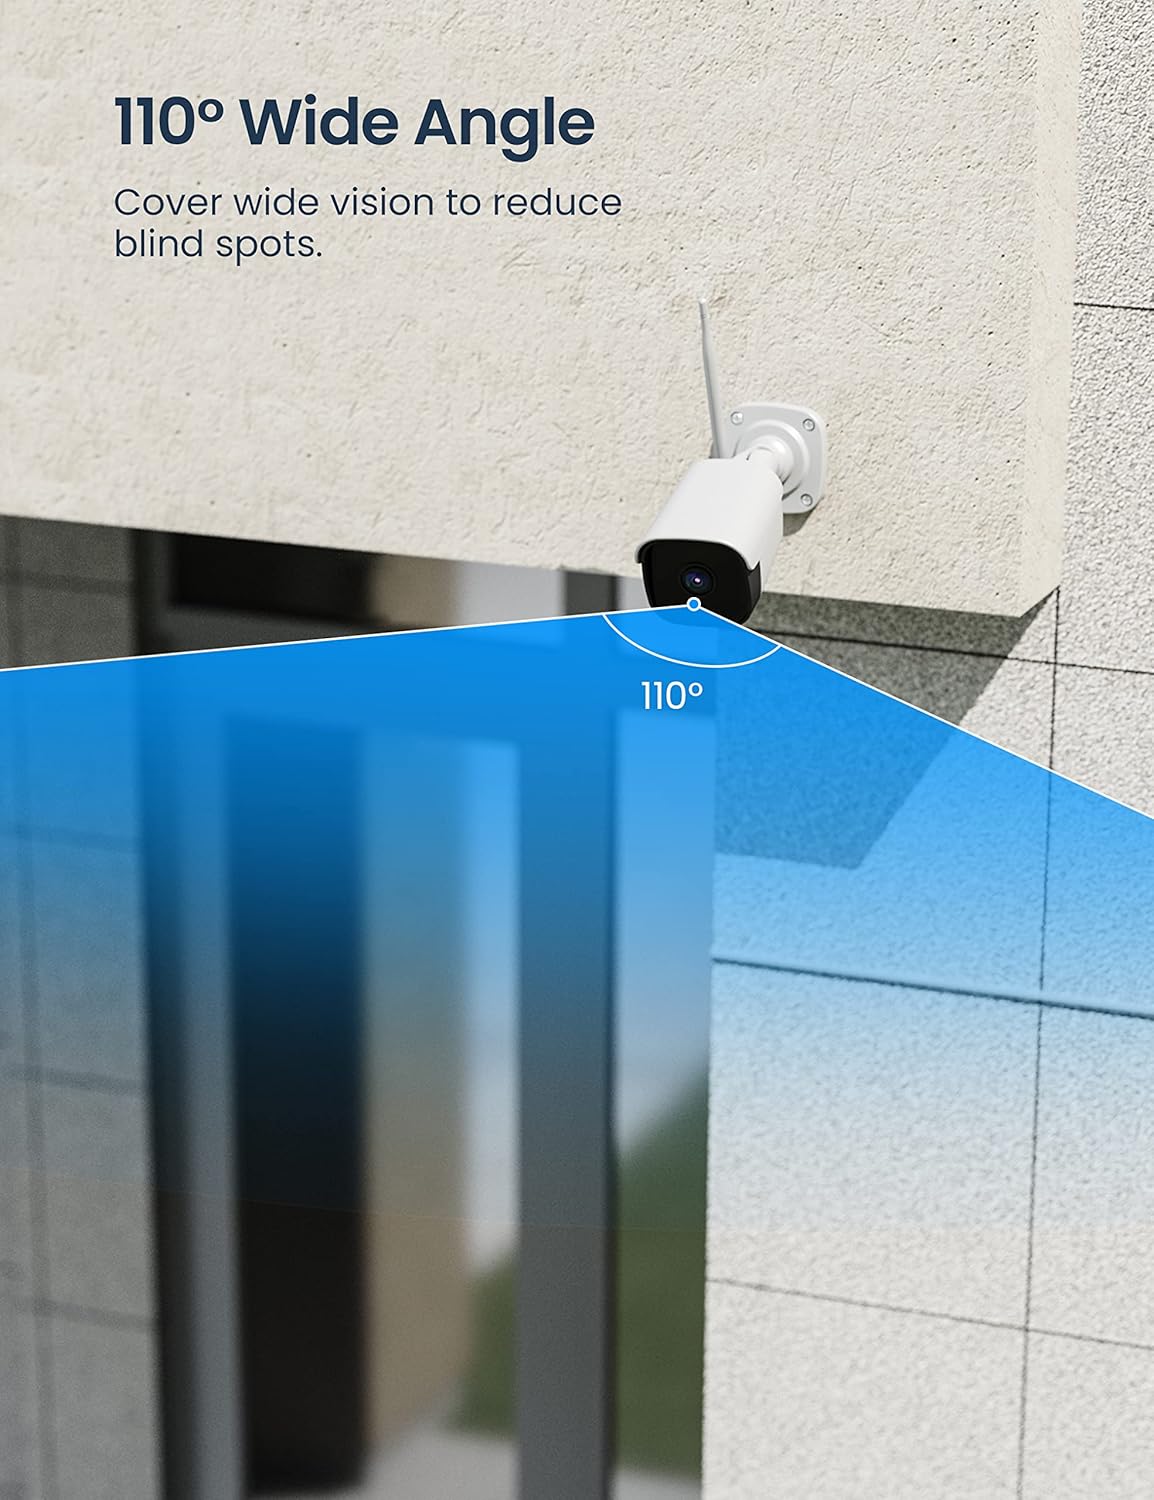
Image: The GNCC T2 camera illustrating its flexible storage options, including secure cloud storage and local SD card recording, accessible via the Osaio app.

Image: An illustration emphasizing data privacy and security for the GNCC T2 camera, showing encrypted cloud and local storage options accessible through the Osaio app.
4.6 Smart Home-integration
The GNCC T2 camera is compatible with Amazon Alexa and Google Assistant. You can link your camera to these platforms through the Osaio App to enable voice commands and view live-feeds på kompatible smart-skærme.
- Til Alexa: Enable the Osaio skill in the Alexa app and link your account. Then, you can say commands like, "Alexa, show me the [camera name]."
- For Google Assistent: Link your Osaio account in the Google Home app. You can then use commands such as, "Hey Google, show me the [camera name] on [device name]."

Image: An Amazon Echo Show device displaying a live feed from the GNCC T2 camera, illustrating its seamless integration with Alexa for smart home control.

Image: A scene depicting smart home convenience, where a user is cooking while viewing the GNCC camera's live feed on an Echo Show, enabled by Alexa or Google Assistant.
5. Vedligeholdelse
5.1 Rengøring af kameraet
To ensure optimal performance, periodically clean the camera lens and housing. Use a soft, dry cloth to wipe away dust and dirt. For stubborn marks on the lens, use a lens cleaning solution and a microfiber cloth. Avoid abrasive cleaners or solvents that could damage the camera.
5.2 firmwareopdateringer
GNCC regularly releases firmware updates to improve camera performance, add new features, and enhance security. Check for available updates through the Osaio App and follow the in-app instructions to update your camera's firmware. Ensure the camera has a stable power supply and Wi-Fi connection during the update process.
5.3 Wi-Fi Connection Check
Regularly verify the camera's Wi-Fi signal strength in the Osaio App to ensure a stable connection. A weak signal can lead to video lag or disconnections. Consider repositioning your Wi-Fi router or using a Wi-Fi extender if signal strength is consistently low.
6. Fejlfinding
- Kamera offline:
- Kontroller, om kameraet er tændt, og om strømadapteren er tilsluttet korrekt.
- Verify your Wi-Fi router is working and other devices can connect to the internet.
- Sørg for, at kameraet er inden for rækkevidde af dit 2.4 GHz Wi-Fi-netværk.
- Try restarting the camera by unplugging and replugging the power adapter.
- Kan ikke oprette forbindelse til Wi-Fi:
- Confirm your Wi-Fi network is 2.4GHz. The camera does not support 5GHz Wi-Fi.
- Double-check the Wi-Fi password for accuracy.
- Ensure the Wi-Fi password does not exceed 32 characters.
- Flyt kameraet tættere på routeren under opsætningen.
- Reset the camera (refer to the app for specific reset instructions) and try the setup process again.
- No Motion/Sound Detection Alerts:
- Check the detection settings in the Osaio App to ensure motion/sound detection is enabled.
- Adjust the detection sensitivity.
- Verify that activity zones are correctly configured.
- Ensure your phone's notification settings allow alerts from the Osaio App.
- Dårlig videokvalitet:
- Rengør kameralinsen.
- Check your Wi-Fi signal strength; a weak signal can affect video quality.
- Sørg for, at der ikke er nogen forhindringer, der blokerer kameraets view.
7. Specifikationer
| Feature | Specifikation |
|---|---|
| Modelnummer | T2 |
| Video opløsning | 1080p (1920x1080 pixels) |
| Forbindelsesteknologi | Trådløs (2.4 GHz Wi-Fi) |
| Speciel funktion | Nattesyn, tovejslyd, bevægelsesdetektion |
| Brugsmiljø | Udendørs, Indendørs |
| Strømkilde | El-kabel |
| Controller type | Android, iOS (via Osaio App) |
| Monteringstype | Surface Mount, Ceiling Mount, Wall Mount |
| IP-vurdering | IP65 (Vandtæt) |
| Optisk sensorteknologi | CMOS |
| View Vinkel | 110 grader |
| Opbevaring | MicroSD-kort (op til 128 GB), Cloud-lagring |
| Dimensioner (pakke) | 21 x 9.4 x 9.3 cm |
| Vægt (pakke) | 570 gram |
8. Garanti og support
8.1 Produktgaranti
GNCC products typically come with a limited warranty. Please refer to the warranty card included in your product packaging or visit the official GNCC webwebstedet for detaljerede garantivilkår og -betingelser. Gem din købskvittering som købsbevis i tilfælde af garantikrav.
8.2 Kundesupport
If you encounter any issues or have questions regarding your GNCC T2 camera, please contact GNCC customer support. Support contact information can usually be found on the official GNCC website or within the Osaio App's help section.