
1. Introduktion
This manual provides instructions for the installation, operation, and maintenance of your TICONN Dummy Door Handle. A dummy door handle is a non-latching handle used for doors that do not require a latching mechanism, such as closet doors, pantry doors, or cabinet doors. It is designed for simple push/pull functionality.
Your TICONN Dummy Door Handle features a heavy-duty construction from premium zinc alloy and brass parts, ensuring durability and a rust-free finish. It is reversible for both left-handed and right-handed door installations.
2. Pakkens indhold
Kontroller venligst, at alle komponenter er til stede, før installationen påbegyndes.
- TICONN Dummy Door Handle (1 unit)
- Monteringsskruer
- Skiver
- Bor skabelon

Image displaying the TICONN Dummy Door Handle package contents, including the handle, screws, and a drill template for installation.
3. Specifikationer
| Mærke | TICONN |
| Model | Dummy Door Handle (Rear Mount) |
| Materiale | Messing, zink |
| Farve | Mat sort |
| Produktmål (L x B) | 5 cm L x 2 cm B |
| Dørtykkelsesområde | 1 3/8'' (35mm) to 1 3/4" (45mm) |
| Håndorientering | Ambidextrous (vendbar) |
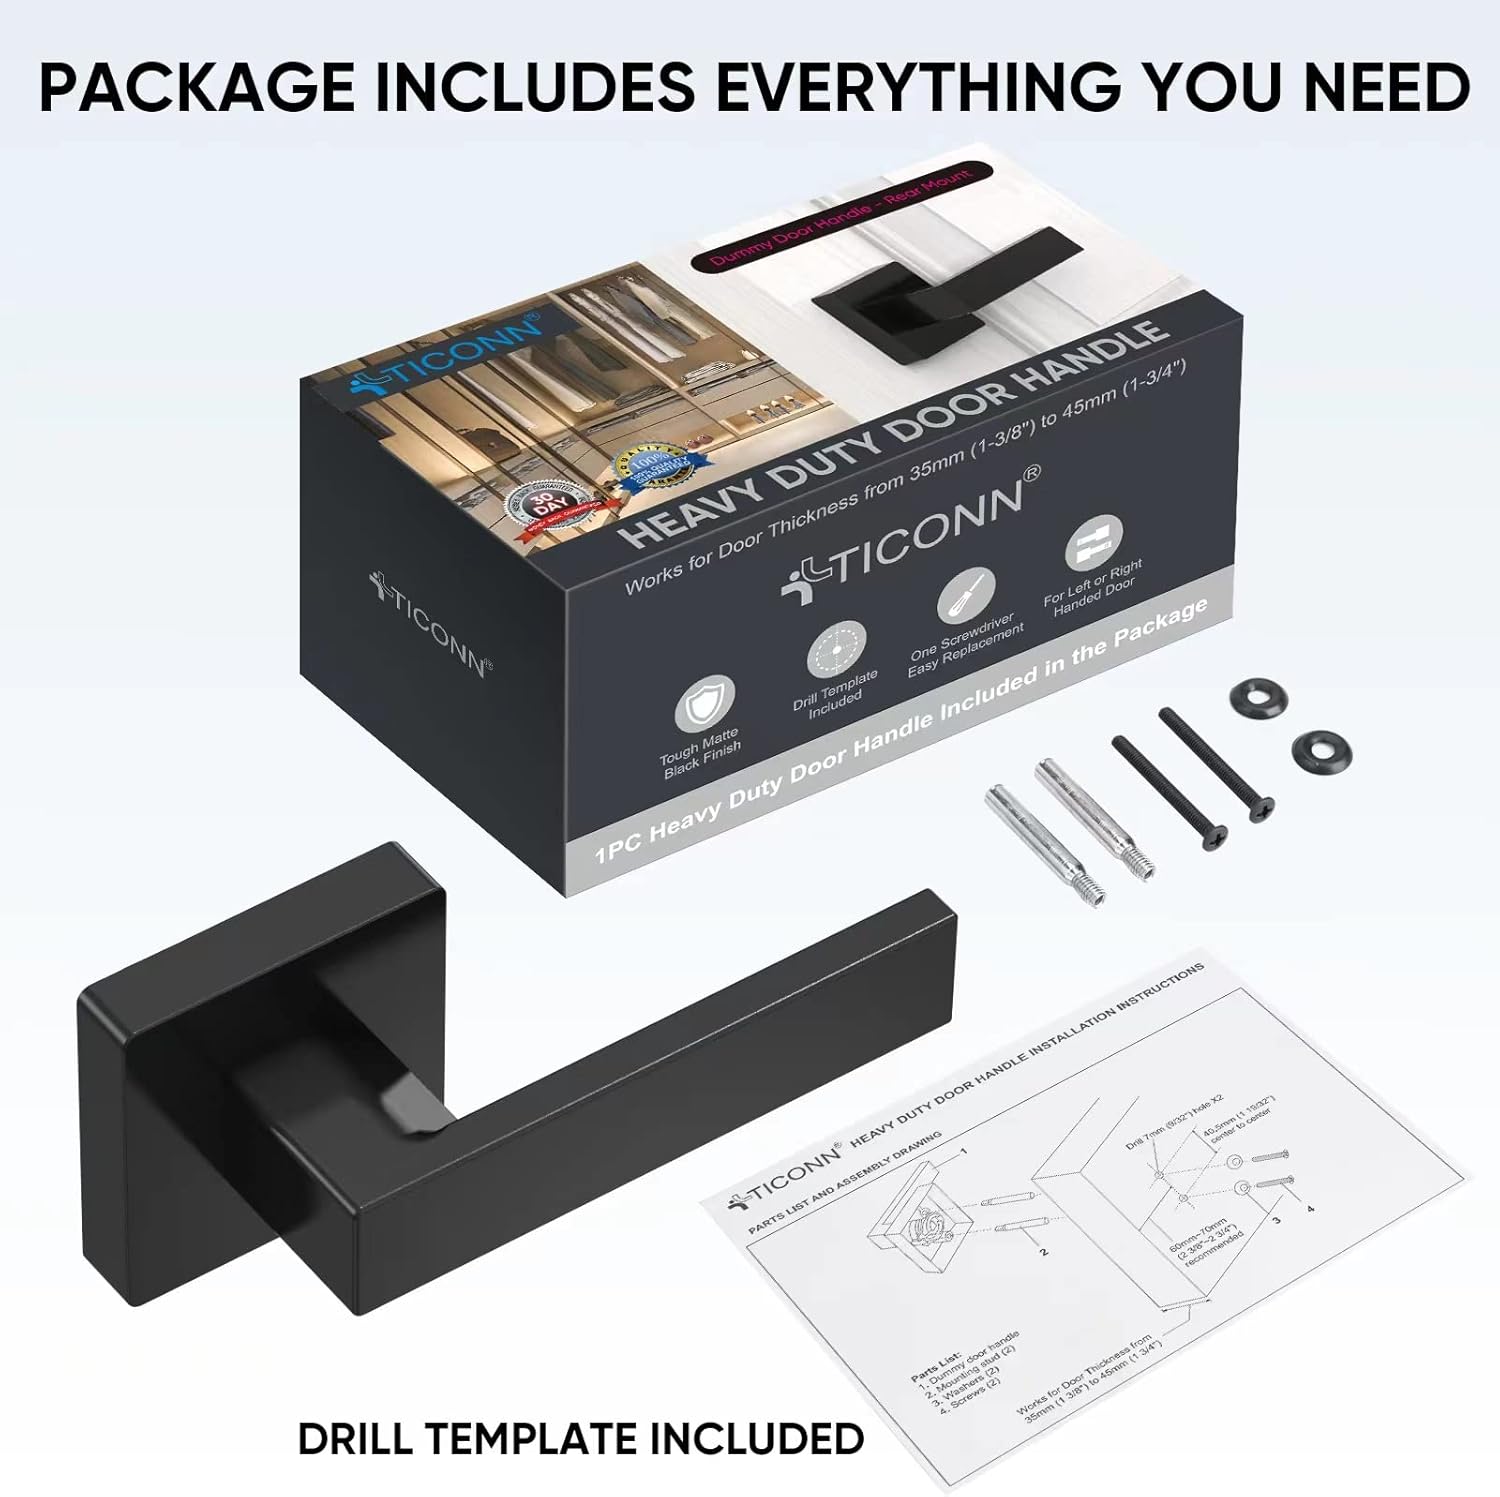
Diagram illustrating the dimensions of the TICONN Dummy Door Handle, including length, width, and depth, and indicating compatibility with door thicknesses from 1-3/8 to 1-3/4 inches.
4. Installationsvejledning
Installation of the TICONN Dummy Door Handle is designed to be straightforward and can typically be completed with a Phillips screwdriver.
- Forbered døren: If replacing an existing handle, remove it. Use the provided drill template to mark the screw holes on your door if no existing holes are present or if they do not align. Ensure the door thickness is within the compatible range of 1 3/8'' to 1 3/4''.
- Placer håndtaget: Place the dummy handle on the door, aligning the mounting holes with the marked or existing holes.
- Fastgør håndtaget: Insert the provided mounting screws through the handle and into the door. Tighten the screws firmly but do not overtighten to avoid damaging the door or handle.
- Tjek funktionalitet: Ensure the handle is securely attached and does not wobble. Since it is a dummy handle, there is no latching mechanism to test.

Image showing the TICONN Dummy Door Handle installed on a door, highlighting its reversible design for left or right-handed doors.

Image comparing different TICONN door handle functions: Passage, Privacy, Keyed Entry (Keyed Alike), Keyed Entry (Not Keyed Alike), Dummy, and Deadbolt, with the Dummy handle highlighted for closet/wardrobe use.
Official TICONN video demonstrating various door handle types, including the dummy door handle, and providing an overview of their features and installation.
5. Betjeningsvejledning
The TICONN Dummy Door Handle is designed for simple, non-latching operation. To open or close a door equipped with this handle, simply pull or push the door as needed. The handle provides a grip point but does not engage a latch or lock mechanism.
6. Vedligeholdelse
To ensure the longevity and appearance of your TICONN Dummy Door Handle, follow these maintenance guidelines:
- Rensning: Tør håndtaget regelmæssigt af med en blød kludamp klud. Undgå at bruge slibende rengøringsmidler, stærke kemikalier eller opløsningsmidler, da disse kan beskadige overfladen.
- Inspektion: Periodically check the mounting screws for tightness. If the handle feels loose, gently tighten the screws with a Phillips screwdriver.
- Undgå påvirkning: Protect the handle from strong impacts or excessive force, which could cause damage to the finish or structure.
7. Fejlfinding
Most issues with a dummy door handle are related to installation or minor wear.
- Håndtaget er løst: If the handle feels loose, check the mounting screws. Use a Phillips screwdriver to tighten them. Do not overtighten.
- Handle Not Sitting Flush: Ensure that the door surface is flat and that the handle's base is properly aligned with the screw holes. If necessary, remove the handle and re-install, ensuring proper alignment.
- Ridser eller skader på overfladen: Minor scratches can sometimes be touched up with a matching matte black paint. For significant damage, consider replacement.
8. Garanti og support
TICONN stands behind the quality of its products. If you encounter any issues or have questions regarding your Dummy Door Handle, please contact TICONN customer support. Refer to your purchase documentation or the TICONN official webwebstedet for specifikke garantioplysninger og kontaktoplysninger.
Gem venligst dit købsbevis for garantikrav.