
Kavolet AAL3477640380121LF
Kavolet Smart Wi-Fi Thermostat 16A for Electric Heating
Model: AAL3477640380121LF
1. Introduktion
Thank you for choosing the Kavolet Smart Wi-Fi Thermostat. This device is designed to provide intelligent temperature control for electric heating systems, enhancing comfort and energy efficiency in your home, office, or other environments. Featuring a large LCD touch screen, Wi-Fi connectivity, and APP control, it offers flexible weekly programming to suit your lifestyle.

Image 1.1: Kavolet Smart Wi-Fi Thermostat and its mobile application interface. This image illustrates the thermostat's sleek design and its remote control capability via a smartphone app.
Nøglefunktioner:
- Electric Heating Compatibility: Suitable for various electric heating systems.
- Dobbelt sensorsystem: Equipped with an internal sensor for ambient temperature and an external floor sensor for high-temperature protection.
- Ugentlig programmerbar: Supports 7-day weekly operation modes with 6 daily time settings for customized temperature schedules.
- APP kontrol: Remotely manage your thermostat settings from your smartphone, anytime and anywhere.
- Large LCD Touch Screen: Clear display with backlight for easy reading and intuitive touch controls.
- Høj nøjagtighed: Maintains temperature within 1°C of the set point.
- Datahukommelse: Retains settings in case of power failure.
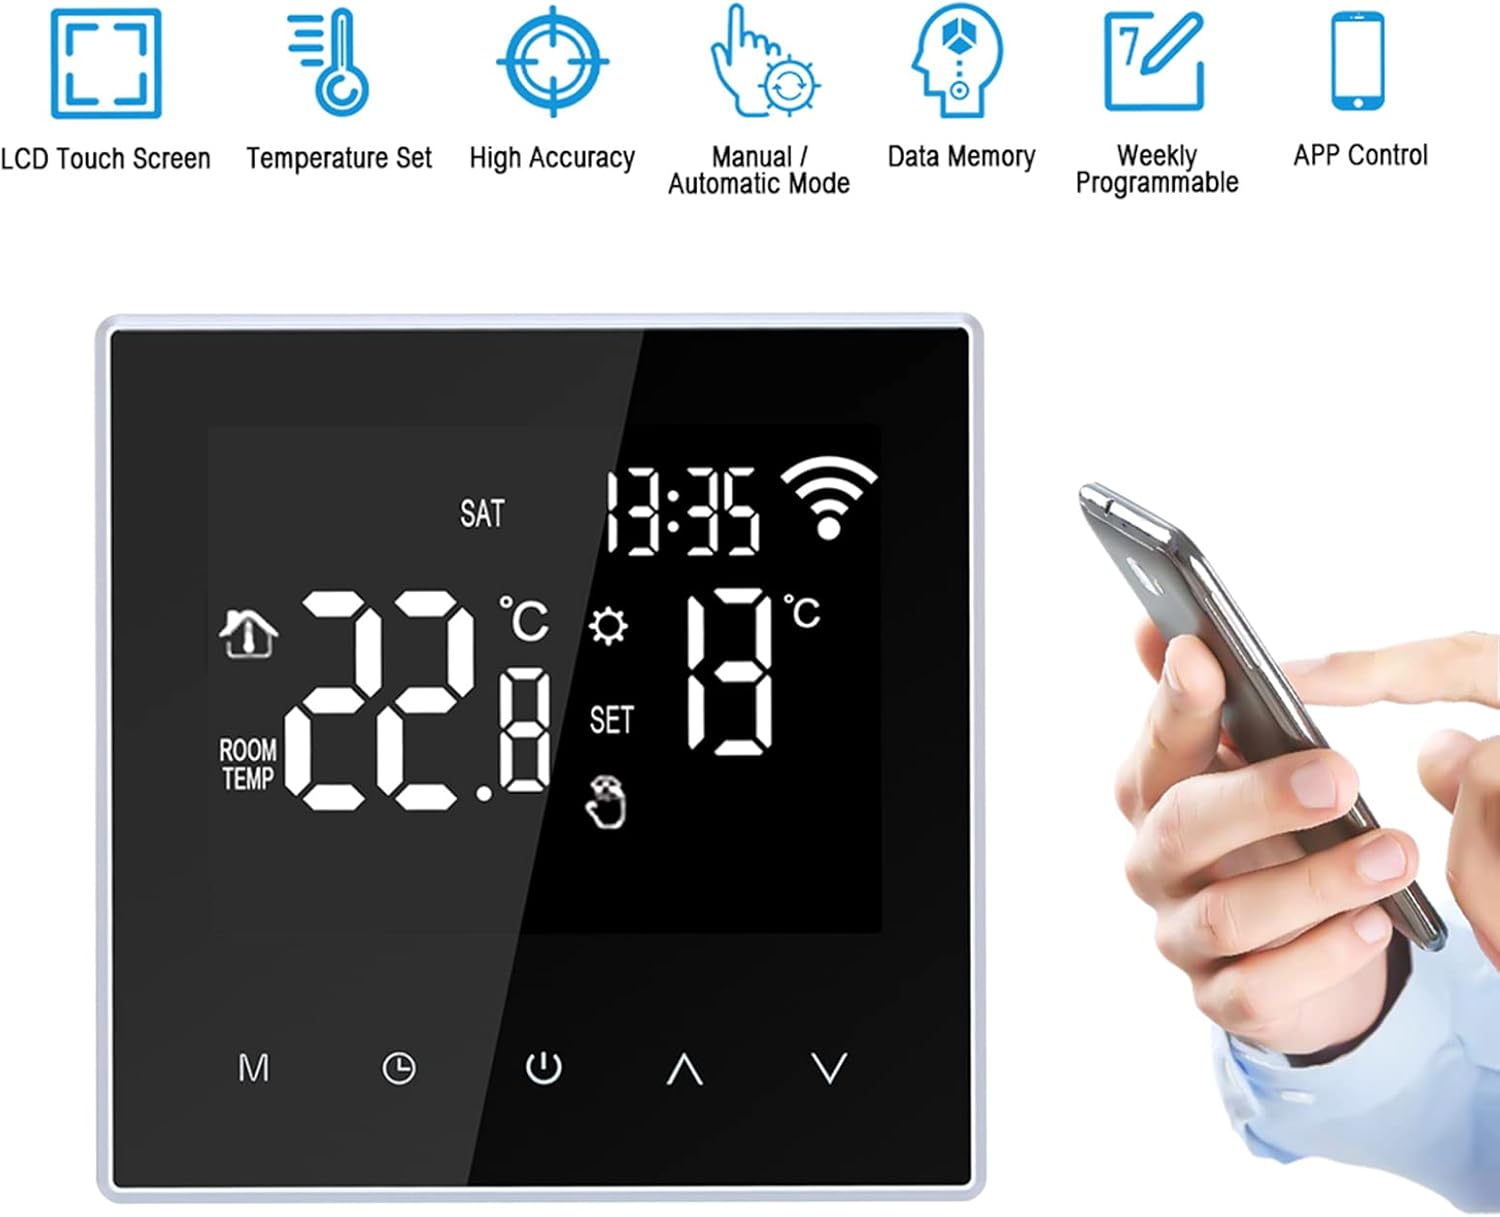
Image 1.2: Visual representation of the thermostat's main features, including LCD touch screen, temperature setting, high accuracy, manual/automatic mode, data memory, weekly programmability, and APP control.
2. Sikkerhedsoplysninger
ADVARSEL: Installation of this thermostat involves high voltage. To prevent electric shock or damage to the product, installation must be performed by a qualified professional electrician in accordance with local electrical codes and regulations.
- Afbryd altid strømmen ved afbryderen, før du installerer eller servicerer termostaten.
- Ensure all wiring connections are secure and correctly matched to avoid short circuits or malfunction.
- Betjen ikke termostaten med våde hænder.
- Hold enheden væk fra vand og for høj luftfugtighed.
- This product is designed for electric heating systems only. Do not use with other heating types.
3. Pakkens indhold
Kontroller venligst pakkens indhold ved åbning for at sikre, at alle varer er til stede:
- 1 x Kavolet Smart Wi-Fi Thermostat
- 1 x 3-meter Sensor Cable (external floor sensor)
- 2 x monteringsskruer
- 1 x Brugermanual (engelsk)
4. Specifikationer
| Mærke | Kavolet |
| Modelnummer | AAL3477640380121LF |
| Farve | Sort |
| Strømforsyning | 220V AC 50 / 60Hz |
| Nuværende belastning | 16A |
| Temperatur nøjagtighed | ±1°C |
| Temperaturindstillingsområde | 5-60°C |
| Temperaturkontrolområde | 5-95°C (Factory Default: 35°C) |
| Strømforbrug | <2W |
| Tidsfejl | <1 % |
| Skal materiale | PC (flammehæmmende) |
| Sensorer | Internal (ambient), External (floor protection) |
| Installationsafstand | 60 mm |
| Beskyttelsesklasse | IP20 |
| Kontroltype | Tryk på Taster |
| Forbindelse | Wi-Fi |
| Varens dimensioner (L*B*H) | 86 x 86 x 40 mm (3.4 x 3.4 x 1.6 tommer) |
| Varens vægt | 168 g (5.9 oz) |

Image 4.1: Detailed dimensions of the Kavolet Smart Wi-Fi Thermostat, showing its front and side profiles med mål i millimeter og tommer.
5. Installation og opsætning
Vigtig: As stated in the safety information, installation must be carried out by a qualified professional electrician. Incorrect installation can lead to electric shock, fire, or damage to the device.
5.1 Ledningsdiagram
Refer to the following diagram for correct wiring connections. Ensure power is disconnected before proceeding.

Image 5.1: Wiring diagram for the Kavolet Thermostat (model ME88H.16). It shows connections for AC230V, 16A, N, L1, N1, and sensor terminals (1, 2).
- Terminal 1 og 2: External sensor connection.
- Terminal 3 og 4: Power supply (N and L1).
- Terminal 5 og 6: Load connection (N1 and L).
- Sørg for korrekt jordforbindelse, hvis det er relevant.
5.2 Fysisk installation
- Afbryd strømmen ved hovedafbryderen.
- Mount the backplate of the thermostat to a standard 60mm wall box using the provided screws.
- Connect the wires according to the wiring diagram (Image 5.1).
- Carefully attach the front panel of the thermostat to the mounted backplate, ensuring it clicks securely into place.
- Gendan strømmen ved afbryderen.
5.3 Første opstart og Wi-Fi-forbindelse
- Upon first power-on, the thermostat display will illuminate.
- Download the compatible mobile application (e.g., Smart Life, Tuya Smart) from your smartphone's app store.
- Register or log in to the application.
- Follow the in-app instructions to add a new device. This typically involves putting the thermostat into pairing mode (often by pressing and holding a specific button combination until a Wi-Fi icon flashes rapidly).
- Enter your Wi-Fi network credentials (2.4GHz network required).
- Når der er oprettet forbindelse, lyser Wi-Fi-ikonet konstant på termostatens display.
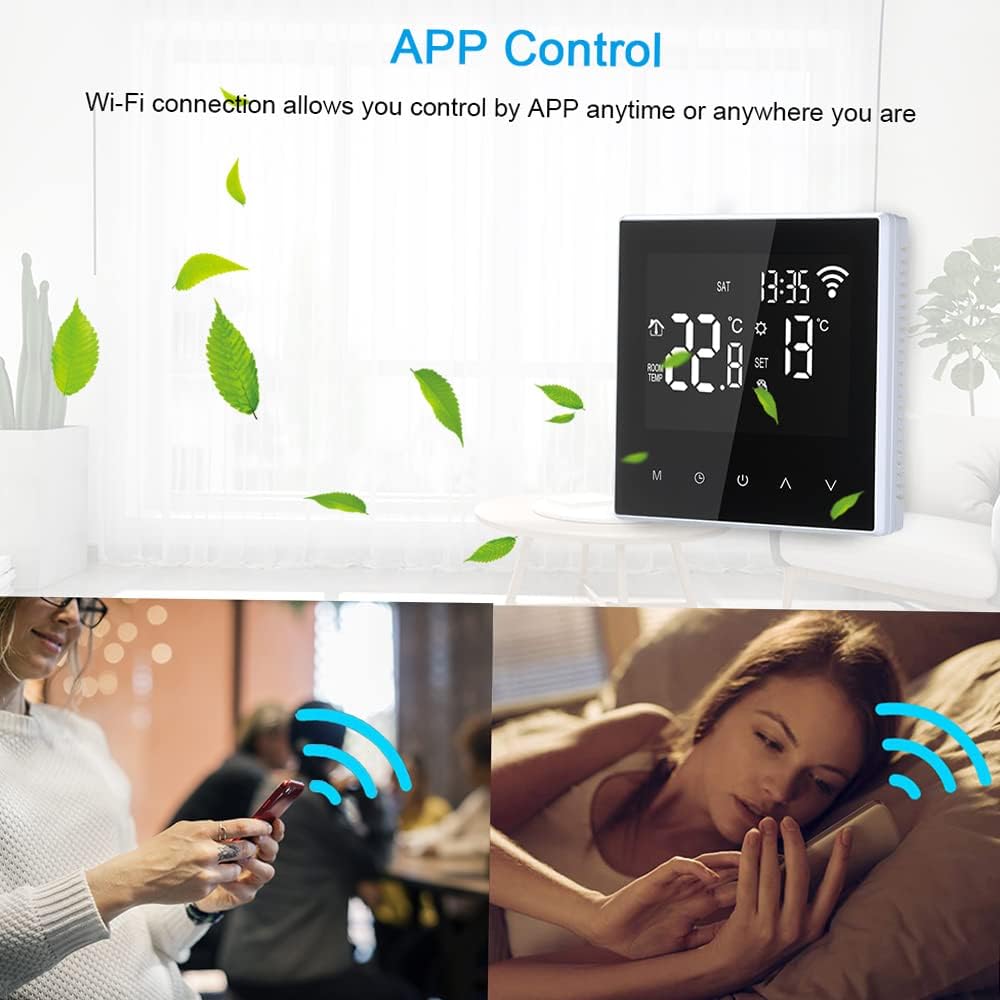
Image 5.2: The thermostat display alongside a smartphone screen demonstrating the APP control functionality, highlighting the convenience of remote temperature management.
6. Betjeningsvejledning
6.1 Display overview
The LCD screen provides all necessary information and control options. Refer to the diagram below for key indicators:

Image 6.1: Annotated diagram of the Kavolet Thermostat's LCD display, indicating the positions of Time, Week, Room Temperature, Setting Temperature, Manual/Automatic Mode indicator, Touch Keys, Mode Key (M), Clock Key, Power ON/OFF, Up Button, and Down Button.
- Tid: Nuværende tidsvisning.
- Uge: Aktuel ugedag.
- Værelsestemperatur: Current ambient temperature detected by the internal sensor.
- Indstilling af temperatur: Desired temperature set by the user or program.
- Manual/Automatic Mode: Indicates whether the thermostat is operating in manual or programmed mode.
- Wi-Fi-ikon: Indicates Wi-Fi connection status (flashing for pairing, solid for connected).
- Opvarmningsikon: Appears when the heating system is active.
6.2 Knapfunktioner
- M (Mode Key): Press to switch between Manual mode and Automatic (Programmed) mode.
- Ur nøgle: Press and hold to enter time and week setting mode. Short press to confirm settings.
- Tænd/sluk: Tryk for at tænde eller slukke for termostaten.
- Op-knap (▲): Increase temperature setting or navigate menu options.
- Ned-knap (▼): Decrease temperature setting or navigate menu options.
6.3 Indstilling af tid og dag
- Tryk og hold på Urtast until the time display flashes.
- Brug Op (▲) og Ned (▼) knapper for at justere timen.
- Tryk på Urtast again to move to minute adjustment, then day of the week adjustment.
- Bruge Op (▲) og Ned (▼) to set the minutes and day.
- Tryk på Urtast one last time to save and exit.
6.4 Manuel drift
- Tryk på M (Mode Key) until the manual mode icon is displayed.
- Brug Op (▲) or Ned (▼) buttons to set your desired temperature. The thermostat will maintain this temperature until changed or switched to automatic mode.
6.5 Weekly Programming (Automatic Mode)
The thermostat supports 6 time modes daily for 7 days a week. This allows for customized heating schedules.

Image 6.2: The thermostat display highlighting its weekly programmable feature, indicating support for 7-day operation modes with multiple daily temperature settings.
- Tryk på M (Mode Key) until the automatic mode icon is displayed.
- To enter programming mode, press and hold the M (Mode Key) for several seconds. The display will show the first programming period (e.g., "Period 1" or a specific time slot).
- Brug Op (▲) og Ned (▼) buttons to adjust the start time and desired temperature for each period.
- Trykke M (Mode Key) to cycle through the 6 periods for the current day, and then to the next day.
- Repeat for all 7 days and 6 periods as desired.
- Når alle indstillinger er færdige, skal du trykke på Tænd/sluk button or wait for a few seconds for the thermostat to automatically save and exit programming mode.
6.6 APP kontrol
Once the thermostat is connected to your Wi-Fi network and paired with the mobile application, you can control it remotely:
- Juster temperaturindstillinger.
- Switch between manual and automatic modes.
- Modify weekly programming schedules.
- Overvåg den aktuelle rumtemperatur.
- Access advanced settings (if available in the app).

Image 6.3: The thermostat in a home setting, illustrating its role in maintaining a comfortable temperature with high accuracy, benefiting occupants.
7. Vedligeholdelse
- Rensning: Gently wipe the thermostat's screen and body with a soft, dry cloth. Do not use abrasive cleaners, solvents, or spray directly onto the device.
- Undgå væsker: Ensure no liquids enter the thermostat's casing, as this can cause damage or electric shock.
- Sensorpleje: Keep the external floor sensor free from obstructions and debris to ensure accurate temperature readings.
- Firmwareopdateringer: Periodically check the mobile application for any available firmware updates for your thermostat to ensure optimal performance and security.
8. Fejlfinding
| Problem | Mulig årsag | Løsning |
|---|---|---|
| Thermostat does not power on. | Ingen strømforsyning; forkert ledningsføring; afbryder udløst. | Check circuit breaker. Verify wiring connections (consult a professional). Ensure power is restored. |
| Varmesystemet reagerer ikke. | Incorrect temperature setting; thermostat in OFF mode; wiring issue; heating system malfunction. | Ensure thermostat is ON and set to a temperature higher than ambient. Check wiring. Consult a heating technician if the heating system itself is faulty. |
| Wi-Fi connection unstable or disconnected. | Weak Wi-Fi signal; incorrect Wi-Fi password; router issue; thermostat too far from router. | Ensure thermostat is within Wi-Fi range. Restart your router. Re-enter Wi-Fi credentials in the app. Ensure you are using a 2.4GHz network. |
| Upræcise temperaturmålinger. | Sensor obstruction; thermostat exposed to direct sunlight or drafts; faulty sensor. | Ensure sensors are clear. Relocate thermostat if exposed to external influences. Contact support if sensor is suspected faulty. |
| Cannot program schedules. | Thermostat in Manual mode; incorrect programming steps. | Switch to Automatic mode. Review Section 6.5 for detailed programming steps. |
9. Garanti og support
Kavolet products are designed for reliability and performance. While specific warranty details are not provided in this manual, please retain your proof of purchase for any warranty claims.
Kundesupport:
For technical assistance, troubleshooting beyond this manual, or warranty inquiries, please contact Kavolet customer support through the retailer where you purchased the product or refer to the official Kavolet webwebsted for kontaktoplysninger.
Når du kontakter support, bedes du have følgende oplysninger klar:
- Product Model: AAL3477640380121LF
- Købsdato
- Beskrivelse af problemet
Ask a question about this manual
Ask about setup, troubleshooting, compatibility, parts, safety, or missing instructions. Manuals+ will review the question and use this page’s manual context to help answer it.