
1. Produktet er slutview
This ORIA wireless thermometer system provides accurate temperature monitoring for refrigerators, freezers, and ambient indoor/outdoor environments. It features a main display unit and two remote sensors, allowing simultaneous display of three temperature readings. Key functions include audible alarms for temperature deviations, Min/Max record, and switchable Celsius/Fahrenheit units.
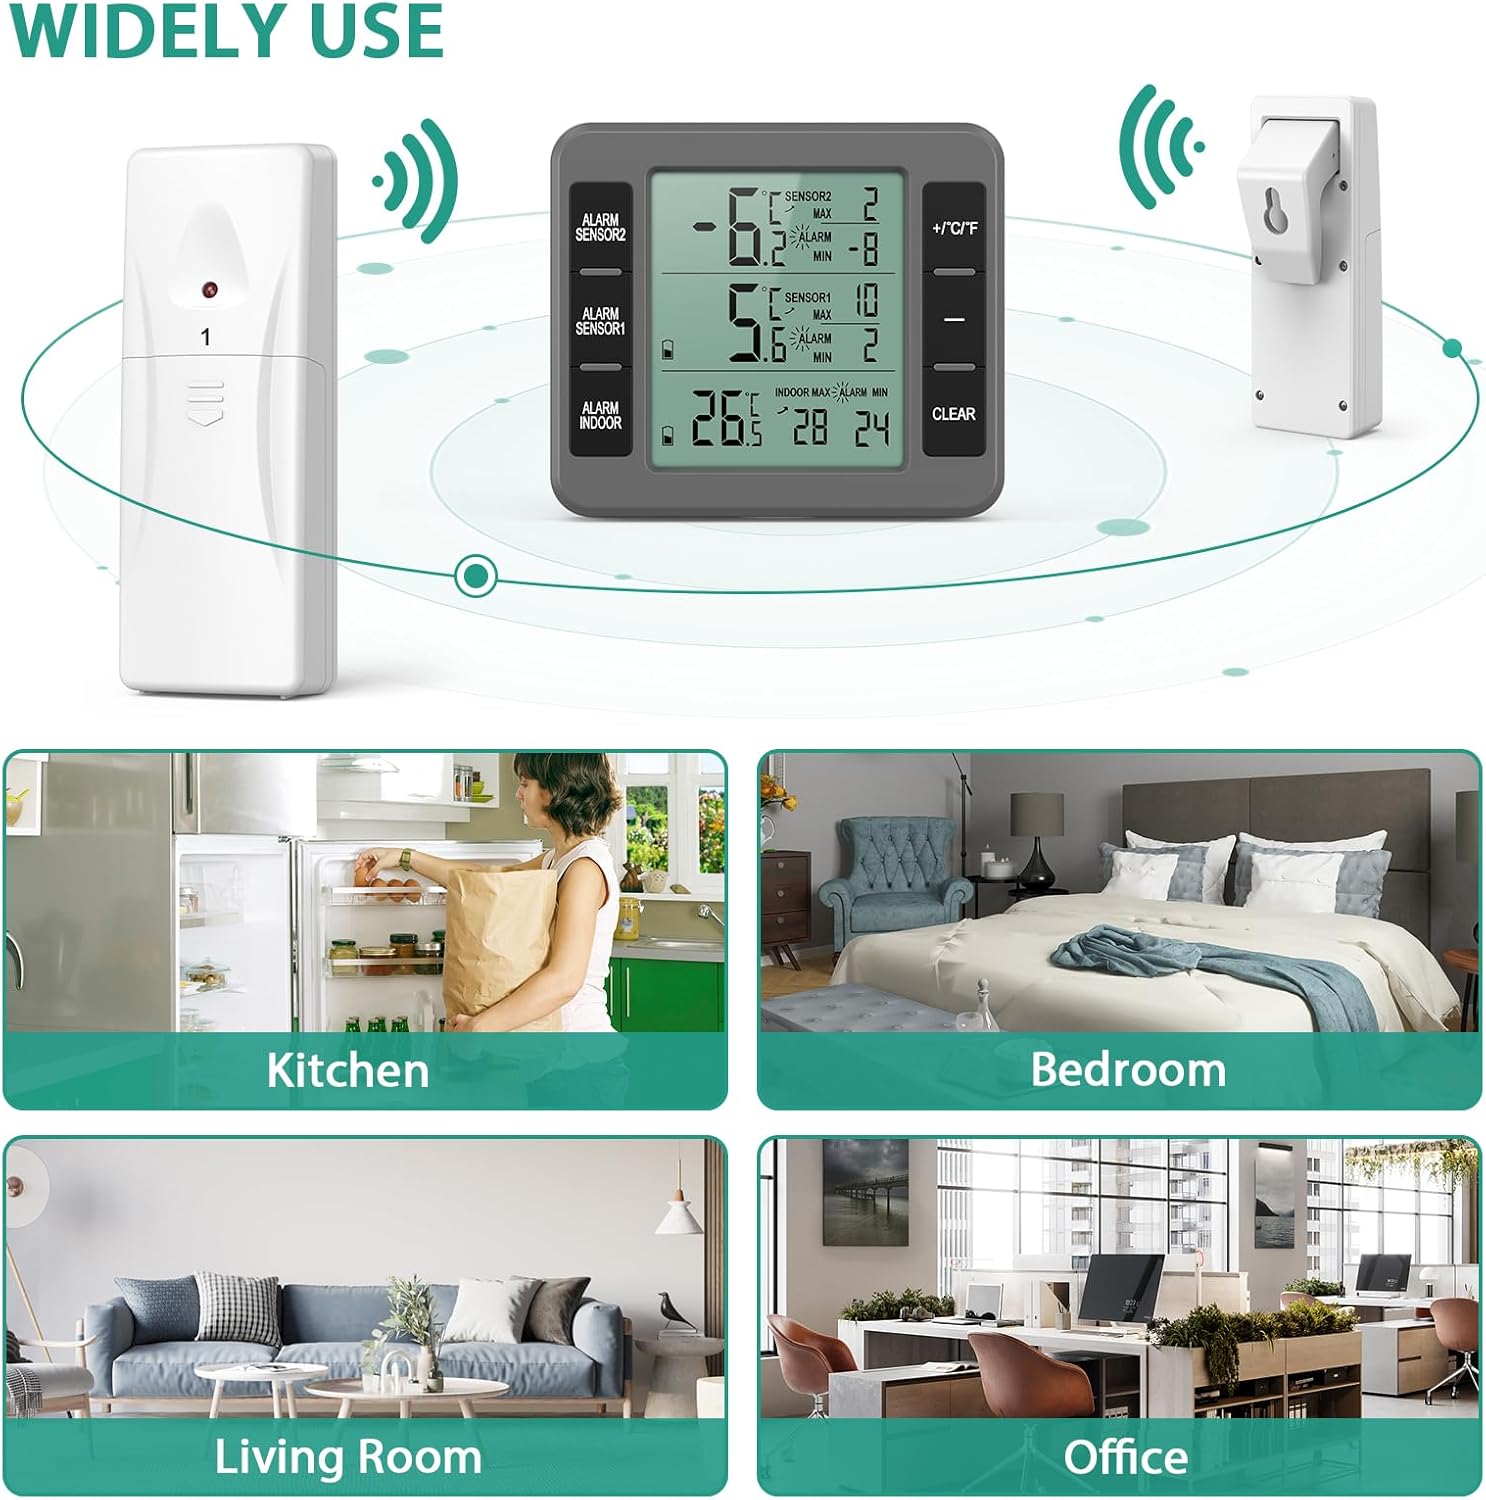
Image: The main display unit and two remote sensors, illustrating their versatile use in different environments such as kitchens, bedrooms, living rooms, and offices.
2. Hvad er inkluderet
- 1 x Hoveddisplayenhed
- 2 x trådløse fjernbetjeningssensorer
- 1 x brugermanual
Note: Batteries are not included. The main unit requires 2 x AAA batteries, and each remote sensor requires 2 x AA batteries.
3. Specifikationer
| Feature | Detalje |
|---|---|
| Mærke | ORIA |
| Modelnummer | KEU-WA50GR |
| Farve | Grå |
| Produktmål (L x B x H) | 7.87 x 0.03 x 0.03 cm |
| Varens vægt | 210 g |
| Speciel funktion | Stort display |
| Udvendigt materiale | Plast |
| Display Type | Digital |
| Forbindelsesteknologi | Radiofrekvens (trådløs) |
| Indendørs temperaturområde | -10°C til 60°C (14°F til 140°F) |
| Udendørs temperaturområde | -40°C til 60°C (-40°F til 140°F) |
| Transmission Range | 30 meters / 98.4 feet (open air) |
| Temperaturpræcision | ± 2 ° F (± 1 ° C) |
| Sensoropdateringshastighed | Sensor 1: 57s, Sensor 2: 67s |
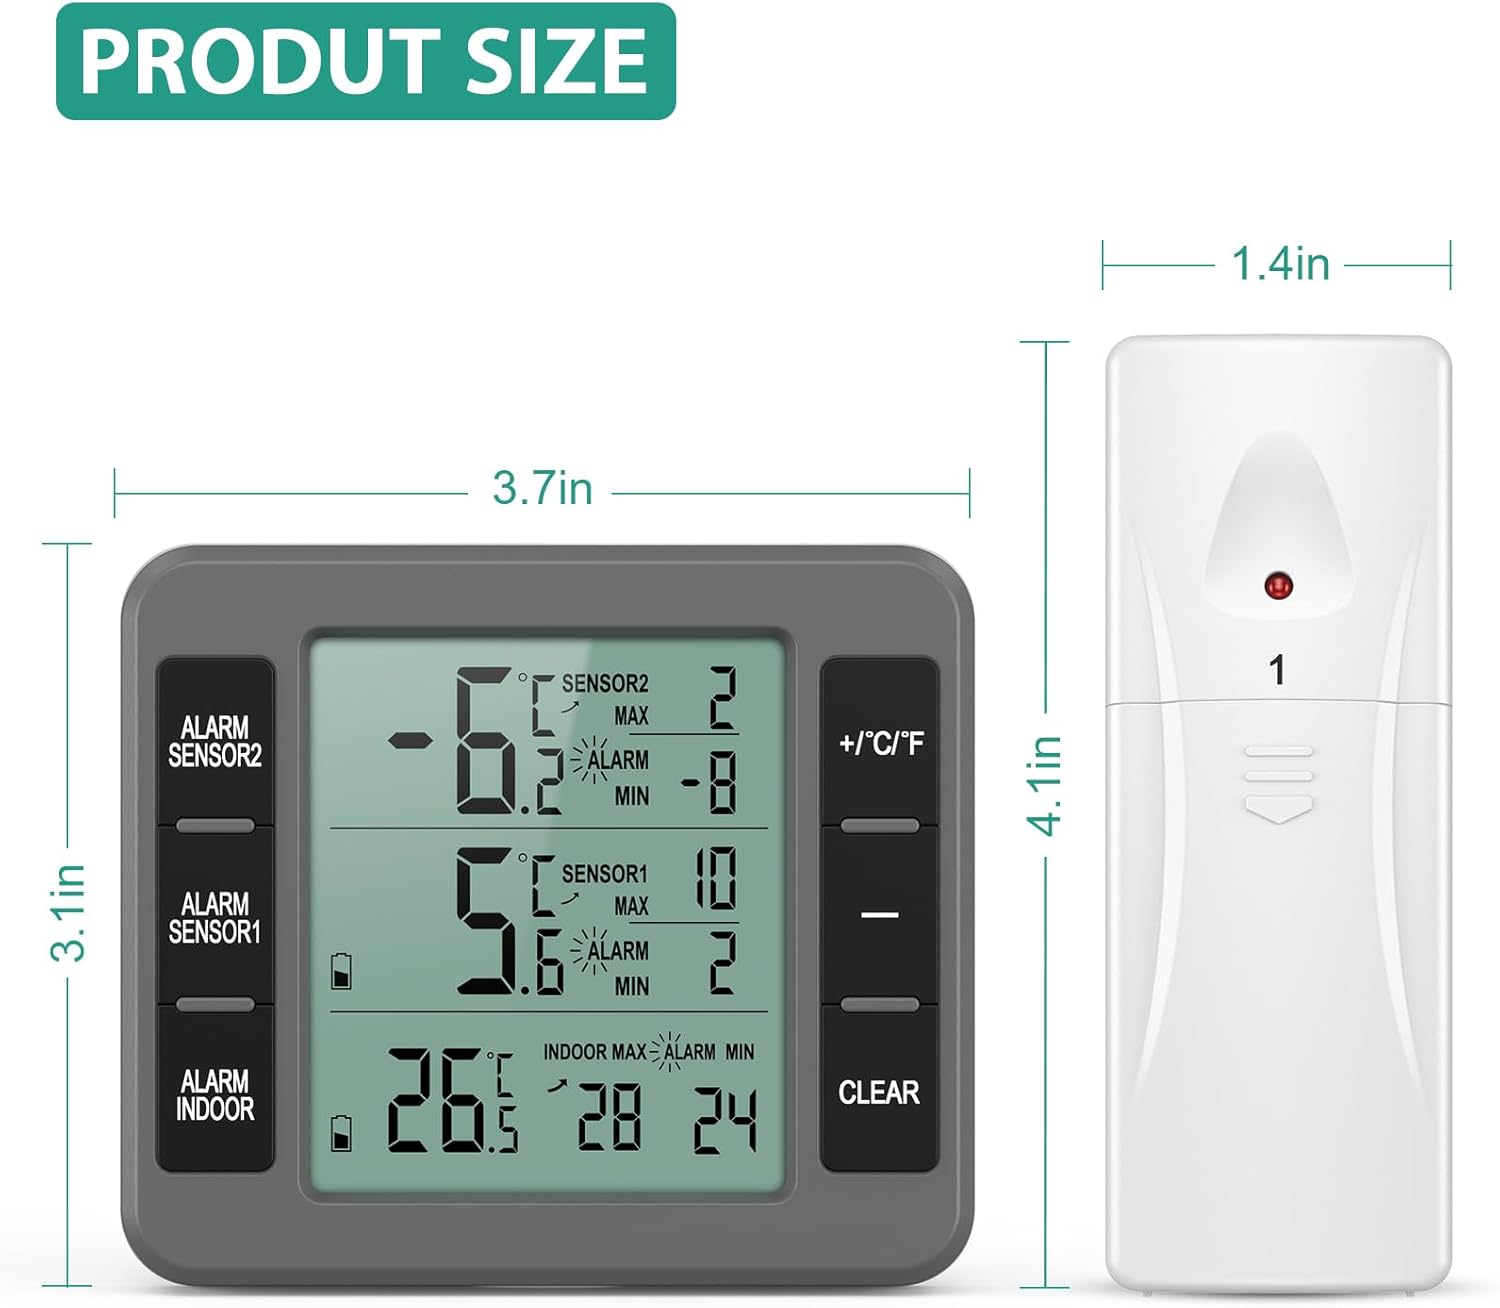
Image: Product dimensions for both the main unit and the remote sensors.
4. Opsætning
4.1 Batteriinstallation
- Open the battery compartment on the back of the main display unit. Insert 2 x AAA batteries, observing the correct polarity (+/-).
- Open the battery compartment on each of the two remote sensors. Insert 2 x AA batteries into each sensor, observing the correct polarity (+/-).
- Close all battery compartments securely. The main unit and sensors should automatically power on and attempt to pair.

Image: Illustration of battery placement for the main unit and both remote sensors.
4.2 Sensorplacering
Place the remote sensors in the desired locations, such as inside your refrigerator, freezer, or outdoors. Ensure they are within the 30-meter (98.4 feet) transmission range of the main unit and avoid placing them near large metal objects that could interfere with the signal.

Image: Remote sensors positioned inside a refrigerator, demonstrating typical placement for monitoring internal temperatures.
5. Betjeningsvejledning
5.1 Display overview
The main display unit shows three temperature readings simultaneously: indoor temperature (from the main unit itself) and temperatures from Sensor 1 and Sensor 2. It also displays Min/Max records for each sensor and alarm indicators.

Billede: Detaljeret view of the main display unit, highlighting various indicators and controls such as sensor readings, Min/Max values, and control buttons.
5.2 Skift af temperaturenheder (°C/°F)
Press the "+/°C/°F" button on the right side of the main unit to switch between Celsius (°C) and Fahrenheit (°F) temperature displays.

Image: The main unit's display, illustrating the temperature ranges and the button for switching between Celsius and Fahrenheit.
5.3 Indstilling af temperaturalarmer
- Press the "ALARM SENSOR1", "ALARM SENSOR2", or "ALARM INDOOR" button to select the sensor for which you want to set an alarm.
- Use the "+" and "-" buttons to adjust the maximum (MAX) and minimum (MIN) temperature thresholds for the selected sensor.
- Once set, if the temperature from that sensor goes above the MAX or below the MIN threshold, the main unit will emit an audible alarm.

Image: The display unit showing the alarm feature, with a bell icon and text indicating manual setting of maximum and minimum alarm values.
5.4 Min/Max Temperature Record
The thermometer automatically records the highest (MAX) and lowest (MIN) temperatures detected by each sensor since the last reset. To view these records, simply observe the display. To clear the Min/Max records, press the "CLEAR" button.
Video: En kort demonstrationasing the ORIA thermometer's features, including the large LCD display, alarm settings, and Celsius/Fahrenheit switching, as well as the Min/Max record function.
6. Placeringsmuligheder
The main display unit offers multiple placement options for your convenience:
- Stående: Use the integrated kickstand on the back to place it on a table or countertop.
- Hængende: Brug ophængningshullet på bagsiden til at montere den på væggen.
- Magnetisk: The unit features magnets on the back, allowing it to be attached to metallic surfaces like a refrigerator door.

Billede: Bagsiden view of the main unit, detailing its features for installation, alongside examples of standing, hanging, and magnetic placement.

Image: Visual representation of the three versatile placement options for the main display unit.
7. Vedligeholdelse
7.1 Rengøring
Wipe the thermometer and sensors with a soft, damp klud. Brug ikke slibende rengøringsmidler, og nedsænk ikke enhederne i vand.
7.2 Udskiftning af batteri
When the display becomes dim or the units stop responding, replace the batteries. Follow the battery installation steps in Section 4.1.
8. Fejlfinding
- Ingen visning: Sørg for, at batterierne er korrekt installeret og har tilstrækkelig opladning. Udskift dem om nødvendigt.
- Upræcise læsninger: Verify that sensors are placed in appropriate locations, away from direct heat sources or extreme cold that could affect their accuracy. Check battery levels.
- No Signal from Remote Sensors: Ensure sensors are within the 30-meter transmission range. Check for obstructions like thick walls or large metal appliances. Replace sensor batteries if needed.
- Alarm virker ikke: Check that the alarm thresholds (MAX/MIN) are correctly set for the desired sensor. Ensure the alarm function is enabled.
9. Garanti og support
ORIA is committed to providing quality products and customer satisfaction. This product comes with:
- 2 års garanti
- 90 Days Free Replacements
- 30 dages gratis returnering
- 24/7 kundesupport
- Livsvarig teknisk assistance
For any inquiries or support, please refer to the contact information provided with your purchase or visit the official ORIA webwebsted.