
1. Sikkerhedsoplysninger
WARNING: Laser Class 4 Product. Always wear eye protection when operating.
Generelle sikkerhedsforanstaltninger:
- Betjen IKKE laser uden øjenbeskyttelse (laserbriller).
- Set up laser engraver in a fireproofing area with good ventilation.
- Keep minors (especially kids younger than 14 years old) away from this laser engraver. Minors of any age should not use this laser without direct adult supervision and proper eye protection.
- Undgå kraftige stød på maskinen.
- Do not touch the laser beam with your hands or any other objects you do not wish to engrave/burn/cut. Serious physical harm is possible if used improperly.
- Do not touch the heat sink when the laser engraver has just stopped working, as it may cause burns.
- Use the laser engraver in a room that can be closed by a door and ensure that neither laser beams nor stray light can penetrate through windows.
- Mens du bruger lasergraveren, skal du bruge dørskilte eller en advarselslampe på døren, der indikerer at lasergraveren er i drift.
Integrerede sikkerhedsbeskyttelser:
- Aktiv positionsbeskyttelse: When the engraving machine is displaced or tilted, it will automatically stop the laser to prevent damage to the target from the laser.
- Laserstrålesikkerhedsskærm: If the USB signal transmission fails, the laser will stop working immediately.
- Detektion og begrænsning af eksponeringsvarighed: If the engraving machine is turned on but there is no movement for a long time, it will be protected, and the laser will be turned off automatically.
- Strømstyringssystem: If the engraving machine or computer crashes, the laser will stop working immediately to prevent continuous fire.
- Flame Detector + Buzzer: When the laser engraver detects flame, it will automatically stop and beep.
- Nødstopknap: A dedicated button for immediate shutdown in case of emergency.
- Eye-protection Cover Design: The laser filter cover filters 98% of ultraviolet light. Protective safety glasses are also included.
2. Produktet er slutview
The Ortur Laser Master 2 Pro S2-SF is a high-performance laser engraver and cutter designed for precision and versatility. It features a 5.5W (10000mW output) laser module with advanced compressed focal spot technology, enabling fine detail engraving and efficient cutting across a wide range of materials.

Figure 2.1: Ortur Laser Master 2 Pro S2-SF Laser Engraver with its main components.
Nøglefunktioner:
- 5.5W Laser Power & Enhanced Engraving: Equipped with an LU2-4-SF laser module utilizing FAC laser technology for a concentrated, ultra-fine 0.01mm high-precision compressed spot (0.17*0.25mm). Engraving speed up to 10000mm/min.
- 32-bit Motherboard: Features the latest OLM-MAXUP-V10 Motherboard with a 32-bit MCU, supporting 1.8 series firmware for faster execution, higher resolution, and improved system reliability.
- Solid Structure: All-aluminum alloy structure design for durability and improved engraving accuracy. Includes 4 POM wheels for stable and smooth operation.
- Bred materialekompatibilitet: Capable of working on over a hundred materials including wood, bamboo, metal, acrylic, stainless steel, leather, rubber, glass, ceramics, food, paper, and fabric.
- Brugervenligt design: Easy to assemble with provided instructions and videos, typically taking 10-20 minutes.

Figure 2.2: Product dimensions (400x400mm working area) and highlighted features including safety emergency stop, limit switch, and 32-bit motherboard.
3. Opsætning og montering
The Ortur Laser Master 2 Pro S2-SF is designed for straightforward assembly. Follow the steps below or refer to the official assembly tutorial video for visual guidance.
Videovejledning til montering:
Video 3.1: Official OLM2Pro-S2-LU2-4-SF Assembly Tutorial. This video provides a step-by-step guide to assembling your laser engraver.
Trin for generalforsamling:
- Udpak komponenter: Fjern forsigtigt alle dele fra emballagen, og kontroller dem med pakkelisten.
- Saml rammen: Tilslut aluminiumsproffenfiles to form the main frame of the engraver. Ensure all screws are tightened securely.
- Install X-Axis and Y-Axis: Attach the X-axis and Y-axis components, including the stepper motors and guide rails.
- Monter kontrolboksen: Secure the control box to the frame, ensuring easy access to ports and buttons.
- Attach the Laser Module: Carefully mount the LU2-4-SF laser module to the X-axis carriage.
- Tilslut ledninger: Connect all necessary cables (power, motor, limit switches, laser module) to the control box. Ensure connections are firm and correctly oriented.
- Adjust Laser Focus: Use the provided focusing tool or method to set the correct focal distance for your laser module.

Figure 3.1: Diagram illustrating the various safety protection systems integrated into the Ortur Laser Master 2 Pro S2-SF.
4. Betjeningsvejledning
The Ortur Laser Master 2 Pro S2-SF is compatible with various engraving software. This section provides general operating guidelines.
Softwarekompatibilitet:
The laser engraver is compatible with popular software such as LaserGRBL (free) and LightBurn (paid). It supports Windows XP/7/8/10, macOS, and Linux systems (LightBurn required for macOS/Linux). Supported file formats include JPG, PNG, BMP, JPEG, SVG, etc.
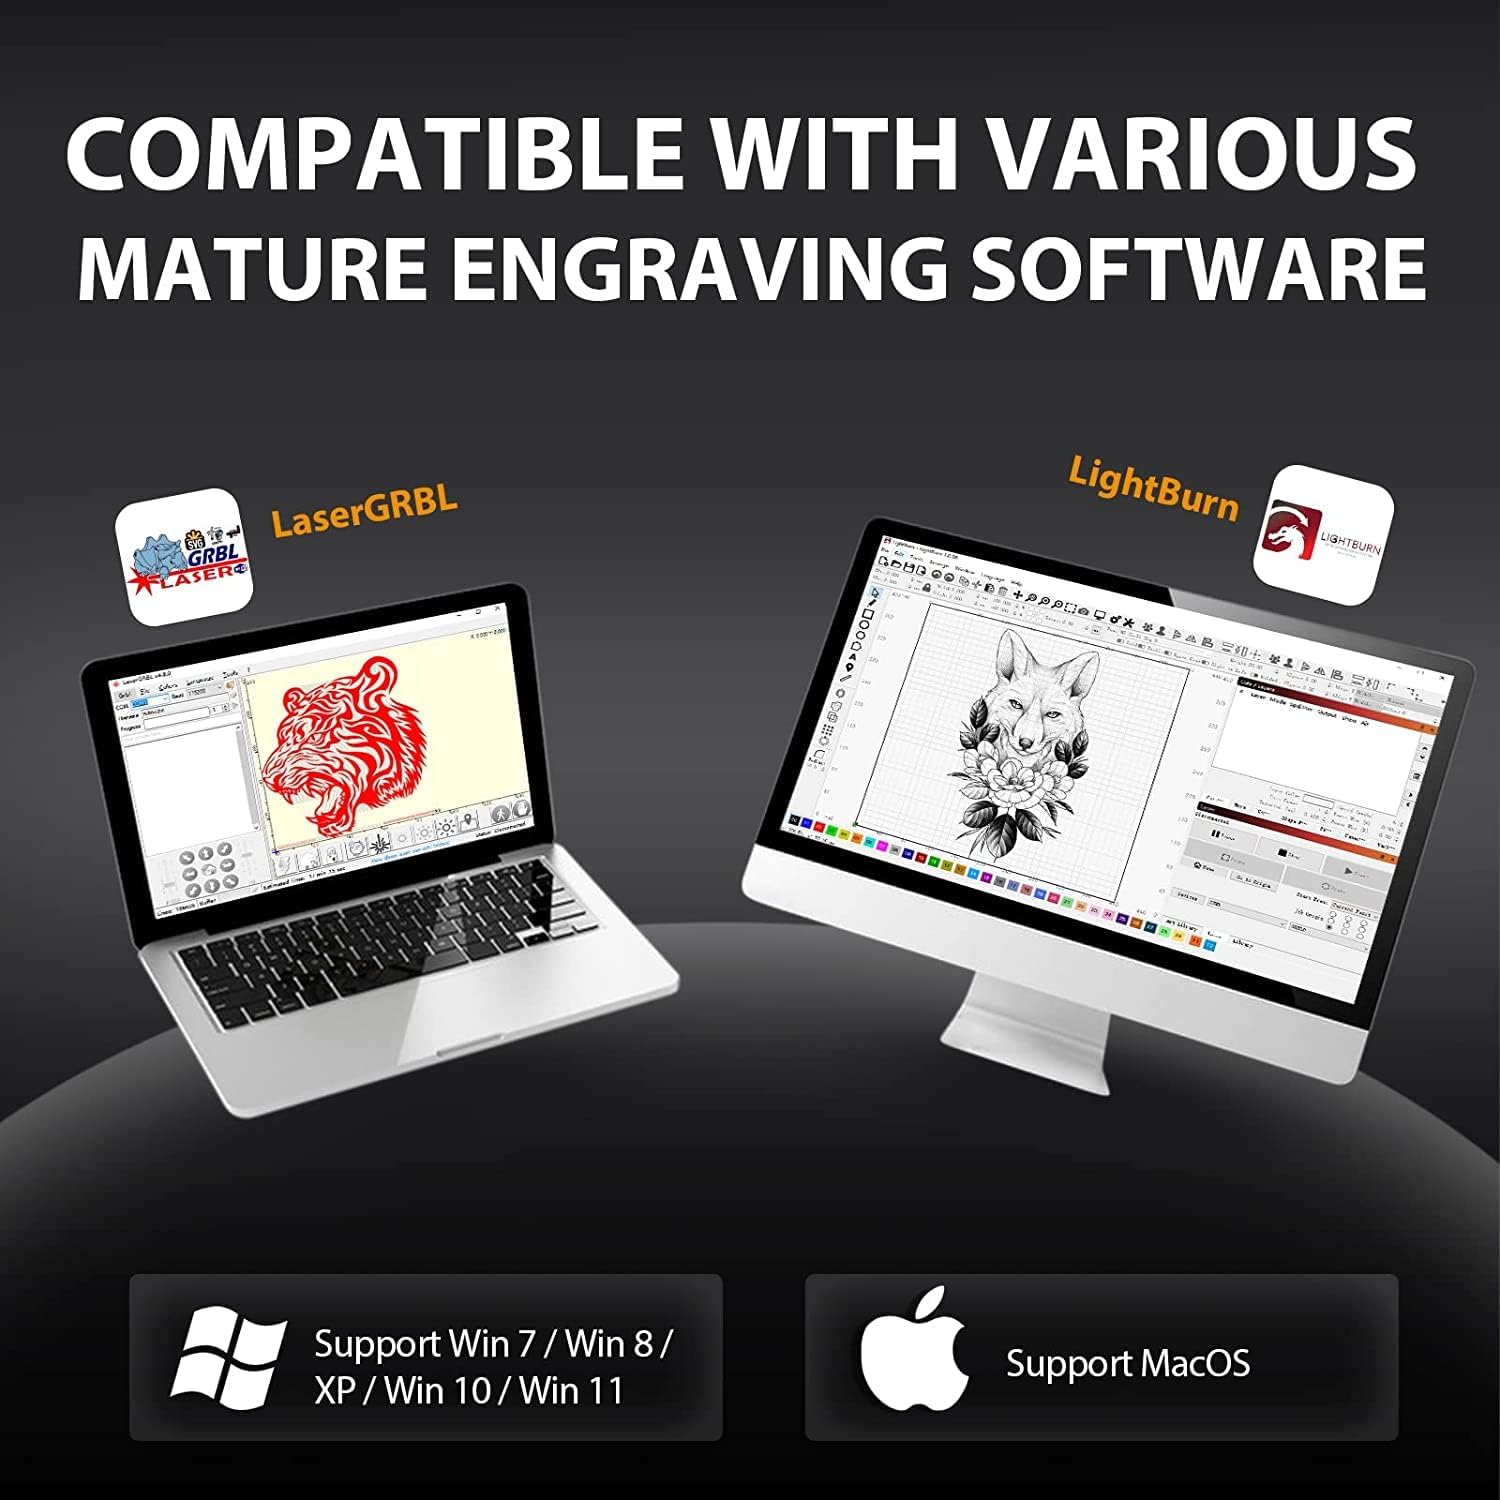
Figure 4.1: The Ortur Laser Master 2 Pro S2-SF is compatible with various engraving software like LaserGRBL and LightBurn, supporting Windows, macOS, and Linux.
Grundlæggende betjeningstrin:
- Tænd: Tilslut strømadapteren, og tænd maskinen.
- Tilslut til computer: Tilslut gravøren til din computer via USB.
- Start software: Open your preferred engraving software (e.g., LaserGRBL or LightBurn).
- Load Image/Design: Import your desired image or design into the software.
- Juster indstillinger: Set engraving parameters such as speed, power, and number of passes based on your material and desired effect.
- Positionsmateriale: Place your material on the working area. Use the ruler markings on the frame for precise positioning.
- Frame Preview: Use the software's framing function to preview the engraving area on your material with the laser (low power).
- Start gravering: Once satisfied with the positioning and settings, initiate the engraving process from the software.
- Overvåg fremskridt: Supervise the engraving process at all times.
Example Engraving Projects:
Video 4.2: Engraving Leather Throw Pillows with Ortur Laser Engraver. This video demonstrates the process of engraving designs onto leather material.
Video 4.3: DIY Projects with Ortur Laser Master 2 Pro S2-SF Laser Engraver. This video showcases various DIY engraving and cutting projects possible with the machine.

Figur 4.2: Eksamples of various materials compatible with the Ortur Laser Master 2 Pro S2-SF, including wood, leather, acrylic, and stainless steel.
5. Vedligeholdelse
Regular maintenance ensures optimal performance and longevity of your Ortur Laser Master 2 Pro S2-SF.
- Rengør linsen: Rengør laserlinsen med jævne mellemrum med en blød, fnugfri klud og linserengøringsmiddel for at opretholde strålekvaliteten.
- Smør styreskinner: Påfør en lille mængde smøremiddel på føringsskinnerne for at sikre en jævn bevægelse af lasermodulet.
- Tjek remme: Inspect the timing belts for tension and wear. Adjust or replace if necessary.
- Clean Working Area: Remove debris and dust from the working area and honeycomb bed (if applicable) after each use to prevent fire hazards and ensure clear engraving.
- Undersøg ledninger: Regularly check all electrical connections for any signs of wear or damage.
6. Fejlfinding
Dette afsnit omhandler almindelige problemer, du kan støde på med din lasergravør.
Almindelige problemer og løsninger:
- Laser affyres ikke:
- Kontroller strømforbindelsen, og sørg for, at maskinen er tændt.
- Verify USB connection to the computer.
- Ensure the emergency stop button is not pressed.
- Check software settings for laser power (S-Max) and speed.
- Dårlig graveringskvalitet:
- Adjust laser focus. An out-of-focus laser will produce blurry results.
- Rengør laserlinsen.
- Adjust engraving speed and power settings. Different materials require different settings.
- Sørg for, at materialet er fladt og sikkert placeret.
- Maskinen svarer ikke:
- Restart the software and the laser engraver.
- Check the COM port selection in your software.
- Verify USB cable integrity.
- Flame Detector Alarm:
- Stop straks maskinen.
- Check for actual flames or excessive smoke. Ensure proper ventilation.
- If no flame, ensure the flame detector sensor is clean and not obstructed.
7. Specifikationer
| Feature | Detalje |
|---|---|
| Model | Laser Master 2 Pro S2-SF |
| Laser udgangseffekt | 10000mW (5.5W optical) |
| Lasermodul | LU2-4-SF (Compressed Focal Spot Technology) |
| Fokuspunktstørrelse | 0.12x0.15mm (ultra-fine 0.01mm precision) |
| Graveringshastighed | Op til 10000 mm/min |
| Bundkort | OLM-MAXUP-V10 (32-bit MCU) |
| Arbejdsområde | 400x400 mm (15.75x15.75 tommer) |
| Forbindelse | USB |
| Software kompatibilitet | LaserGRBL, LightBurn |
| Operativsystemer | Windows XP/7/8/10, macOS, Linux |
| Understøttet File Formater | JPG, PNG, BMP, JPEG, SVG, etc. |
| Sikkerhedsfunktioner | Active Position Protection, Laser Beam Safety Guard, Exposure Duration Detection, Power Control System, Flame Detector+Buzzer, Emergency Stop Button, Eye-protection Cover |
| Varens vægt | 10.53 pund |
| Pakkedimensioner | 25.9 x 10.3 x 4.5 tommer |
8. Garanti og support
For warranty information, technical support, or service inquiries, please refer to the official Ortur webhjemmeside eller kontakt deres kundeservice direkte.
- Officiel Webwebsted: Besøg Ortur Store for the latest product information, FAQs, and support resources.
- Kundeservice: Contact details for customer support can typically be found on the product packaging or the official webwebsted.