NC USB Programming Cable 3.5MM Pin
USB Programming Cable User Manual
Model: USB Programming Cable 3.5MM Pin
Indledning
This manual provides essential information for the proper use and maintenance of your USB Programming Cable. This cable is designed to connect your compatible radio to a personal computer, enabling you to program settings and frequencies using appropriate software.
Produktspecifikationer
| Mærke | NC |
| Længde | 100 cm (39.37 tommer) |
| Vægt | 30 g (1.06 ounce) |
| Pindiameter | 3.5 mm |
| Interface Type | USB 2.0 |
| Connector Type | Auxiliary, USB 2.0 |
| Kabeltype | USB |
| Farve | Sort |
| Speciel funktion | Tangle Fri |
| Connector Køn | Mand til Mand |
| Form | Rund |
| Kompatible enheder | PC |
| Indendørs/Udendørs brug | Udendørs, Indendørs |
Pakkens indhold
- 1 × USB Programming Cable for YAESU & VERTEX Radio
Compatible Radio Models
This programming cable is compatible with the following YAESU & VERTEX radio models:
- VX-1R
- VX-2R
- VX-3R
- VX-5R
- VX-168
- VX-160
- FT-60R
- ...and other single-hole series YAESU & VERTEX radios.
Opsætningsinstruktioner
- Installer driversoftware: Before connecting the cable, ensure you have installed the necessary USB driver software for the programming cable on your computer. This software is typically provided with the cable or available for download from the manufacturer's webwebsted.
- Install Radio Programming Software: Obtain and install the specific programming software for your radio model (e.g., YAESU or VERTEX programming software). This software is essential for configuring your radio.
- Tilslut kabel til pc: Insert the USB end of the programming cable into an available USB port on your computer.
- Connect Cable to Radio: Carefully insert the 3.5mm pin end of the cable into the programming port of your compatible radio. Ensure a secure connection.
- Tænd radioen: Tænd for din radio.
- Start programmeringssoftware: Open the radio programming software on your computer.
- Configure Software Port: Within the programming software, navigate to the communication settings or port settings. Select the correct COM port that corresponds to the newly connected USB programming cable. This port number can usually be found in your computer's Device Manager under "Ports (COM & LPT)".
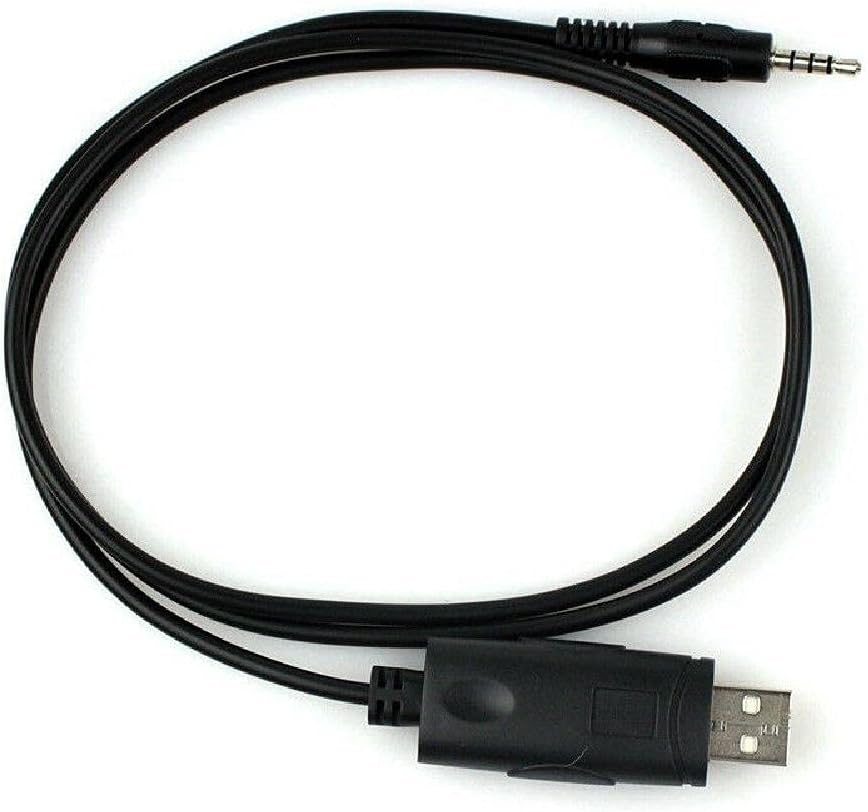
Image: The USB Programming Cable, showing both the USB and 3.5mm pin connectors.
Betjeningsvejledning
Once the cable is connected and the software is configured, you can proceed with programming your radio:
- Læs radiodata: In the programming software, locate the option to "Read from Radio" or "Download from Radio." This will transfer the current settings from your radio to the software.
- Rediger indstillinger: Make the desired changes to frequencies, channels, tones, and other settings within the software interface.
- Skriv data til radio: After making modifications, use the "Write to Radio" or "Upload to Radio" function to transfer the new settings from the software back to your radio.
- Verificere: After writing, it is recommended to read the data from the radio again to confirm that the new settings have been successfully applied.

Image: The programming cable in a coiled state, highlighting its flexibility and compact design.
Opretholdelse
- Opbevaring: Opbevar kablet et køligt og tørt sted, væk fra direkte sollys og ekstreme temperaturer.
- Rensning: Brug en blød, tør klud til at rengøre kablet og stikkene. Brug ikke flydende rengøringsmidler eller opløsningsmidler.
- Håndtering: Avoid bending the cable sharply or pulling on the connectors to disconnect. Always grasp the connector housing when plugging or unplugging.
- Inspektion: Periodically inspect the cable for any signs of damage, such as frayed wires or bent pins. Do not use a damaged cable.
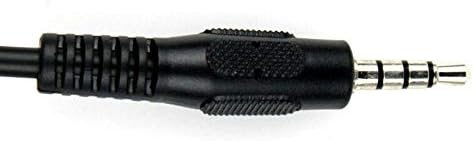
Billede: En detaljeret view of the 3.5mm pin connector, showing its structure.
Fejlfinding
- Kabel genkendes ikke af pc'en:
- Ensure USB drivers are correctly installed. Check Device Manager for any yellow exclamation marks next to the USB device.
- Prøv en anden USB-port på din computer.
- Genstart din computer.
- Verify the cable is securely connected to both the PC and the radio.
- Programming Software Cannot Connect to Radio:
- Confirm the correct COM port is selected in the programming software.
- Ensure the radio is powered on and in programming mode (if applicable for your radio model).
- Check that the cable is fully inserted into the radio's programming jack.
- Verify that the programming software is the correct version for your radio model.
- Programmeringsfejl:
- Sørg for, at radioens batteri er tilstrækkeligt opladet.
- Avoid disconnecting the cable during a read or write operation.
- Consult your radio's specific programming guide for any unique requirements or procedures.
Vigtige bemærkninger
- This cable is designed for data transfer between a radio and a PC for programming purposes only.
- Always use the appropriate and official programming software for your specific radio model.
- Unauthorized modifications to the cable or radio may void warranties and could lead to malfunction.
Officielle produktvideoer
Der er ingen officielle produktvideoer tilgængelige for denne vare på nuværende tidspunkt.
Garanti og support
For garantioplysninger eller teknisk support henvises til den dokumentation, der fulgte med dit køb, eller kontakt producenten direkte. Gem din købsbevis til garantikrav.
Ask a question about this manual
Ask about setup, troubleshooting, compatibility, parts, safety, or missing instructions. Manuals+ will review the question and use this page’s manual context to help answer it.