1. Introduktion
This manual provides essential information and instructions for the installation and care of your A-MIND Screen Replacement for Huawei P20 Pro / P20 Plus. Please read all instructions carefully before proceeding with the installation.
2. Sikkerhedsoplysninger og vigtige meddelelser
- Professionel installation anbefales: If you lack experience in repairing electronic equipment, it is strongly recommended to seek assistance from a professional repair store. Attempting self-repair without proper knowledge may lead to damage to your device or the replacement screen, which will not be covered under warranty.
- Batteriafbrydelse: Before beginning any installation, always remove the battery from your device to prevent electrical shorts or damage.
- Håndteres med forsigtighed: Screens are made of glass and are fragile. Exercise extreme caution when opening the package and during installation to prevent damage.
- Test før installation: Before permanently installing the screen with adhesive, connect the new screen to your device and test its functionality thoroughly. Ensure the screen works perfectly. Once adhesive is applied, returns or refunds for functional issues may not be accepted.
3. Pakkens indhold
The A-MIND Screen Replacement kit includes the following items:
- 1x LCD Screen Assembly Replacement for Huawei P20 Plus/P20 Pro
- 1x Strong Suction Cup
- 1x Triangle Opening Tool
- 1x Kortnål
- 1x Spudger
- 1x klæbebånd
4. Specifikationer
| Modelnummer | CLT-AL01, CLT-L29, CLT-L09 |
| Kompatibel med | Huawei P20 Pro, Huawei P20 Plus |
| Materiale | TFT LCD |
| Skærmstørrelse | 5.9 tommer |
| Opløsning | 1080x2240 pixels |
| Pixeltæthed | 408 ppi |
| Farve | Black with Frame |

Figure 1: Display specifications for the replacement screen.
5. Opsætning og installation
This section outlines the general steps for installing the screen replacement. For detailed visual guidance, please refer to the official installation video provided below. It is highly recommended to watch the video entirely before starting the repair process.
Trin før installation:
- Sluk for enhed: Ensure your Huawei P20 Pro / P20 Plus is completely powered off.
- Fjern batteri: Disconnect and remove the device's battery. This is a critical safety step.
- Forbered arbejdsområde: Arbejd på en ren, godt oplyst og statisk fri overflade.
- Saml værktøjer: Have all necessary tools from the package contents readily available.
Installationsvideoguide:
Video 1: Installation guide for Huawei P20 Pro / P20 Plus LCD screen replacement. This video demonstrates the process of replacing the screen assembly.
Post-Installation Testing:
After connecting the new screen but before applying any adhesive, re-connect the battery and power on your device. Test the following functionalities:
- Displayfunktioner: Check for any dead pixels, lines, or discoloration.
- Berøringsfølsomhed: Verify that the touch screen responds accurately across the entire display.
- Lysstyrke og farve: Adjust brightness settings and check color reproduction.
- Andre komponenter: Ensure the front camera, proximity sensor, and earpiece speaker function correctly if they are part of the new assembly or need to be transferred.
Only proceed with applying adhesive and fully assembling the device once you have confirmed that the new screen functions perfectly.

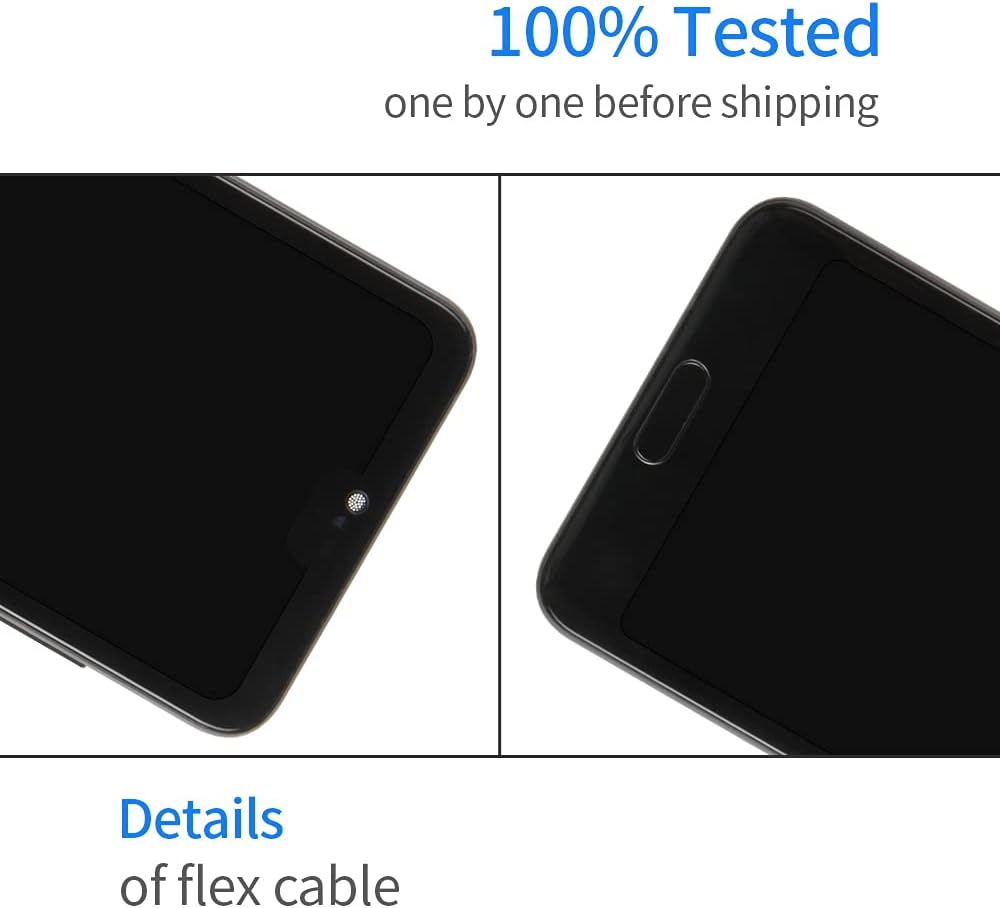
Figure 2: A-MIND screen replacement with integrated frame.
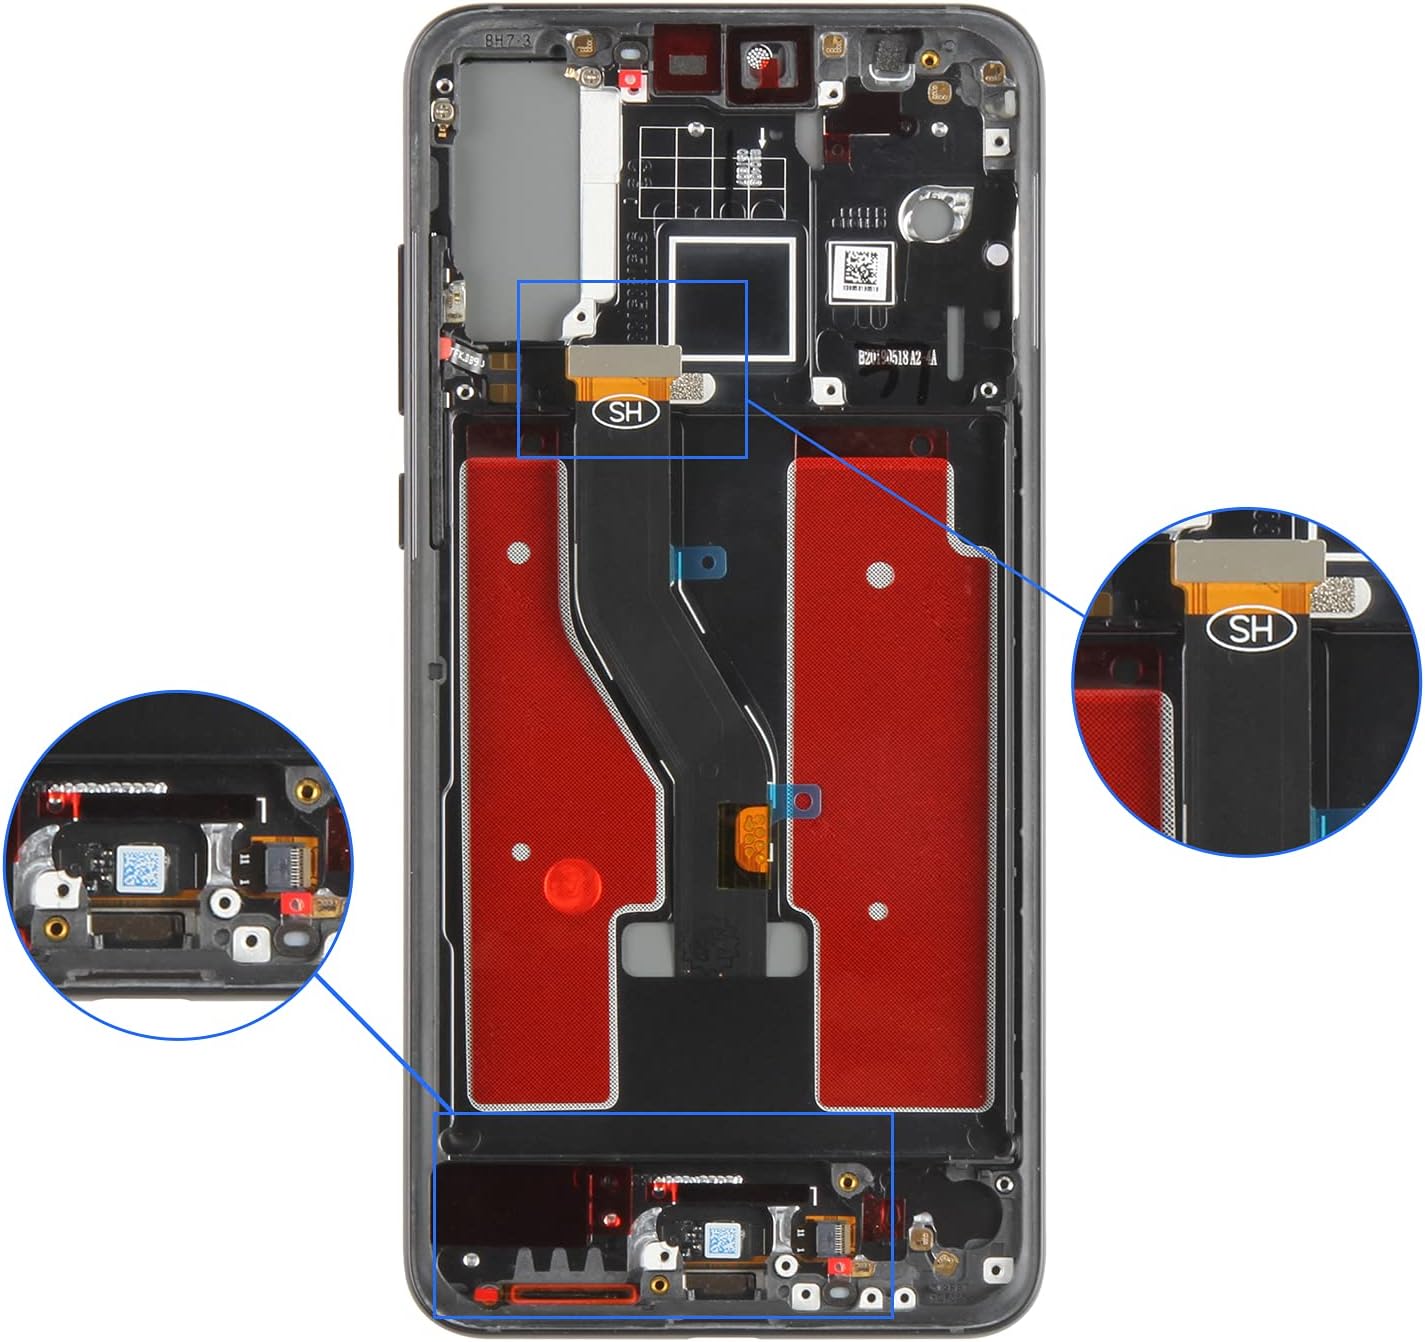
Figur 3: Intern view of the phone frame, showing flex cable routing and connection areas.
Figur 4: Detaljeret view of the screen's flex cable and top components.
6. Operating the New Screen
Once the new screen is successfully installed and fully tested, it will function identically to the original display. Operate your device as usual. Ensure proper handling to maintain the screen's integrity.
7. Vedligeholdelse
To ensure the longevity of your new screen replacement:
- Skærmbeskyttelse: Consider using a screen protector and a protective case for your device.
- Rensning: Clean the screen with a soft, lint-free cloth. Avoid harsh chemicals or abrasive materials.
- Undgå påvirkning: Protect your device from drops and impacts, as the screen is made of glass and can break.
- Temperatureksponering: Undgå at udsætte enheden for ekstreme temperaturer.
8. Fejlfinding
If you encounter issues after installation:
- Ingen visning eller delvis visning: Re-check all flex cable connections to ensure they are securely seated. A loose connection is a common cause.
- Berøring reagerer ikke: Verify flex cable connections. Ensure no debris is obstructing the digitizer connection.
- Skærmskade: If the screen was damaged during installation (e.g., cracks, lines), this is typically considered user-induced damage and may not be covered under warranty.
- Kvalitetskontrol: All A-MIND products undergo strict QC testing before shipment to ensure they are in good working condition without scratches, dead areas, or pixel defects.
9. Garanti og support
Garanti: A-MIND provides a 6-month warranty for this screen replacement. This warranty covers manufacturing defects and functional issues that are not a result of man-made or physical damage. If the screen does not work normally under these conditions, a replacement may be provided.
Kundesupport: Should you have any questions or encounter problems with your order, please do not hesitate to contact our customer service team. We are committed to providing assistance within 24 hours.