Indledning
Tak, fordi du har valgt PHEANOO D6 Sound Bar-systemet. Denne 2.1-kanals soundbar med en dedikeret kablet subwoofer er designet til at forbedre din lydoplevelse og giver klar dialog, kraftfuld bas og fordybende lyd til din hjemmeunderholdning. Denne manual indeholder detaljerede instruktioner til opsætning, betjening, vedligeholdelse og fejlfinding for at sikre optimal ydeevne og levetid for din enhed.
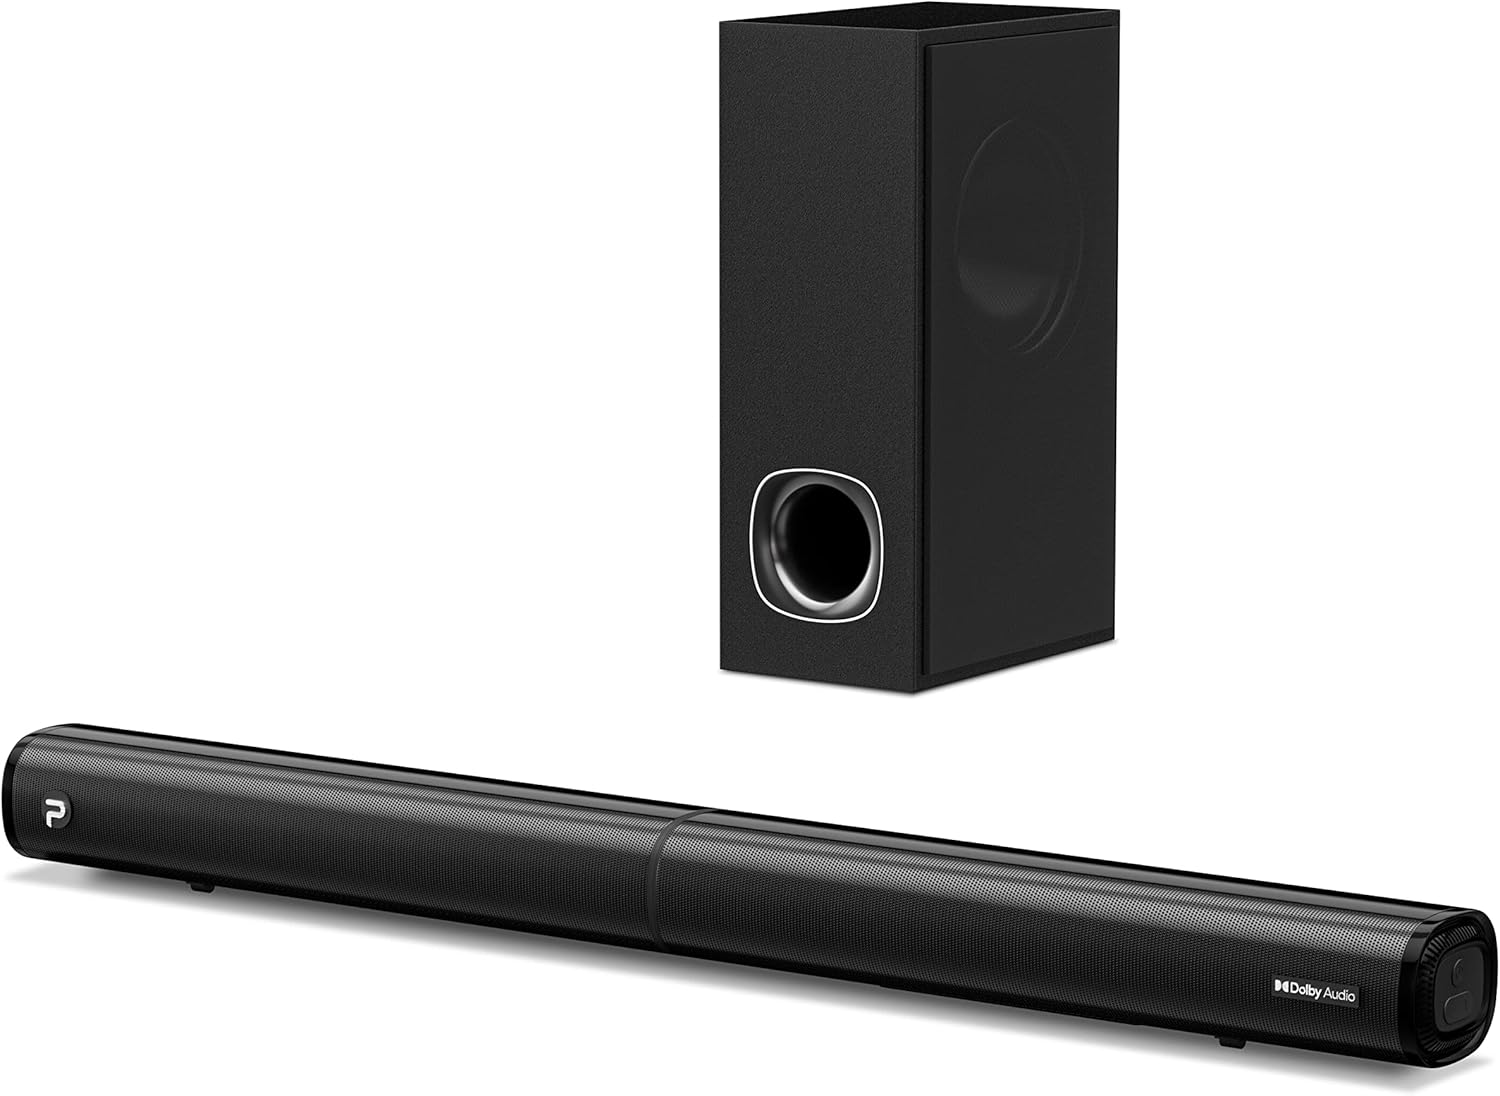
Billede: PHEANOO D6 Sound Bar og den tilhørende kablede subwoofer, vistasing deres elegante sorte design.
Hvad er der i æsken
Kontroller venligst pakkens indhold omhyggeligt. Hvis der mangler eller er beskadigede dele, skal du kontakte kundesupport.
- Soundbar og kablet subwoofer
- HDMI kabel
- RCA-lydkabel
- Vægmonteringssæt (skruer og ankre)
- Fjernbetjening (batterier medfølger ikke)
- Strømadapter

Billede: Alle komponenter inkluderet i PHEANOO D6 Sound Bar-pakken, placeret tydeligt for at give en identifikation, inklusive soundbar, subwoofer, kabler, fjernbetjening og vægmonteringssæt.
Opsætning
1. Samling af soundbaren (aftageligt design)
PHEANOO D6 soundbaren har et unikt aftageligt design for fleksibel placering. Følg disse trin for at samle den:
- Juster lydstikket fra den ene halvdel af soundbaren med den tilsvarende port på den anden halvdel.
- Tryk forsigtigt de to halvdele sammen, indtil de klikker på plads.
- Drej de to halvdele for at fastgøre forbindelsen, og sørg for, at soundbaren er forsvarligt samlet.

Billede: En visuel guide i tre trin, der viser, hvordan man forbinder de to halvdele af den aftagelige soundbar, hvilket sikrer korrekt justering og sikker låsning.

Billede: Et nærbillede view af soundbarens aftagelige tilslutningspunkt, der viser han- og hunstikkene.
2. Tilslutning af subwooferen
Tilslut den kablede subwoofer til soundbaren med det dedikerede subwooferkabel. Sørg for, at forbindelsen er sikker.
3. Placeringsmuligheder
Du kan placere soundbaren på et bord eller montere den på en væg.
- Bordpladeplacering: Placer soundbaren direkte foran dit tv, og sørg for, at den ikke blokerer tv'ets fjernbetjeningssensor.
- Vægmontering: Brug det medfølgende vægmonteringssæt. Det anbefales at måle og markere borepunkterne nøjagtigt i stedet for udelukkende at bruge papirskabelonen for at sikre en plan installation.
4. Lydforbindelser
PHEANOO D6 tilbyder flere tilslutningsmuligheder. Vælg den bedste til din enhed:
- HDMI (ARC): For at opnå den bedste lydkvalitet og kontrol skal du tilslutte et HDMI-kabel fra soundbarens HDMI (ARC)-port til dit tv's HDMI (ARC)-port. Dette gør det muligt for din tv-fjernbetjening at styre soundbarens lydstyrke.
- Optisk: Tilslut et optisk kabel fra soundbarens optiske port til dit tv's optiske digitale lydudgangsport.
- AUX: Brug 3.5 mm AUX-kablet til at tilslutte enheder med en 3.5 mm lydudgang.
- Bluetooth 5.0: For trådløs forbindelse skal du parre din enhed via Bluetooth.

Billede: Bagpanelet på PHEANOO D6 Sound Bar, der fremhæver HDMI (ARC), Bluetooth, optisk og AUX-indgangsportene med tilhørende ikoner.

Billede: En detaljeret view af soundbarens inputpanel, der viser AUX-, optiske og HDMI (ARC)-portene tydeligt mærket.
5. Strømtilslutning
Tilslut strømadapteren til soundbaren, og sæt den derefter i en stikkontakt.
Betjeningsvejledning
Fjernbetjening
Den medfølgende fjernbetjening giver dig mulighed for at styre alle soundbarens funktioner. Sæt to AAA-batterier (medfølger ikke) i fjernbetjeningen før brug.

Billede: Fjernbetjeningen til PHEANOO D6 Sound Bar, der viser dens knapper og en indikatorlampe.
Tænd/sluk
Tryk på tænd/sluk-knappen på fjernbetjeningen eller soundbaren for at tænde eller slukke enheden.
Valg af input
Tryk på knappen "Input" på fjernbetjeningen for at gennemgå de tilgængelige inputkilder: HDMI (ARC), optisk, AUX og Bluetooth.
Bluetooth-parring
Sådan parrer du en Bluetooth-enhed:
- Vælg Bluetooth-indgang på soundbaren. Indikatorlampen blinker.
- Aktiver Bluetooth på din enhed (smartphone, tablet osv.) og søg efter "PHEANOO D6".
- Vælg den soundbar fra listen, der skal parres. Når den er tilsluttet, lyser indikatorlampen konstant.

Billede: En smartphone, der viser en musikapp, er trådløst forbundet til PHEANOO D6 Sound Bar via Bluetooth, angivet med et Wi-Fi-lignende symbol.
Lydtilstande
Soundbaren tilbyder forskellige lydtilstande for at optimere din lytteoplevelse:
- Dialogtilstand: Forbedrer stemmens klarhed, hvilket gør tale lettere at forstå.
- Musiktilstand: Optimeret til musikafspilning, hvilket giver afbalanceret lyd.
- Filmtilstand: Leverer en fordybende filmoplevelse med forbedrede effekter.
- 3D-tilstand: Skaber bredere og mere omsluttende lydetage.

Billede: Ikoner, der repræsenterer forskellige lydtilstande: Dialog, Musik, Film og 3D, hvilket angiver soundbarens alsidighed.
Bas justering
Brug de dedikerede baskontrolknapper på fjernbetjeningen til at øge eller sænke subwooferens udgangsniveau efter dine præferencer.

Billede: Et nærbillede af subwooferen med en visuel effekt, der antyder en kraftig bas, der udgår fra den.
Dolby Digital-understøttelse
PHEANOO D6 Sound Bar understøtter Dolby Digital-dekodning, hvilket giver en rig og dynamisk lydoplevelse med kompatibelt indhold.

Billede: En stueopsætning med soundbar og TV, oven på et gittermønster, der angiver førsteklasses 3D-surroundlyd drevet af Dolby Audio.

Billede: Dolby Audio-logoet ledsaget af visuelle repræsentationer af lydbølger, der understreger den forbedrede lydkvalitet.
Roku TV klar
Denne soundbar er certificeret til at fungere problemfrit med dit Roku TV. Nyd problemfri opsætning, nem adgang til lydindstillinger og kompatibilitet med enhver Roku TV-fjernbetjening.

Billede: En tv-skærm, der viser opsætningsgrænsefladen "Roku TV Ready", med PHEANOO Soundbar og subwoofer placeret nedenunder, hvilket illustrerer problemfri integration.
Opretholdelse
- Rensning: Brug en blød, tør klud til at rengøre overfladerne på soundbaren og subwooferen. Brug ikke flydende rengøringsmidler eller aerosoler.
- Ventilation: Sørg for tilstrækkelig ventilation omkring soundbaren og subwooferen for at forhindre overophedning. Bloker ikke ventilationsåbningerne.
- Opbevaring: Hvis enheden opbevares i længere tid, skal den afbrydes fra strømmen og opbevares et køligt og tørt sted.
Fejlfinding
| Problem | Mulig årsag | Løsning |
|---|---|---|
| Ingen strøm | Strømkabel ikke tilsluttet; Strømudtag virker ikke. | Sørg for, at strømkablet er korrekt tilsluttet. Prøv en anden stikkontakt. |
| Ingen lyd | Forkert indgang valgt; Lydstyrke for lav; Kabler ikke tilsluttet korrekt. | Vælg den korrekte inputkilde. Skru op for lydstyrken. Kontroller alle lydkabelforbindelser. |
| Bluetooth-parring mislykkedes | Soundbaren er ikke i parringstilstand; Enheden er for langt væk; Interferens. | Sørg for, at soundbaren er i Bluetooth-indgang, og at indikatoren blinker. Flyt enheden tættere på. Sluk andre Bluetooth-enheder. |
| Dårlig lydkvalitet | Forkert lydtilstand; Kildens lydkvalitet er lav. | Prøv forskellige lydtilstande (musik, film, dialog). Sørg for, at lydkilden er af høj kvalitet. |
| Fjernbetjening virker ikke | Batterier døde eller forkert isat; Blokering mellem fjernbetjening og soundbar. | Udskift batterierne, og sørg for at polerne vender korrekt. Fjern eventuelle blokeringer. |
For mere detaljeret fejlfinding henvises til den officielle PDF-fejlfindingsvejledning, der er tilgængelig på produktsiden, eller kontakt PHEANOO kundesupport.
Specifikationer
| Feature | Detalje |
|---|---|
| Model | D6 |
| Mærke | PHEANOO |
| Højttaler type | Soundbar med kabelbaseret subwoofer |
| Kanalkonfiguration | 2.1 CH |
| Forbindelsesteknologi | HDMI (ARC), Bluetooth 5.0, Optisk, AUX |
| Bluetooth rækkevidde | Op til 100 meter (ca. 328 fod) |
| Højttaler Maksimal udgangseffekt | 240 watt |
| Produktmål (Soundbar) | 29.5 cm B x 2.4 cm H x 2.8 cm D |
| Varens vægt | 11.57 pund |
| Controller type | Fjernbetjening |
| Særlige funktioner | Dolby Digital-dekodning, dialogforbedring, basjusterbar, aftageligt design, Roku TV-klar |
Garanti og support
PHEANOO D6 Sound Bar-systemet leveres med en Begrænset garantiSe venligst garantikortet, der er inkluderet i din pakke, for specifikke vilkår og betingelser.
For teknisk support, garantikrav eller yderligere assistance, besøg venligst den officielle PHEANOO webwebsted eller kontakt deres kundeserviceafdeling. Du kan også finde yderligere ressourcer som f.eks. Brugervejledning (PDF) og Fejlfindingsvejledning (PDF) online.