
Indledning
This manual provides detailed instructions for the safe and efficient operation of your SINGER M1005 Electric Sewing Machine. The M1005 is designed for various sewing projects, offering 4 built-in stitches with 11 options, adjustable thread tension, and a reverse lever for securing seams. Please read this manual thoroughly before using the machine to ensure proper setup and function.
Vigtige sikkerhedsinstruktioner
Når du bruger et elektrisk apparat, skal grundlæggende sikkerhedsforanstaltninger altid følges, herunder følgende:
- Læs alle instruktioner, før du bruger denne symaskine.
- Keep these instructions in a convenient place near your machine.
- Always unplug the machine from the electrical outlet immediately after using and before cleaning, removing covers, lubricating, or making any other user servicing adjustments mentioned in the instruction manual.
- Må ikke bruges som legetøj. Omhyggelig opmærksomhed er nødvendig, når dette apparat bruges af eller i nærheden af børn.
- Brug kun dette produkt til dets tilsigtede brug som beskrevet i denne vejledning.
- Never operate this sewing machine if it has a damaged cord or plug, if it is not working properly, or if it has been dropped or damaged.
- Hold fingrene væk fra alle bevægelige dele. Der kræves særlig forsigtighed omkring symaskinens nål.
- Brug altid den rigtige stingplade. Den forkerte plade kan få nålen til at knække.
- Træk eller skub ikke i stoffet under syning. Dette kan afbøje nålen og få den til at knække.
- Sluk symaskinen, når du foretager justeringer i nåleområdet, f.eks. trådning af nålen, skift af nål, trådning af spolen eller skift af trykfoden.
Produkt overview
The SINGER M1005 is a compact and user-friendly electric sewing machine designed for ease of use and portability.
Nøglefunktioner:
- 4 Stitches in 11 Options: Select from various straight stitches, zigzag stitches, blind hem stitch, and multi-stitch zigzag using the Stitch Selector Dial.
- Justerbar trådspænding: Allows for fine-tuning stitch quality for different fabrics and threads.
- Øverste drop-in spole: Features a transparent bobbin cover for easy monitoring of thread supply and simple bobbin insertion.
- Free-Arm Design: Facilitates sewing of cylindrical items like trouser hems and sleeve cuffs.
- Omvendt håndtag: Conveniently located for securing the beginning and end of seams with reverse stitches.
- Extra High-Presser Foot Lifter: Provides additional clearance for sewing multiple layers or thicker fabrics.
- Bærbart design: Lightweight for easy transport and storage.
Inkluderede komponenter:
Your SINGER M1005 sewing machine package includes the following items:
- 1 symaskine
- All-purpose Foot
- Ekstra nål
- Finger Guard (pre-installed, removable)
- Bobbins: Class 15 (Transparent)
- Manuel nåletråder
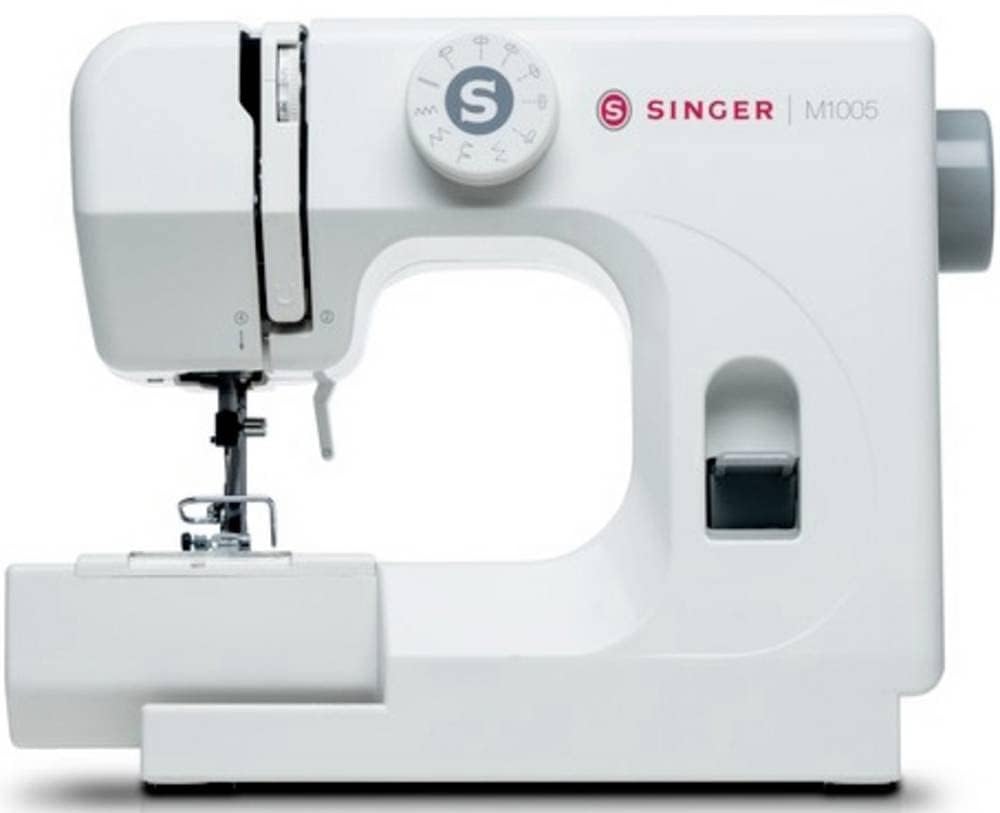
Figur 1: The SINGER M1005 Electric Sewing Machine, showcasing its compact design and ready-to-use setup.
Opsætning
1. Strømtilslutning
- Placer maskinen på en stabil, flad overflade.
- Sørg for, at tænd/sluk-knappen er i "OFF"-positionen.
- Tilslut netledningen til maskinens strømindgang og derefter til en passende stikkontakt.
2. Spolning af spolen
Proper bobbin winding ensures smooth stitching.
- Læg en trådrulle på trådrulleholderen.
- Før tråden gennem den øverste trådfører og rundt om spolespændingsskiven.
- Insert the thread through the small hole in the bobbin from the inside out.
- Place the bobbin onto the bobbin winder spindle.
- Skub spolevinderen til højre.
- Turn on the machine and gently press the foot controller (if applicable) or press the start button to begin winding.
- Once the bobbin is full, push the spindle back to the left and cut the thread.
3. Inserting the Top Drop-in Bobbin
The transparent bobbin cover allows for easy monitoring.
- Sørg for, at nålen er i sin højeste position.
- Åbn den gennemsigtige spoledæksel.
- Placer den opviklede spole i spolekapslen med tråden udrullet mod uret.
- Før tråden ind i spændingsfjederen og derefter ind i trådførerhullet.
- Pull out approximately 10-15 cm (4-6 inches) of thread.
- Udskift spolens dækplade.
4. Trådning af overtråden
Correct upper threading is crucial for proper stitch formation.
- Løft trykfodsløfteren.
- Læg en trådrulle på trådrulleholderen.
- Før tråden gennem den øverste trådfører.
- Follow the numbered threading path down the right channel, up the left channel, and through the take-up lever from right to left.
- Fortsæt med at føre tråden ned til nålestangens trådfører.
- Tråd nålen forfra og bagpå.
- Pull approximately 15-20 cm (6-8 inches) of thread through the needle eye.
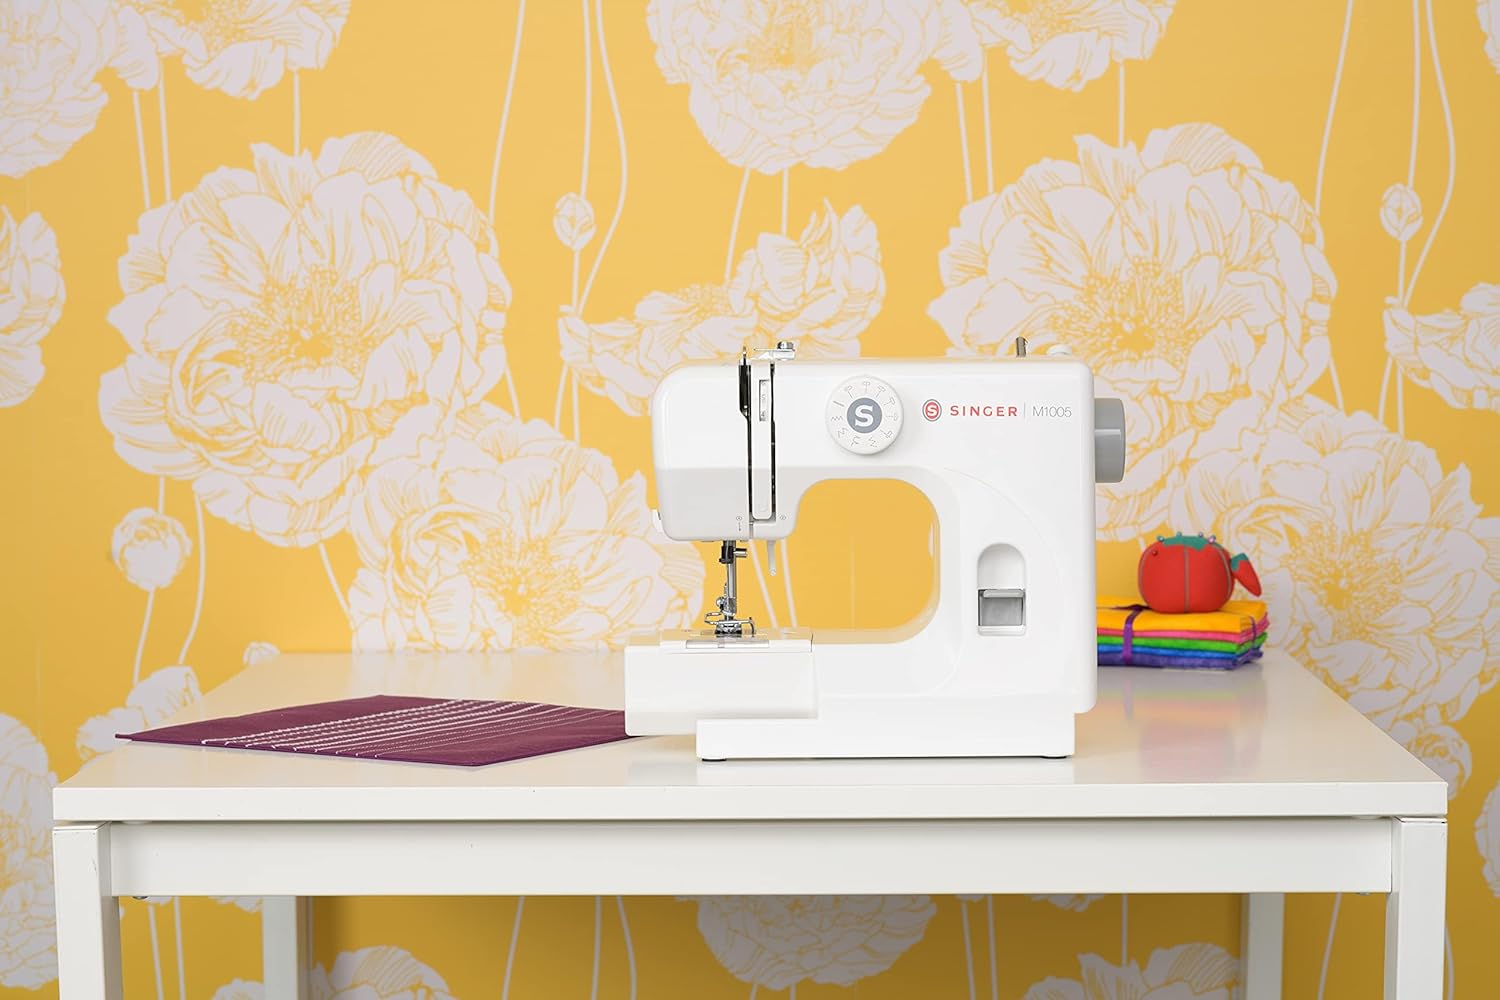
Figur 2: Front view of the SINGER M1005, highlighting the stitch selector dial and general threading area.
Betjeningsvejledning
1. Valg af en søm
The SINGER M1005 offers 4 core stitch types with 11 different options.
- Drej på Stingvælgerhjul to choose your desired stitch pattern.
- Available stitches include various straight stitches (different lengths/positions), three types of zigzag stitches (different lengths/widths), one blind hem stitch, and one multi-stitch zigzag.
- The optimum stitch width for this machine is 4 mm.
2. Justering af trådspænding
Adjust the needle thread tension to achieve balanced stitches.
- The tension dial is usually located on the front of the machine.
- Turn the dial to a higher number for tighter tension, and a lower number for looser tension.
- Test on a scrap piece of fabric to find the ideal setting for your fabric and thread combination.
3. Using the Reverse Lever
The reverse lever is used to secure the beginning and end of seams.
- For at sy baglæns skal du trykke på og holde Omvendt håndtag located on the front of the machine.
- Release the lever to resume forward stitching.
4. Free-Arm Sewing
To utilize the free-arm feature for sewing cuffs, pant hems, or other small circular items:
- Remove the accessory storage compartment (if present) by sliding it off to the left.
- The narrow free arm is now exposed, allowing you to slide fabric around it.
5. Extra High-Presser Foot Lifter
For thicker fabrics or multiple layers, the presser foot can be raised higher than its standard position.
- Lift the presser foot lifter to its highest position.
- For extra clearance, push the lifter up further to engage the extra high position.
Opretholdelse
Regelmæssig vedligeholdelse sikrer din symaskines levetid og optimale ydeevne. Tag altid stikket ud af maskinen, før du udfører nogen form for vedligeholdelse.
1. Rengøring af maskinen
- Fjernelse af fnug: Use a small brush to remove lint and dust from the bobbin area and feed dogs.
- Udvendig rengøring: Tør de udvendige overflader af med en blød, damp klæde. Brug ikke skrappe kemikalier.
2. Udskiftning af nåle
Replace the needle regularly (after 8-10 hours of sewing) or if it becomes bent, dull, or broken.
- Sluk for maskinen, og tag stikket ud.
- Løsn nålen clamp skrue.
- Fjern den gamle nål.
- Sæt en ny nål i med den flade side mod maskinens bagside, og skub den så langt op som muligt.
- Spænd nålen clamp skrue sikkert.
Fejlfinding
Se dette afsnit for løsninger på almindelige problemer, du kan støde på.
| Problem | Mulig årsag | Løsning |
|---|---|---|
| Springet sting over | Forkert nål, bøjet nål, forkert trådning. | Udskift nålen med den korrekte type/størrelse, og tråd maskinen korrekt om. |
| Trådbrud | Forkert trådning, for stram spænding, beskadiget nål, tråd af dårlig kvalitet. | Tråd maskinen om, juster trådspændingen, udskift nålen, og brug tråd af god kvalitet. |
| Stoffets rynkning | For stram spænding, forkert stinglængde, forkert nål til stoffet. | Loosen tension, adjust stitch length, use appropriate needle. |
| Maskinstop | Thread tangled in bobbin area, lint buildup, incorrect bobbin insertion. | Remove bobbin and clean bobbin case, re-insert bobbin correctly. |
| Ujævne sømme | Forkert trådspænding, forkert trådning, slidt nål. | Adjust tension, re-thread machine, replace needle. |
Specifikationer
Technical specifications for the SINGER M1005 Electric Sewing Machine.
- Mærke: SANGER
- Modelnummer: M1005 (Part Number: 230246102)
- Farve: Hvid
- Materiale: Plast
- Varens vægt: 3 kilo
- Strømkilde: Elektrisk med ledning
- Stitch Options: 4 built-in stitches with 11 options
- Max Stitch Width: 4 mm
- Spoletype: Class 15 (Transparent, Top Drop-in)
- Særlige funktioner: Adjustable Thread Tension, Free-Arm Design, Reverse Lever, Extra High-Presser Foot Lifter
Garanti og support
For warranty information, service, or technical support, please refer to the warranty card included with your product or contact SINGER customer service directly. Keep your purchase receipt as proof of purchase.
You can typically find contact information for SINGER support on their official webwebstedet eller i produktemballagen.