1. Introduktion
Thank you for choosing the AlkiVision C2 Wireless Outdoor Security Camera. This manual provides detailed instructions for setting up, operating, and maintaining your new security camera. Designed for both indoor and outdoor use, the C2 camera offers 1080p HD video, clear night vision, smart motion detection, and two-way audio to enhance your home security.
Please read this manual thoroughly before use to ensure proper installation and optimal performance.
2. Pakkens indhold
Bekræft at alle varer er til stede i din pakke:
- AlkiVision C2 Wireless Outdoor Security Camera (1)
- Monteringsbeslag (1)
- USB-opladningskabel (1)
- Mounting Screws and Wall Anchors (1 set)
- Brugervejledning (1)
- Garantikort (1)
3. Produktet er slutview
Familiarize yourself with the components of your AlkiVision C2 camera:

Figure 3.1: AlkiVision C2 Camera Front View
Nøglekomponenter omfatter:
- Linse: Captures 1080p HD video with a 130-degree wide angle.
- IR lysdioder: Two infrared LEDs for clear night vision.
- PIR-linse: Passive Infrared sensor for smart motion detection.
- Pickup (Microphone): Til tovejs audiokommunikation.
- Arbejdsstatusindikator: LED light indicating camera status.
- Højttaler: Til tovejs audiokommunikation.
- Micro SD -kortplads: Supports local storage of recordings.
- Hul til vægmontering: For attaching the camera to the mounting bracket.
- Power Key/Reset Key: Used for powering on/off and resetting the device.
- DC5V Micro USB Port: For charging the camera's built-in rechargeable battery.
4. Specifikationer
| Feature | Specifikation |
|---|---|
| Video opløsning | 1080p HD |
| Viewi vinkel | 130 grader |
| Nattesyn | Clear IR Night Vision (Night Color technology) |
| Bevægelsesdetektion | PIR Smart Motion Detection (Motion Only alerts) |
| Lyd | To-vejs lyd |
| Forbindelse | Wi-Fi (2.4GHz only, 5GHz not supported) |
| Strømkilde | Rechargeable Battery (1 to 6 months life per charge) |
| Vandtæt vurdering | IP65 |
| Kompatible enheder | Smartphone (Android) |
| Formfaktor | Kugle |
| Dimensioner | 5.04 x 3.98 x 3.03 tommer |
| Vægt | 12.3 ounce |
5. Opsætningsvejledning
5.1 Indledende opladning
Before first use, fully charge the camera's built-in rechargeable battery using the provided USB cable. Connect the cable to the DC5V Micro USB Port on the camera and a standard USB power adapter (not included). The charging indicator light will show the charging status.
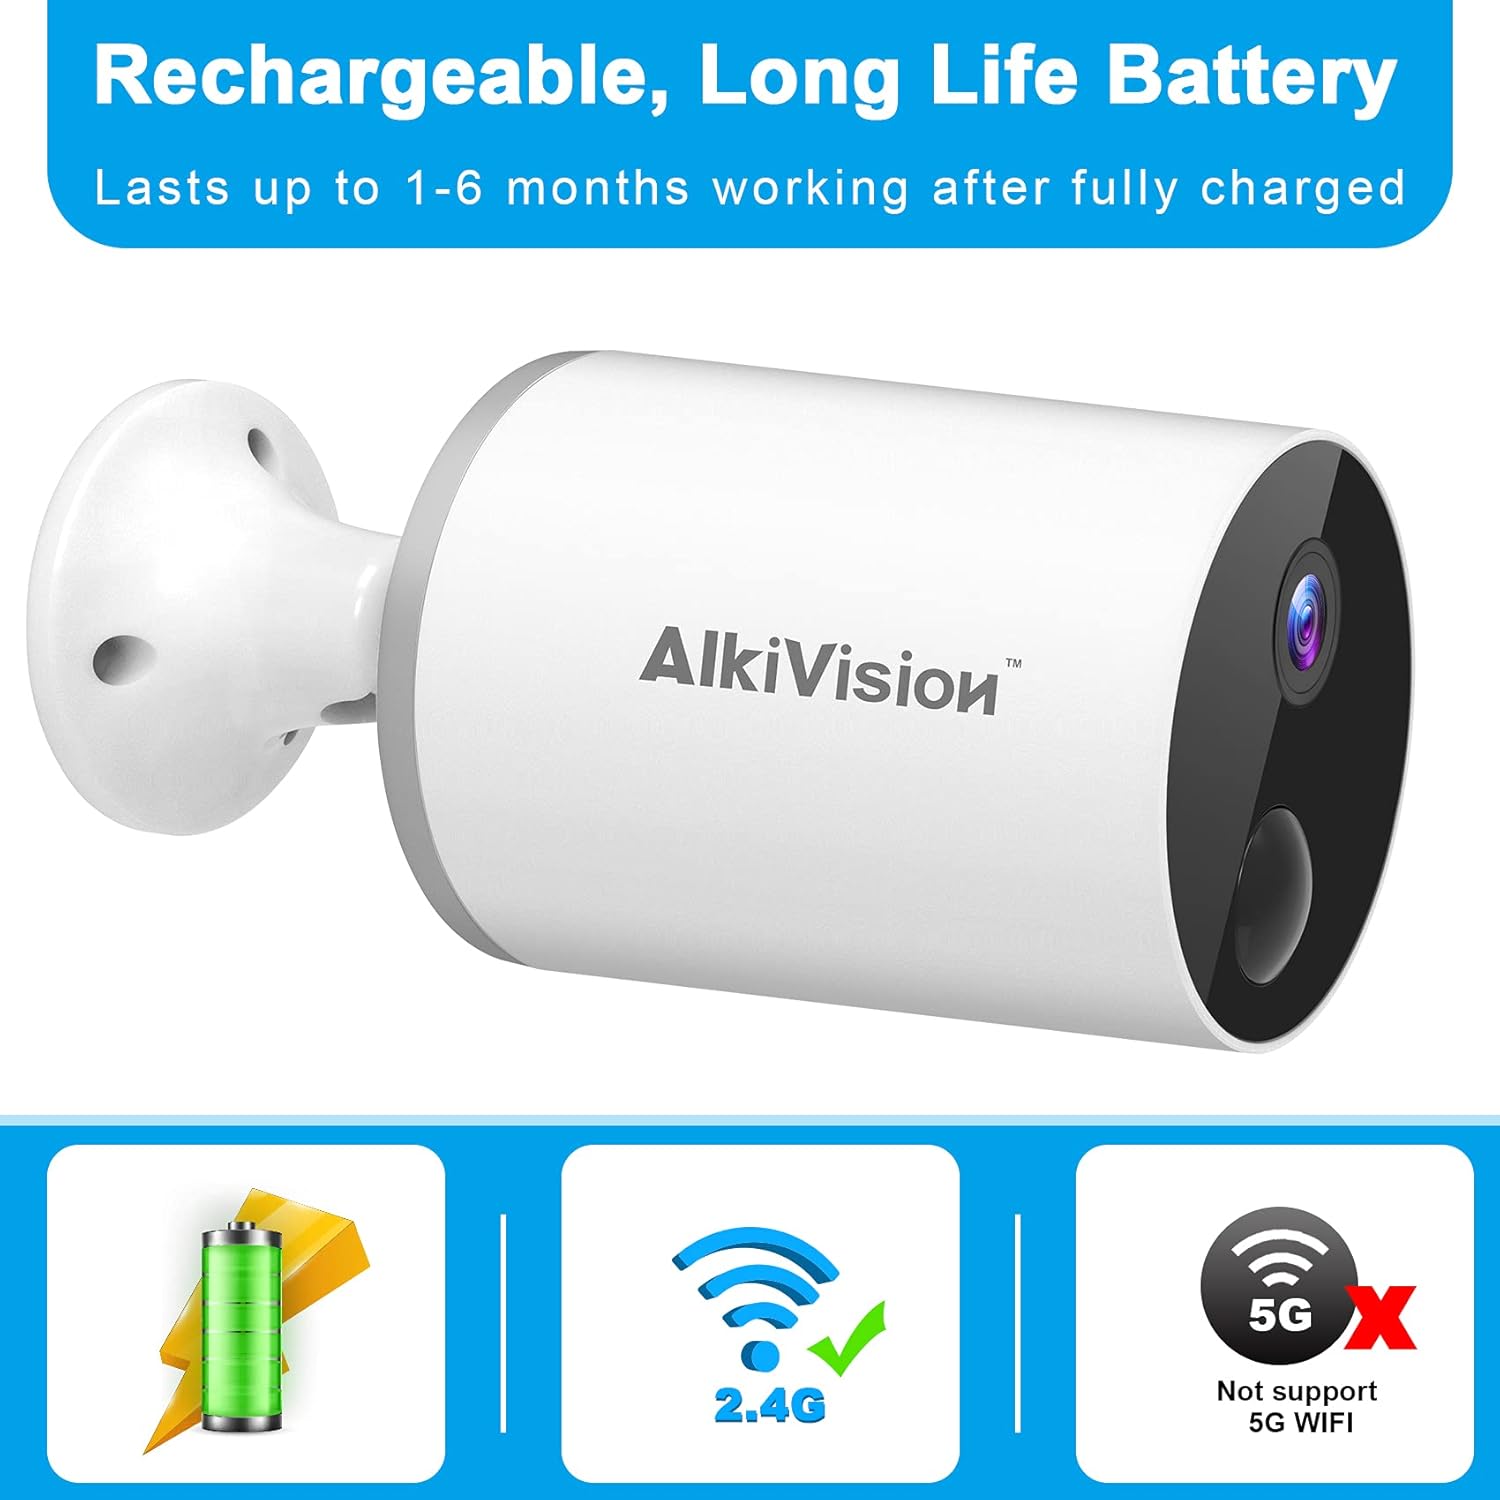
Figure 5.1: Rechargeable Battery and WiFi Compatibility
5.2 App download og installation
Download the "Adorcam" mobile application from your smartphone's app store (available for Android). Follow the on-screen instructions to create an account and log in.
5.3 WiFi-forbindelse
The AlkiVision C2 camera supports 2.4GHz Wi-Fi networks only. It does not support 5GHz Wi-Fi. Ensure your smartphone is connected to a 2.4GHz Wi-Fi network during the setup process.
- Open the Adorcam app and click "Add Device".
- Select "Battery Camera" from the device list.
- Follow the prompts to enter your 2.4GHz Wi-Fi network name and password.
- The app will generate a QR code. Position your camera's lens to scan this QR code from your phone screen at a distance of 4-8 inches.
- You will hear a tone from the camera indicating successful scanning. Once connected, the app will confirm the connection.
5.4 Montering af kameraet
The camera is designed for easy installation and can be mounted almost anywhere using the included tough brackets and screws. Choose a location with good Wi-Fi signal strength.

Figure 5.2: Easy Installation and Weatherproof Design
Sådan monteres kameraet:
- Secure the mounting bracket to your desired surface using the provided screws and wall anchors.
- Fastgør kameraet til monteringsbeslaget.
- Juster kameravinklen for at dække det ønskede overvågningsområde.
Video 5.1: Outdoor Security Camera Installation Overview. This video demonstrates the physical installation of the camera on an outdoor surface.
6. Betjeningsvejledning
6.1 Live View og optagelse
Access live video streams and recorded footage through the Adorcam app. The camera provides 1080p HD image quality and automatically adjusts to ambient light for clear day and night vision.

Figure 6.1: 1080p HD Day and Clear IR Night Vision
6.2 Smart bevægelsesdetektion
The camera is equipped with advanced PIR motion detection. When motion is detected, the camera will send notifications to your smartphone, providing real-time alerts.

Figure 6.2: PIR Smart Motion Detection and 130-Degree Wide Angle
6.3 Tovejslyd
Utilize the two-way audio feature to listen and speak through the camera. This allows for real-time communication with visitors or to deter unwanted individuals.

Figur 6.3: Tovejs lydkommunikation
6.4 Multi-Camera and Multi-User Sharing
You can install multiple AlkiVision C2 cameras to create a comprehensive security system. The Adorcam app also allows multiple users to view live feeds simultaneously, enabling family and friends to monitor the property.

Figure 6.4: WiFi Stable Connection for Multiple Cameras
6.5 SD-kortlagring
The camera supports local storage via a Micro SD card (not included). Insert a compatible Micro SD card into the designated slot for continuous recording or motion-triggered event storage. Ensure you use a Class 10 Micro SD card for optimal performance.
7. Vedligeholdelse
7.1 Rengøring
To maintain clear image quality, regularly clean the camera lens with a soft, lint-free cloth. Avoid using harsh chemicals or abrasive materials that could scratch the lens.
7.2 Pleje af batterier
The rechargeable battery provides 1 to 6 months of life depending on usage and environmental factors. Recharge the camera when the battery level is low. For optimal battery longevity, avoid extreme temperatures.
7.3 Vejrbestandighed
The AlkiVision C2 camera has an IP65 waterproof rating, meaning it is protected against dust and low-pressure water jets. It can withstand rain and temperatures from -4°F to 122°F (-20°C to 50°C). While designed for outdoor use, avoid submerging the camera in water.
8. Fejlfinding
- Kameraet opretter ikke forbindelse til Wi-Fi: Ensure your Wi-Fi network is 2.4GHz. The camera does not support 5GHz networks. Check your Wi-Fi password and signal strength. Try moving the camera closer to your wireless router or resetting the camera and trying the connection process again.
- Dårlig billedkvalitet: Ensure the camera lens is clean. Check for any obstructions in the camera's field of view. Verify that your internet connection is stable for optimal streaming quality.
- Bevægelsesdetektion virker ikke: Adjust the motion detection sensitivity settings in the Adorcam app. Ensure there are no objects constantly moving in the detection zone that could trigger false alarms.
- Kort batterilevetid: Battery life can vary based on the frequency of motion detection events, live view usage, and temperature. Reduce motion detection sensitivity or frequency of alerts if battery life is a concern. Ensure the camera is fully charged before deployment.
- Problemer med tovejslyd: Check your smartphone's volume settings and ensure the microphone and speaker on the camera are not obstructed. Verify a stable internet connection for clear audio transmission.
9. Garanti og support
AlkiVision products are designed for reliability and performance. For specific warranty information, please refer to the warranty card included in your product package. If you encounter any issues or have questions not covered in this manual, please contact AlkiVision customer support through the contact information provided on your warranty card or the official AlkiVision webwebsted.
Gem venligst dit købsbevis for garantikrav.