1. Introduktion
This instruction manual provides comprehensive guidance for the safe installation, operation, and maintenance of your Z-Lite 6 Light Chandelier, model 6015-6MB. Please read this manual thoroughly before beginning installation and retain it for future reference. Proper installation and adherence to these instructions will ensure optimal performance and safety.
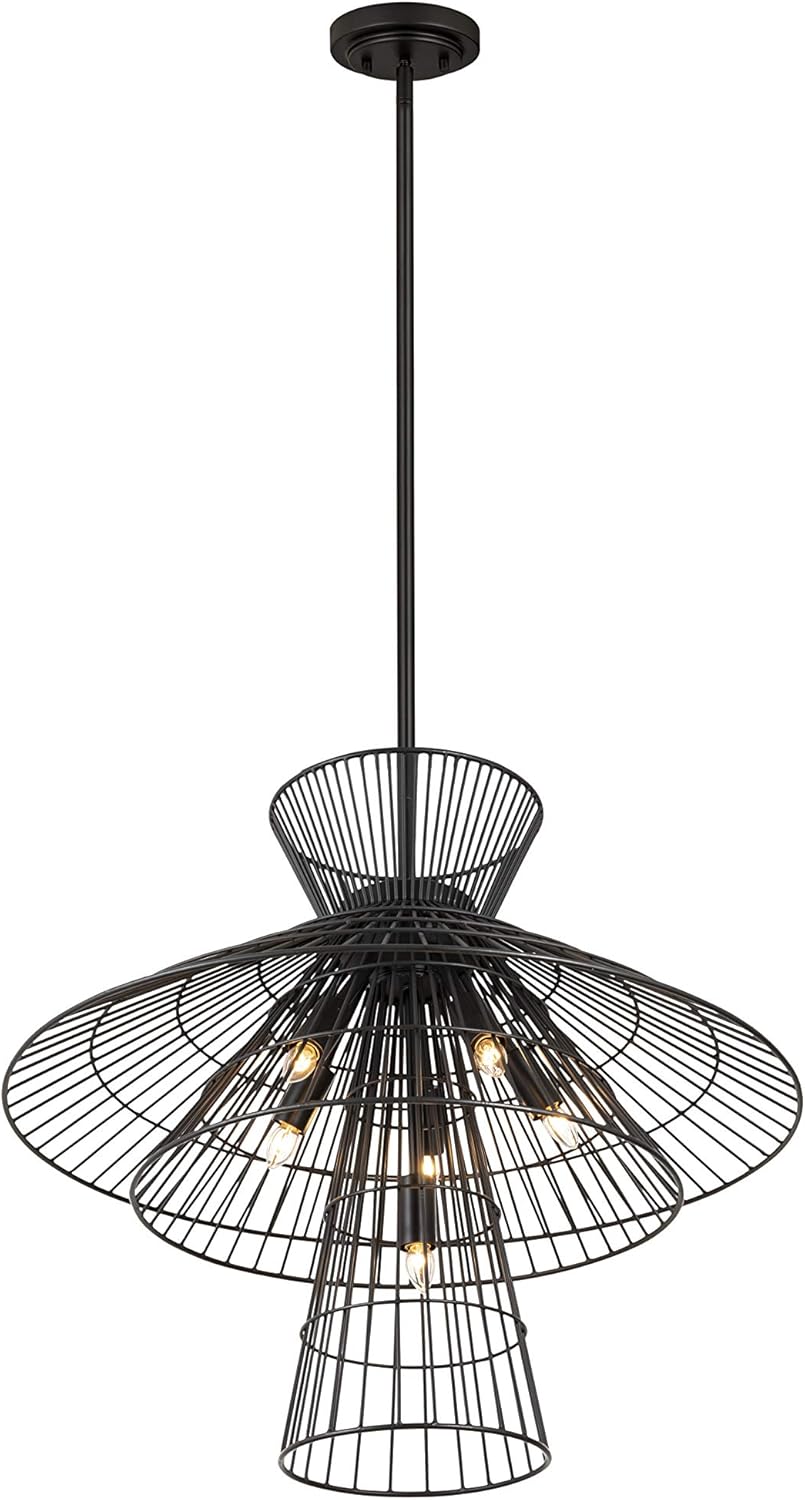
The Z-Lite 6015-6MB is a 6-light chandelier featuring a matte black iron finish and a tiered geometric design, suitable for indoor use in living rooms and other general purpose areas. It is designed for semi-flush mount installation.
2. Sikkerhedsoplysninger
WARNING: RISK OF ELECTRIC SHOCK. Disconnect power at the circuit breaker or fuse box before installation or servicing. Improper installation can result in serious injury or death.
- Alle elektriske forbindelser skal være i overensstemmelse med lokale forskrifter, forordninger eller National Electric Code (NEC). Kontakt en kvalificeret elektriker, hvis du ikke er bekendt med korrekt elektrisk ledningsføring.
- Denne lampe er kun beregnet til indendørs brug. Må ikke udsættes for vand eller fugt.
- Sørg for, at monteringsfladen kan bære armaturets vægt.
- Brug kun den specificerede pæretype og wattage (E12 base, 360 watts total maximum).
- Tilslut ikke denne armatur til et ujordet elektrisk system.
- Forslag 65 Advarsel: Dette produkt kan indeholde kemikalier, som staten Californien kender til at forårsage kræft og fosterskader eller anden reproduktionsskade.
3. Pakkens indhold
Carefully unpack the fixture and check that all parts are present. Refer to the diagram below for identification of components. If any parts are missing or damaged, do not attempt to assemble or install the fixture. Contact customer support for assistance.
- Chandelier Fixture Body (1)
- Mounting Canopy (1)
- Downrod/Stem (1)
- Mounting Plate/Crossbar (1)
- Mounting Screws and Wire Nuts (Set)
- Instruktionsmanual (1)

Billede: Forside view of the Z-Lite 6 Light Chandelier 6015-6MB, showcasing its matte black finish and tiered wire design.
4. Opsætning og installation
Professional installation by a qualified electrician is recommended.
Nødvendige værktøjer (ikke inkluderet):
- Phillips hovedskruetrækker
- Flad skruetrækker
- Trådstrippere
- Elektrisk tape
- Stige
Installationstrin:
- Sluk for strømmen: Før du starter, skal du sørge for, at strømmen til samledåsen er slukket ved afbryderen eller sikringsskabet.
- Forbered monteringsplade: Attach the mounting plate/crossbar to the junction box using the provided mounting screws. Ensure it is securely fastened.
- Saml nedstangen: Thread the downrod onto the fixture body. Ensure all connections are tight.
- Ledningsforbindelser:
- Connect the bare copper ground wire from the fixture to the ground wire from the junction box (usually green or bare copper) using a wire nut.
- Tilslut den hvide ledning fra armaturet til den hvide (neutrale) ledning fra samledåsen ved hjælp af en trådmøtrik.
- Tilslut den sorte ledning fra armaturet til den sorte (varme) ledning fra samledåsen ved hjælp af en trådmøtrik.
- Pak alle ledningsforbindelser ind i elektrikertape for ekstra sikkerhed.
- Mount Canopy: Carefully push the wires into the junction box. Align the canopy with the mounting plate and secure it with the canopy screws.
- Installer pærer: Screw in six (6) E12 base bulbs (not included) into the sockets. Do not exceed the maximum wattage of 60 watts per bulb or 360 watts total.
- Gendan strøm: Når installationen er færdig, skal strømmen genoprettes ved afbryderen.
Billede: Vinklet view of the Z-Lite 6 Light Chandelier 6015-6MB, showing the internal bulb sockets and wire cage design.
5. Betjeningsvejledning
Once properly installed and wired, the Z-Lite 6 Light Chandelier operates like any standard ceiling light fixture. It is designed to be controlled by a wall switch.
- Tænd/sluk: Brug vægkontakten, der er tilsluttet armaturet, til at tænde eller slukke lysekronen.
- Dæmpningsfunktion: This fixture is compatible with standard dimmer switches. If a dimmer switch is installed, you can adjust the light output by manipulating the dimmer control. Ensure that the bulbs used are also dimmable.
6. Vedligeholdelse
Regelmæssig vedligeholdelse vil bidrage til at bevare din lysekrones udseende og funktionalitet.
- Rensning: Afbryd altid strømmen før rengøring. Tør armaturet af med en blød, tør klud. Brug ikke slibende rengøringsmidler, opløsningsmidler eller polermidler, da de kan beskadige overfladen.
- Udskiftning af pære: Ensure power is off before replacing bulbs. Allow bulbs to cool completely before touching. Unscrew old bulbs and replace with new E12 base bulbs, not exceeding 60 watts per bulb.
- Inspektion: Kontrollér regelmæssigt alle elektriske forbindelser og monteringsbeslag for tæthed.
7. Fejlfinding
Hvis du oplever problemer med din lysekrone, kan du se følgende almindelige problemer og løsninger:
| Problem | Mulig årsag | Løsning |
|---|---|---|
| Lyset tændes ikke. |
|
|
| Lysene flimrer. |
|
|
| Armaturet brummer. |
|
|
8. Specifikationer

Image: Dimensional drawing of the Z-Lite 6 Light Chandelier 6015-6MB, showing key measurements including 25" width, 25" length, and 22" height.
| Modelnummer: | 6015-6 MB |
| Mærke: | Z-Lite |
| Materiale: | Jern |
| Udfør type: | Mat sort |
| Dimensioner (L x B x H): | 25 cm L x 25 cm B x 22 cm H |
| Varens vægt: | 16 pund |
| Antal lyskilder: | 6 |
| Pære base: | E12 |
| Max Wattage (per bulb): | 60 watts (360 watts total) |
| Voltage: | 120 volt |
| Installationstype: | Semi Flush Mount, Ceiling Mount |
| Indendørs/udendørs brug: | Indendørs |
| Kontrolmetode: | Wall Switch (Dimmer compatible) |
| Certificering: | UL Listed (CUL/cETLu) |
9. Garanti og support
Garanti: This Z-Lite product is covered by a manufacturer's warranty. Please refer to the original purchase documentation or contact Z-Lite customer service for specific warranty terms and conditions.
Kundesupport: For technical assistance, missing parts, or warranty inquiries, please contact Z-Lite customer support. Contact information can typically be found on the manufacturer's webwebstedet eller din købskvittering.
Gem venligst dit købsbevis for garantikrav.