
OPRET 83190_167452
CREATE WINDSTYLANCE Loftventilator Brugermanual
Model: 83190_167452
Indledning
Thank you for choosing the CREATE WINDSTYLANCE Ceiling Fan. This manual provides essential information for the safe and efficient operation of your new ceiling fan. Please read it thoroughly before installation and use, and keep it for future reference.
The CREATE WINDSTYLANCE ceiling fan is designed to provide optimal air circulation with its powerful yet quiet DC motor. Featuring six speed settings, a programmable timer, and reversible blades for summer and winter operation, it ensures comfort throughout the year. This model comes with dark wood blades and is controlled via a convenient remote.
Sikkerhedsoplysninger
Følg altid grundlæggende sikkerhedsforanstaltninger ved installation og betjening af elektriske apparater for at reducere risikoen for brand, elektrisk stød og personskade.
- Sørg for, at strømforsyningen er afbrudt før installation eller vedligeholdelse.
- Installation skal udføres af en kvalificeret elektriker.
- Mount the fan securely to a ceiling joist or a structure capable of supporting the fan's weight.
- Hold en minimumsafstand på 2.3 meter (7.5 fod) fra gulvet til ventilatorbladene.
- Indsæt ikke genstande i de roterende knives bane.
- Hold børn og kæledyr væk fra ventilatoren under drift.
- Brug kun den fjernbetjening, der følger med ventilatoren.
Pakkens indhold
Kontroller, at alle komponenter er til stede, før installationen påbegyndes:
- Loftsventilatormotorsamling
- Fan Blades (3x Dark Wood)
- Monteringsbeslag
- Downrods (15 cm and 25 cm)
- Baldakin
- Fjernbetjening
- Fjernbetjeningsholder
- Hardware-sæt (skruer, skiver, trådmøtrikker)
- Brugermanual

Image: The CREATE WINDSTYLANCE ceiling fan with dark wood blades and its accompanying remote control.
Opsætning og installation
Proper installation is crucial for the safe and efficient operation of your ceiling fan. Please follow these steps carefully. If you are unsure about any step, consult a qualified electrician.
1. Kontrol før installation
- Sluk for strømmen ved afbryderen.
- Ensure the mounting location can support the fan's weight (approx. 7.05 kg).
- Verify that the ceiling box is securely attached to the building structure.
2. Montering af beslaget
Attach the mounting bracket to the ceiling electrical box using the screws provided. Ensure it is firmly secured.
3. Assembling the Downrod and Fan Motor
Choose the appropriate downrod (15 cm or 25 cm) based on your ceiling height and desired fan clearance. The fan comes with two mounting rods of 15 and 25 cm, allowing for installation at the most suitable distance from the ceiling.


Image: Diagrams illustrating the fan installation with both the 15 cm and 25 cm downrods, showing the resulting fan height from the ceiling.
Feed the electrical wires from the fan motor through the chosen downrod. Secure the downrod to the fan motor assembly.
4. Tilslutning af ventilatoren
Carefully connect the fan's electrical wires to the household wiring according to the wiring diagram in the full manual. Use wire nuts to secure connections. Ensure all connections are tight and properly insulated.
5. Montering af ventilatorbladene
Fastgør hvert ventilatorblad til motorhuset med de medfølgende skruer. Sørg for, at alle skruer er spændt forsvarligt.
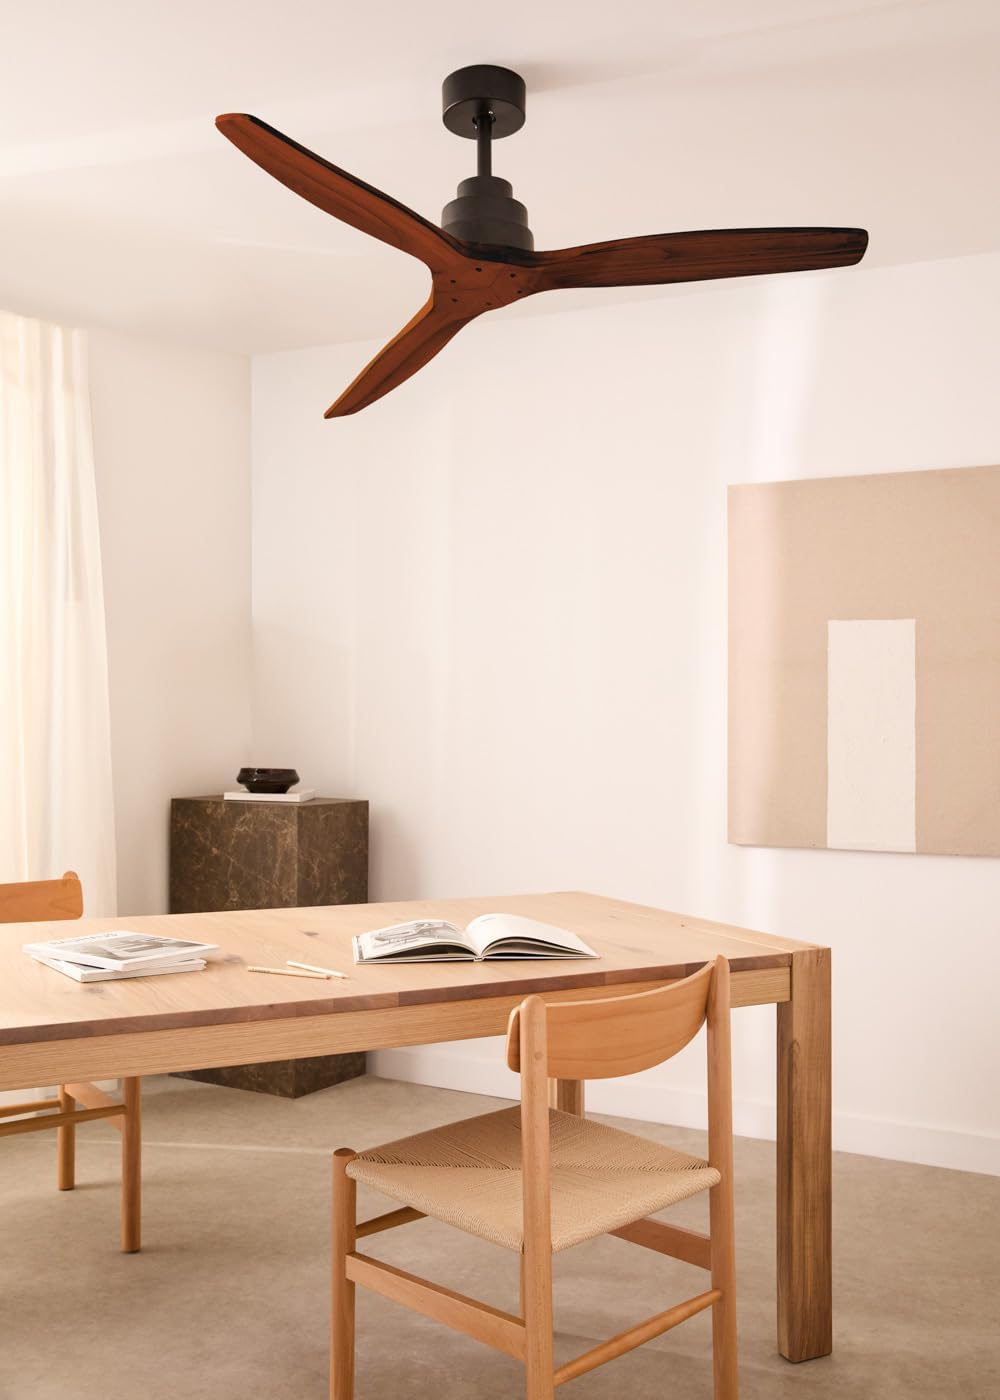
Image: The CREATE WINDSTYLANCE ceiling fan with dark wood blades installed in a contemporary living space, demonstrating its aesthetic integration.
6. Slutsamling
Lift the fan assembly and hang it on the mounting bracket. Secure the canopy to cover the wiring connections. Restore power at the circuit breaker.
Betjeningsvejledning
Your CREATE WINDSTYLANCE ceiling fan is operated using the included remote control.
Fjernbetjeningsfunktioner

Image: The remote control for the fan, highlighting buttons for power, speed settings (1-6), timer (1H, 2H, 4H), and summer/winter mode.
- Power knap: Tænder/slukker ventilatoren.
- Hastighedskontrol (1-6): Adjusts the fan speed. Level 1 is the lowest, 6 is the highest. An efficient and durable motor has six speed levels that generate different airflows, so you can always select the appropriate air circulation rate.
- Timer (1T, 2T, 4T): Sets the fan to automatically turn off after 1, 2, or 4 hours. You can program its timer from 1 to 4 hours, so it automatically switches off after the selected time.
- Sommer/vinter tilstand: Ændrer bladets rotationsretning.
Summer Mode Operation
In summer mode, the fan blades rotate counter-clockwise, pushing cool air downwards. This creates a wind-chill effect, making the room feel cooler and dissipating heat.

Image: Diagram illustrating the airflow pattern in summer mode, where the fan pushes air downwards to create a cooling effect.
Winter Mode Operation
In winter mode, the fan blades rotate clockwise, drawing cool air upwards and pushing warm air (which rises to the ceiling) downwards. This helps to evenly distribute heat throughout the room, improving heating efficiency.

Image: Diagram illustrating the airflow pattern in winter mode, where the fan draws air upwards to circulate warm air downwards.
Opretholdelse
Regelmæssig vedligeholdelse sikrer din loftsventilators levetid og optimale ydeevne.
- Rensning: Støv ventilatorblade og motorhus regelmæssigt med en blød, tør klud.amp klæde. Brug ikke slibende rengøringsmidler eller opløsningsmidler.
- Tilspændingsskruer: Periodically check and tighten all screws on the fan blades and mounting bracket to prevent wobbling and noise.
- Knivbalance: If the fan wobbles, ensure all blades are securely attached and balanced. A balancing kit (not included) may be used if necessary.
Fejlfinding
Hvis du støder på problemer med din ventilator, kan du se følgende almindelige problemer og løsninger:
| Problem | Mulig årsag | Løsning |
|---|---|---|
| Ventilator starter ikke | No power supply; Loose wiring; Remote control battery dead. | Kontroller afbryderen; Verificer ledningsforbindelser; Udskift batteriet i fjernbetjeningen. |
| Blæseren slingrer | Løse knivskruer; Ubalancerede knive; Løst monteringsbeslag. | Spænd alle knivskruer; Brug et afbalanceringssæt; Sørg for, at monteringsbeslaget er sikkert fastgjort. |
| Støjende drift | Loose screws; Motor issues; Blades hitting an obstruction. | Check and tighten all screws; Ensure no obstructions; If motor noise persists, contact support. The unique design of the ultra-light blades combined with the highly efficient DC motor generates hardly any noise. |
| Fjernbetjening virker ikke | Dead battery; Remote not paired; Obstruction between remote and receiver. | Replace battery; Refer to pairing instructions in the full manual; Remove obstructions. |
Specifikationer
| Feature | Specifikation |
|---|---|
| Mærke | SKABE |
| Modelnummer | 83190_167452 |
| Produktets diameter | 132 cm |
| Produktets vægt | 7.05 kilo |
| Motortype | DC motor |
| Antal hastigheder | 6 |
| Timer funktion | 1, 2, 4 timer |
| Driftstilstande | Sommer / Vinter |
| Støjniveau | 50 dB |
| Strømkilde | Elektrisk med ledning |
| Inkluderede komponenter | Cord, Remote Control |
| Værelsestype | Bedroom (Recommended) |
| Finish Type | Malet |

Image: Technical diagram of the fan, indicating its 132 cm diameter and suitability for rooms between 10m² and 25m².
Garanti og support
For warranty information and customer support, please refer to the contact details provided in your product packaging or visit the official CREATE webwebsted. Gem din købskvittering som købsbevis i tilfælde af garantikrav.
If you require further assistance or have questions not covered in this manual, please contact CREATE customer service.
Ask a question about this manual
Ask about setup, troubleshooting, compatibility, parts, safety, or missing instructions. Manuals+ will review the question and use this page’s manual context to help answer it.