
Indledning
Welcome to your new TELLUR Dash Patrol DC1 Car Camera. This manual provides instructions for installation, operation, and maintenance to ensure optimal performance and longevity of your device. Please read this manual thoroughly before using the product.
Sikkerhedsoplysninger
- Ensure the dash camera is securely mounted and does not obstruct the driver's view eller forstyrre køretøjets kontroller.
- Betjen ikke enheden under kørsel. Juster kun indstillingerne, når køretøjet er parkeret sikkert.
- Undgå at udsætte enheden for ekstreme temperaturer, direkte sollys i længere perioder eller fugt.
- Use only the provided power adapter and cables to prevent damage and ensure proper operation.
- Keep the lens clean to ensure clear video recordings.
- Forsøg ikke selv at skille enheden ad eller reparere den. Kontakt kvalificeret servicepersonale for at få hjælp.
Pakkens indhold
- 1 x Dash Patrol Dashcam DC1
- 1 x magnetisk beslag
- 1 x MicroUSB-kabel
- 1 x Dual USB Car Charger
- 1 x brugermanual
Produkt overview
Komponenter


Kontroller og indikatorer
- Power knap: Press and hold to turn the device on or off. Short press to toggle screen display.
- M (tilstand) knap: Switches between video recording, still photo, and playback modes.
- Op/Ned knapper: Naviger gennem menupunkter eller juster indstillinger.
- OK knap: Confirms selections or starts/stops recording in video mode.
- TF-kortslot: Insert a microSD card for storing recordings.
- MicroUSB port: Tilsluttes bilopladeren for strøm.
- Mikrofon: Optager lyd.
Opsætning
1. Indsæt hukommelseskort
Before first use, insert a Class 10 or higher microSD card (not included) into the TF Card slot. Ensure the card is inserted correctly until it clicks into place.
2. Monter dashkameraet
Clean the windshield area where the camera will be mounted. Attach the magnetic bracket to the windshield using its adhesive. Ensure the camera's position does not obstruct your view. Once the bracket is secured, attach the dash camera to the magnetic bracket.
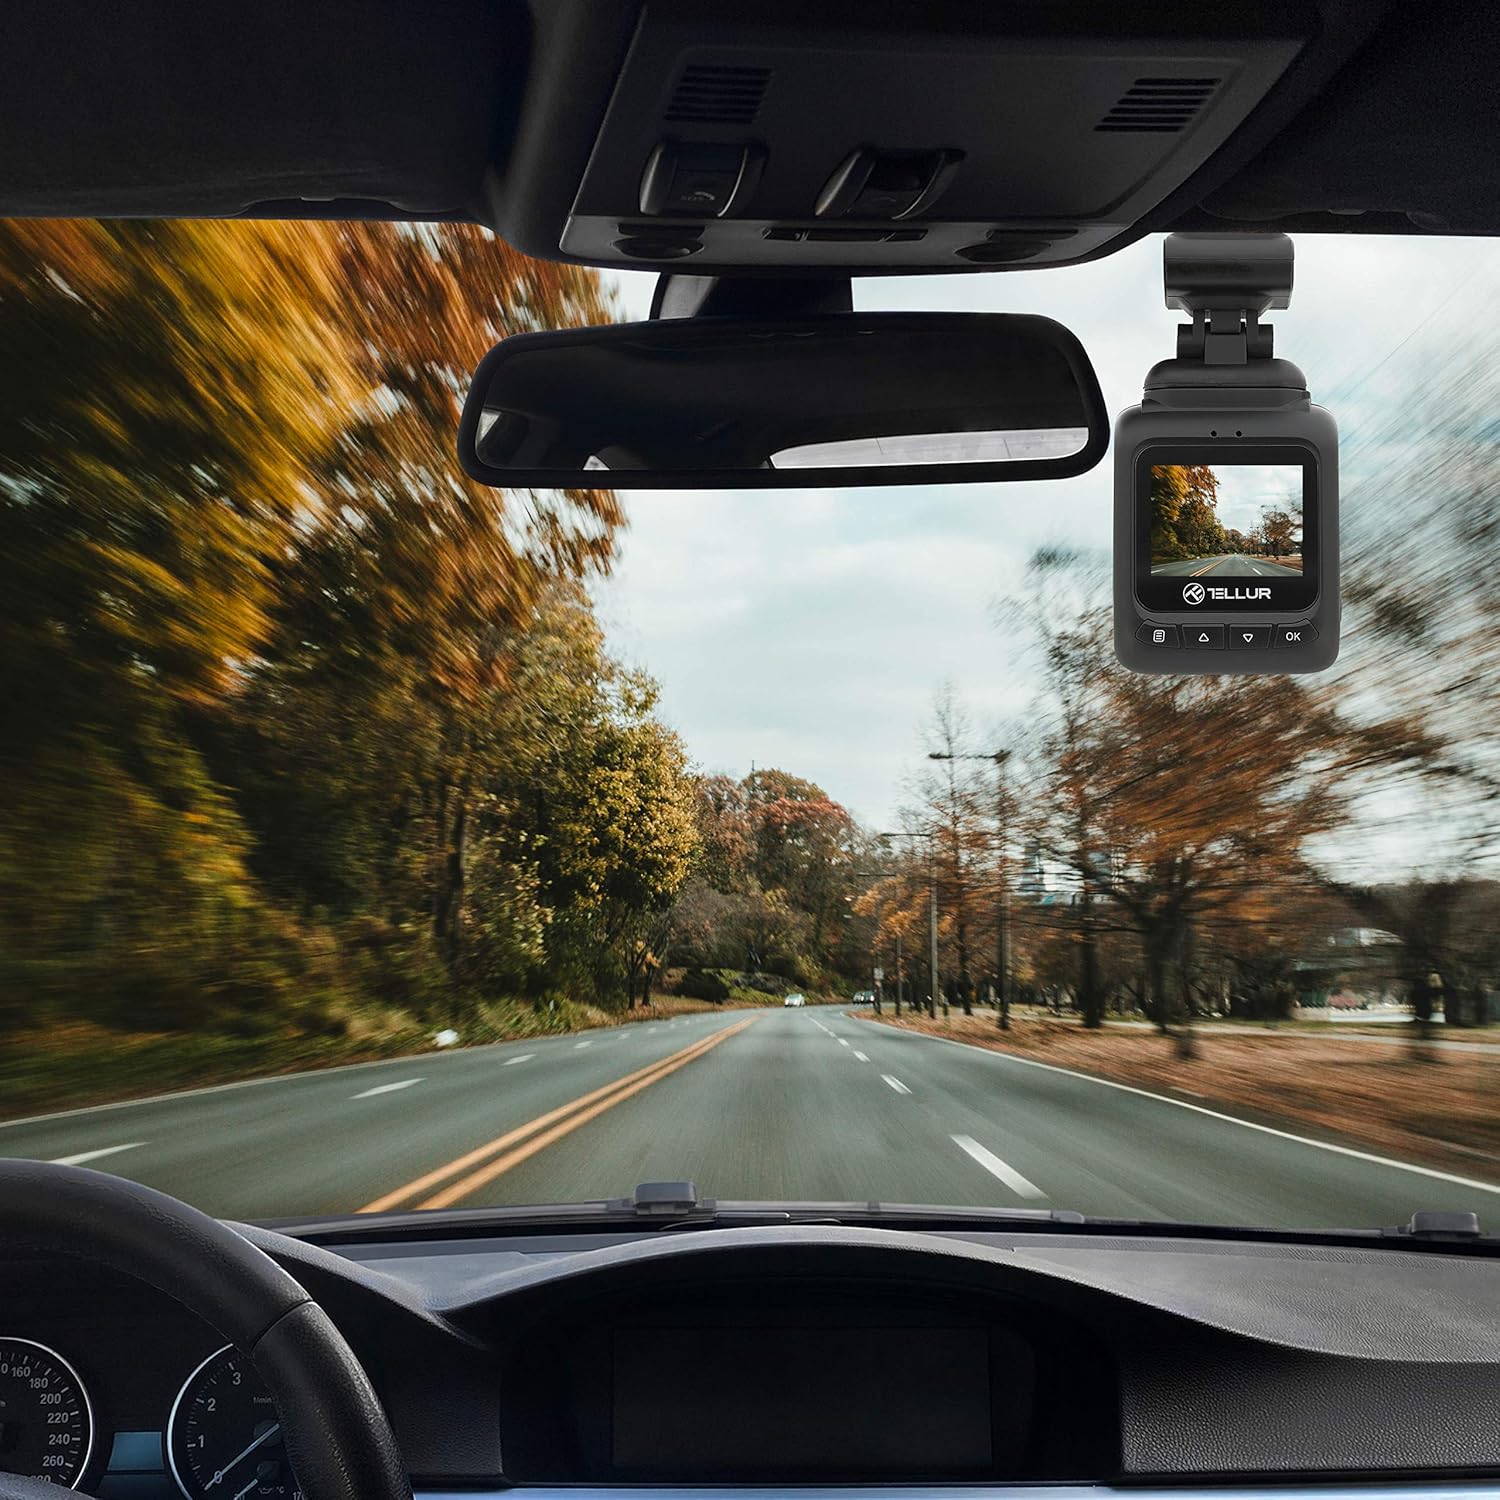
3. Tilslut strøm
Connect the MicroUSB cable to the dash camera's MicroUSB port and the other end to the Dual USB Car Charger. Plug the car charger into your vehicle's 12V power outlet (cigarette lighter socket). The camera will automatically power on and begin recording when the vehicle starts.
Betjeningsvejledning
Grundlæggende optagelse
Once powered on, the camera automatically starts recording in a continuous loop. The recording indicator (usually a red dot) will flash on the screen. Videos are recorded in FullHD 1080P resolution with a 140-degree wide-angle lens.
G-sensor funktion
The built-in G-sensor detects sudden impacts or collisions. When an event is detected, the current video segment is automatically locked and saved to prevent it from being overwritten by loop recording. This ensures critical footage er bevaret.

Parkeringsovervågningsfunktion
When the parking monitoring function is enabled, the camera will automatically start recording if it detects motion or an impact while the vehicle is parked and the engine is off. This feature provides surveillance for your vehicle when unattended.

Menu navigation
Tryk på M knappen for at åbne menuen. Brug Op/Ned knapper til at navigere gennem muligheder og OK button to select. Press M igen for at forlade menuen.
Videoafspilning
In playback mode (accessed via the M button), use the Op/Ned knapper for at vælge en video file og OK to play it. Press M at vende tilbage til file liste.
Opretholdelse
Rengøring af linsen
Regularly clean the camera lens with a soft, lint-free cloth to ensure clear video quality. Do not use abrasive cleaners.
Hukommelseskorthåndtering
It is recommended to format the microSD card periodically (e.g., once a month) within the camera's settings to maintain optimal performance and prevent data corruption.
Fejlfinding
- Kameraet tænder ikke: Check the power connection to the car charger and the vehicle's 12V outlet. Ensure the vehicle's ignition is on.
- Optagelsen stopper uventet: Ensure the microSD card is properly inserted and is a Class 10 or higher. Format the card if issues persist.
- Dårlig videokvalitet: Clean the camera lens. Check menu settings to ensure 1080P resolution is selected.
- G-Sensor not triggering: Adjust the G-sensor sensitivity in the camera's settings.
- Parking Monitor not working: Ensure the parking monitoring function is enabled in the settings.
Specifikationer
| Feature | Detalje |
|---|---|
| Modelnavn | DC1 |
| Varemodelnummer | TLL711001 |
| Videooptagelsesopløsning | 1080p |
| Felt Af View | 140 grader |
| Speciel funktion | Automatic Incident Detection (G-Sensor), Parking Monitoring |
| Forbindelsesteknologi | USB |
| Monteringstype | Magnetic Mount with Adhesive |
| Produktdimensioner | 1.72 x 1.47 x 2.17 tommer |
| Varens vægt | 8.4 ounce |
| Batterier | 1 Lithium Polymer batteri påkrævet |
| Farve | Sort |
| Fabrikant | TELLUR |
Garanti og support
TELLUR products are designed for reliability and performance. For warranty information, technical support, or service inquiries, please refer to the contact details provided on the official TELLUR webwebstedet eller din købsdokumentation. Gem din købsbevis til garantikrav.