1. Introduktion
This manual provides detailed instructions for the assembly, operation, and maintenance of your Antec NX410 ATX Mid-Tower Case. Please read this manual thoroughly before beginning installation to ensure proper setup and to maximize the performance and longevity of your system.

Figure 1.1: Antec NX410 ATX Mid-Tower Case (Black)
2. Nøglefunktioner
- Avanceret køling: Pre-installed with 2 x 140mm ARGB fans in the front and 1 x 120mm ARGB fan in the rear for efficient airflow.
- Hærdet glas sidepanel: A full-side view tempered glass panel allows for showcasing internal components and RGB lighting.
- Optimeret luftstrøm: Features a grid front panel design to enhance air intake and maintain optimal temperatures.
- Bundkort support: Compatible with ATX, Micro-ATX, and ITX motherboard form factors.
- Ample Expansion: Supports various storage configurations and large graphics cards (up to 335mm) and CPU coolers (up to 168mm).
3. Opsætning og installation
3.1 Forberedelse af sagen
Before installing components, ensure the case is placed on a stable, flat surface. The tempered glass side panel can be easily opened via a magnetic latch for access to the interior.

Figure 3.1: Internal Component Layout and Compatibility
3.2 Installation af bundkort
The NX410 supports ATX, Micro-ATX, and ITX motherboards. Install standoffs as required by your motherboard's form factor before mounting the motherboard.
3.3 Fan and Radiator Support
The case comes with pre-installed ARGB fans. Additional fans or radiators can be installed as follows:
- Front: Up to 3 x 120mm or 3 x 140mm fans (up to 360mm radiator).
- Top: Up to 2 x 120mm or 2 x 140mm fans (up to 280mm radiator).
- Bag: 1 x 120mm fan (up to 120mm radiator).
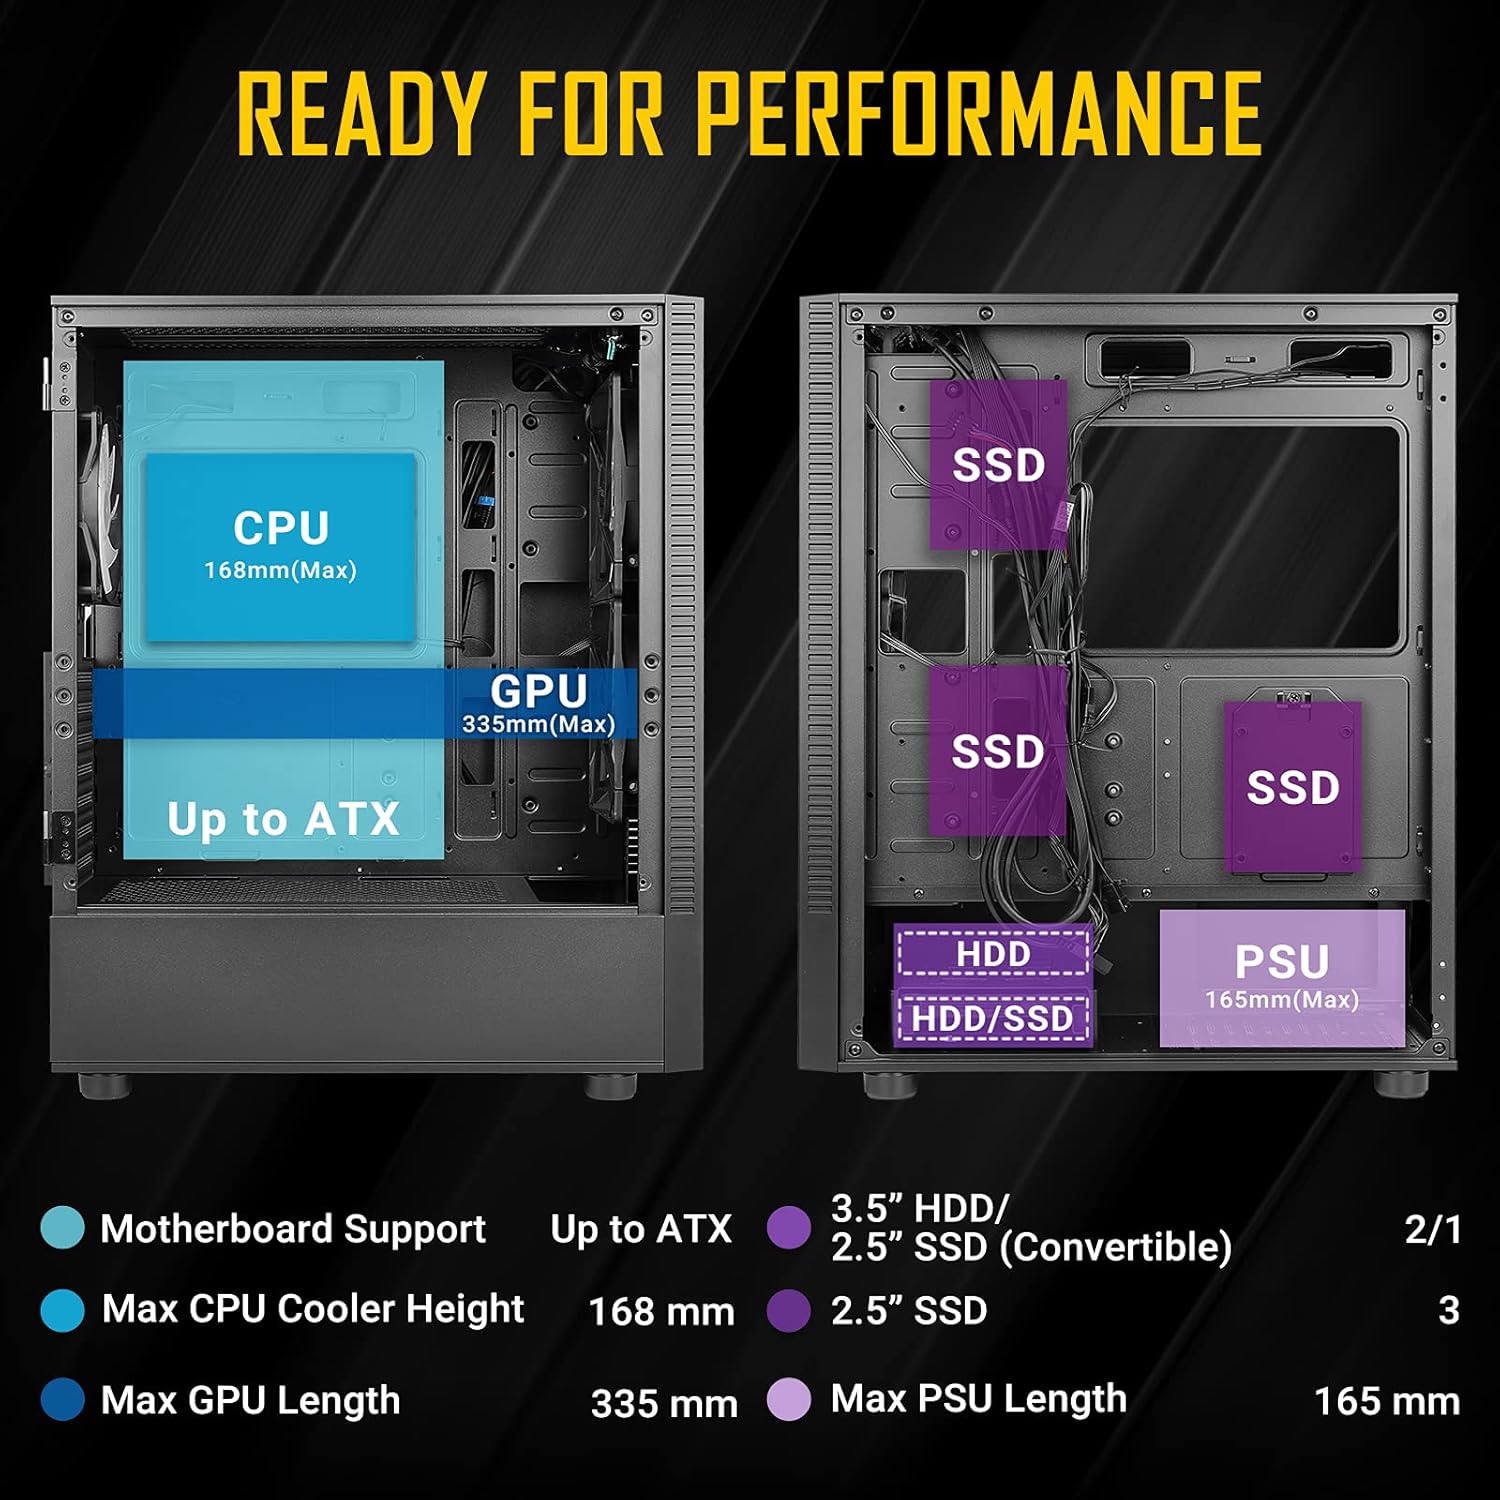
Figure 3.2: Fan and Radiator Configuration
Important Fan Connection Note:
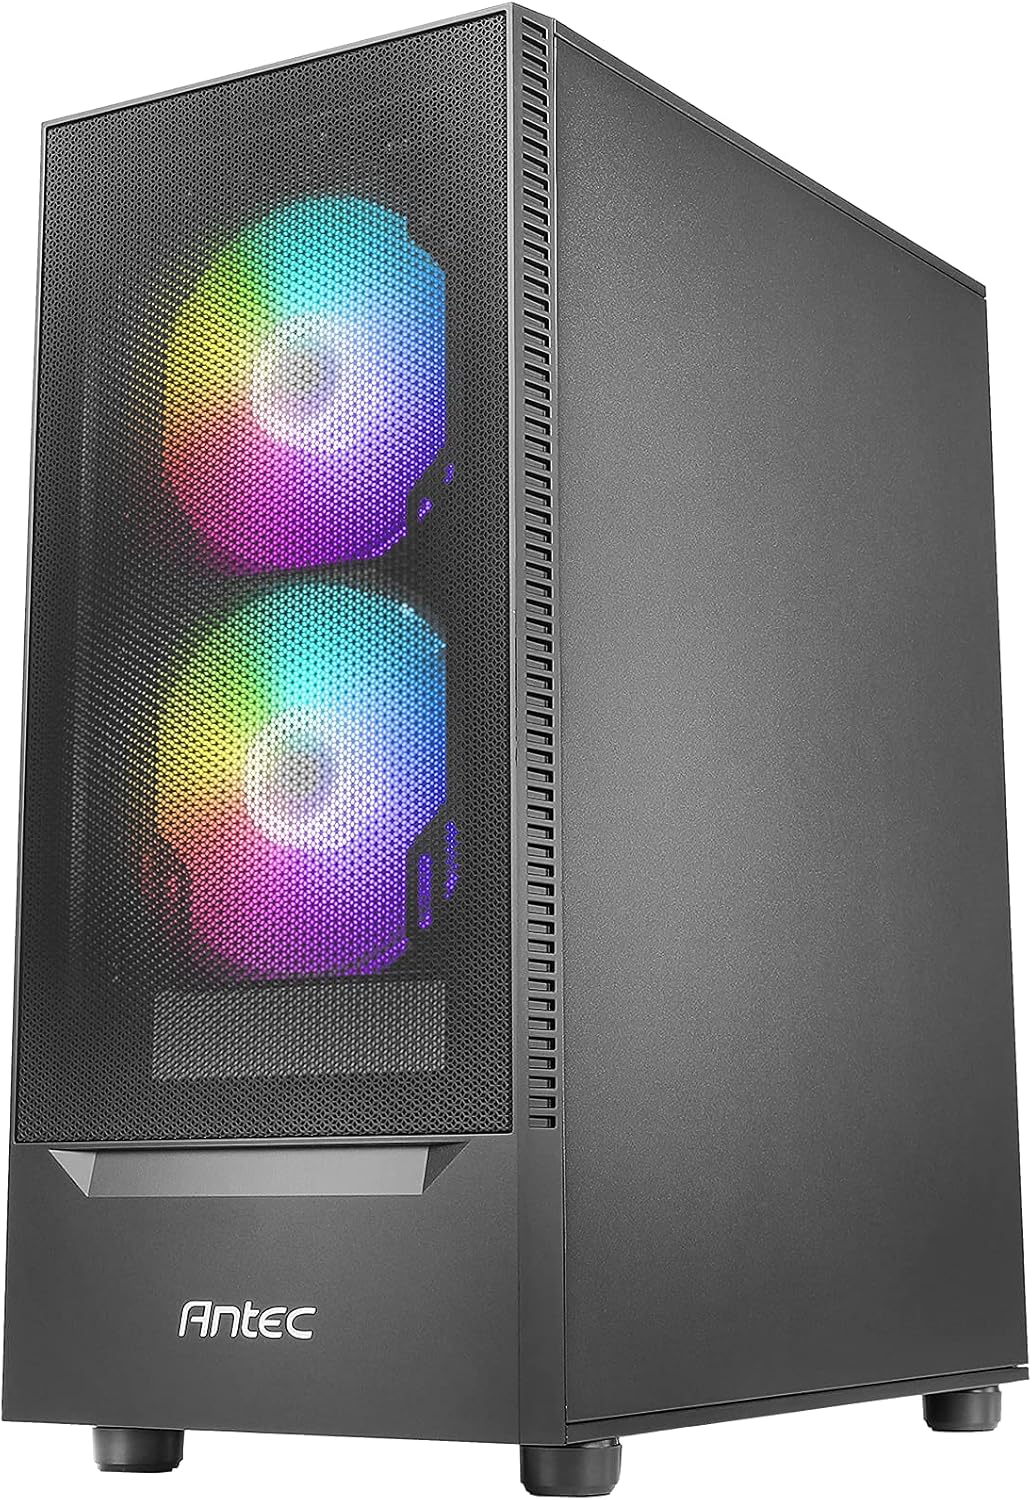
Figure 3.3: Fan Installation Warning
- If you connect the major fan and other fans but do not connect the major fan to the motherboard, other fans will not function.
- The fan kit does not work in sync with the motherboard ARGB function unless properly connected.
3.4 Installation af lagerdrev
The case provides bays for 3.5-inch HDDs and 2.5-inch SSDs. Refer to the internal layout diagram (Figure 3.1) for specific mounting locations.
3.5 Installation af strømforsyningsenhed (PSU).
The PSU mounts at the rear bottom of the case. Ensure the PSU length does not exceed 165mm for optimal fit and cable management.
4. Betjening af etuiets funktioner
4.1 Frontpanelets I/O-porte
The top front panel provides convenient access to essential ports and controls:
- Power knap
- LED-kontrolknap
- USB 3.0 x 1
- USB 2.0 x 2
- HD-AUDIO (Headphone and Microphone jacks)

Figure 4.1: Front Panel I/O Ports
4.2 ARGB-lysstyring
Use the dedicated LED Control Button on the front panel to cycle through various ARGB lighting effects and colors for the pre-installed fans. This allows for customization of your system's aesthetic.

Figure 4.2: LED Control Button
5. Vedligeholdelse
5.1 Rengøring af støvfiltre
The Antec NX410 features a fine mesh front panel and a magnetic dust filter on the top panel to prevent dust buildup. Regularly remove and clean these filters to maintain optimal airflow and cooling performance.
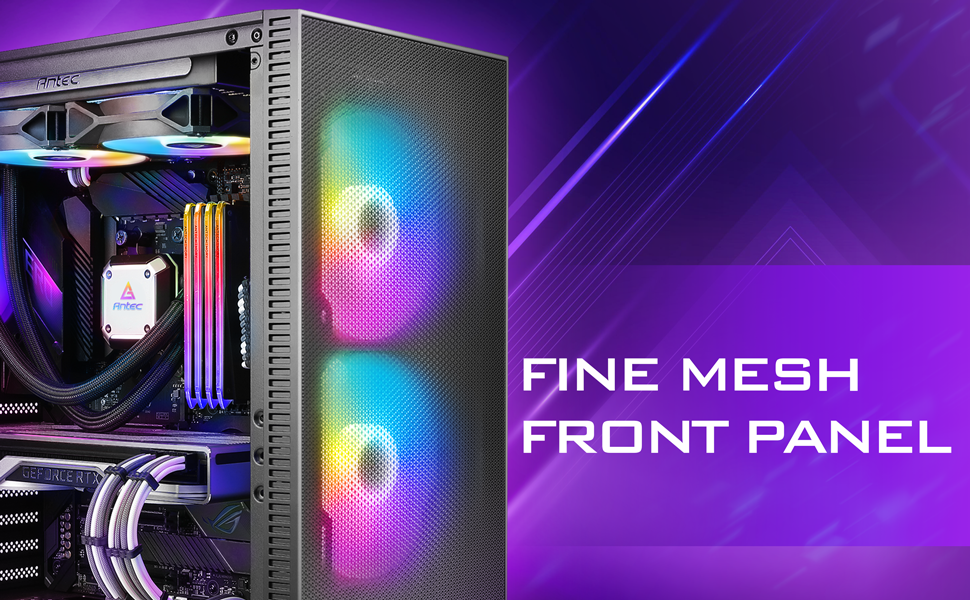
Figure 5.1: Fine Mesh Front Panel
5.2 Adgang til interne komponenter
The tempered glass side panel is secured with a magnetic latch, allowing for tool-less access to the internal components for upgrades, cleaning, or troubleshooting. Gently pull the handle to open the panel.
6. Fejlfinding
- Systemet tænder ikke: Ensure all power cables (24-pin ATX, 8-pin CPU, GPU PCIe) are securely connected to the motherboard, graphics card, and power supply. Verify the power supply switch is in the 'ON' position.
- Ventilatorer drejer ikke/RGB virker ikke: Check fan connections to the motherboard or fan controller. Ensure the LED control button is pressed to cycle through modes. Refer to Figure 3.3 for proper fan wiring.
- Overophedningsproblemer: Confirm all case fans are installed correctly and spinning. Clean dust filters regularly. Ensure proper thermal paste application on the CPU cooler.
- USB-porte fungerer ikke: Verify the USB headers from the front panel are correctly connected to the motherboard.
7. Specifikationer
| Feature | Detalje |
|---|---|
| Mærke | Antec |
| Modelnavn | NX410 |
| Sagstype | Mid Tower |
| Bundkort kompatibilitet | ATX, Micro-ATX, ITX |
| Mål (D x B x H) | 15.35" D x 8.27" B x 19.09" H |
| Materiale | Hærdet glas, stål |
| Forudinstallerede ventilatorer | 2 x 140mm ARGB (Front), 1 x 120mm ARGB (Rear) |
| Max CPU kølerhøjde | 168 mm |
| Max GPU-længde | 335 mm |
| Max PSU-længde | 165 mm |
| Udvidelsesslots | 7 |
| I/O-porte | Power, LED Control Button, USB 3.0 x 1, USB 2.0 x 2, HD-AUDIO |
| Harddisk formfaktor | 3.5 tommer |
| Internal Bays Quantity | 2 (3.5" HDD / 2.5" SSD Convertible), 3 (2.5" SSD) |
8. Garanti og support
The Antec NX410 ATX Mid-Tower Case comes with a 2 års garanti. For technical support, troubleshooting assistance, or warranty claims, please visit the official Antec webwebstedet eller kontakt deres kundeserviceafdeling. Gem din købsbevis for at validere garantien.