
1. Introduktion
Welcome to the Keurig K-Mini Single Serve Coffee Maker. This compact and efficient brewer is designed to deliver a fresh, delicious cup of coffee with minimal counter space. This manual provides essential information for setting up, operating, maintaining, and troubleshooting your new coffee maker.

2. Sikkerhedsoplysninger
Please read all safety instructions before using your Keurig K-Mini coffee maker.
- Always use fresh, cold water in the reservoir.
- Do not immerse the brewer in water or other liquids.
- Ensure the brewer is placed on a stable, flat surface.
- Opbevares utilgængeligt for børn.
- Unplug the brewer when not in use or before cleaning.
- Brug ikke noget apparat med en beskadiget ledning eller stik.
- Only use a plastic cup when brewing over ice to avoid glass breakage.
3. Opsætning og første brug
Follow these steps for initial setup and your first brew.
3.1 Udpakning og placering
- Fjern alt emballagemateriale og tape fra bryggeren.
- Placer bryggeren oprejst på en stabil, plan overflade.
- The K-Mini is less than 5 inches wide, making it suitable for various spaces.
- The power cord is 26 inches long and features integrated cord storage at the back for a tidy countertop.

3.2 Initial Cleansing Brew
Before brewing your first cup of coffee, perform a cleansing brew to rinse the internal components.
- Sæt bryggeren i en jordet stikkontakt.
- Placer et stort krus (mindst 10 ml) på drypbakken.
- Løft bryggerhåndtaget.
- Pour fresh water into the reservoir (6-12 oz). Do not insert a K-Cup pod.
- Sænk håndtaget.
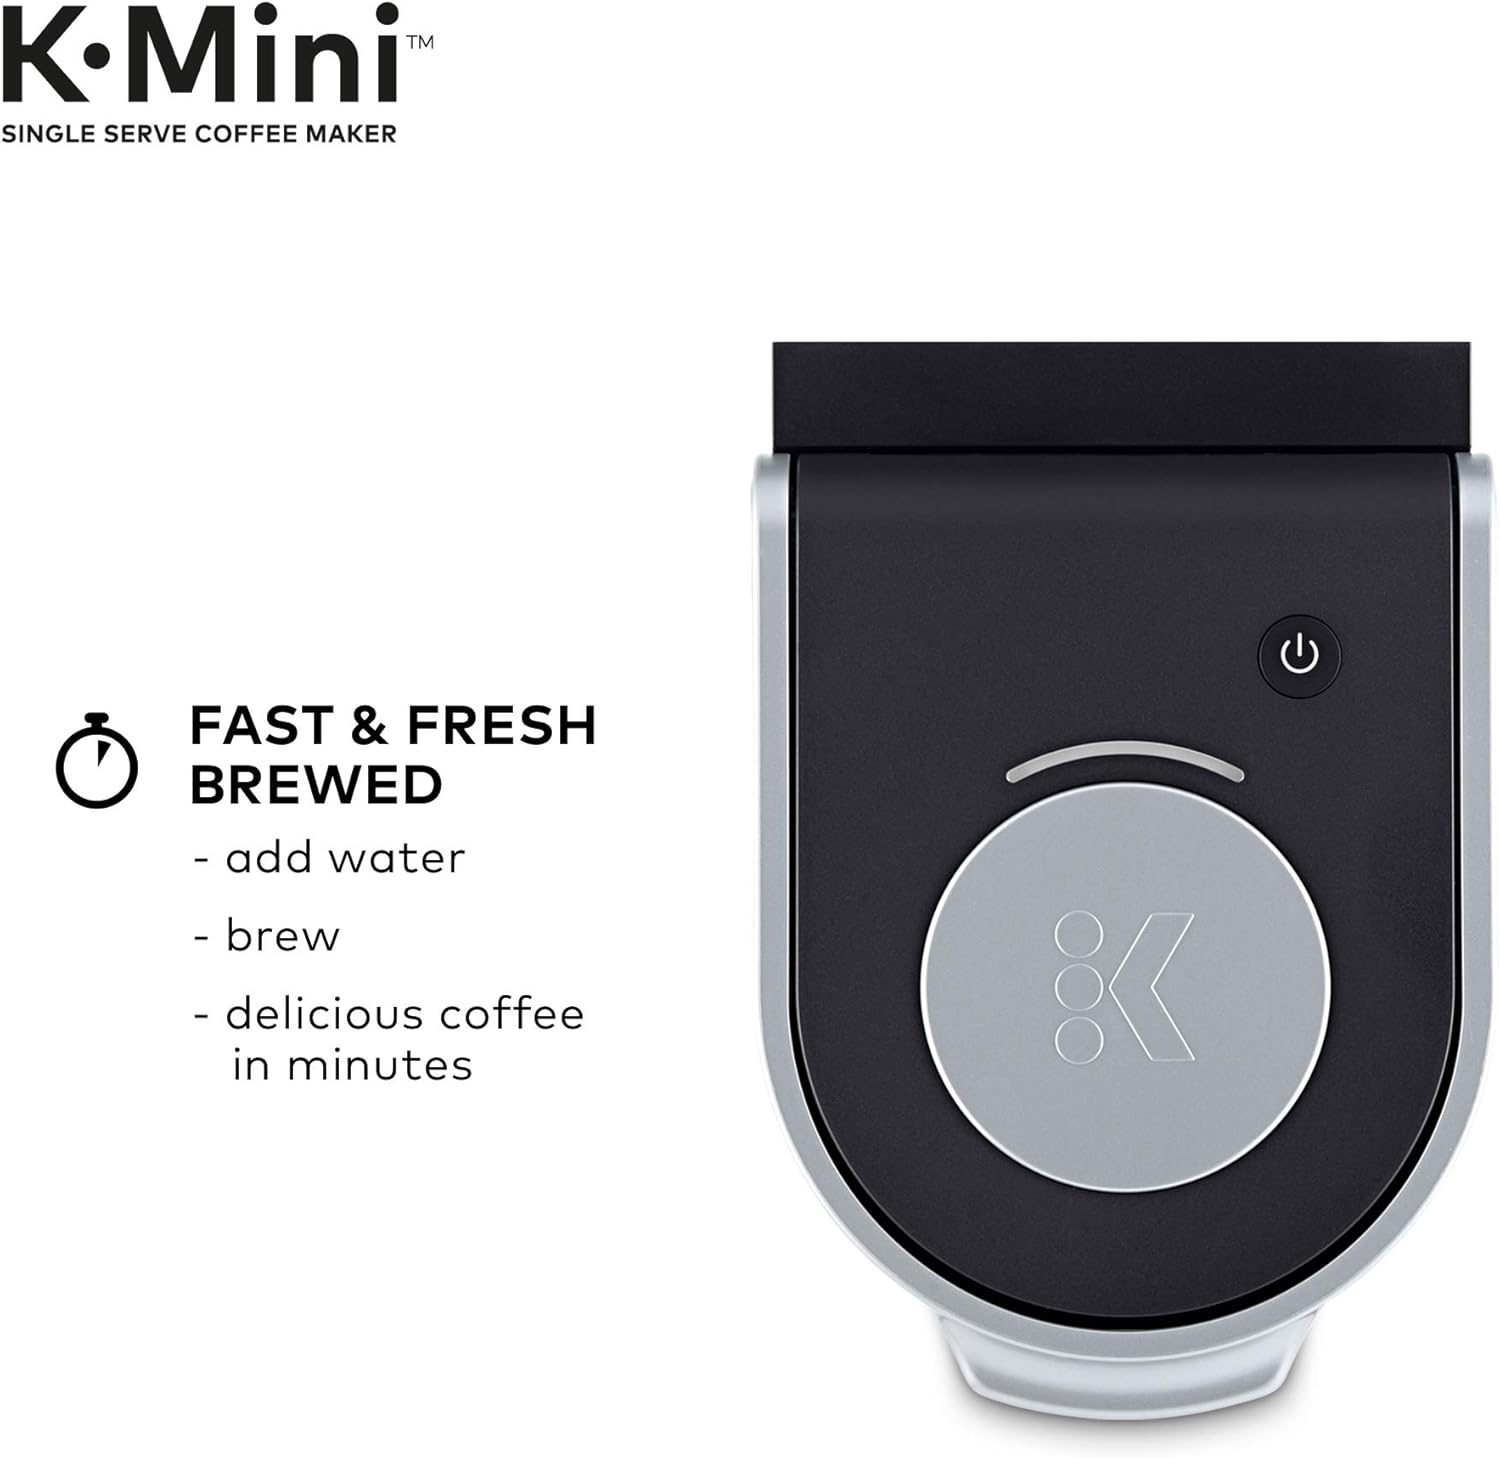
- Press the brew button. The brew button will flash, then illuminate steadily as the water heats. Once heated, the brew will begin.
- Discard the hot water. The one-time setup process is now complete.
Vigtig: The cleansing brew is essential for proper machine function and to ensure optimal taste for your first coffee.
4. Betjeningsvejledning
Brewing a perfect cup with your K-Mini is simple.
- Tilsæt vand: Lift the reservoir lid and pour fresh water into the reservoir. The K-Mini features a single-cup reservoir, so add water for each brew. You can brew any cup size between 6-12 oz.
- Indsæt pod: Løft bryggerhåndtaget, og placer en K-Cup-kapsel i K-Cup-kapselholderen. Sænk håndtaget helt for at lukke låget.
- Placer krus: Placer et krus på drypbakken. Fjern drypbakken for at få plads til rejsekrus, der er op til 7.0 cm høje.
- Brygge: Press the brew button. The button will flash while heating and then illuminate steadily. Your coffee will begin brewing shortly.
- Nyde: Once brewing is complete, remove and enjoy your fresh coffee.


Video: Keurig K-Mini Coffee Maker Overview
This video provides a visual guide to the features and basic operation of the Keurig K-Mini Coffee Maker.
5. Vedligeholdelse
Regular cleaning and maintenance will ensure your Keurig K-Mini continues to perform optimally.
5.1 Rengøring af ydersiden
- Tør det udvendige af med adamp, sæbeklud.
- Dry thoroughly with a soft, non-abrasive cloth.
- Brug ikke slibende rengøringsmidler eller skuresvampe.
5.2 Rengøring af drypbakken
- The drip tray can accumulate spills. Remove it and wash with warm, soapy water.
- Skyl grundigt og tør.
5.3 Afkalkning
Over time, calcium deposits (scale) can build up in your brewer. Descaling helps remove these deposits.
- Sluk og tag stikket ud af bryggeren.
- Pour 10 oz of white vinegar into the water reservoir.
- Læg et stort krus på drypbakken.
- Plug in and turn on the brewer.
- Perform a cleansing brew (without a K-Cup pod).
- Repeat the cleansing brew process with fresh water until the vinegar smell is gone.
- For detailed descaling instructions, refer to the full Keurig descaling guide on the official Keurig webwebsted.
6. Fejlfinding
If you encounter issues with your Keurig K-Mini, try these common solutions.
| Problem | Mulig årsag | Løsning |
|---|---|---|
| Brewer not turning on | Ikke tilsluttet, strømmen er slukkettage. | Ensure the brewer is securely plugged into a grounded outlet. Check circuit breaker. |
| No water dispensing / Weak brew | Water reservoir empty, air in system, clogged needle. |
|
| Kaffegrums i koppen | K-Cup pod punctured incorrectly, reusable filter overfilled. |
|
| Brew button flashing continuously | Water heating, or an error. |
|
7. Specifikationer
| Feature | Detalje |
|---|---|
| Mærke | Keurig |
| Model | K-Mini |
| Kapacitet | 6-12 ounces (single cup reservoir) |
| Farve | Sort/gul |
| Produktmål (D x B x H) | 11.3" D x 4.5" B x 12.1" H |
| Speciel funktion | Portable, Cord Storage, Removable Drip Tray |
| Kaffemaskine type | Drip Coffee Machine, Single-Serve Brewer |
| Driftstilstand | Fuldautomatisk |
| Kaffe input type | K-Cup Pods |
| Filtertype | Reusable (if using a universal reusable K-Cup filter, not included) |

8. Garanti og support
For warranty information, product registration, and additional support, please visit the official Keurig website or contact Keurig customer service. Keep your purchase receipt as proof of purchase.