
1. Vigtige sikkerhedsinstruktioner
Please read these instructions carefully before using the Beurer LR 210 HEPA Air Purifier. Keep this manual for future reference and ensure it is accessible to all users.
- Anbring altid luftrenseren på en fast, jævn overflade.
- Bloker ikke luftindtaget eller -udløbsåbningerne.
- Hold enheden væk fra vand og fugt. Må ikke betjenes med våde hænder.
- Do not use the device near flammable gases or vapors.
- Tag stikket ud af enheden, før du rengør eller udfører nogen form for vedligeholdelse.
- Dette apparat er ikke beregnet til brug af personer (inklusive børn) med nedsatte fysiske, sensoriske eller mentale evner, eller mangel på erfaring og viden, medmindre de har fået opsyn eller instruktion i brugen af apparatet af en person, der er ansvarlig for deres sikkerhed.
- Brug kun originale Beurer-udskiftningsfiltre.
2. Produktet er slutview
The Beurer LR 210 is a compact HEPA air purifier designed to improve indoor air quality. It features a multi-layer filter system, an ion function, and various operating modes for optimal performance.
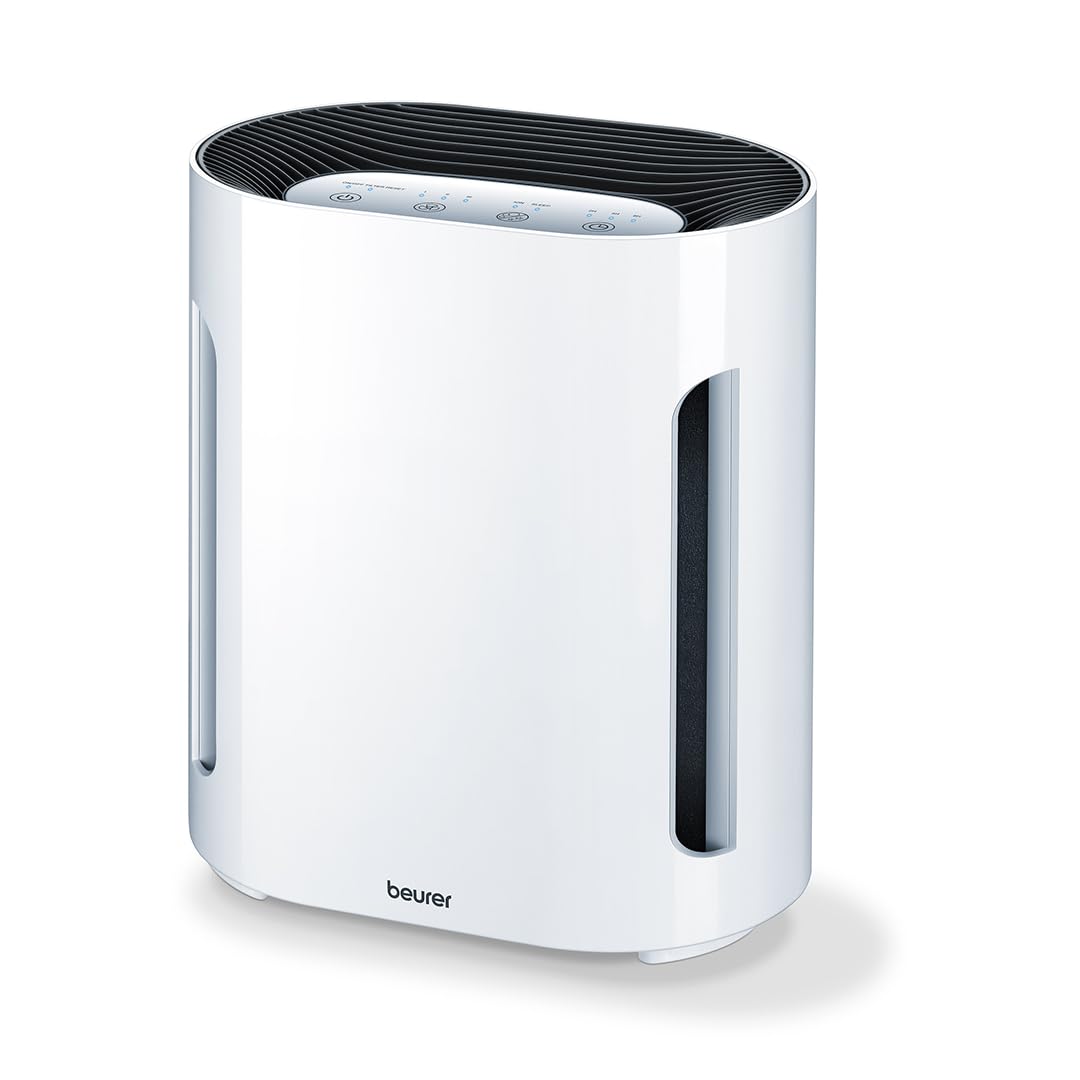
Figur 2.1: Forside view of the Beurer LR 210 HEPA Air Purifier. This image shows the compact design of the air purifier, suitable for various room settings.

Figure 2.2: Beurer LR 210 Air Purifier highlighting its selectable ion function, ability to stop viruses and fine dust, and 99.95% filter performance.
2.1 Komponenter
- Hovedenhed
- 3-Layer Filter System (Pre-filter, Activated Carbon filter, HEPA filter)
- Strømadapter

Figure 2.3: Illustration of the Beurer LR 210's 3-layer filter system, including the pre-filter, activated carbon filter, and HEPA filter, designed for comprehensive air purification.
3. Opsætning
3.1 Udpakning
- Tag forsigtigt luftrenseren ud af emballagen.
- Fjern al emballage, inklusive beskyttelsesfilm eller -indpakning.
- Check the device and all accessories for any signs of damage. If damaged, do not use the device and contact customer support.
3.2 Installation af filter
The filters are typically pre-installed but may be wrapped in plastic for protection during shipping. Ensure all plastic wrapping is removed before first use.
- Turn the air purifier upside down and twist the base cover counter-clockwise to unlock it.
- Remove the base cover and carefully pull out the filter assembly.
- Remove any plastic packaging from the filter layers.
- Reinsert the filter assembly into the device, ensuring it is seated correctly.
- Sæt bunddækslet på igen, og drej det med uret for at låse det sikkert.
3.3 Placering
- Place the air purifier on a stable, flat, and dry surface.
- Ensure there is at least 20 cm (8 inches) of clear space around all sides of the device for optimal airflow.
- Avoid placing the device directly next to walls, furniture, or curtains that could obstruct air intake or output.
- Anbring ikke enheden i direkte sollys eller i nærheden af varmekilder.
3.4 Strømtilslutning
- Connect the power adapter to the power input port on the back of the air purifier.
- Sæt strømadapteren i en passende stikkontakt (100-240V AC, 50/60Hz).
- Enheden er nu i standbytilstand.
4. Betjening af enheden
The control panel is located on the top of the device and features touch-sensitive buttons.

Figure 4.1: Beurer LR 210 Air Purifier showcasing its ultra-quiet night mode and timer functions (2, 4, 8 hours).
4.1 Tænd/sluk
- Tryk på Power-knap (symbol: circle with a vertical line) to turn the device on. The device will start in the lowest fan speed.
- Tryk på Power-knap igen for at slukke enheden.
4.2 Justering af ventilatorhastighed
The device has 3 fan speed levels.
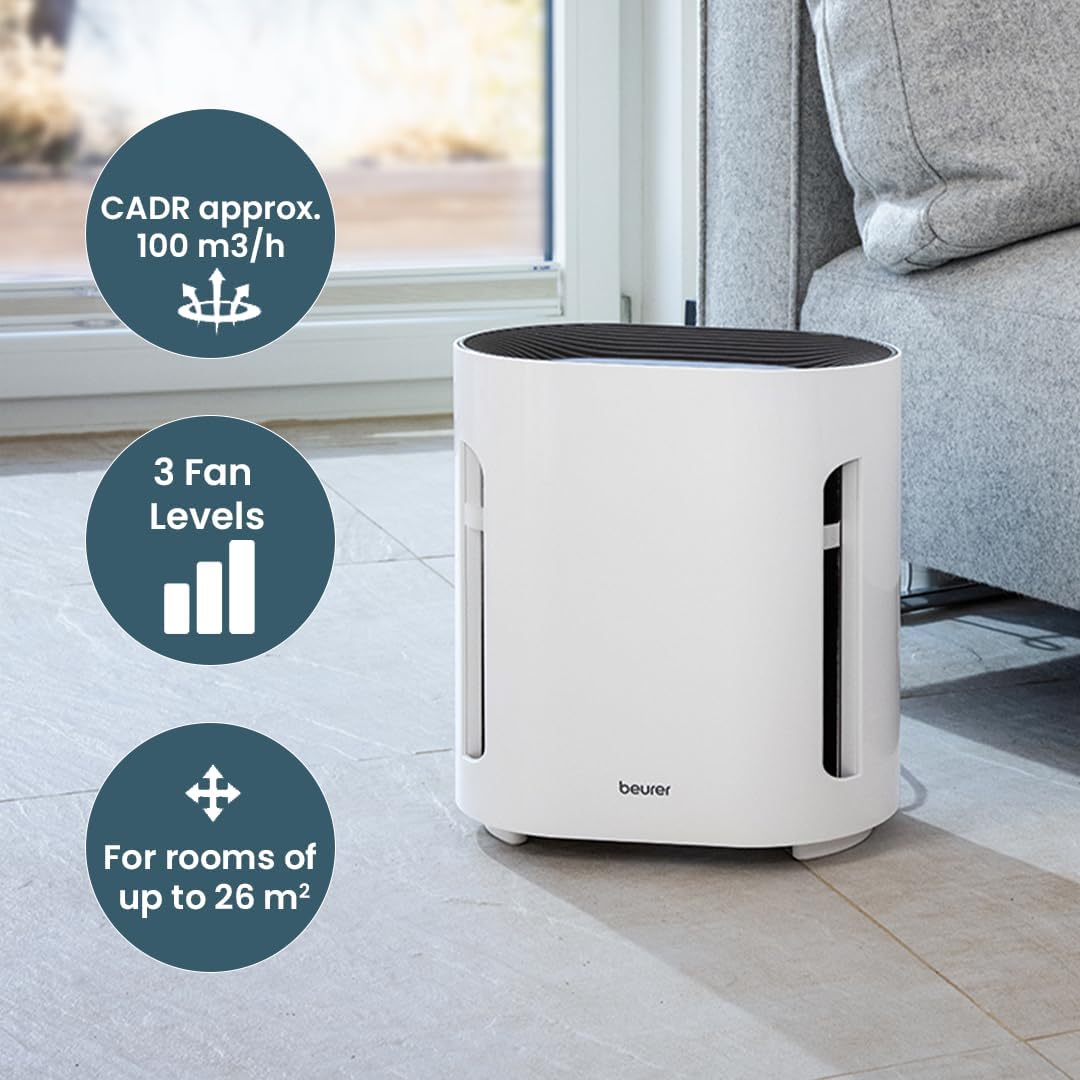
Figure 4.2: Beurer LR 210 Air Purifier illustrating its CADR (approx. 100 m³/h), 3 fan levels, and suitability for rooms up to 26 m².
- Tryk på Fan Speed knap (symbol: fan blades or bars) repeatedly to cycle through the fan speeds: Level 1 (low), Level 2 (medium), Level 3 (high).
4.3 Timer funktion
Set the device to automatically turn off after a specified period.
- Tryk på Timer knap (symbol: ur) repeatedly to select a timer duration: 2 hours, 4 hours, or 8 hours.
- Den tilsvarende indikatorlampe vil lyse.
- To deactivate the timer, press the button until no timer indicator light is on.
4.4 Nattilstand
For quiet operation during sleep, activate Night Mode.
- Tryk på Nattilstand-knap (symbol: moon or crescent) to activate. The fan speed will automatically switch to the lowest setting, and all indicator lights will dim or turn off.
- Press the button again to deactivate Night Mode.
4.5 Ionfunktion
The selectable ion function helps to further purify the air by releasing negative ioner.

Figure 4.3: Beurer LR 210 Air Purifier demonstrating its selectable ion function, which provides relief for allergy sufferers by targeting pollen, domestic dust, and animal hair.
- Tryk på Ion button (symbol: ion or atom) to turn the ion function on or off.
- The indicator light will show the status of the ion function.
5. Vedligeholdelse
Regelmæssig vedligeholdelse sikrer optimal ydeevne og forlænger levetiden for din luftrenser.
5.1 Filterudskiftning
The filter system has a limited lifespan and needs to be replaced periodically. The filter replacement indicator light (often red) will illuminate when it's time to change the filter.
- Træk stikket til luftrenseren ud af stikkontakten.
- Turn the device upside down and twist the base cover counter-clockwise to unlock.
- Fjern den gamle filterenhed.
- Insert a new, original Beurer LR 210 filter assembly, ensuring it is seated correctly.
- Sæt bunddækslet på igen, og drej det med uret for at låse det sikkert.
- Tilslut enheden igen.
- To reset the filter indicator, press and hold the Filter Reset knap (eller Power-knap for 5 seconds, depending on model) until the indicator light turns off.
5.2 Rengøring af ydersiden
- Tag stikket ud af enheden før rengøring.
- Tør de udvendige overflader af med en blød, damp klæde.
- Brug ikke slibende rengøringsmidler, opløsningsmidler eller stærke kemikalier.
- Sørg for, at der ikke trænger vand ind i enhedens indre.
5.3 Opbevaring
- If storing the device for an extended period, unplug it and clean it thoroughly.
- Store it in a cool, dry place, away from direct sunlight and extreme temperatures.
- It is recommended to replace the filter before storing or after long periods of inactivity.
6. Fejlfinding
Se dette afsnit for almindelige problemer og deres løsninger.
| Problem | Mulig årsag | Løsning |
|---|---|---|
| Enheden tændes ikke. | Ingen strømforsyning. | Kontroller, om strømadapteren er korrekt tilsluttet enheden og stikkontakten. Prøv en anden stikkontakt. |
| Dårlig luftrensningsydelse. | Filters are dirty or clogged. Filters are still in plastic packaging. | Replace the filter system. Ensure all plastic wrapping is removed from new filters. |
| Usædvanlig støj under drift. | Obstruction in fan. Device not on a stable surface. | Unplug and check for foreign objects. Ensure device is on a flat, stable surface. |
| Indikatoren for filterskift forbliver tændt efter filterskift. | Filterindikatoren er ikke nulstillet. | Refer to Section 5.1 for instructions on how to reset the filter indicator. |
Hvis problemet fortsætter efter at have forsøgt disse løsninger, bedes du kontakte Beurers kundesupport.
7. Specifikationer
| Model: | LR 210 |
| Produktdimensioner: | 13.58 x 12.2 x 8.27 tommer (34.5 x 31 x 21 cm) |
| Varens vægt: | 7.05 pund (3.2 kilo) |
| Wattage: | 60 watt |
| Støjniveau: | 52 decibel (maks.) |
| Filtertype: | 3-layer filter system (Pre-filter, Activated Carbon filter, HEPA filter) |
| Partikelretentionsstørrelse: | 0.3 mikron |
| Filter Performance: | 99.95 % |
| Kontrolmetode: | Berøring, knapstyring |
| Anbefalet værelsesstørrelse: | Op til 26 m² |
| CADR (Clean Air Delivery Rate): | Approx. 100 m³/h |
8. Garanti og support
Beurer provides a limited warranty for this product. Please refer to the warranty card included in your product packaging for specific terms and conditions, including the warranty period and coverage details.
For technical support, replacement parts, or warranty claims, please contact Beurer customer service. Contact information can typically be found on the official Beurer webwebstedet eller på produktemballagen.
When contacting support, please have your product model number (LR 210) and proof of purchase readily available.