
1. Produktet er slutview
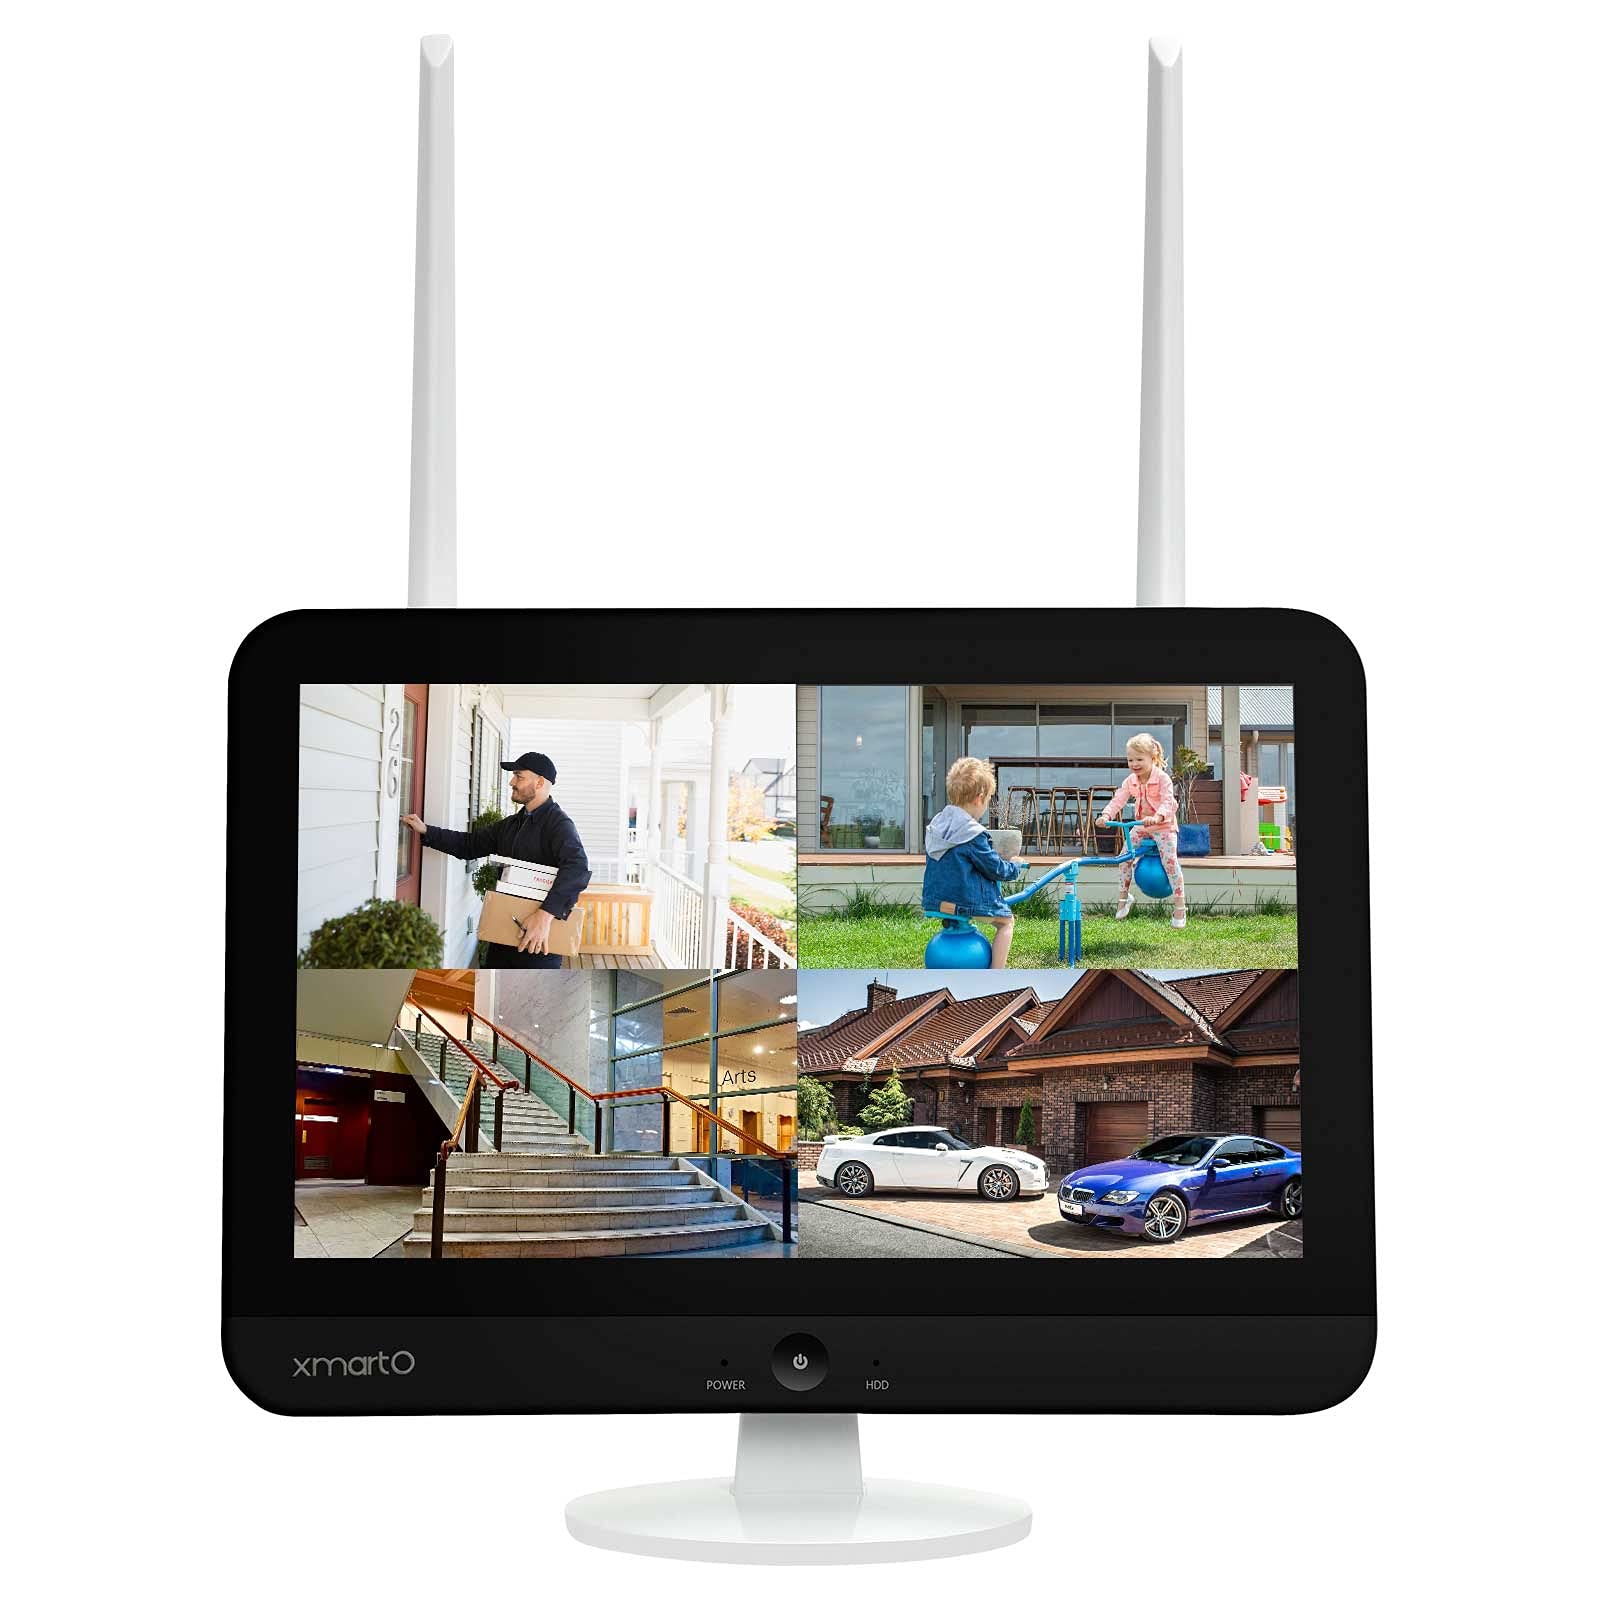
The xmartO WNS28 is an 8-channel WiFi Security NVR/DVR system featuring an integrated 12.1-inch 1080p Full HD screen. This system supports up to 8 xmartO WiFi security cameras, including 5MP, 3MP, 2MP (1080p), 1.3MP (960p), and 1MP (720p) resolutions. It is designed for convenient home surveillance with easy remote viewing capabilities and support for SATA HDDs.
The NVR incorporates dual WiFi modules: one dedicated for camera connections to maintain a clear home WiFi network, and another for connecting the system to the internet via WiFi, eliminating the need for a wired connection to your router. It also features G3 AUTO Dream Liner Wi-Fi relay technology, which automatically uses a closer camera as a WiFi repeater to extend the range to the NVR for cameras with weaker signals.
The system offers dual recording modes, capturing 24/7 footage and simultaneous motion events. During playback, events are highlighted for quick review. The companion mobile application provides a daily message list with snapshots and video clips of detected events.
2. Pakkens indhold
Bekræft, at alle nedenstående varer er inkluderet i din pakke:
- xmartO WNS28 NVR with 12.1" HD Screen
- Strømadapter til NVR
- USB-mus
- HDMI kabel
- Ethernet kabel
- Monteringsskruer og ankre
- Brugermanual
- Security Cameras (quantity as per purchased kit, e.g., 4 cameras)
- Power Adapters for Cameras (one per camera)

3. Nøglefunktioner
- Integrated 12.1" 1080p Full HD Screen: Provides a convenient and flexible display for your surveillance system.
- Dual WiFi Modules: One WiFi module is dedicated to camera connections, preventing interference with your home network. The second module connects the NVR to the internet wirelessly.
- G3 AUTO Dream Liner Wi-Fi Relay Technology: Automatically extends WiFi range by using closer cameras as repeaters for cameras with weak signals, requiring no manual configuration.
- Dual Records Mode: Records 24/7 and simultaneously captures motion events, highlighting them for easy review under afspilning.
- Easy Mobile Live View & Afspilning: Free mobile app and cloud technology allow for remote viewing and playback of recorded videos on your smartphone or tablet.
- Bevægelsesdetektion: The system detects motion and sends instant messages with snapshots and video clips to the mobile app.
- Udvidelig lagerplads: Supports up to 6TB SATA hard drive for extensive video storage.


Video 3.5: En overview of the xmartO WiFi Camera System, demonstrating its features and capabilities.
4. Opsætningsvejledning
4.1 NVR'ens første opsætning
- Tilslut strøm: Plug the NVR power adapter into the NVR's 12V DC input and then into a power outlet.
- Tilslut mus: Sæt USB-musen i en af NVR'ens USB-porte.
- Tænd: Press the power button on the front of the NVR. The system will boot up and display the xmartO logo and 'NVR Network Video Recorder'.
- Sprogvalg: Use the mouse to select your preferred language (e.g., English) from the on-screen menu and click 'Next step'.
- Netværkskonfiguration: Follow the on-screen prompts to configure network settings. The NVR's dual WiFi will automatically attempt to connect to your home network.
4.2 Kameraparring
The xmartO NVR system features AUTO-PAIR technology, meaning cameras should automatically connect to the NVR once powered on. If a camera does not connect automatically or if you are adding a new camera, follow these steps:
- Ensure Empty Channel: In the NVR's main menu, navigate to 'Device Manage'. Check for an empty channel. If all channels are occupied, you may need to delete an existing channel to free one up for the new camera.
- Access 'Add by WiFi': Right-click on the NVR screen to open the main menu. Select 'Add by WiFi'. The NVR will begin searching for available cameras.
- Power Camera: Plug the camera's power adapter into the camera and then into a power outlet. Wait approximately 10 seconds for the camera to initialize.
- Nulstil kamera (hvis nødvendigt): If the camera does not appear in the 'Add by WiFi' list after a minute, locate the reset button on the camera (refer to the camera's specific manual for location) and press and hold it for 10 seconds. Release the button and wait for the camera to restart and attempt to pair.
- Bekræft forbindelsen: Once the camera is successfully paired, its live view will appear on the NVR screen.


Video 4.4: A demonstration on how to wirelessly pair a new camera to an xmartO NVR system.
5. Betjeningsvejledning
5.1 Live View og afspilning
- NVR Screen: The integrated 12.1-inch screen displays live feeds from all connected cameras. Use the USB mouse to navigate the NVR interface, select specific camera views, or access playback options.
- Mobil app: Download the free 'WallPixel' app from the App Store or Google Play. Scan the QR code provided on the NVR screen to add your device. Once connected, you can view live feeds, play back recorded footage, and receive alerts from anywhere.
- Ekstern skærm: Connect the NVR to an external TV or monitor via the HDMI output for a larger display.
5.2 Optagelsestilstande
- 24/7 kontinuerlig optagelse: The system records continuously to the installed SATA hard drive.
- Bevægelsesaktiveret optagelse: Records only when motion is detected, saving storage space and making event review mere effektiv.
- Planlagt optagelse: Configure specific times for recording based on your needs.
5.3 Bevægelsesdetektion og advarsler
The system's advanced motion detection capabilities allow you to receive instant alerts:
- App-notifikationer: Receive push notifications on your mobile device when motion is detected.
- E-mail-advarsler: Configure email alerts to be sent with snapshots of detected events.
- Hørbare alarmer: The NVR can be configured to sound an alarm when motion is detected.

6. Vedligeholdelse
- Rensning: Regularly clean the camera lenses and NVR screen with a soft, dry cloth to ensure clear image quality. Avoid abrasive cleaners.
- Softwareopdateringer: Periodically check the xmartO website or mobile app for firmware updates to ensure optimal performance and security.
- Harddiskstyring: The NVR supports loop recording, automatically overwriting the oldest footage when the hard drive is full. Back up important footage regelmæssigt.
- Antenneplacering: Ensure NVR and camera antennas are positioned for optimal signal reception.
7. Fejlfinding
- Intet kamerafeed:
- Ensure the camera is powered on and within range of the NVR's WiFi.
- Check if the camera is properly paired to an NVR channel (refer to Section 4.2).
- Verify power connections for both the camera and NVR.
- Dårlig videokvalitet:
- Rengør kameralinser.
- Check WiFi signal strength between the camera and NVR. Relocate cameras or NVR if necessary to improve signal.
- Sørg for tilstrækkelig belysning for optimal billedoptagelse, især om natten.
- Ingen fjernadgang via app:
- Ensure the NVR is connected to the internet.
- Bekræft, at din mobilenhed har en aktiv internetforbindelse.
- Confirm the 'WallPixel' app is correctly configured and the device is added.
- NVR optager ikke:
- Check if a SATA hard drive is installed and properly formatted.
- Verify recording schedules and settings in the NVR menu.
- Ensure the hard drive is not full (though loop recording should manage this).
8. Specifikationer
| Feature | Specifikation |
|---|---|
| Modelnummer | WNS28 |
| Mærke | xmartO |
| Skærmvisning | 12.1" 1080p Full HD |
| Understøttede kameraer | Up to 8 xmartO WiFi security cameras (5MP, 3MP, 2MP, 1.3MP, 1MP) |
| WiFi-forbindelse | Dual WiFi modules (one for cameras, one for internet) |
| WiFi Range Extension | G3 AUTO Dream Liner Wi-Fi relay technology |
| Optagelsestilstande | 24/7 Continuous, Motion-Activated, Scheduled |
| Lagerkapacitet | Supports up to 6 TB SATA HDD |
| Fjernadgang | Free 'WallPixel' mobile app (iOS/Android) |
| Udgangsporte | HDMI, USB, Ethernet |
| Strømforbrug | 24 watt |
| Dimensioner | 11.9 x 11.9 x 11 tommer |
| Vægt | 3.99 pund |
9. Garanti og support
The xmartO WNS28 NVR/DVR system typically comes with a 1-year warranty. Please refer to the warranty card included in your package or visit the official xmartO webhjemmeside for detaljerede garantivilkår.
For product support, including FAQs, how-to videos, and manuals, please visit the xmartO webwebsted eller kontakt kundesupport:
- Webwebsted: www.xmarto.com
- E-mail: support@xmarto.com