1. Introduktion
This manual provides essential instructions for the safe and efficient operation of your CAIWEI Android TV Projector 4K, Model 900DAB-05F. Please read this manual thoroughly before using the projector and retain it for future reference. This projector features Android 9.0 OS, native 1080P resolution with 4K support, dual-band WiFi, Bluetooth connectivity, and advanced keystone correction.
2. Pakkens indhold
Bekræft at alle varer er til stede i pakken:
- CAIWEI Android TV Projector
- Fjernbetjening (batterier medfølger ikke)
- Strømkabel
- HDMI kabel
- AV-kabel
- Brugermanual
3. Sikkerhedsinstruktioner
- Bloker ikke projektorens ventilationsåbninger. Sørg for tilstrækkelig luftgennemstrømning for at forhindre overophedning.
- Undgå direkte eksponering for projektorlinsens lys.
- Placer ikke projektoren på ustabile overflader.
- Hold projektoren væk fra vand eller andre væsker.
- Brug kun den strømadapter, der følger med projektoren.
- Tag stikket ud af projektoren under tordenvejr eller når den ikke bruges i længere perioder.
4. Produktet er slutview
Familiarize yourself with the main components and ports of your CAIWEI projector.
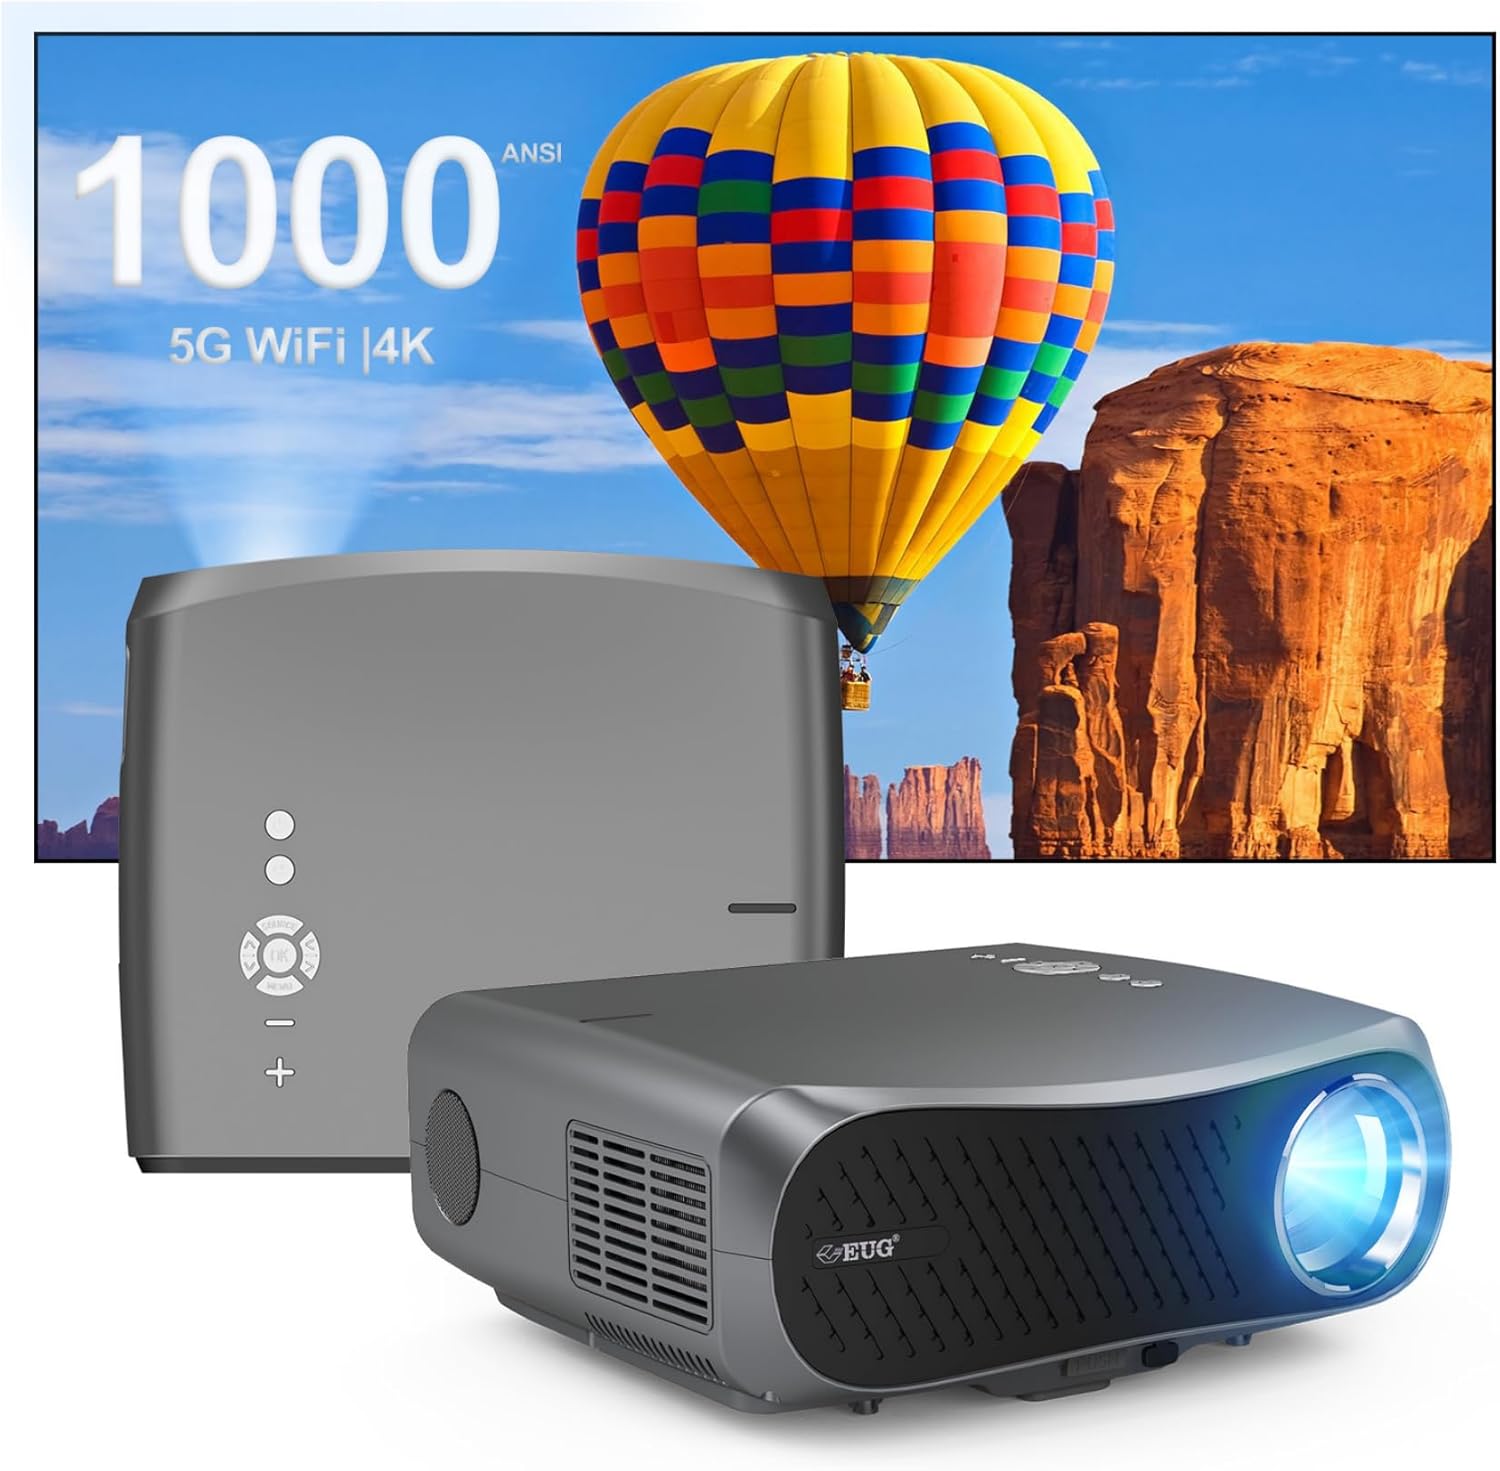
Billede 1: Foran og bagpå view of the CAIWEI Android TV Projector, highlighting its compact design and control panel.
The projector features a lens at the front, control buttons on the top, and various input/output ports on the rear and sides, including HDMI, USB, VGA, and AV ports for versatile connectivity.
5. Opsætning
5.1 Placering
Position the projector on a flat, stable surface or mount it to a ceiling or tripod. Ensure the lens is perpendicular to the projection surface for optimal image geometry. The projector supports various installation methods including front, rear, ceiling front, and ceiling rear projection.

Image 2: Illustration of flexible projector placement options, including ceiling mount, tripod table, and desktop setup, for various viewing miljøer.
5.2 Strømtilslutning
Tilslut strømkablet til projektorens strømindgang og derefter til en stikkontakt.
5.3 Indledende tænding
Press the power button on the projector or the remote control to turn on the device. The projector will boot into the Android TV interface.
5.4 Fokus- og Keystone-justering
Adjust the focus ring on the projector lens until the image is clear. Use the digital keystone correction feature to correct trapezoidal distortion if the projector is not perfectly aligned with the screen. The projector supports D ±50° keystone correction and 40% digital zoom.

Image 3: Visual representation of the projector's screen adjustment capabilities, including Auto Keystone, Digital Zoom (100%-60%), and Electronic 4D/4P Keystone Correction for optimal image display.
6. Betjeningsvejledning
6.1 Android 9.0 OS Navigation
Use the remote control to navigate the Android 9.0 operating system. The home screen provides access to pre-installed applications and settings. You can download additional applications from the integrated app store.

Image 4: The projector's interface powered by Android TV 9.0, showcasing a wide array of streaming and entertainment applications available.
6.2 Wi-Fi-forbindelse
For at oprette forbindelse til et trådløst netværk:
- Gå til Indstillinger på startskærmen.
- Vælge Netværk og internet.
- Tænd Wi-Fi og vælg det ønskede netværk fra listen.
- Indtast adgangskoden, hvis du bliver bedt om det, og opret forbindelse.
The projector supports dual-band 5G WiFi for faster and more stable connections.
6.3 Bluetooth-forbindelse
Sådan tilslutter du Bluetooth-enheder (f.eks. højttalere, hovedtelefoner):
- Gå til Indstillinger.
- Vælge Tilsluttede enheder or Bluetooth.
- Tænd Bluetooth og søg efter tilgængelige enheder.
- Vælg din enhed fra listen for at parre.
6.4 Tilslutning af eksterne enheder
Projektoren tilbyder flere inputmuligheder:
- HDMI: Connect Blu-ray players, game consoles, laptops, etc.
- USB: Afspil medier filedirekte fra USB-drev.
- VGA: Connect older computers.
- AV: Tilslut ældre videoenheder.
Select the appropriate input source from the projector's menu.
6.5 Skærmspejling/casting
Utilize the 5G WiFi connectivity to mirror content from your smartphone or laptop to the projector screen. Refer to your device's casting instructions for specific steps.

Image 5: The projector demonstrating connectivity with a smartphone via 5G WiFi for screen mirroring and a Bluetooth speaker for enhanced audio, illustrating its versatile wireless capabilities.
7. Vedligeholdelse
- Rengøring af linsen: Brug en blød, fnugfri klud, der er specielt designet til optiske linser. Brug ikke slibende rengøringsmidler.
- Rengøring af Casing: Tør projektorens yderside af med en blød, tør klud.
- Ventilation: Regularly check that the ventilation openings are clear of dust and debris. Use compressed air if necessary.
- Opbevaring: When not in use, store the projector in a cool, dry place, protected from dust and extreme temperatures.
8. Fejlfinding
Hvis du støder på problemer med din projektor, kan du se følgende almindelige problemer og løsninger:
- Ingen strøm:
• Ensure the power cable is securely connected to both the projector and the power outlet.
• Kontroller om stikkontakten fungerer. - Intet billede/signal:
• Verify that the correct input source is selected on the projector.
• Check the HDMI/VGA/AV cable connections to the external device and the projector.
• Ensure the external device is powered on and outputting a signal. - Billedet er sløret:
• Adjust the focus ring on the projector lens.
• Ensure the projection surface is flat and the projector is at an appropriate distance. - Billedet er forvrænget (trapezformet):
• Use the digital keystone correction feature in the projector settings to adjust the image geometry. - Overophedning og automatisk nedlukning:
• Ensure the projector's ventilation openings are not blocked. Provide ampDer skal være plads omkring projektoren til luftgennemstrømning.
• Operate the projector in a well-ventilated room with a suitable ambient temperature. - Problemer med Wi-Fi/Bluetooth-forbindelse:
• Ensure the Wi-Fi network is active and within range. Re-enter the password if necessary.
• For Bluetooth, ensure the device is in pairing mode and within range.
• Restart the projector and the external device. - Ingen lyd:
• Check the volume settings on both the projector and the connected source device.
• If using external speakers, ensure they are properly connected and powered on.
• If connecting via HDMI, ensure the source device is sending audio. - HDMI ARC/HDCP Compatibility:
• Note that this projector may not fully support HDMI ARC (Audio Return Channel) or certain HDCP (High-bandwidth Digital Content Protection) versions (e.g., HDCP 2.2) with some receivers. If connecting via a receiver, try connecting devices directly to the projector or using alternative audio output methods.
9. Specifikationer
| Feature | Detalje |
|---|---|
| Mærke | CAIWEI |
| Modelnummer | 900DAB-05F |
| Operativsystem | Android 9.0 OS |
| Skærmopløsning | Native 1920 x 1080 (Supports 4K decoding) |
| Forbindelsesteknologi | Bluetooth, Dual-Band WiFi (2.4G/5G), HDMI, USB, VGA, AV, Audio Out |
| Særlige funktioner | Built-In Speaker, Digital Keystone Correction (D ±50°), 40% Digital Zoom |
| Produktdimensioner | 12.4 x 9.33 x 5.31 tommer |
| Varens vægt | 9.98 pund |
| Farve | Sliver Grey |
| Anbefalede anvendelser | Home Entertainment, Gaming, Presentations |
10. Garanti og support
Your CAIWEI projector comes with a standard manufacturer's warranty. Please refer to the warranty card included in your package for specific terms and conditions. For technical support, troubleshooting assistance, or warranty claims, please contact CAIWEI customer service through the contact information provided with your purchase or on the official CAIWEI webwebsted.