1. Introduktion
This manual provides essential instructions for the safe assembly, operation, and maintenance of your Snapper XD 82V MAX Step Sense Cordless Electric 19-Inch Lawn Mower. Please read this manual thoroughly before using the product and retain it for future reference. Proper use and maintenance will ensure optimal performance and extend the life of your lawn mower.

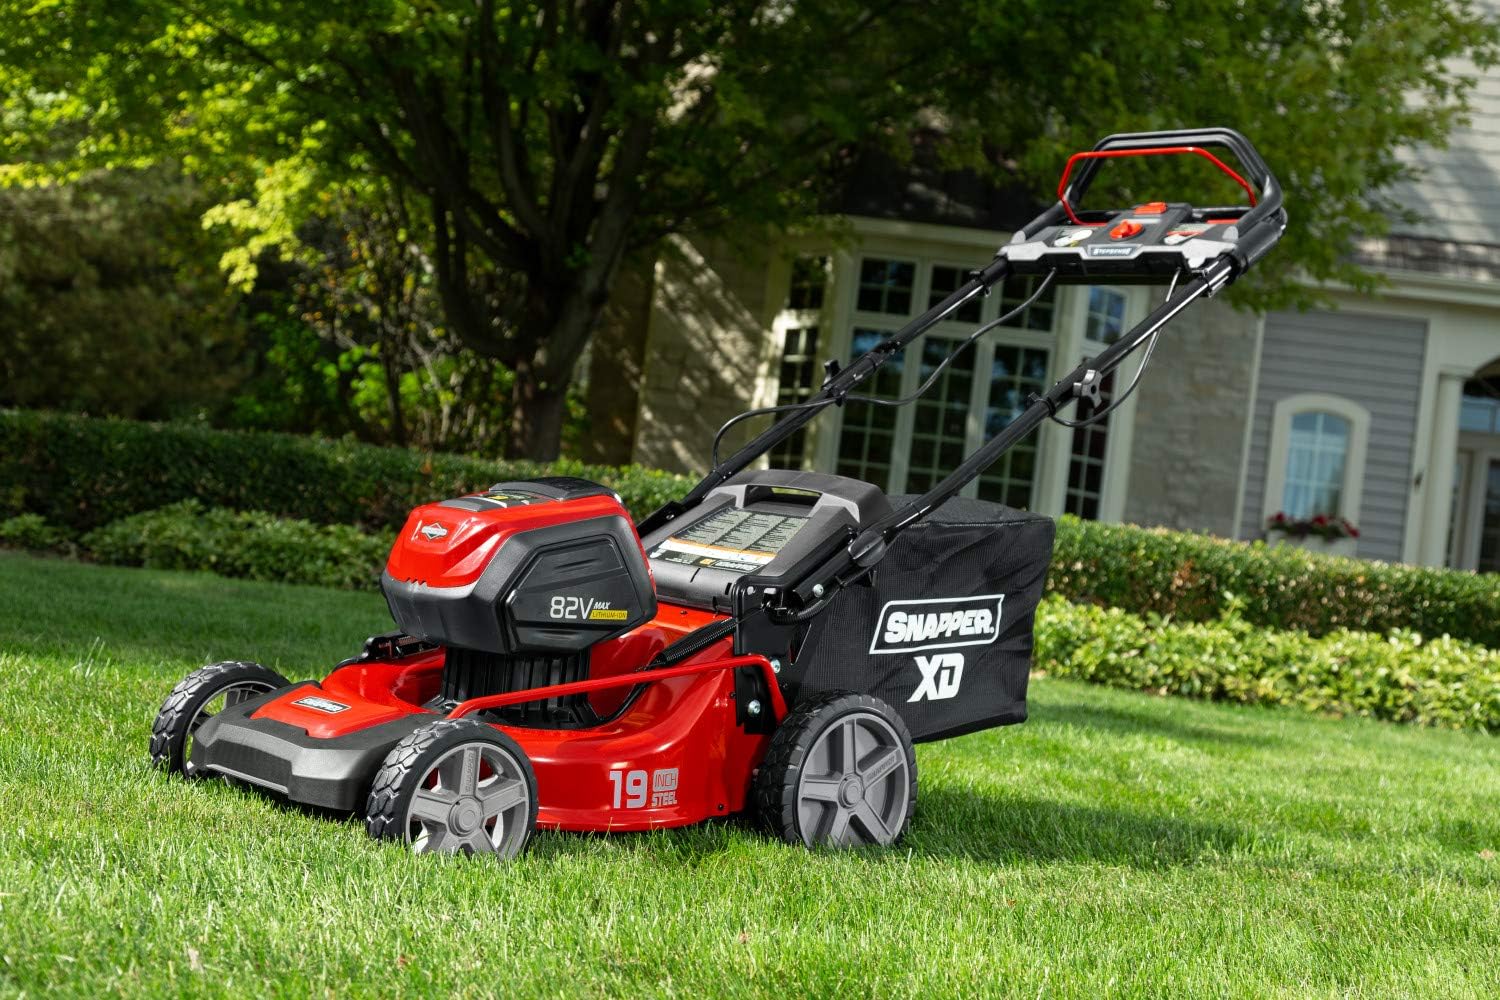
Figure 1: Snapper XD 82V MAX Step Sense Cordless Electric 19-Inch Lawn Mower Kit.
2. Sikkerhedsoplysninger
Always observe basic safety precautions to reduce the risk of fire, electric shock, and personal injury. Failure to follow these instructions may result in serious injury or death.
Generelle sikkerhedsregler:
- Læs alle instruktioner omhyggeligt, inden du bruger plæneklipperen.
- Bær passende personlige værnemidler (PPE), herunder øjenbeskyttelse, høreværn og robust fodtøj.
- Hold børn og omkringstående væk fra betjeningsområdet.
- Brug ikke plæneklipperen i vådt eller regnvejr.
- Undersøg det område, der skal slås, og fjern eventuelle genstande, der kan blive slynget ud af bladet.
- Brug aldrig plæneklipperen med beskadigede afskærmninger eller uden sikkerhedsanordninger på plads.
- Disconnect the battery before cleaning, servicing, or when the mower is unattended.
Batterisikkerhed:
- Use only Snapper XD 82V MAX batteries and chargers specified for this product.
- Udsæt ikke batterier for vand eller ekstreme temperaturer.
- Kortslut ikke batteripolerne.
- Opbevar batterier på et køligt, tørt sted.
3. Pakkens indhold
Bekræft at alle varer er til stede i pakken:
- Snapper XD 82V MAX 19-Inch Lawn Mower
- (2) Briggs & Stratton 82V Lithium-Ion 2.0 Batteries
- (1) Rapid Charger
- Opsamlingspose til græs
- Sideudløbsskakt
- Mulching Plug
- Brugermanual (dette dokument)
4. Opsætning
4.1 Montering af håndtag
Unfold the handle and secure it in the operating position using the quick-release levers. Ensure all cables are routed correctly and not pinched.
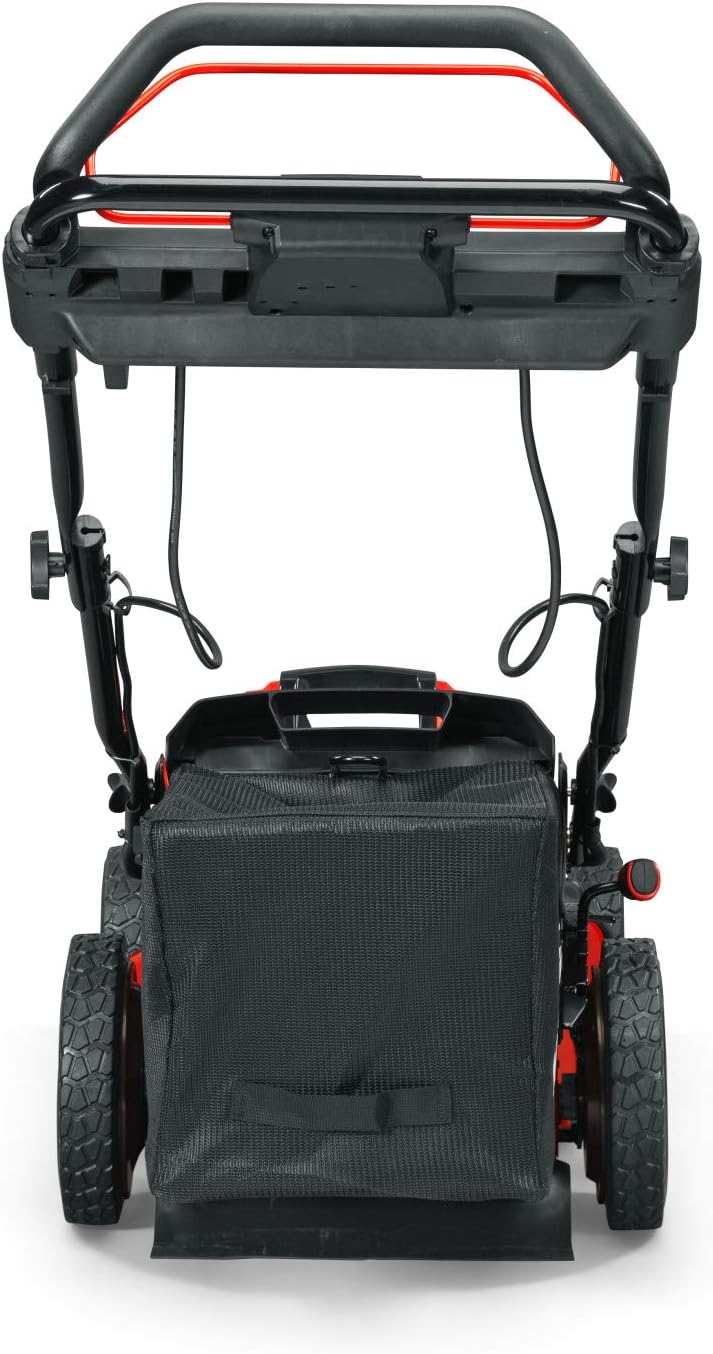
Figur 2: Bagside view of the mower, showing the handle and grass bag.
4.2 Opladning og installation af batteri
- Insert the 82V MAX battery into the rapid charger. The charger indicator lights will show the charging status.
- Lad batteriet oplades helt inden første brug.
- Once charged, slide the battery into the battery compartment on the mower until it clicks into place. Ensure it is securely seated.
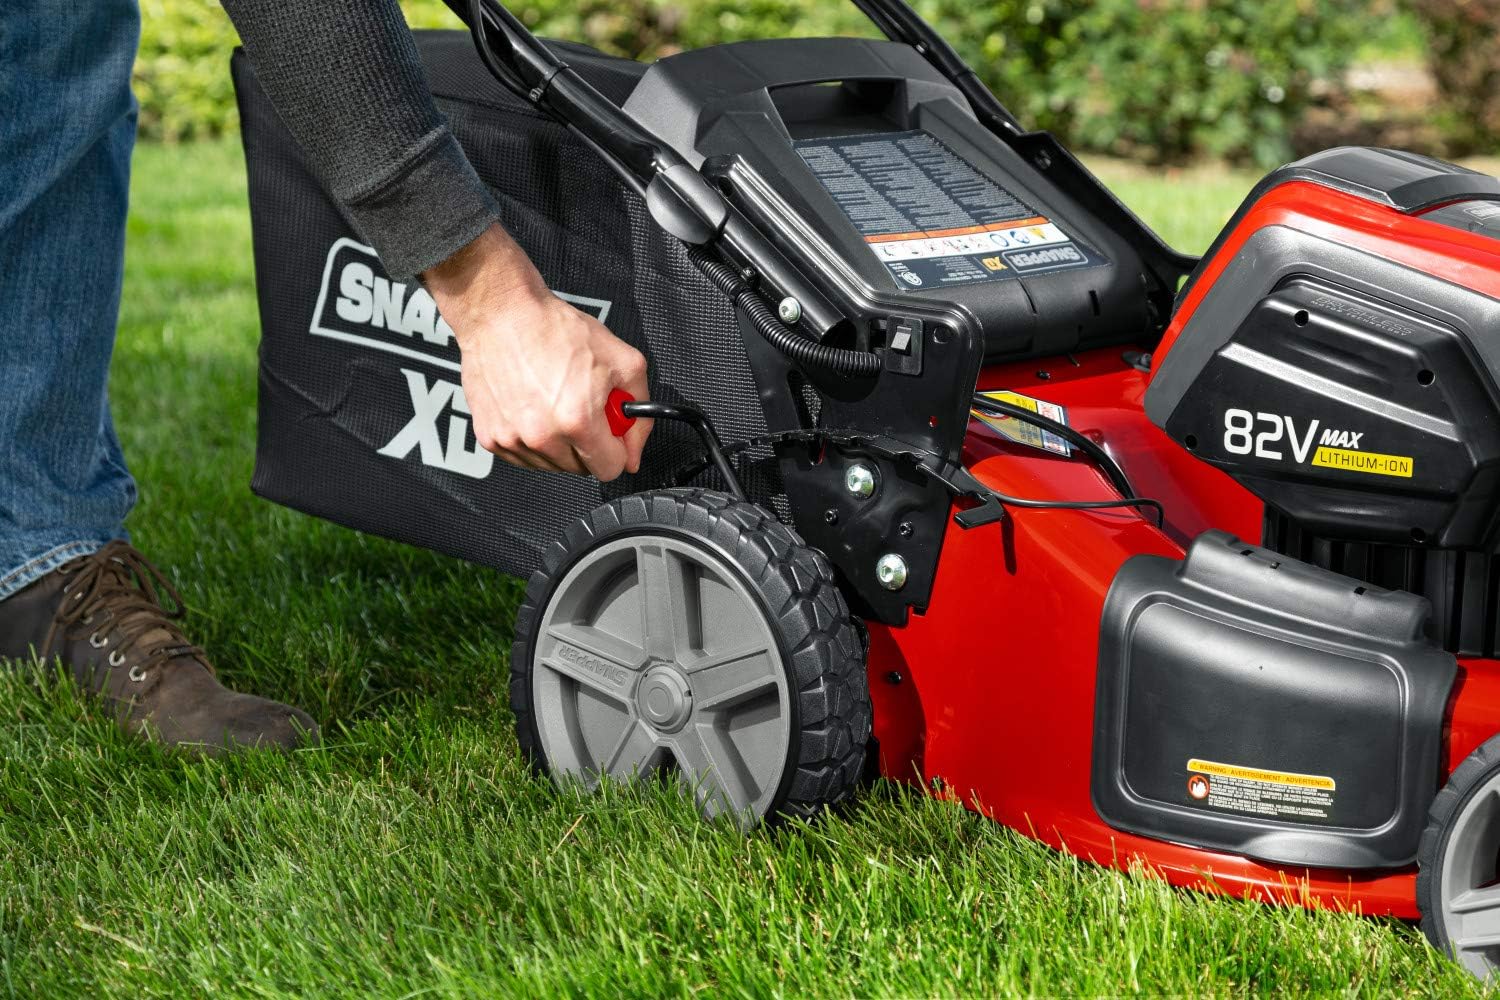
Figur 3: Side view of the mower, illustrating the battery compartment location.
5. Betjeningsvejledning
5.1 Start af plæneklipperen
- Ensure the battery is fully inserted and the safety key (if applicable) is in place.
- Tryk på startknappen og hold den nede.
- While holding the start button, pull the bail lever towards the handle. The mower will start.
- Release the start button once the mower is running.

Figure 4: Handle controls for starting and operating the mower.
5.2 Justering af klippehøjde
The mower features a single-lever height adjustment. Move the lever to select one of the 7 available cutting heights, ranging from 1 inch to 7 inches, to suit your lawn's needs.
Figur 5: Justering af klippehøjden med enkeltgrebet.
5.3 Step Sense Technology
The Step Sense feature automatically adjusts the mower's speed to match your walking pace, providing a comfortable and efficient mowing experience. Simply engage the self-propel lever, and the mower will adapt to your speed.
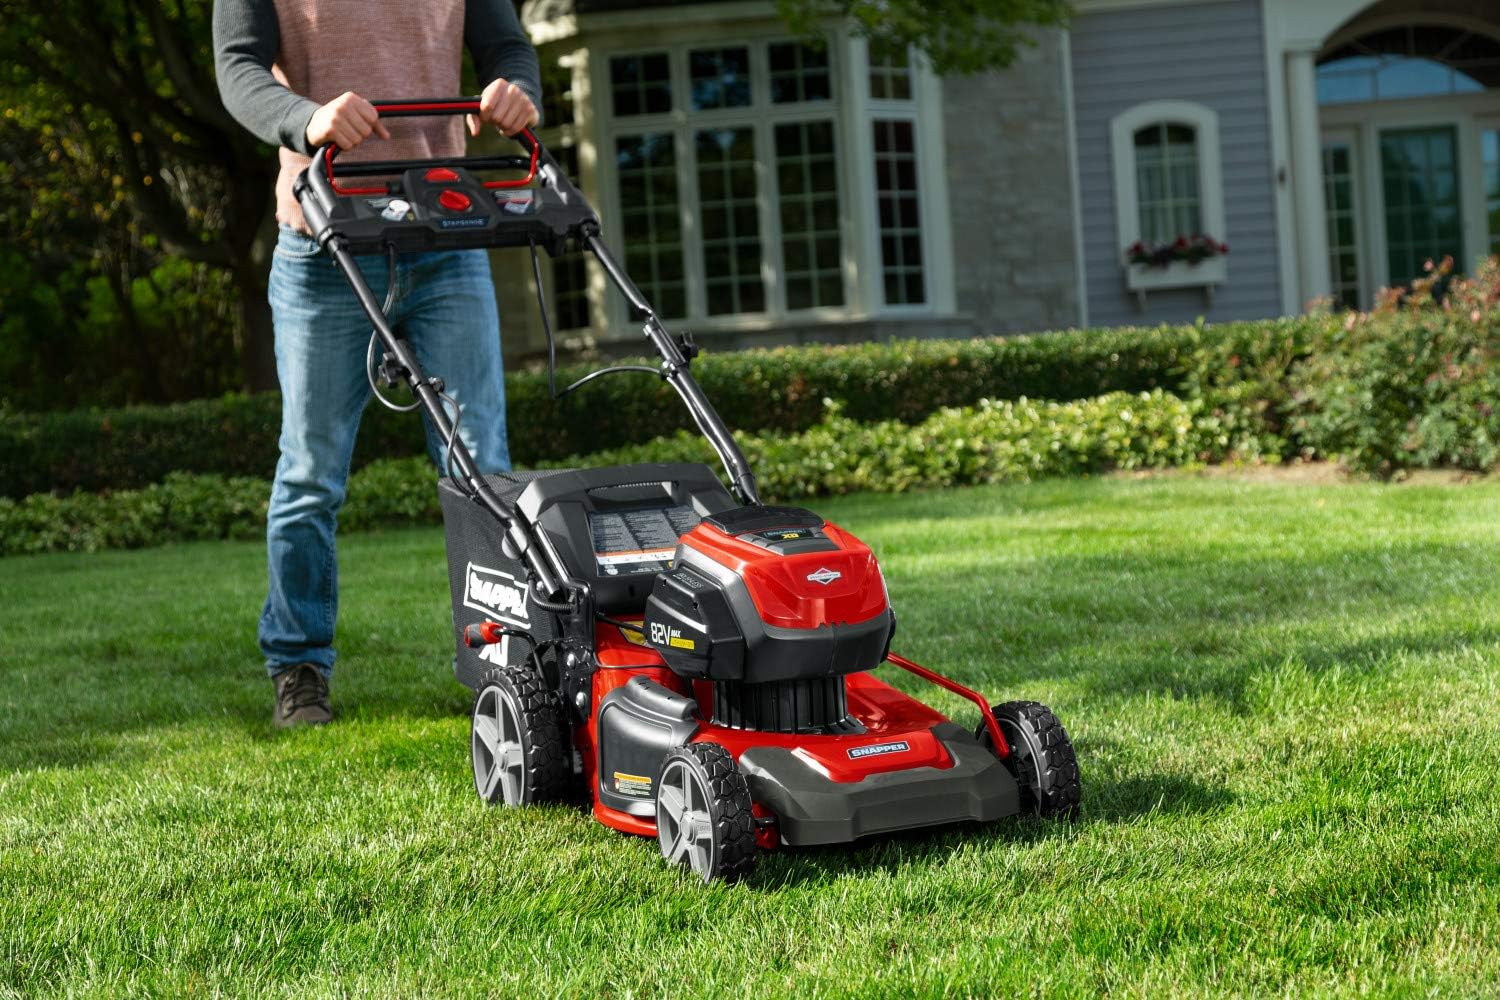
Figure 6: Operating the mower with Step Sense technology.
5.4 Mowing Modes: Mulching, Bagging, and Side Discharge
Your Snapper XD mower offers three cutting options:
- Mulching: Install the mulching plug to finely cut grass clippings and return them to the lawn as natural fertilizer.
- Poseindpakning: Attach the grass collection bag to collect clippings for disposal.
- Sideudflåd: Install the side discharge chute to eject clippings from the side of the mower.
6. Vedligeholdelse
Regular maintenance ensures the longevity and safe operation of your mower. Always disconnect the battery before performing any maintenance.
6.1 Rengøring
- Rengør undersiden af plæneklipperdækket efter hver brug for at forhindre ophobning af græs.
- Tør det udvendige af med adamp cloth. Do not use a pressure washer or hose directly on electrical components.
6.2 Pleje af blade
- Inspect the blade regularly for sharpness and damage. A dull or damaged blade can affect cutting performance and mower efficiency.
- Replace the blade if it is bent, cracked, or excessively worn. Refer to the specifications for the correct replacement blade model.
6.3 Opbevaring
- Opbevar plæneklipperen et tørt og beskyttet område væk fra direkte sollys og fugt.
- Remove the battery from the mower before storing for extended periods.
- Store batteries in a cool, dry place, partially charged.
7. Fejlfinding
| Problem | Mulig årsag | Løsning |
|---|---|---|
| Plæneklipperen starter ikke. | Battery not charged or improperly installed. Safety key not inserted. Bail lever not engaged. | Charge battery. Ensure battery is fully seated. Insert safety key. Engage bail lever fully. |
| Plæneklipperen stopper under drift. | Batteriet er afladet. Overbelastningsbeskyttelsen er aktiveret (f.eks. meget tykt græs). | Replace with a charged battery. Reduce mowing speed or raise cutting height. |
| Ujævnt snit. | Dull or damaged blade. Uneven cutting height adjustment. | Inspect and replace blade if necessary. Ensure cutting height is set evenly on all wheels. |
8. Specifikationer
- Mærke: Snapper
- Model: 1688050
- Strømkilde: 82V MAX Battery Powered
- Klippebredde: 19 tommer
- Klippehøjdejustering: 7 positioner (1 til 7 cm)
- Dækmateriale: Legeret stål
- Driftstilstand: Automatic (Step Sense)
- Varens vægt: 84.8 pund
- Produktdimensioner: 33.07 x 21.85 x 17.12 tommer
- UPC: 047282760079
9. Garanti og support
For warranty information, service, or technical support, please refer to the warranty card included with your product or visit the official Snapper webwebsted. Behold din købskvittering som købsbevis i tilfælde af garantikrav.
Online support: Visit the Snapper Store on Amazon