
DEPSTECH 86T-5MP
DEPSTECH 5.0MP USB Borescope Instruction Manual
Model: 86T-5MP
1. Introduktion
This manual provides comprehensive instructions for the DEPSTECH 5.0MP USB Borescope, Model 86T-5MP. This device is a versatile inspection camera designed for examining hard-to-reach areas, offering high-resolution imaging and broad compatibility with various operating systems.

Figure 1: DEPSTECH 5.0MP USB Borescope connected to a smartphone, showing its compact design and connectivity.
2. Nøglefunktioner
- Ultra HD 5MP (2592*1944) Camera: Equipped with a 0.33-inch ultra-thin probe for inspecting confined spaces. Captures 2592x1944P photos and smooth videos.
- USB Connection, Easy Set-up: Connects to Android smartphones, Windows computers, and MacBooks via Micro USB, USB, and Type-C adapters. Requires driver download for real-time image display.
- Waterproof Probe & Semi-Rigid Cable: The camera probe is waterproof, allowing for underwater inspections. The snake-shaped cable maintains its form for precise positioning in tight areas.
- 6 Brightness Adjustable LED: Integrated LED lights provide illumination in dark environments, with adjustable brightness for optimal image capture.
- Multifunktionel brug: Suitable for inspecting household appliances, electronic equipment, automotive issues, and retrieving dropped items in inaccessible locations.

Figure 2: Bluart 2.0 technology enhances image clarity in various lighting conditions, as demonstrated by the comparison of images.
3. Opsætningsvejledning
3.1. Kompatibilitet
The DEPSTECH 5.0MP USB Borescope is compatible with:
- Android smartphones (Android 4.4+ with OTG & UVC function)
- Windows computers (Windows 7/8/10)
- MacBook OS
Note: This device is not compatible with iOS iPhones or iPads. It does not support the use of adapters to connect to other devices, nor does it support iPhones with Type-C interfaces (e.g., iPhone 15).
3.2. Software installation
To use the borescope, you need to install the appropriate software:
- Til Android-telefoner:
- Verify that your device supports OTG and USB UVC.
- Check OTG settings and activate OTG in your phone's settings.
- For Android OS 5.0+, download "DEPSTECH-View" from the Google Play Store.
- For Android OS 10+, visit DEPSTECH's official website to install the updated version APP.
- Ensure camera and storage permissions are granted for USB OTG function.
- For Windows-computere:
- Download the ad-free "DEPSTECH-View" from Microsoft's Store or DEPSTECH's official webwebsted.
- Alternatively, you can use the built-in "Camera" software from the Microsoft Application Store.
- For Mac OS Users:
- Simply use the "PhotoBooth" application to capture images in real-time.

Figure 3: The borescope offers wide compatibility with various USB ports, including Micro-USB, Type-C, and standard USB.
4. Betjeningsvejledning
4.1. Connecting the Borescope
- Ensure the required software (DEPSTECH-View, Camera, or PhotoBooth) is installed and running on your device.
- Connect the borescope's USB connector to your smartphone, tablet, or computer. Use the appropriate adapter (Micro USB, Type-C, or standard USB) if necessary.
- Once connected, the software should automatically detect the borescope and display the live feed.
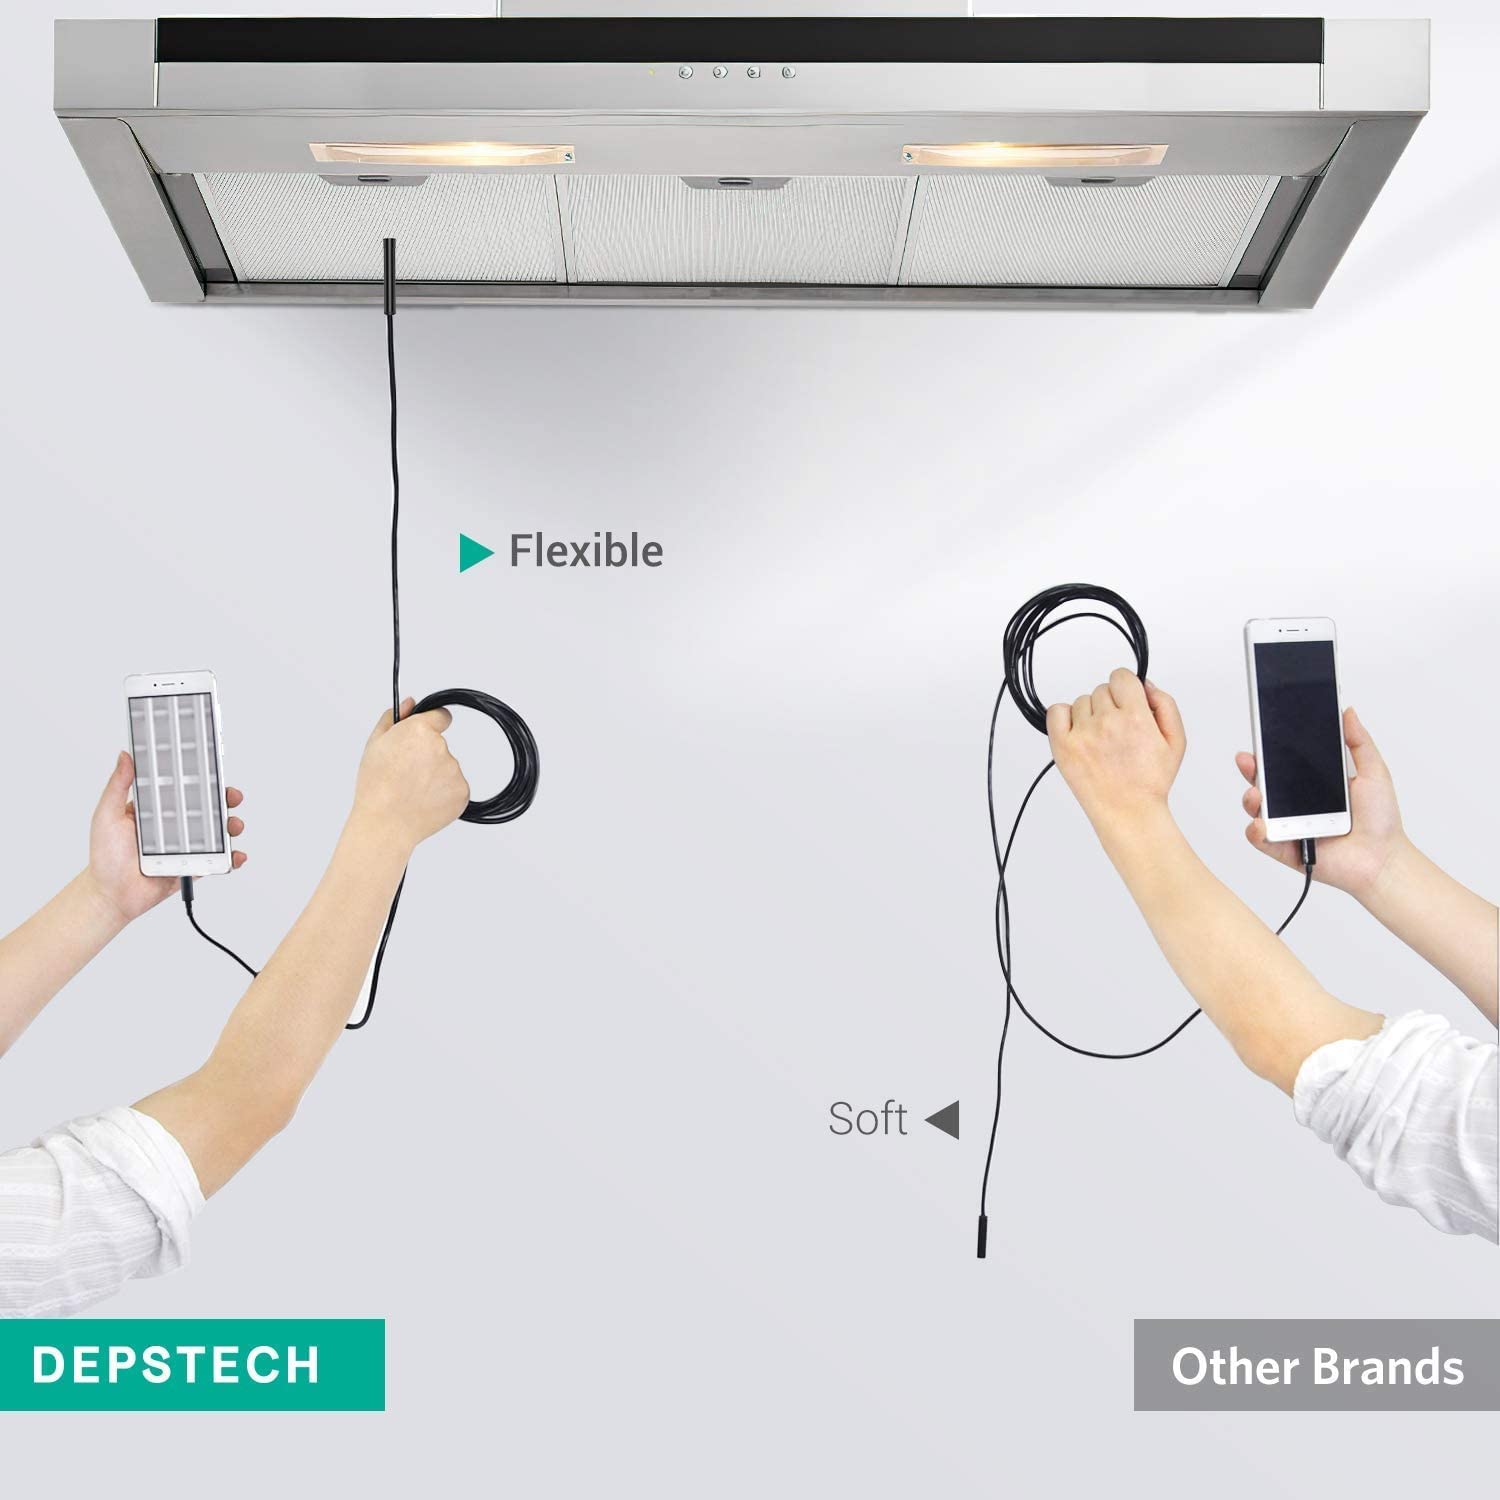
Figure 4: The semi-rigid cable allows for precise positioning and maneuverability in tight spaces.
4.2. Justering af LED-lysstyrke
The borescope features 6 adjustable LED lights to illuminate dark inspection areas. Locate the dimming roller on the cable and rotate it to increase or decrease the brightness as needed for optimal visibility.
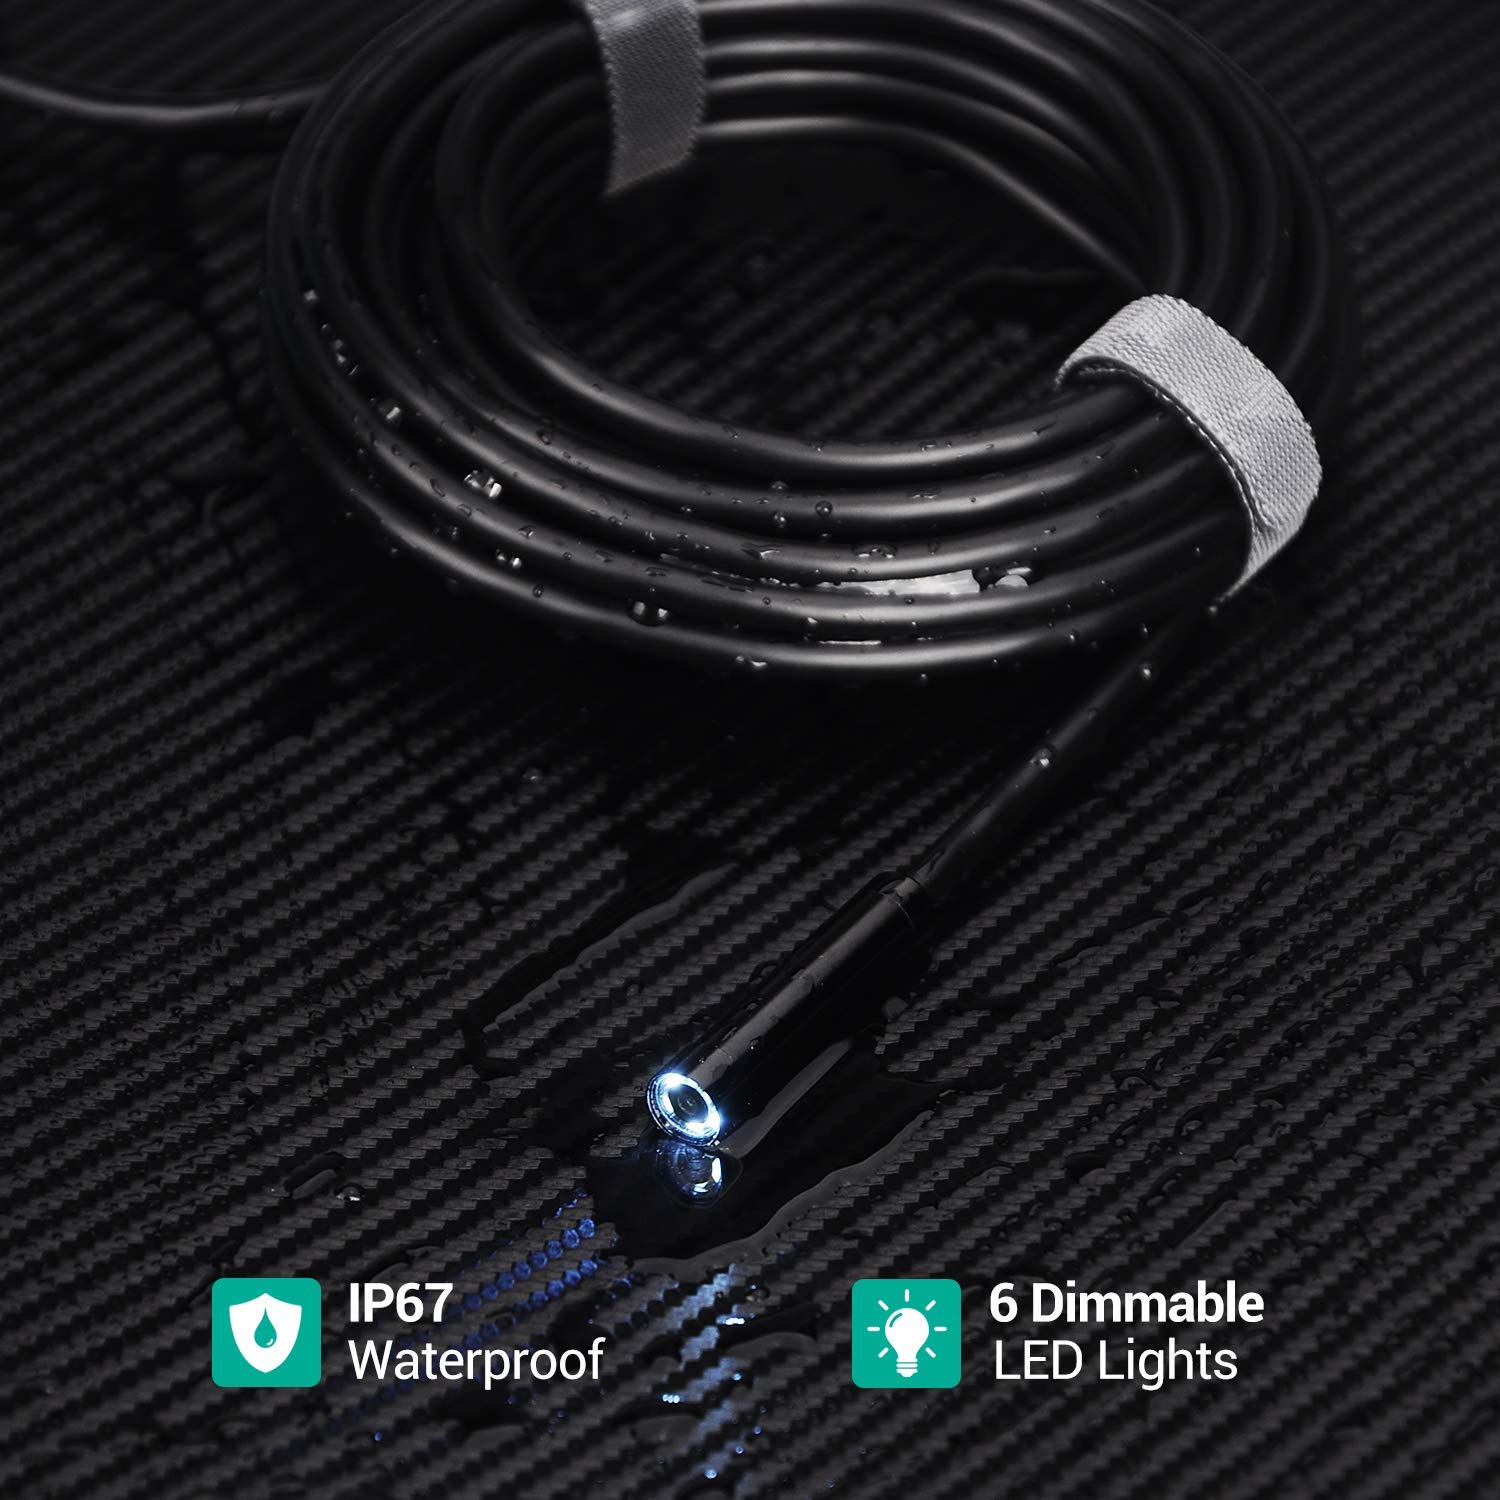
Figure 5: The borescope probe is IP67 waterproof and equipped with 6 dimmable LED lights for clear imaging in various conditions.
4.3. Optagelse af billeder og videoer
Use the controls within the installed software to capture still images or record videos of your inspection. Refer to the software's specific instructions for detailed operation.

Figure 6: The DEPSTECH borescope is suitable for a wide range of applications, from automotive to home maintenance.
5. Vedligeholdelse
- Rengøring af linsen: Gently wipe the camera lens with a soft, dry cloth to remove any dust or debris. For stubborn grime, use a lens cleaning solution applied to the cloth, not directly to the lens.
- Opbevaring: Store the borescope in a cool, dry place away from direct sunlight and extreme temperatures. Coil the cable loosely to prevent kinks or damage.
- Vandeksponering: While the probe is waterproof, ensure the USB connectors are dry before connecting to any device to prevent electrical damage.
6. Fejlfinding
6.1. No Picture Display on Android Phone
If the USB borescope does not show pictures after connecting to an Android phone:
- Check whether the correct APP "Depstech-View" is downloaded on the Android phone.
- Check whether the Android phone has OTG function and whether the function is turned on. If the endoscope failed to get access to capture the real-time image, it may be caused by the UVC protocol function of your Android phone being disabled. Please update the Android version or change the phone and try it again.
- Unplug and plug again. Connect the USB endoscope to an Android phone with the USB connector.
- Juster den trinløse dæmperrulle og kontroller, om linselyset lyser/dæmpes normalt.
- Afslut APP'en, åbn APP'en igen, og opret forbindelse til produktet.
- Plug and unplug the product several times to see if the product can produce pictures and making sure the port is connected normally to see if it can be used normally.
Video 1: Troubleshooting steps for the 86T-5.0MP USB Borescope, specifically addressing issues with Android phone connectivity and image display. This video demonstrates checking app installation, OTG function, proper connection, LED brightness adjustment, and app restart procedures.
6.2. No Picture Display on Windows/Mac OS
If the USB borescope does not show pictures after connecting to a Windows User/MAC OS:
- Check the correct APP for download: Windows User - APP "Depstech-View" or "Camera". MAC OS User - App "PhotoBooth".
- Kontroller, om USB-adapteren er tilsluttet korrekt, og prøv at tilslutte den igen på den anden side af adapteren.
- Juster den trinløse dæmperrulle og kontroller, om linselyset lyser/dæmpes normalt.
- Tilslut USB-boreskopet til Windows User/MAC OS for at se, om billedet kan genereres.
6.3. LED Light Not Lighting Up
Hvis LED-lyset ikke lyser, betyder det, at produktet er blevet afbrudt. Sæt det i stikket igen for at se, om det er normalt.
6.4. LED Light On, But Brightness Cannot Be Adjusted
If the LED light is on and the brightness can be adjusted, please exit the APP and reset the product.
7. Specifikationer
| Attribut | Detalje |
|---|---|
| Modelnummer | 86T-5MP |
| Kameraopløsning | 5.0MP (2592*1944P) |
| Sondediameter | 8.5 mm (0.33 tommer) |
| Kabellængde | 16.5 fod |
| LED lys | 6 justerbare lysdioder |
| Vandmodstand | IP67 vandtæt |
| Forbindelse | Type-C, Micro USB, Standard USB |
| Kompatibel OS | Android (4.4+), Windows (7/8/10), MacBook OS |
| Farve | Mørk Sort |
| Fabrikant | DEPSTECH |
8. Support og garanti
For any questions or further assistance, please feel free to contact DEPSTECH's after-sales support via email: support@depstech.com.
DEPSTECH is committed to providing 24-hour worry-free professional service and a 100% satisfactory shopping experience.
Ask a question about this manual
Ask about setup, troubleshooting, compatibility, parts, safety, or missing instructions. Manuals+ will review the question and use this page’s manual context to help answer it.