1. Introduktion
This manual provides detailed instructions for the installation, operation, and maintenance of your Axis Communications M3064-V Mini Dome Camera. This camera is designed for indoor surveillance, offering HDTV 720p video quality, dust resistance, and IK08 impact protection. Please read this manual thoroughly before using the product to ensure proper functionality and safety.
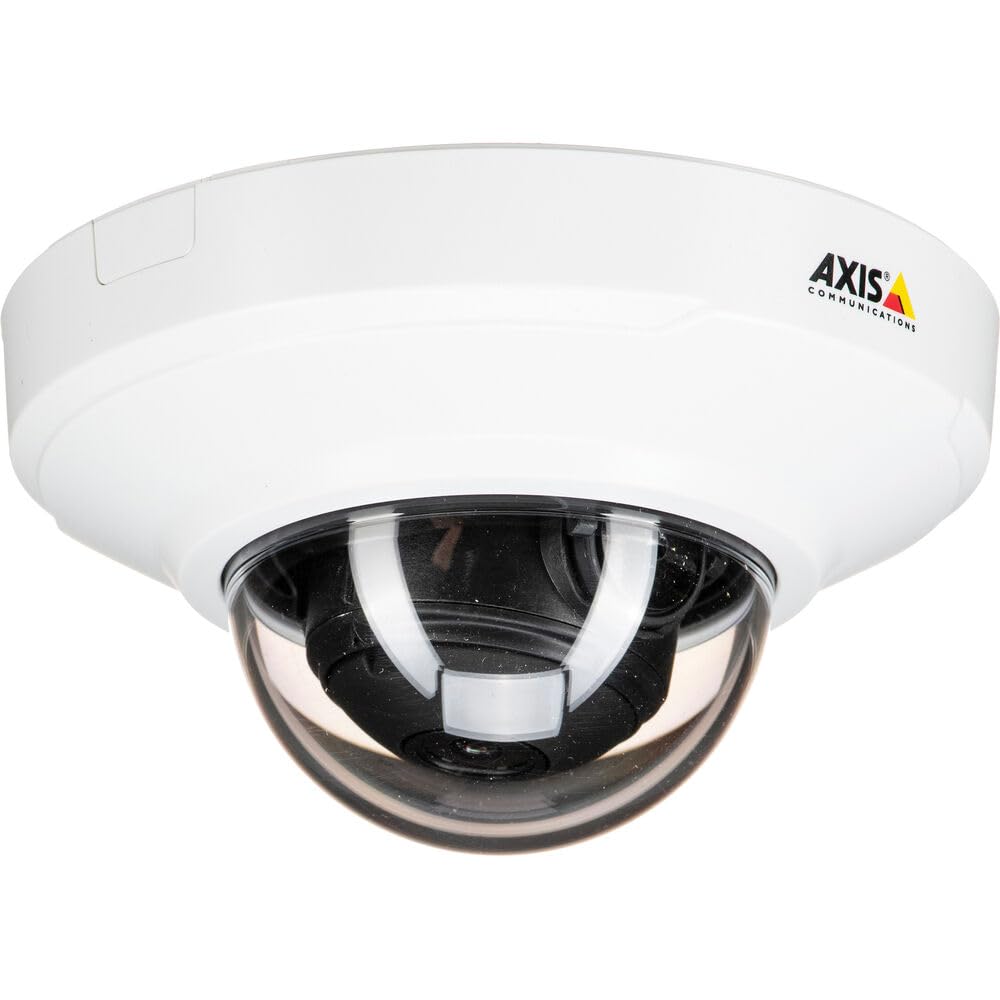
Figur 1: Forside view of the Axis M3064-V Mini Dome Camera. This image shows the compact dome design suitable for discreet indoor surveillance.
2. Sikkerhedsoplysninger
- Strømforsyning: Use only the specified power supply (AC/DC, 220 Volts, 1.6 Watts) to prevent damage or fire.
- Installation: Installation should be performed by qualified personnel and comply with all local electrical codes. Ensure the mounting surface can support the camera's weight.
- Miljø: This camera is designed for indoor use. While dust-resistant and IK08 rated, avoid exposing it to extreme temperatures, direct water spray, or corrosive substances.
- Rensning: Afbryd strømmen før rengøring. Brug en blød, tør klud. Brug ikke flydende rengøringsmidler eller aerosolrengøringsmidler.
- Service: Forsøg ikke selv at servicere dette produkt. Overlad al service til kvalificeret servicepersonale.
3. Pakkens indhold
Kontroller, at alle varer er til stede i pakken. Hvis der mangler eller er beskadigede varer, skal du kontakte din leverandør.
- Axis M3064-V Mini Dome Camera (1 unit)
- Installationsvejledning
- Monteringsbeslag
- Monteringsskruer og vægdyvler
- Modstand x L-nøgle
4. Opsætning og installation
4.1 Montering af kameraet
The Axis M3064-V camera can be mounted on a ceiling or wall. Ensure the mounting surface is stable and can support the camera's weight.
- Forbered overfladen: Choose a suitable location. Use the mounting bracket as a template to mark drill holes.
- Bore huller: Drill pilot holes for the mounting screws. Insert wall plugs if necessary.
- Fastgør beslag: Fastgør monteringsbeslaget til overfladen med de medfølgende skruer.
- Tilslut kabler: Route the network cable (wired connectivity) through the bracket and connect it to the camera's Ethernet port.
- Tilslut kamera: Secure the camera body to the mounting bracket. Ensure it clicks into place or is fastened according to the specific bracket design.

Figure 2: Illustrative diagram of the camera mounting process on a ceiling. This shows the steps from marking holes to securing the camera.
4.2 Tænd og netværksforbindelse
- Kablet forbindelse: Connect an Ethernet cable from your network switch or router to the camera's Ethernet port. The camera supports Power over Ethernet (PoE), simplifying power delivery.
- Wi-Fi-forbindelse: The camera supports Wi-Fi connectivity. After initial wired setup, you can configure wireless settings via the camera's web interface.
- Strømforsyning: If not using PoE, connect a compatible AC/DC power adapter (220V, 1.6W) to the camera's power input.
- Førstegangsadgang: Once powered, the camera will obtain an IP address from your network (DHCP). Use an Axis IP Utility tool or your network router's client list to find the camera's IP address.
5. Betjeningsvejledning
5.1 Accessing the Camera Interface
Åbn a web browser (e.g., Chrome, Firefox) and enter the camera's IP address in the address bar. You will be prompted to create a new password for the root user upon first access. Follow the on-screen instructions.
5.2 Live View and Video Settings
- Levende View: The main interface provides a live video feed. You can adjust the viewing angle remotely if the camera supports pan/tilt/zoom (PTZ) functions, though this model features a fixed dome with 3x optical zoom.
- Opløsning: The camera supports HDTV 720p video capture resolution. You can configure streaming profiles for different quality and frame rate needs.
- Nattesyn: The camera includes Night Color functionality, providing enhanced visibility in low-light conditions. This feature can be configured in the image settings.
- Optisk zoom: Utilize the 3x optical zoom feature through the web interface to focus on specific areas within the 83-degree viewvinkel.
5.3 Optagelse og opbevaring
Kameraet understøtter forskellige optagemuligheder:
- Kantlagring: The camera has 128 GB of flash memory installed for local recording. Insert a compatible microSD card (not included) for additional storage.
- Netværksvideooptager (NVR): Integrate the camera with an NVR or video management system (VMS) for centralized recording and management.
- Hændelsesbaseret optagelse: Configure motion detection or other event triggers to start recording, saving storage space.
6. Vedligeholdelse
6.1 Rengøring af kameraet
Regelmæssig rengøring hjælper med at opretholde optimal billedkvalitet.
- Sluk: Always disconnect the camera from its power source before cleaning.
- Linse: Gently wipe the lens cover with a soft, lint-free cloth. For stubborn dirt, slightly dampen the cloth with water or a mild lens cleaning solution. Avoid abrasive materials.
- Bolig: Wipe the camera housing with a soft, dry cloth. Do not use strong detergents or solvents.
6.2 firmwareopdateringer
Kontroller Axis Communications regelmæssigt website for firmware updates. Keeping your camera's firmware up-to-date ensures optimal performance, security, and access to new features. Follow the instructions provided with the firmware update package.
7. Fejlfinding
| Problem | Mulig årsag | Løsning |
|---|---|---|
| Kameraet tænder ikke | No power supply; Faulty PoE switch/injector; Damaged cable. | Check power connection. Verify PoE functionality. Test with a different Ethernet cable or power adapter. |
| Intet video-feed | Network connectivity issue; Incorrect IP address; Firewall blocking access; Camera not configured. | Verify network connection. Confirm camera's IP address. Check firewall settings. Ensure camera is properly configured via its web interface. |
| Dårlig billedkvalitet | Snavset objektiv; Forkert fokus; Dårlige lysforhold; Problemer med netværksbåndbredde. | Clean the lens. Adjust focus settings in the web interface. Ensure adequate lighting or verify Night Color settings. Check network bandwidth. |
| Kan ikke få adgang web interface | Incorrect IP address; Network issue; Browser compatibility. | Confirm IP address. Ping the camera's IP. Try a different web browser. Ryd browserens cache. |
8. Specifikationer
| Feature | Detalje |
|---|---|
| Modelnavn | M3064-V |
| Modelnummer | 01716-001 |
| Mærke | Axis Communications |
| Formfaktor | Kuppel |
| Forbindelsesteknologi | Kabelforbundet, Wi-Fi |
| Videooptagelsesopløsning | 720p (HDTV) |
| Effektiv stillopløsning | 64 MP (Note: This might refer to sensor resolution, actual video output is 720p) |
| Fotosensor opløsning | 5 MP |
| Viewi vinkel | 83 grader |
| Optisk zoom | 3x |
| Nattesyn | Nat farve |
| Vandtæt vurdering | IP42 (Dust-resistant) |
| Slagbeskyttelse | IK08 |
| Strømkilde | AC/DC, PoE |
| Voltage | 220 volt |
| Wattage | 1.6 watt |
| Flash-hukommelse installeret størrelse | 128 GB |
| Emnedimensioner (LxBxH) | 3.98 x 3.98 x 2.2 tommer |
| Varens vægt | 150 gram |
| Farve | Sort / Hvid |
9. Garanti og support
9.1 Produktgaranti
Axis Communications products typically come with a limited manufacturer's warranty. Please refer to the warranty card included with your product or visit the official Axis Communications website for detailed warranty terms and conditions specific to the M3064-V model. Keep your proof of purchase for warranty claims.
9.2 Teknisk support
For technical assistance, troubleshooting beyond this manual, or service inquiries, please contact Axis Communications customer support. You can find contact information, FAQs, and additional resources on the official Axis Communications support website. When contacting support, please have your product model number (M3064-V or 01716-001) and serial number ready.
Online ressourcer: www.axis.com/support