1. Introduktion
The Marmitek View ME is an indoor Wi-Fi camera designed for remote monitoring of your home. It offers Full HD 1080p video, motion detection, two-way audio communication, and infrared night vision. This camera integrates seamlessly with the Smart me application, allowing you to control and monitor your home from your smartphone or tablet.
2. Pakkens indhold
Bekræft at alle varer er til stede i pakken:
- Marmitek View ME Indoor Wi-Fi Camera
- Strømadapter
- USB kabel
- Mounting Accessories (if applicable, not explicitly listed but common)
- Instruktionsmanual (dette dokument)

Image: The Marmitek View ME product box, showing the camera and branding.
3. Produktet er slutview
Familiarize yourself with the different parts of your Marmitek View ME camera.
Front View
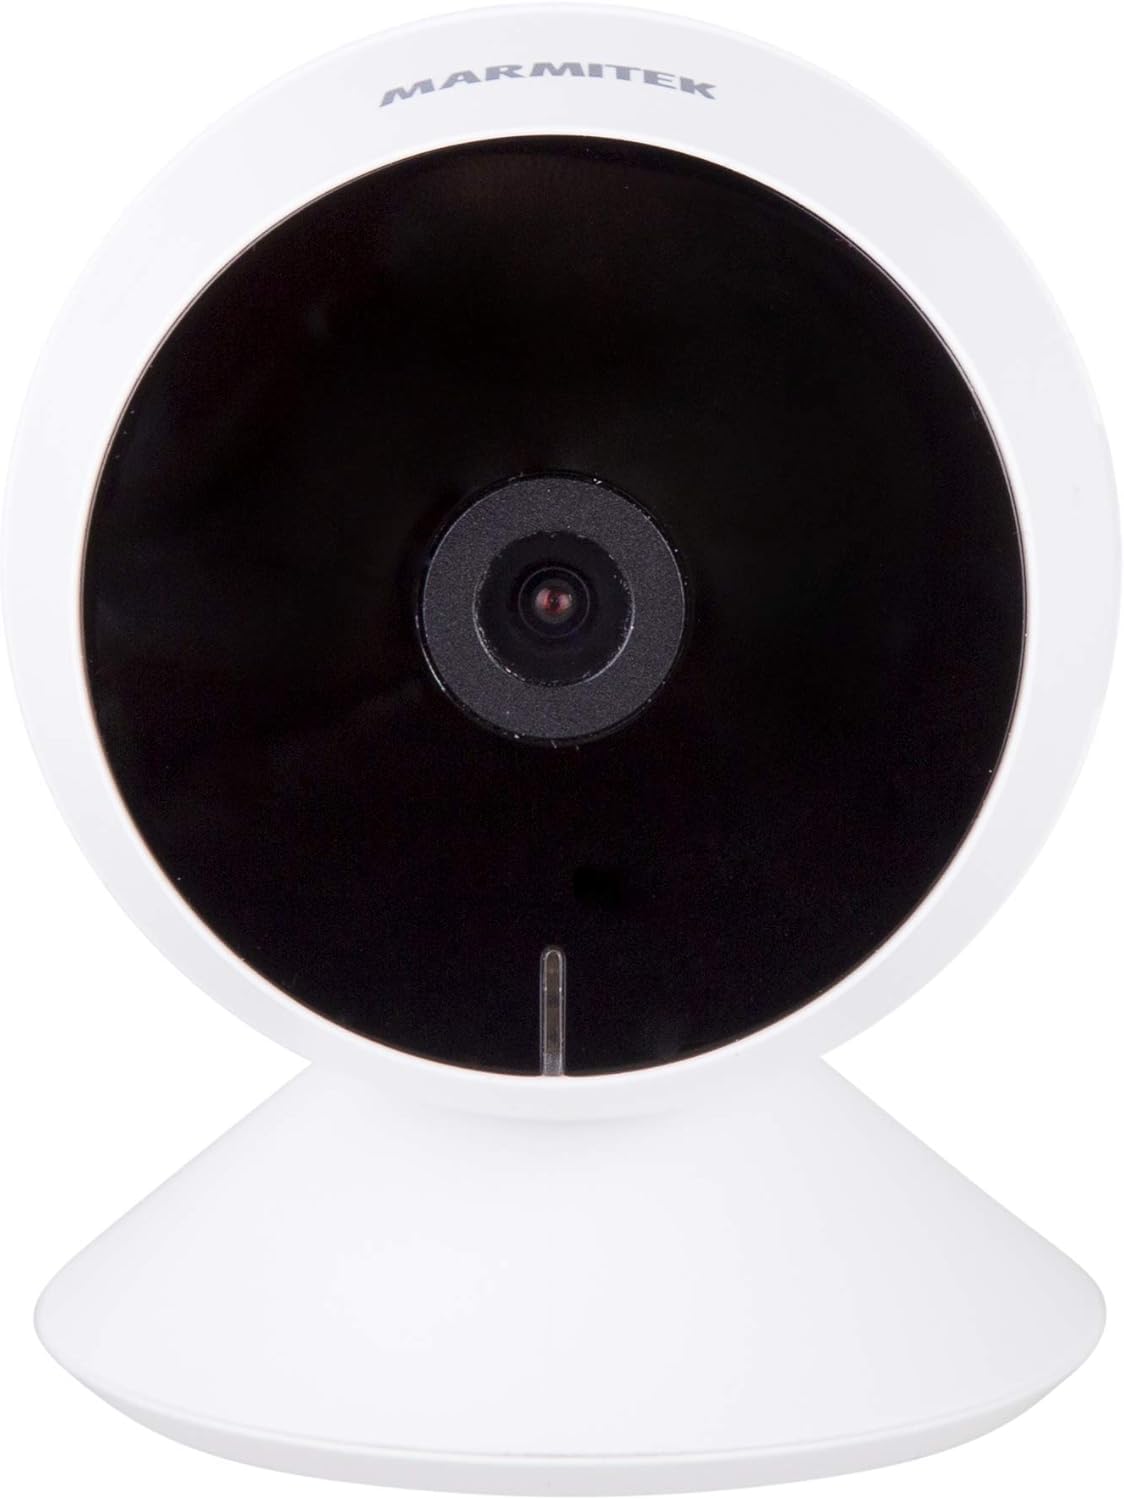
Billede: Forside view of the Marmitek View ME camera, showing the lens and indicator light.
Side View

Billede: Side view of the Marmitek View ME camera, highlighting its compact design.
Bag View

Billede: Bagside view of the Marmitek View ME camera, showing the micro-USB port, speaker, and reset button.
4. Opsætning
4.1 Placering
Position the camera in a central location within the area you wish to monitor. Ensure it has a clear line of sight and is within range of your Wi-Fi network. The camera is designed for indoor use and can be placed on a desk, shelf, or mounted on a wall or ceiling.

Image: The Marmitek View ME camera discreetly placed on a shelf in a living room environment.
4.2 Strømtilslutning
- Connect the USB cable to the micro-USB port on the back of the camera.
- Sæt den anden ende af USB-kablet i den medfølgende strømadapter.
- Sæt strømadapteren i en almindelig stikkontakt.
- The camera will power on, and an indicator light will illuminate.

Image: The Marmitek View ME camera connected to its power adapter via a USB cable.
4.3 Appinstallation og kontooprettelse
The Marmitek View ME camera operates with the Smart me application. No gateway or additional software is required.
- Download Smart mig app fra App Store (iOS) eller Google Play Store (Android).
- Åbn appen, og følg instruktionerne på skærmen for at oprette en ny konto eller logge ind, hvis du allerede har en.

Image: The Smart me application logo, featuring a Wi-Fi symbol.
4.4 Tilslutning til Wi-Fi
- Ensure your smartphone is connected to a 2.4 GHz Wi-Fi network. The camera does not support 5 GHz networks.
- In the Smart me app, tap the "+" icon to add a new device.
- Select "Camera" or the specific model if listed.
- Follow the in-app instructions to put the camera into pairing mode (usually indicated by a flashing light). You may need to press the reset button on the camera.
- Indtast din Wi-Fi-netværksadgangskode, når du bliver bedt om det.
- The app will generate a QR code. Hold your phone with the QR code in front of the camera lens at a distance of 15-20 cm until you hear a confirmation sound from the camera.
- Once connected, the camera's indicator light will change, and you will see the camera added to your Smart me app.
4.5 Installation af SD-kort (valgfrit)
The camera supports local storage via an SD card (not included) for recording videos.
- Locate the SD card slot on the camera (refer to the product overview images).
- Gently insert a compatible microSD card (Class 10 or higher, up to 128GB recommended) into the slot with the contacts facing down until it clicks into place.
- In the Smart me app, navigate to the camera settings to format the SD card before first use.
5. Betjeningsvejledning
5.1 Live View
Open the Smart me app and select your View ME camera from the device list to access the live video feed. You can view foo i realtidtage hvor som helst med en internetforbindelse.

Image: A person interacting with the Smart me application on a smartphone, demonstrating remote access.
5.2 Tovejslyd
The camera features an integrated speaker and microphone for two-way communication. While in live view, tap the microphone icon in the app to speak through the camera, and listen to audio from the camera's surroundings.
5.3 Bevægelsesdetektion og notifikationer
The integrated motion detector can alert you to activity. Configure motion detection settings and notification preferences within the Smart me app. You will receive push notifications on your smartphone when motion is detected.
5.4 Optagelse og afspilning
If an SD card is installed, the camera can record video footage. You can set the camera to record continuously, on motion detection, or manually. Access recorded videos through the playback function in the Smart me app.
5.5 Nattesyn
Kameraet er udstyret med infrarødt nattesyn, der giver klare videooptagelser.tage up to 10 meters in low-light or dark conditions. This feature activates automatically when ambient light is insufficient.
5.6 Smart Home-integration
The Marmitek View ME camera is part of the Smart me ecosystem. You can link it with other Smart me products to create automated scenarios. For example, configure a rule to turn on a connected light bulb when the camera detects motion.

Image: A diagram illustrating the interconnectedness of various Smart me devices, including the camera, within a smart home setup.
6. Vedligeholdelse
6.1 Rengøring
To clean the camera, gently wipe the lens and exterior with a soft, dry cloth. Do not use harsh chemicals or abrasive cleaners, as these can damage the device.
6.2 firmwareopdateringer
Periodically check the Smart me app for available firmware updates. Keeping your camera's firmware up-to-date ensures optimal performance and security.
6.3 SD-kortstyring
If using an SD card for storage, regularly check its status in the app. Format the card periodically to maintain performance and free up space, or replace it if it becomes corrupted or full.
7. Fejlfinding
- Kameraet opretter ikke forbindelse til Wi-Fi: Ensure your Wi-Fi network is 2.4 GHz. Check Wi-Fi password. Move the camera closer to the router. Try resetting the camera by pressing the reset button for 5 seconds.
- Nej live view: Check your internet connection and the camera's power supply. Ensure the camera is online in the Smart me app.
- Bevægelsesdetektion virker ikke: Bekræft, at bevægelsesdetektion er aktiveret i appindstillingerne. Juster følsomhedsniveauerne. Sørg for, at kameraets view er ikke blokeret.
- Problemer med tovejslyd: Check your phone's microphone and speaker permissions for the Smart me app. Ensure the camera's microphone and speaker are not obstructed.
- SD-kort optager ikke: Ensure the SD card is correctly inserted and formatted within the app. Check if the card is full or corrupted.
8. Specifikationer
| Feature | Specifikation |
|---|---|
| Modelnummer | 08528 |
| Dimensioner (L x B x H) | 7.8 x 6 x 6 cm |
| Vægt | 240 gram |
| Video opløsning | Fuld HD 1080p |
| Forbindelse | Wi-Fi (kun 2.4 GHz) |
| Night Vision Range | Op til 10 meter (infrarød) |
| Lyd | Two-way (Built-in microphone and speaker) |
| Opbevaring | MicroSD-kort (op til 128 GB, medfølger ikke) |
| Strømkilde | AC/DC (230 volt, 2.5 watt) |
| Indendørs/Udendørs brug | Indendørs |
| IP-vurdering | IP54 |
| Kompatible enheder | Smartphone, Tablet (iOS, Android) |
9. Sikkerhedsoplysninger
- Brug kun den medfølgende strømadapter og det medfølgende kabel.
- Udsæt ikke kameraet for vand eller fugt.
- Avoid placing the camera near heat sources or in direct sunlight for extended periods.
- Forsøg ikke at skille kameraet ad eller reparere det selv. Kontakt support for at få hjælp.
- Hold kameraet utilgængeligt for børn og kæledyr.
10. Garanti og support
Marmitek products are manufactured to high quality standards. For warranty information, please refer to the warranty card included with your product or visit the official Marmitek webwebsted. For teknisk support, hjælp til fejlfinding eller yderligere forespørgsler, kontakt venligst Marmitek kundeservice via deres officielle kanaler.