
CREATE Mill PRO
CREATE Mill PRO Kaffe- og Køkkenkværn Brugermanual
Model: Mill PRO
1. Vigtige sikkerhedsinstruktioner
Please read all instructions carefully before using the CREATE Mill PRO Coffee and Food Grinder. Retain this manual for future reference.
- Tag altid stikket ud af apparatet, før du rengør, samler eller adskiller dele.
- Motorbasen må ikke nedsænkes i vand eller andre væsker. Rengør medamp kun klud.
- Keep hands and utensils out of the grinding cup during operation to prevent injury and damage to the appliance.
- Sørg for, at låget er sikkert på plads, før du bruger kværnen.
- Dette apparat er ikke beregnet til brug af personer med nedsatte fysiske, sensoriske eller mentale evner, eller manglende erfaring og viden, medmindre de er under opsyn eller har fået instruktion i brugen af apparatet af en person, der er ansvarlig for deres sikkerhed.
- Brug ikke kværnen kontinuerligt i mere end 30 sekunder. Hold en kort pause mellem kværningscyklusserne for at forhindre overophedning.
- Do not grind hard, oily, or wet ingredients that may damage the blades or motor.
- Store the appliance out of reach of children.
2. Produktet er slutview
The CREATE Mill PRO is a versatile electric grinder designed for coffee beans, spices, nuts, and other dry food items. It features a powerful motor and durable stainless steel blades.

Image 2.1: The CREATE Mill PRO Coffee and Food Grinder, showcasing dens slanke design i rustfrit stål og gennemsigtige låg.
Komponenter:
- Motorbase: Contains the motor and power connection.
- Grinding Cups (x2): Stainless steel cups with integrated blades for different grinding tasks. One cup typically has a 4-blade design for general grinding, and the other a 2-blade design for coarser grinding or specific ingredients.
- Transparent Lids (x2): Allow observation of the grinding process.
- Strømledning: Til tilslutning af apparatet til en stikkontakt.
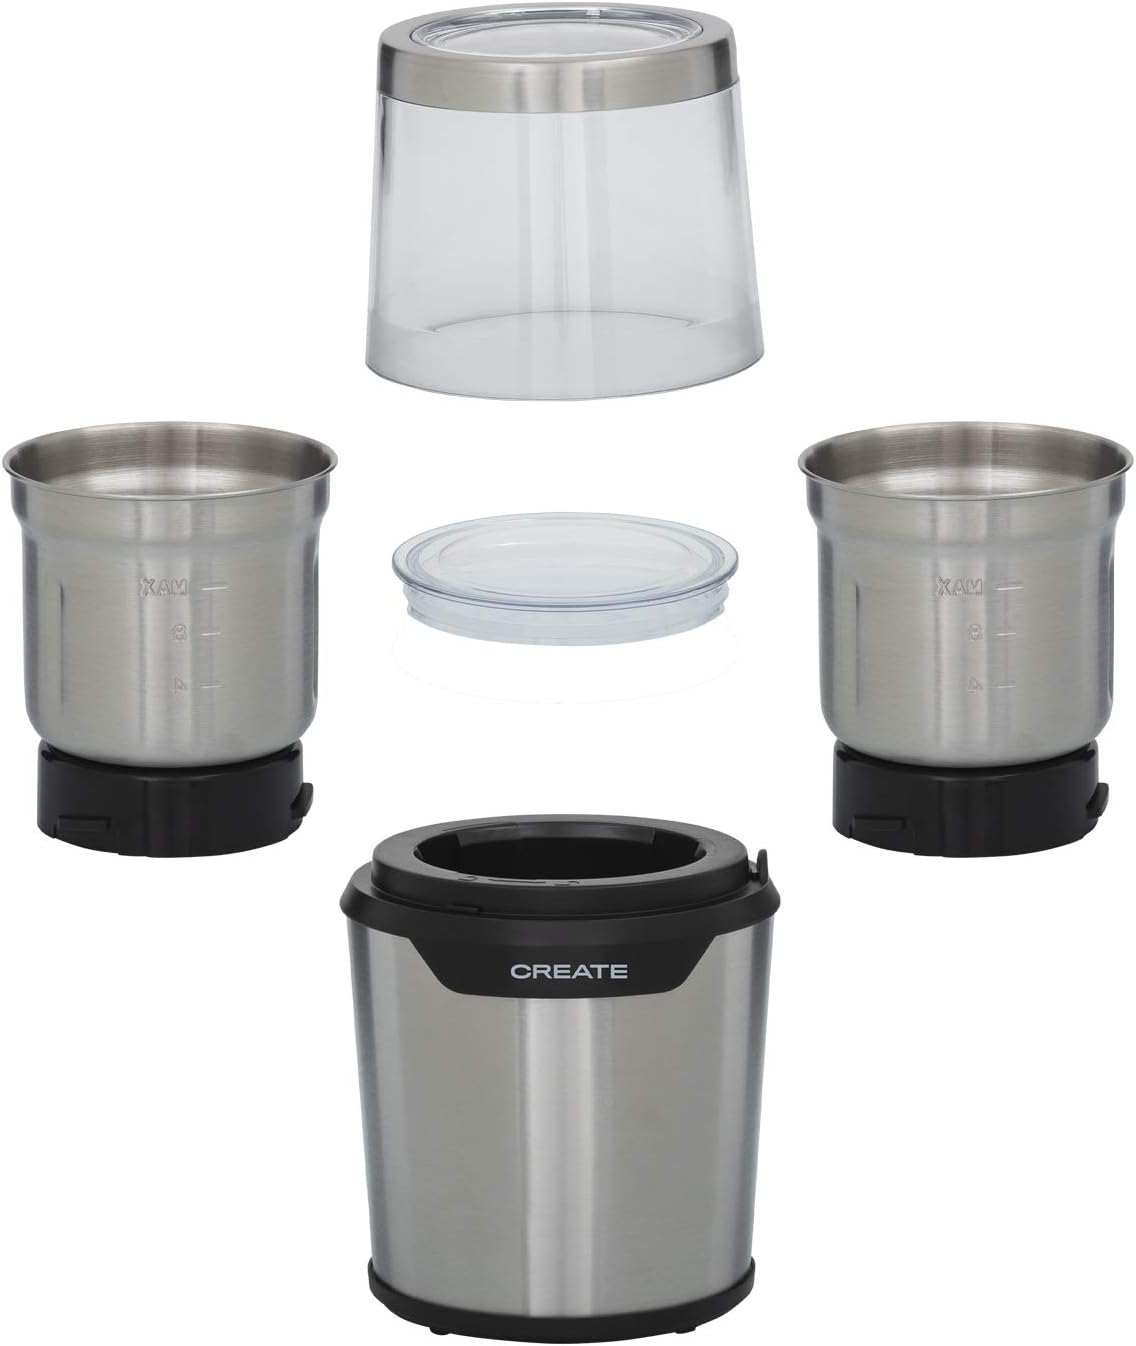
Image 2.2: All components of the CREATE Mill PRO grinder, including the motor base, two grinding cups with different blade types, and two transparent lids.
3. Opsætning
- Pakker ud: Fjern forsigtigt alle komponenter fra emballagen.
- Ren: Before first use, wash the grinding cups and lids with warm soapy water, then rinse and dry thoroughly. Wipe the motor base with a damp klæde.
- Placering: Placer motorbasen på en stabil, flad og tør overflade.
- Assemble Grinding Cup: Select the appropriate grinding cup for your task. Ensure it is securely seated onto the motor base. The grinding cup should click into place or fit snugly.

Image 3.1: Illustration of how the grinding cup fits onto the motor base, showing the separate components before assembly.
4. Betjeningsvejledning
- Tilføj ingredienser: Place the desired amount of dry ingredients into the grinding cup. Do not exceed the 'MAX' fill line (approximately 80g capacity). Overfilling can lead to inefficient grinding and potential damage.

Billede 4.1: Nærbillede view of the grinding cup interior, clearly showing the 'MAX' fill line to prevent overfilling.
- Sikkert låg: Place the transparent lid onto the grinding cup and twist or press down firmly to ensure it is securely locked. The grinder will not operate if the lid is not properly secured.
- Tilslut strøm: Sæt netledningen i en almindelig stikkontakt.

Image 4.2: The power cord securely plugged into the base of the CREATE Mill PRO grinder.
- Slibning: Press and hold the lid or the designated power button (if present) to start grinding. The grinder operates on a pulse action. For best results, use short bursts (5-10 seconds) and check the consistency through the transparent lid.
- Overvåg fremskridt: Observe the grinding process through the transparent lid. Release the lid/button to stop grinding.
- Opnå ønsket konsistens: Repeat short grinding bursts until the desired consistency is achieved. For very fine grinds, you may need several short cycles.
- Tag stikket ud og fjern: Once grinding is complete, unplug the appliance. Carefully remove the lid, then lift the grinding cup from the motor base.
- Tomt indhold: Pour out the ground ingredients. Use a small brush if necessary to remove any remaining particles.
Bladtyper:
The CREATE Mill PRO typically includes two types of grinding cups with different blade configurations:
- 4-Blade Grinding Cup: Ideal for coffee beans, spices, and achieving finer grinds.
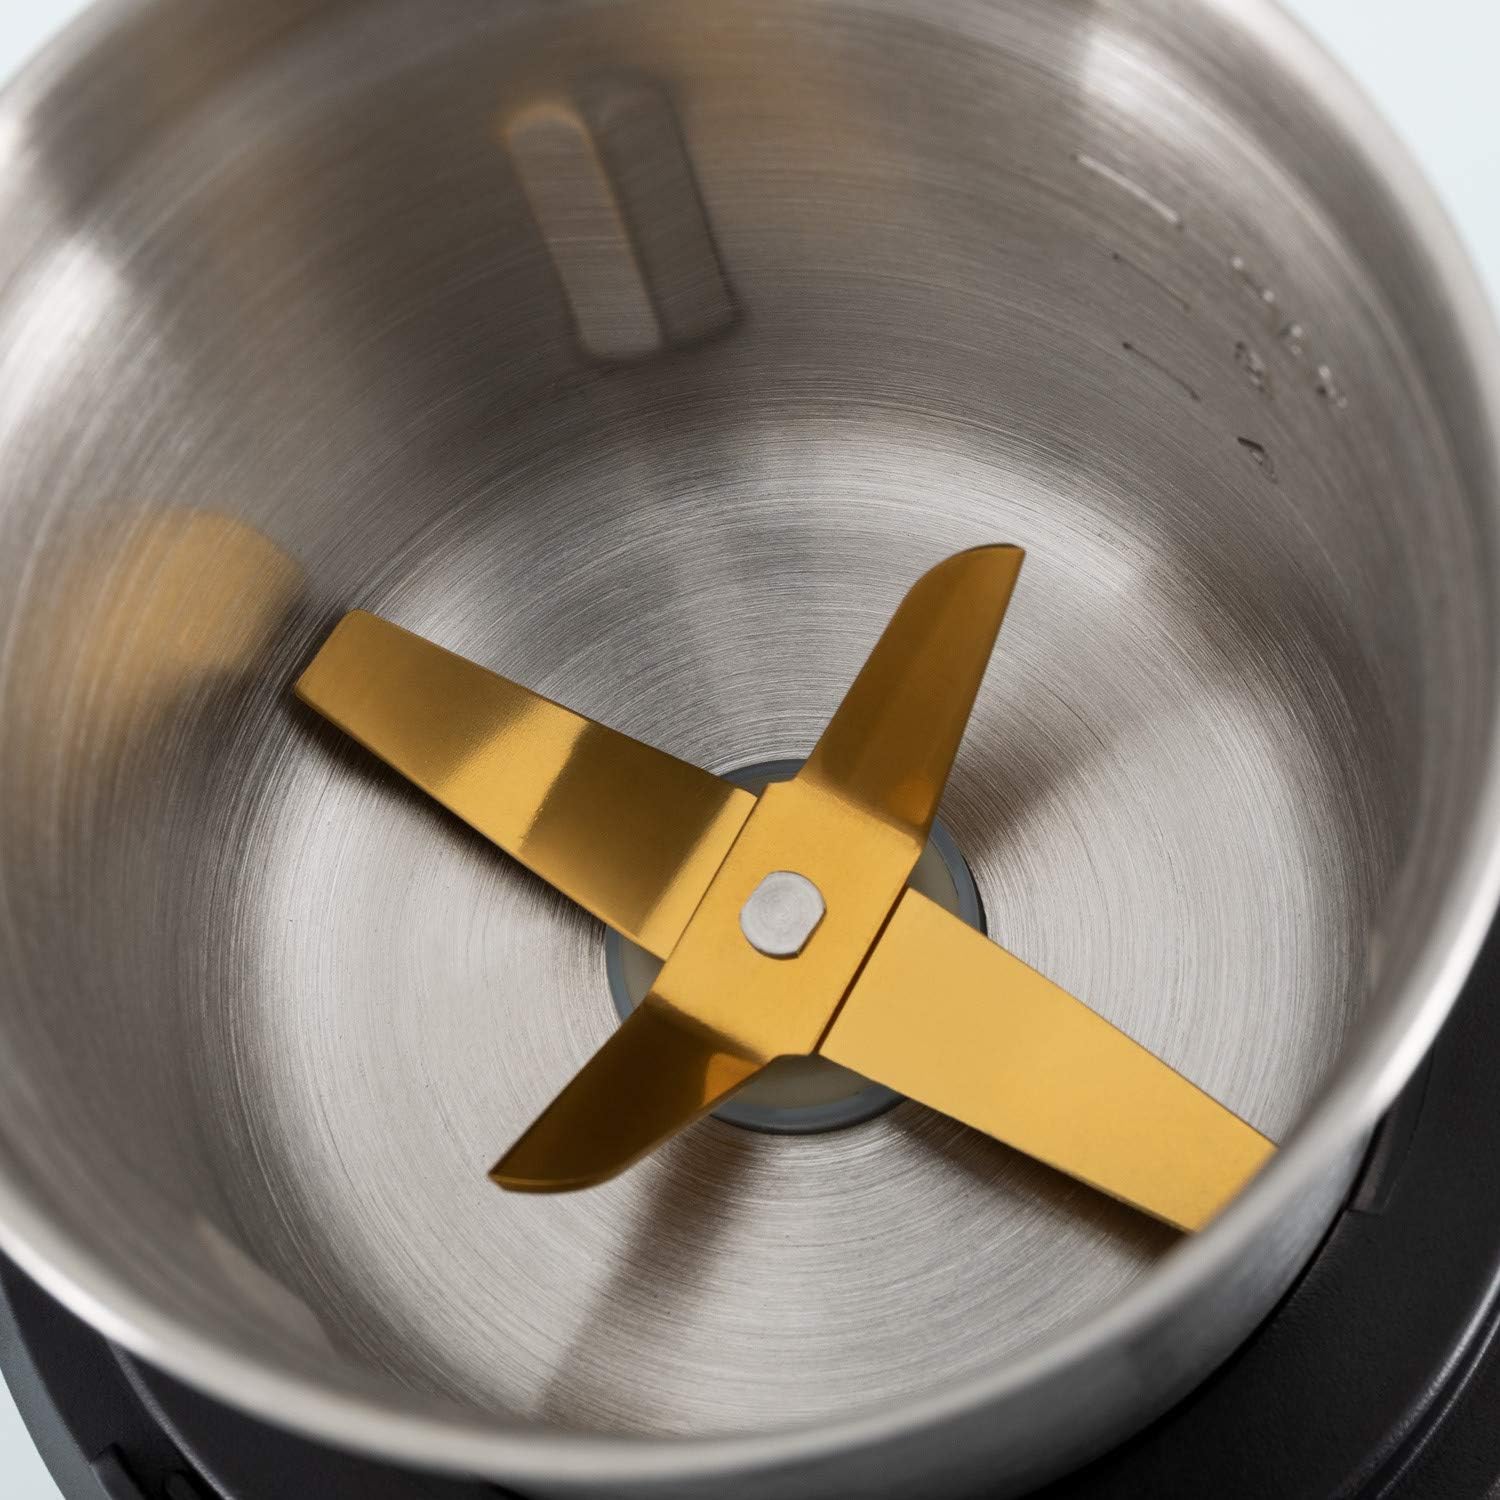
Image 4.3: Close-up of the 4-blade grinding attachment, suitable for fine grinding of coffee and spices.
- 2-Blade Grinding Cup: Suitable for coarser grinding, nuts, or larger food items.

Image 4.4: Close-up of the 2-blade grinding attachment, designed for coarser grinding tasks.
5. Vedligeholdelse og rengøring
Regelmæssig rengøring sikrer optimal ydeevne og forlænger levetiden på din kværn.
- Tag stikket ud: Sørg altid for, at kværnen er taget ud af stikkontakten, inden den rengøres.
- Clean Grinding Cups and Lids: Remove the grinding cup from the motor base. Wash the grinding cups and lids with warm, soapy water. Use a small brush to remove any stubborn residue from the blades. Rinse thoroughly and dry completely before reassembling or storing.
- Rengør motorbase: Tør motorbasens yderside af med en blød, tør klud.amp klud. Brug ikke slibende rengøringsmidler, og motorbasen må ikke nedsænkes i vand.
- Opbevaring: Opbevar kværnen et tørt sted, væk fra direkte sollys og fugt.
6. Fejlfinding
| Problem | Mulig årsag | Løsning |
|---|---|---|
| Kværnen tænder ikke. |
|
|
| Ingredients are not grinding effectively. |
|
|
| Usædvanlig støj eller lugt under drift. |
|
|
7. Specifikationer
- Mærke: SKABE
- Model: Mølle PRO
- Magt: 300W
- Kapacitet: 80 gram
- Voltage: 230V AC (2.3E+2 Volts AC)
- Dimensioner: 30.8 x 13 x 12.2 cm (pakke)
- Vægt: 1.38 kg (produkt)
- Materialer: Stainless Steel, BPA-free plastics
8. Garanti og support
The CREATE Mill PRO Coffee and Food Grinder comes with a standard manufacturer's warranty. Please refer to the warranty card included in your product packaging for specific terms and conditions.
For technical support, troubleshooting assistance, or warranty claims, please contact CREATE customer service through their official webwebstedet eller forhandleren, hvor produktet blev købt. Gem din købsbevis for at validere garantien.
Ask a question about this manual
Ask about setup, troubleshooting, compatibility, parts, safety, or missing instructions. Manuals+ will review the question and use this page’s manual context to help answer it.