
1. Vigtige sikkerhedsinstruktioner
Læs venligst alle instruktioner omhyggeligt inden installation og brug. Gem denne manual til senere brug.
Generel sikkerhed
- Sørg for, at strømforsyningen er afbrudt før installation, vedligeholdelse eller rengøring.
- Dette apparat er ikke beregnet til brug af personer (inklusive børn) med nedsatte fysiske, sensoriske eller mentale evner, eller mangel på erfaring og viden, medmindre de har fået opsyn eller instruktion i brugen af apparatet af en person, der er ansvarlig for deres sikkerhed.
- Børn skal være under opsyn for at sikre, at de ikke leger med apparatet.
Elektrisk sikkerhed
- All electrical connections must be made by a qualified electrician and conform to local codes and regulations.
- Sørg for, at voltage and frequency of your power supply match the specifications of the fan.
- The fan must be properly grounded to prevent electric shock.
Installationssikkerhed
- Mount the fan to a ceiling structure capable of supporting a minimum of 15 kg (33 lbs).
- Ensure there is adequate clearance between the fan blades and any obstacles (walls, furniture) and the floor. A minimum distance of 2.3 meters (7.5 feet) from the floor to the blades is recommended.
- Do not install the fan in a location where it can be easily reached by children or pets.
2. Produktet er slutview
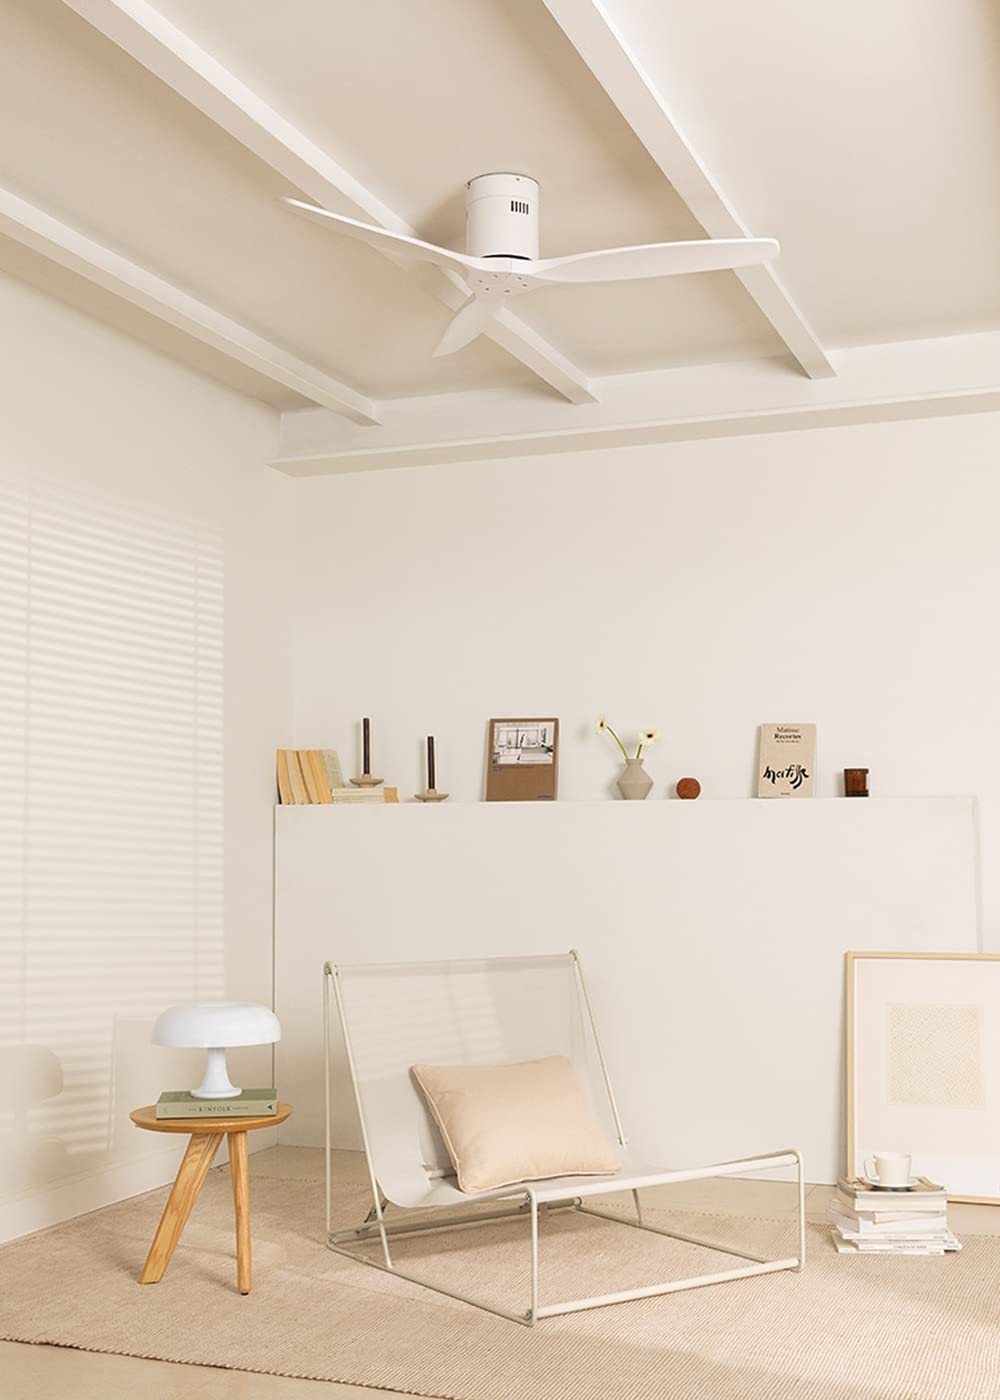
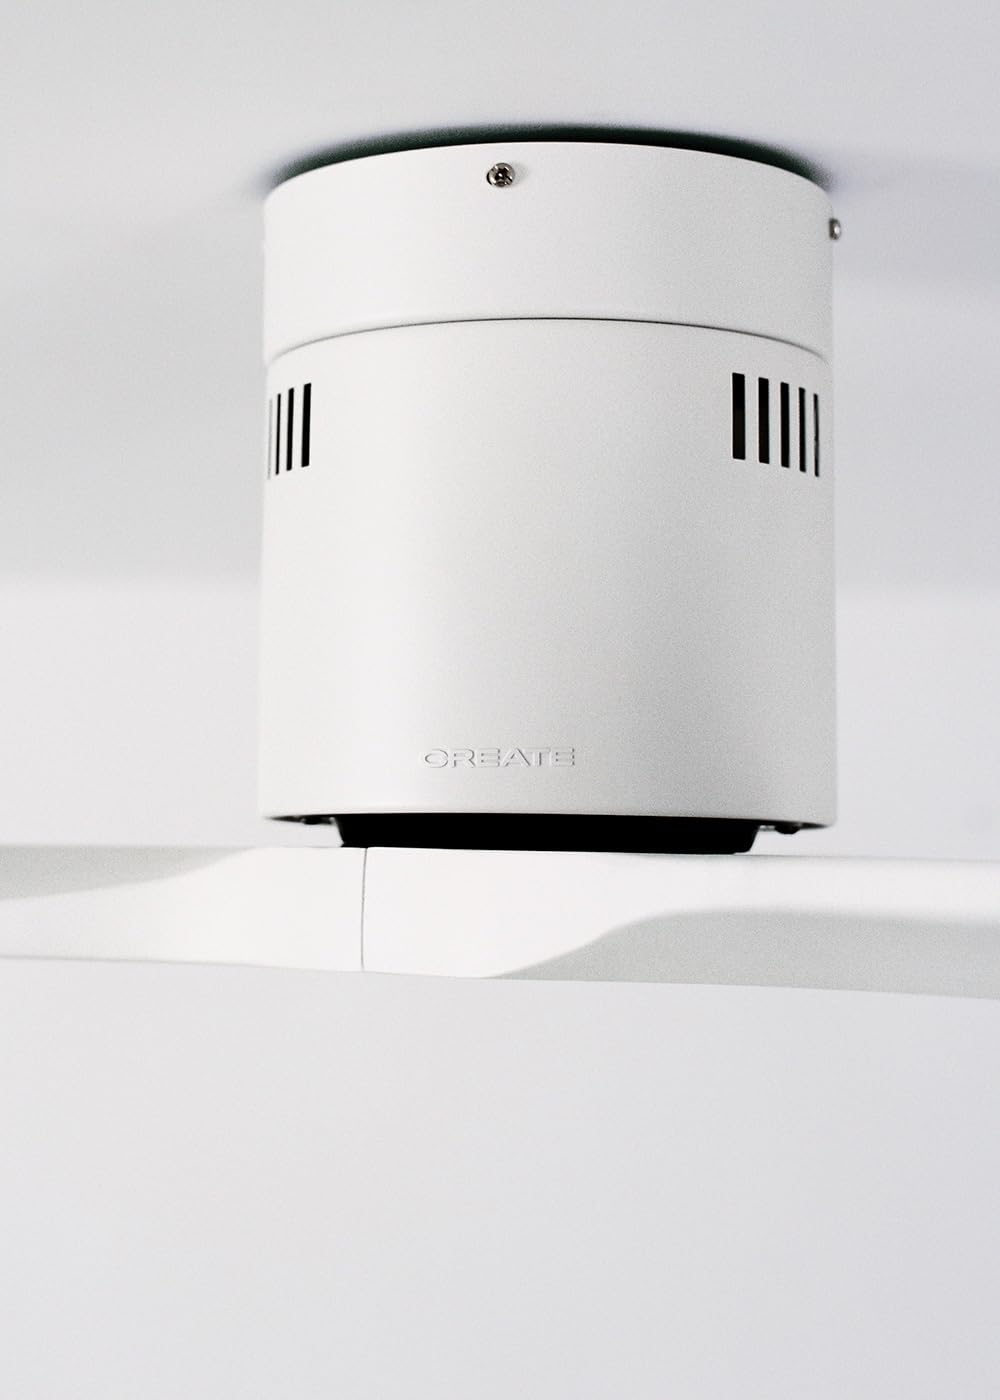
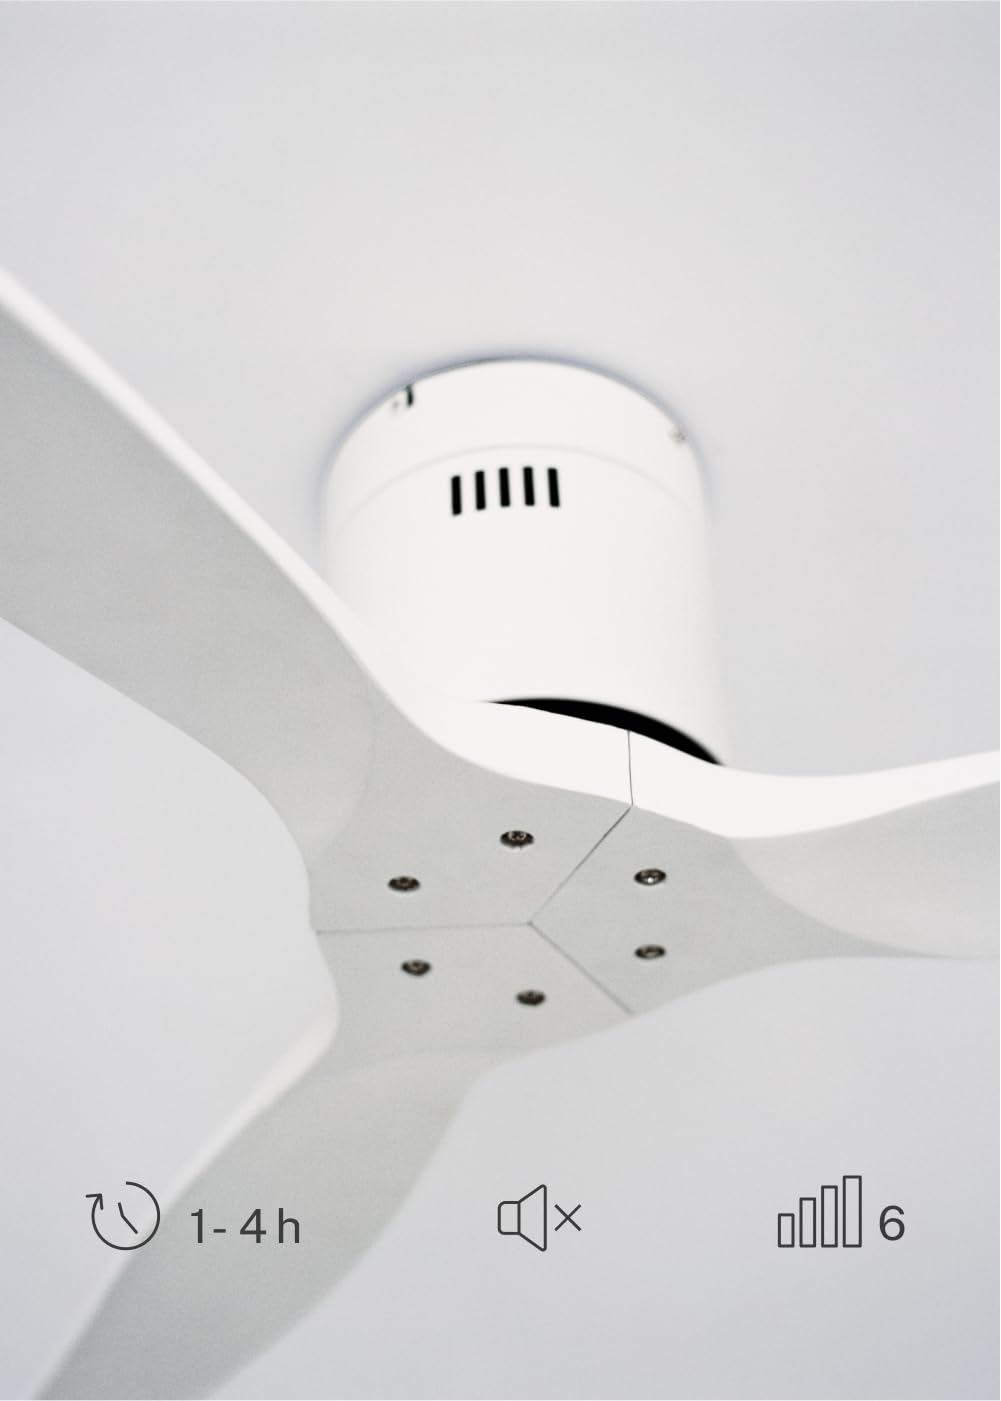
The CREATE WINDCALM DC Ceiling Fan is designed for efficient and quiet air circulation in various indoor spaces. It features a durable aluminum body, a silent DC motor, and three lightweight blades, ensuring minimal noise operation. The fan offers 6 adjustable speeds and a programmable timer for convenience.

3. Tekniske specifikationer
| Feature | Specifikation |
|---|---|
| Mærke | SKABE |
| Modelnummer | 43479_88375 |
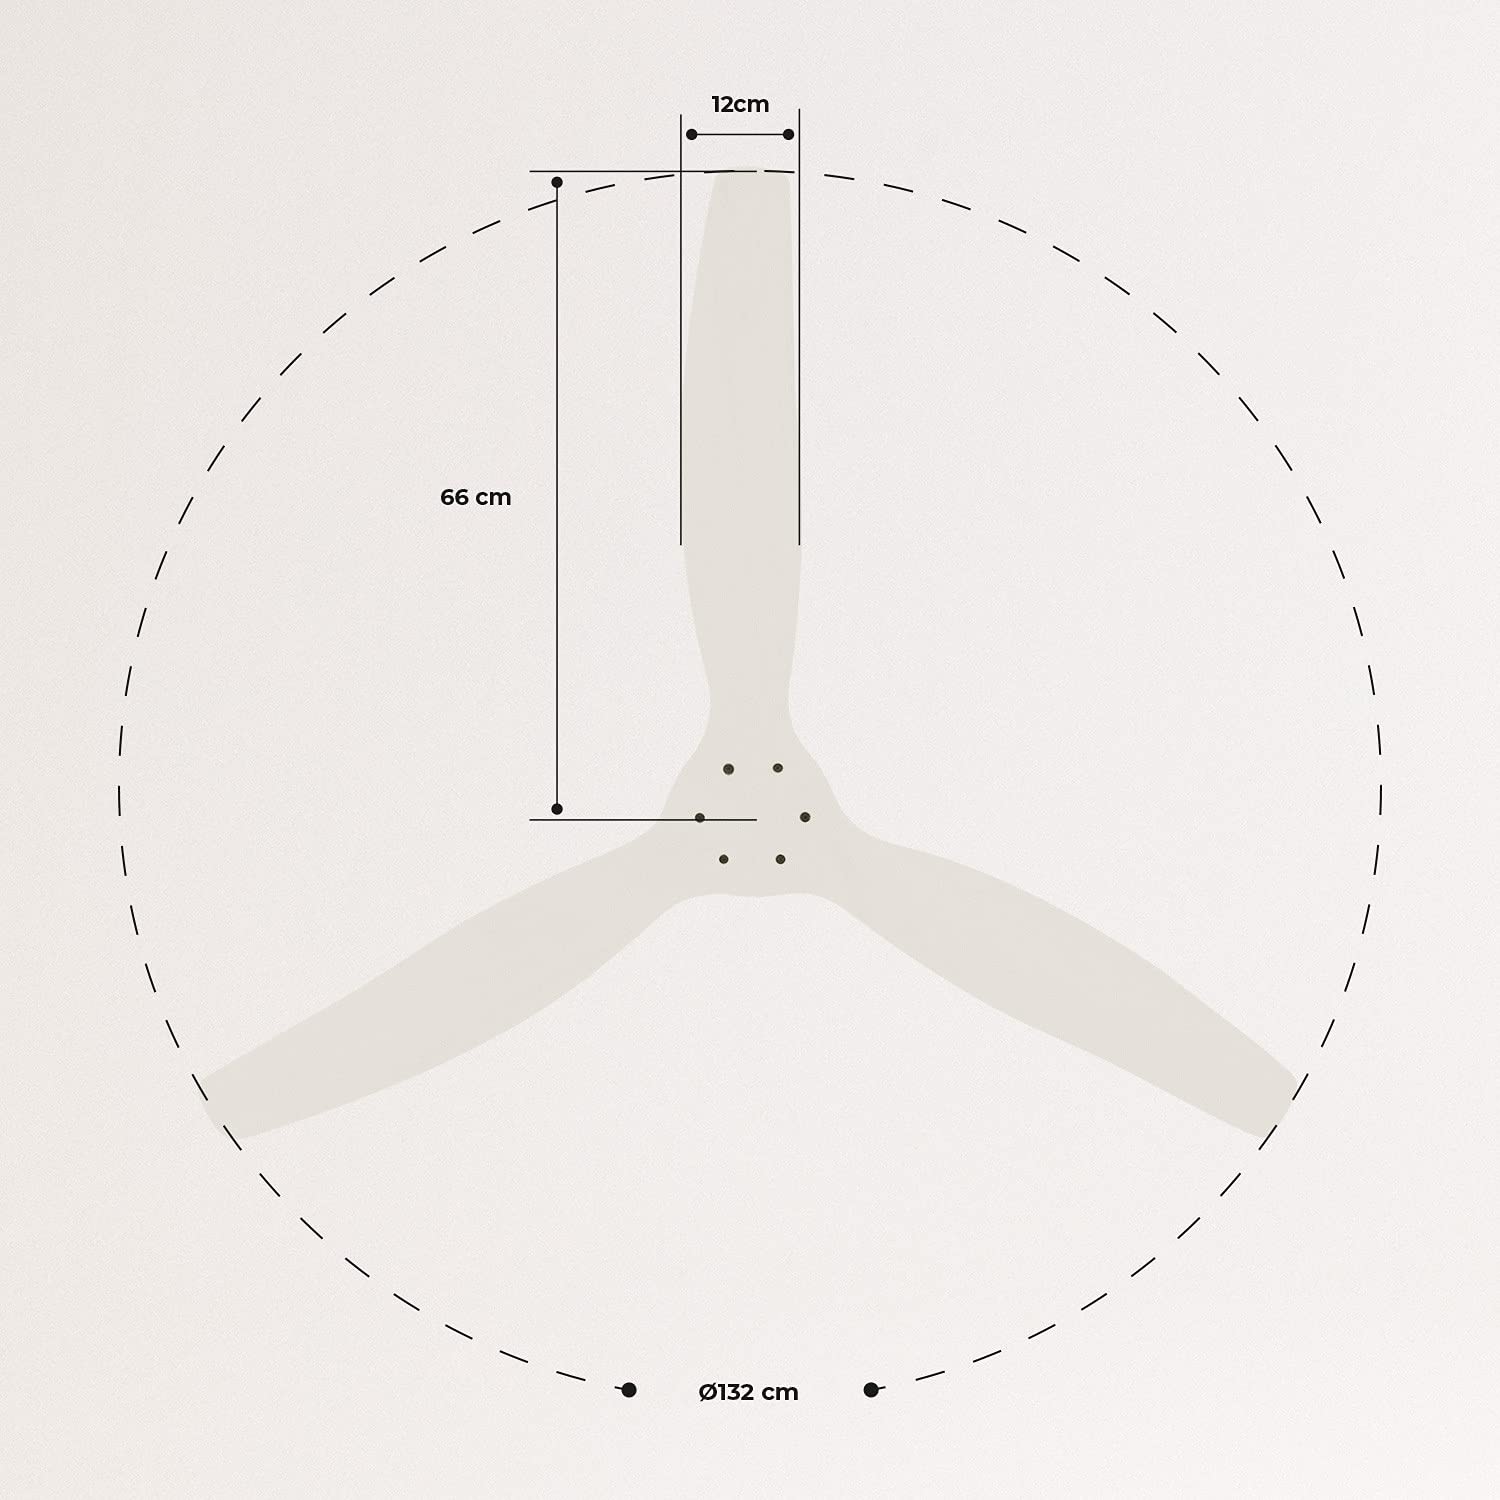
| Dimensioner (L x B x H) | 132 x 132 x 29 cm |
| Vægt | 6.38 kg |
| Fan Design | Loft Fan |
| Strømkilde | El-kabel |
| Speciel funktion | High Speed, Silent DC Motor, Timer, Summer/Winter Function |
| Anbefalet brug | Ventilation |
| Værelsestype | Living Room (suitable for 13m² to 25m² rooms) |
| Farve | White Blades |

4. Installationsvejledning
Proper installation is crucial for the safe and efficient operation of your ceiling fan. It is highly recommended that installation be performed by a qualified electrician.
Kontrol før installation
- Pak alle komponenter ud, og kontroller dem med pakkelisten.
- Ensure the ceiling joist or support structure is strong enough to hold the fan's weight.
- Sluk for strømmen ved hovedafbryderen, før du påbegynder noget elektrisk arbejde.
Montering af ventilator
- Secure the mounting bracket to the ceiling outlet box using appropriate screws and washers.
- Løft forsigtigt ventilatormotorenheden op, og fastgør den til monteringsbeslaget.
Ledningsforbindelser
Connect the electrical wires according to the wiring diagram provided in the separate detailed installation manual (not included in this general overview). Ensure all connections are secure and insulated.
Attaching Blades
Attach the fan blades to the motor hub using the provided screws. Ensure all screws are tightened securely.

5. Betjeningsvejledning
Your CREATE WINDCALM DC Ceiling Fan comes with a remote control for convenient operation of all its functions.
Fjernbetjeningsfunktioner
Fjernbetjeningen giver dig mulighed for at:
- Tænd/sluk: Tænd eller sluk for blæseren.
- Hastighedstilpasning: Select from 6 different fan speeds to control airflow intensity.
- Timerindstilling: Program the fan to automatically turn off after 1, 2, or 4 hours.
- Sommer/vinter tilstand: Skift rotationsretningen på bladene for at optimere luftcirkulationen til forskellige årstider.
Sommertilstand
In summer mode, the fan blades rotate counter-clockwise, pushing air downwards. This creates a cooling breeze effect, helping to dissipate heat and refresh the room.

Vintertilstand
In winter mode, the fan blades rotate clockwise, drawing air upwards. This helps to circulate warm air that accumulates near the ceiling, distributing it evenly throughout the room and improving heating efficiency.
6. Vedligeholdelse og pleje
Regelmæssig vedligeholdelse sikrer din loftsventilators levetid og optimale ydeevne.
Rensning
- Always turn off the power to the fan at the circuit breaker before cleaning.
- Brug en blød, damp cloth to wipe down the fan blades and motor housing. Do not use abrasive cleaners or solvents, as they may damage the finish.
- Ensure the fan is completely dry before restoring power.
Regelmæssig kontrol
- Periodically check all screws and fasteners on the mounting bracket and blade attachments to ensure they are secure. Tighten if necessary.
- Listen for any unusual noises during operation, which may indicate a loose part or an issue with the motor.
7. Fejlfinding
If you encounter any issues with your fan, refer to the following common problems and their solutions:
| Problem | Mulig årsag | Løsning |
|---|---|---|
| Ventilatoren tænder ikke | Ingen strømforsyning Løs ledningsforbindelse Fjernbetjeningens batteri er lavt | Kontroller afbryderen og vægafbryderen Kontroller, at alle ledningsforbindelser er sikre (kontakt en elektriker). Udskift fjernbetjeningens batterier |
| Ventilatoren larmer for meget | Loose screws on blades or mounting Bøjet klinge Motor problem | Spænd alle skruer Check blades for damage and replace if necessary Kontakt kundesupport |
| Fjernbetjening virker ikke | Batteriet er opbrugt Forhindring mellem fjernbetjening og modtager Fjernbetjening ikke parret (hvis relevant) | Udskift batterierne Sørg for frit udsyn Refer to detailed manual for pairing instructions |
| Blæseren slingrer | Løst monteringsbeslag Ubalancerede klinger | Ensure mounting bracket is securely fastened Check blade balance and use balancing kit if needed |
8. Garanti og support
For warranty information, technical support, or replacement parts, please contact CREATE customer service. Keep your purchase receipt as proof of purchase.
You can find more information and contact details on the official CREATE webwebsted: www.create-store.com


